

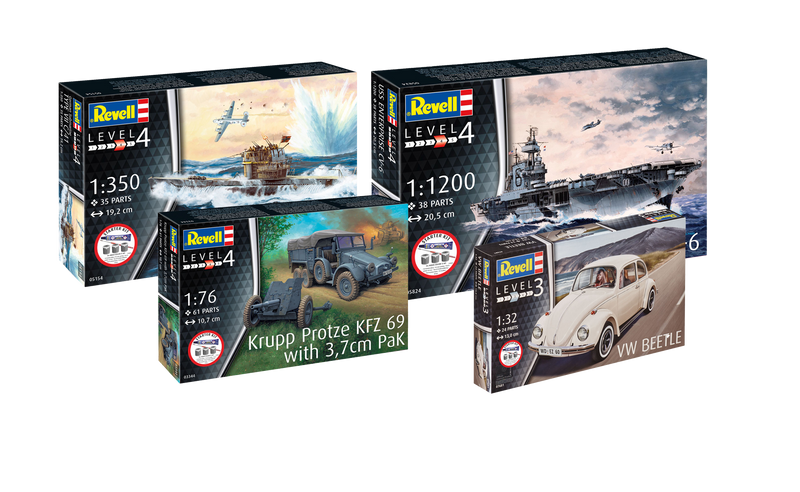

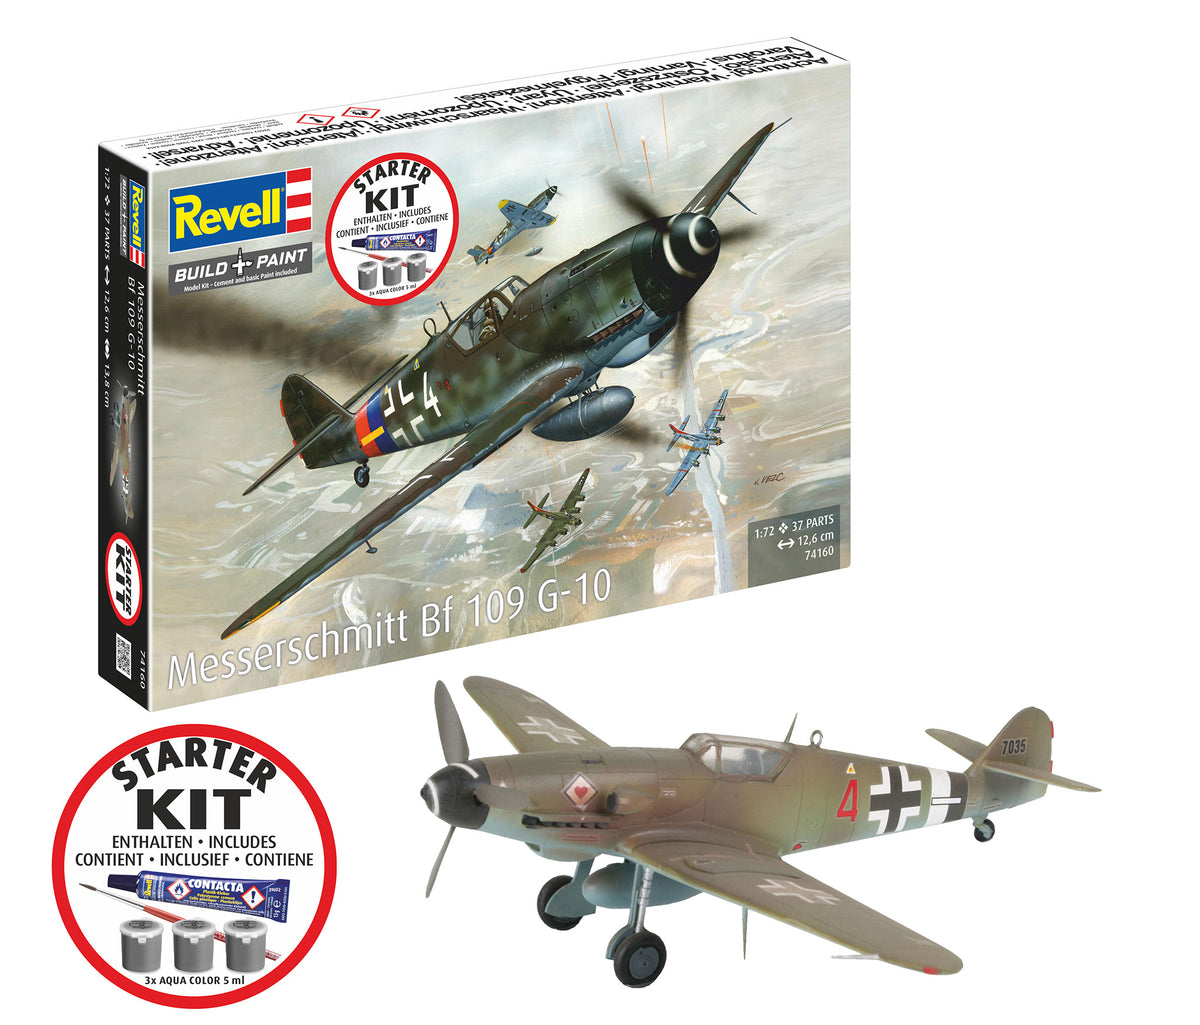
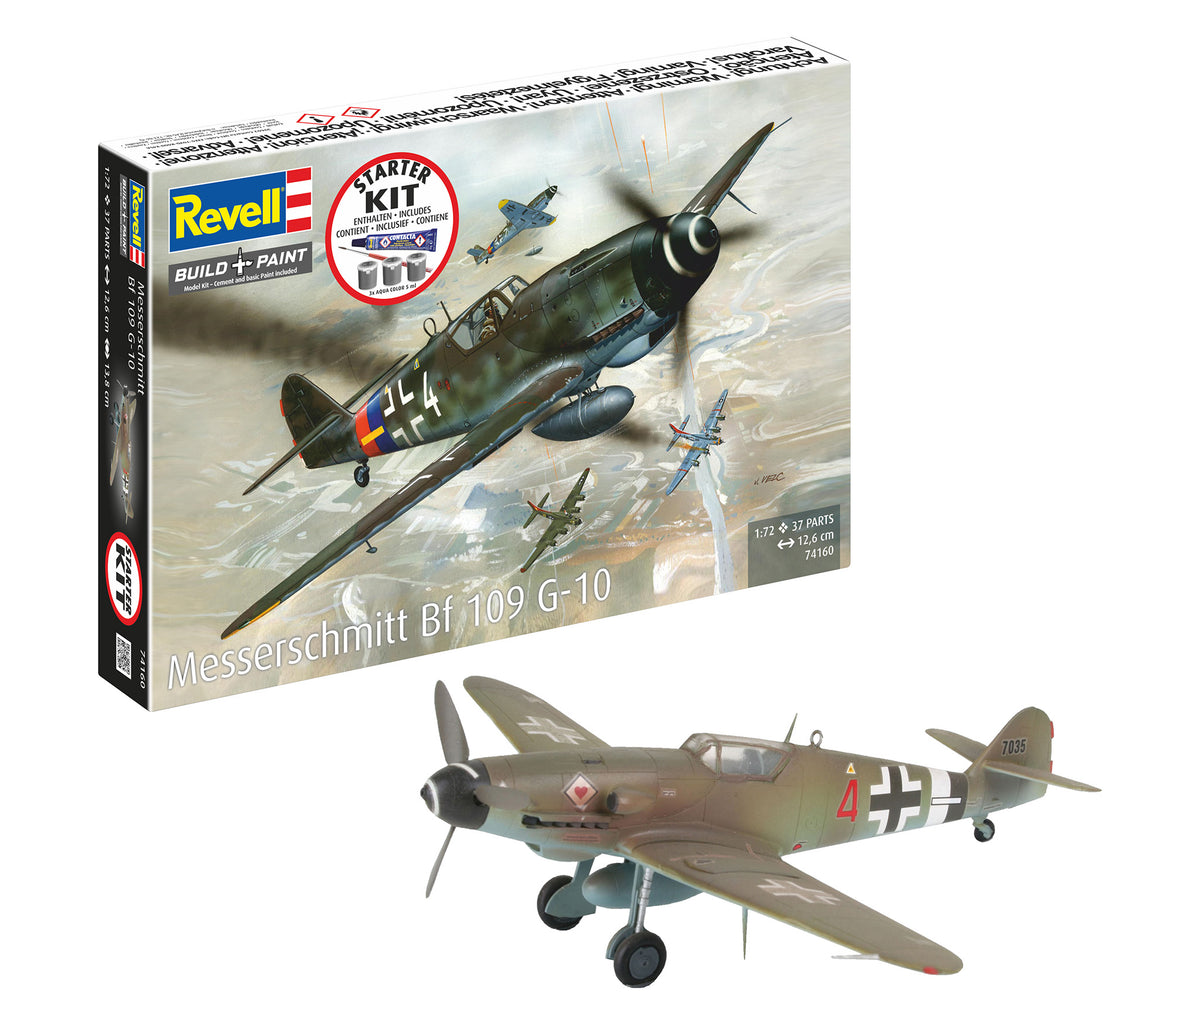


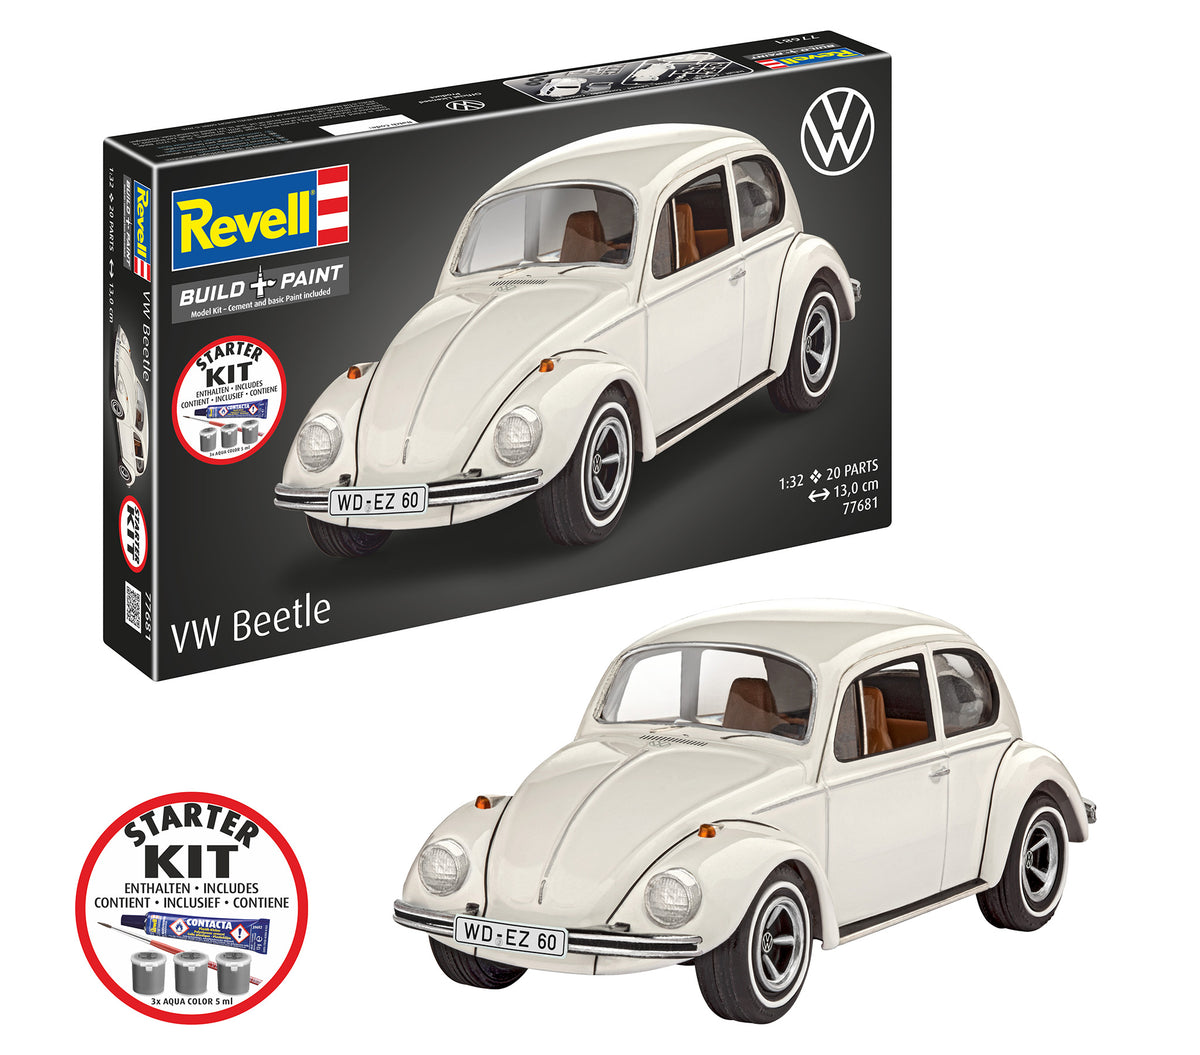
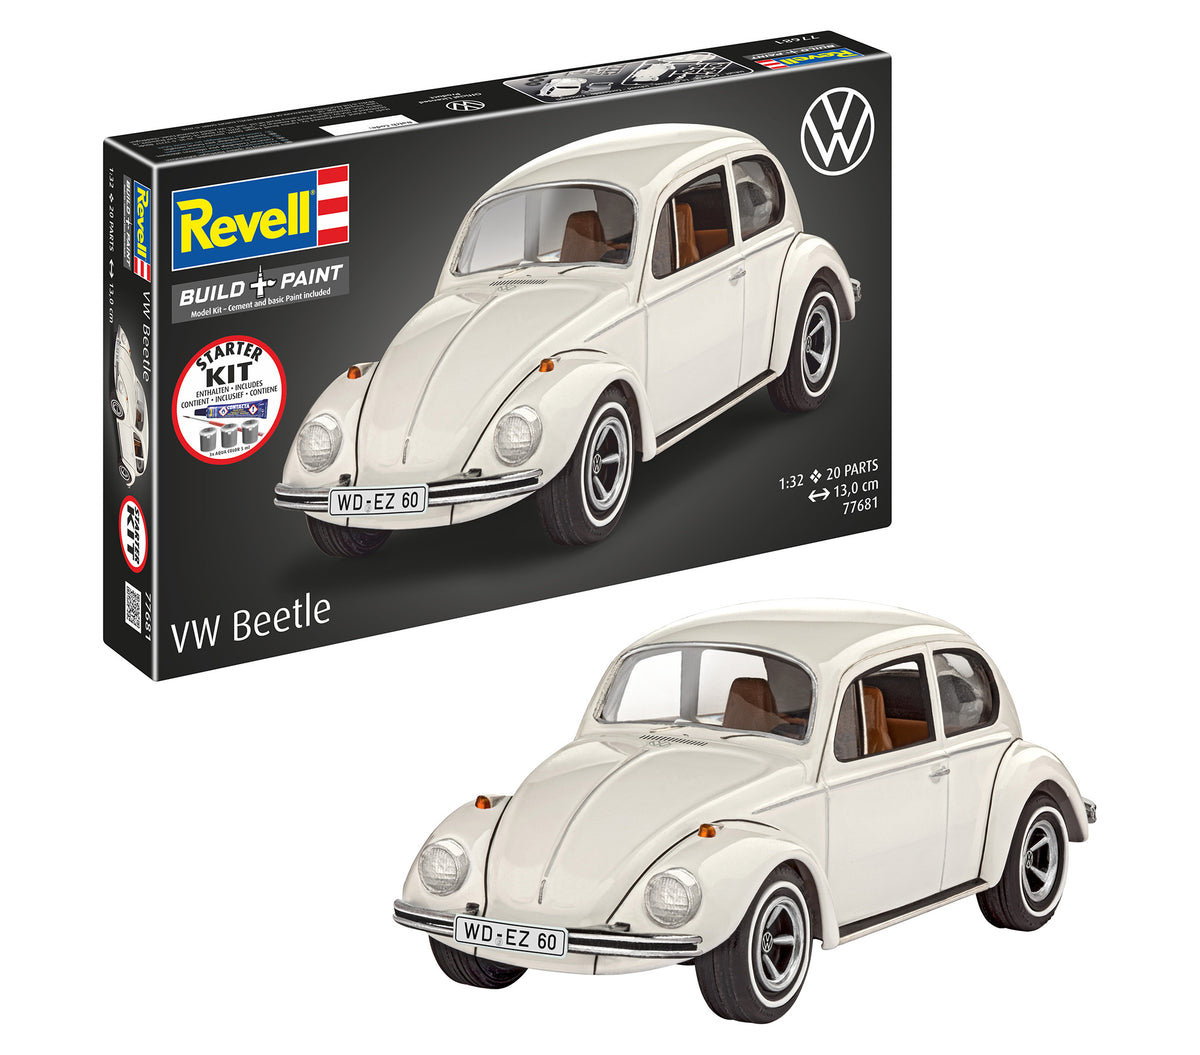

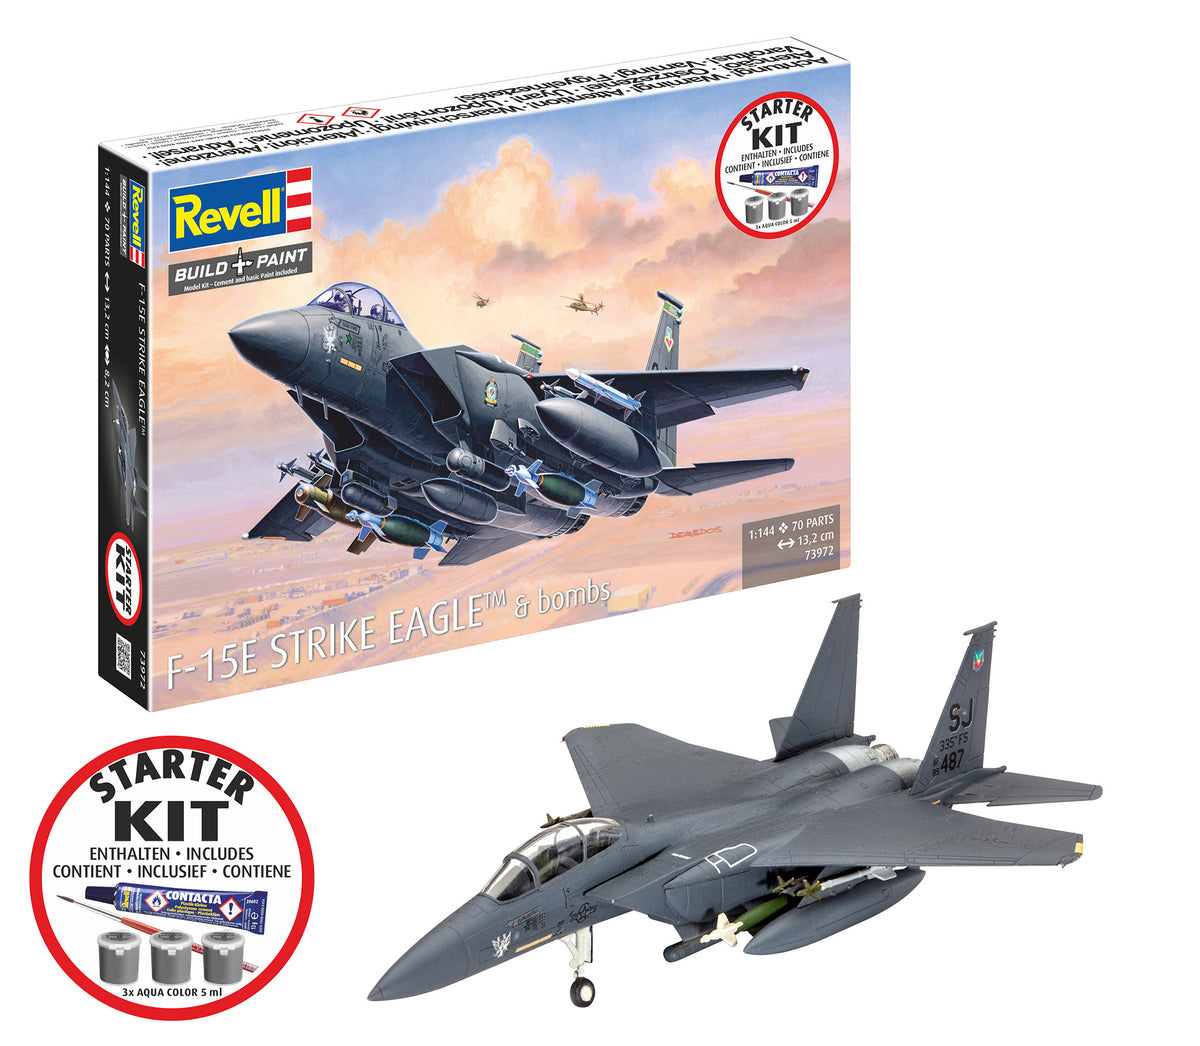
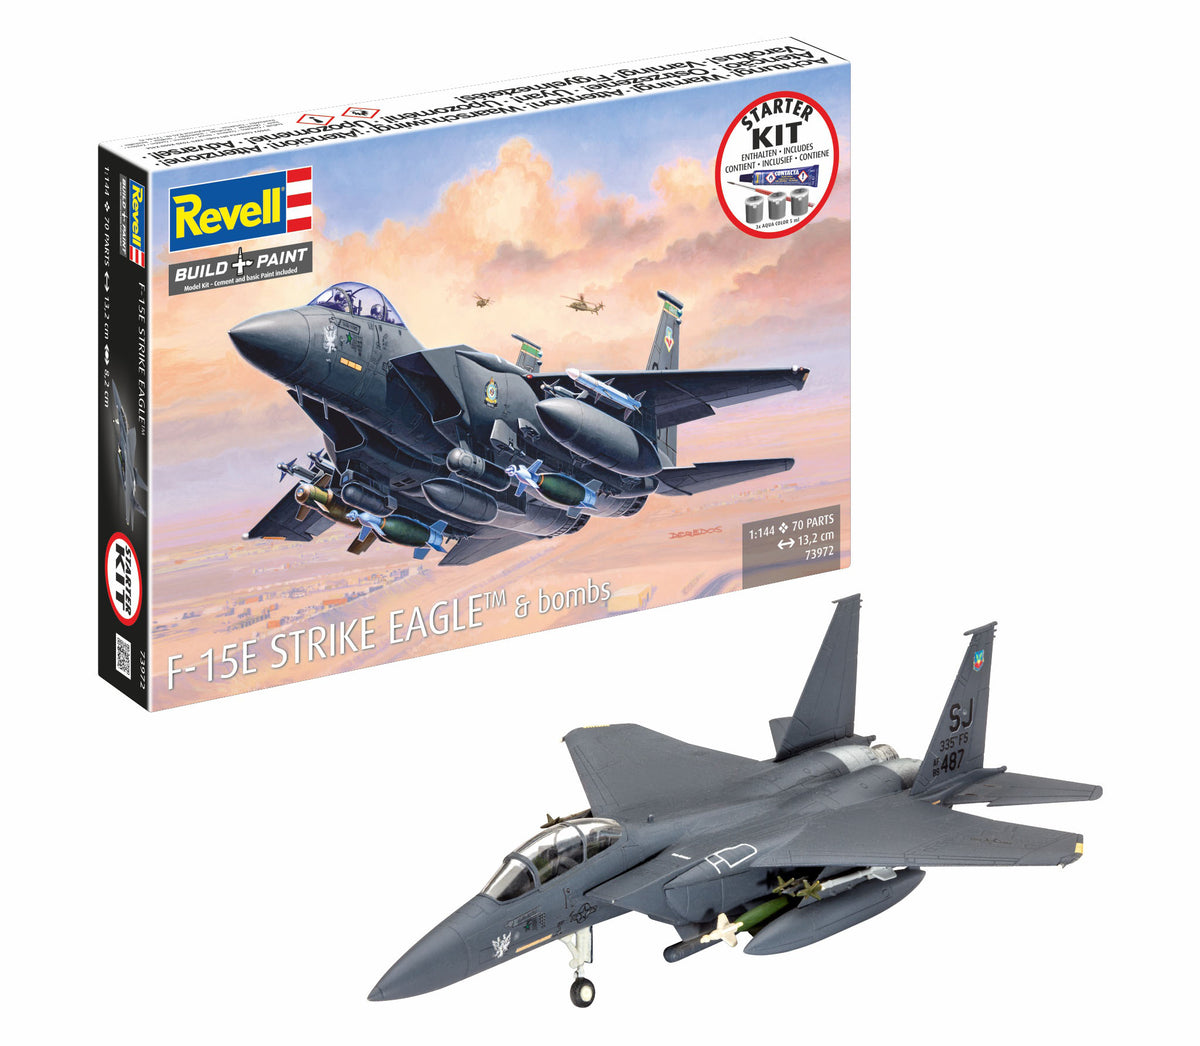
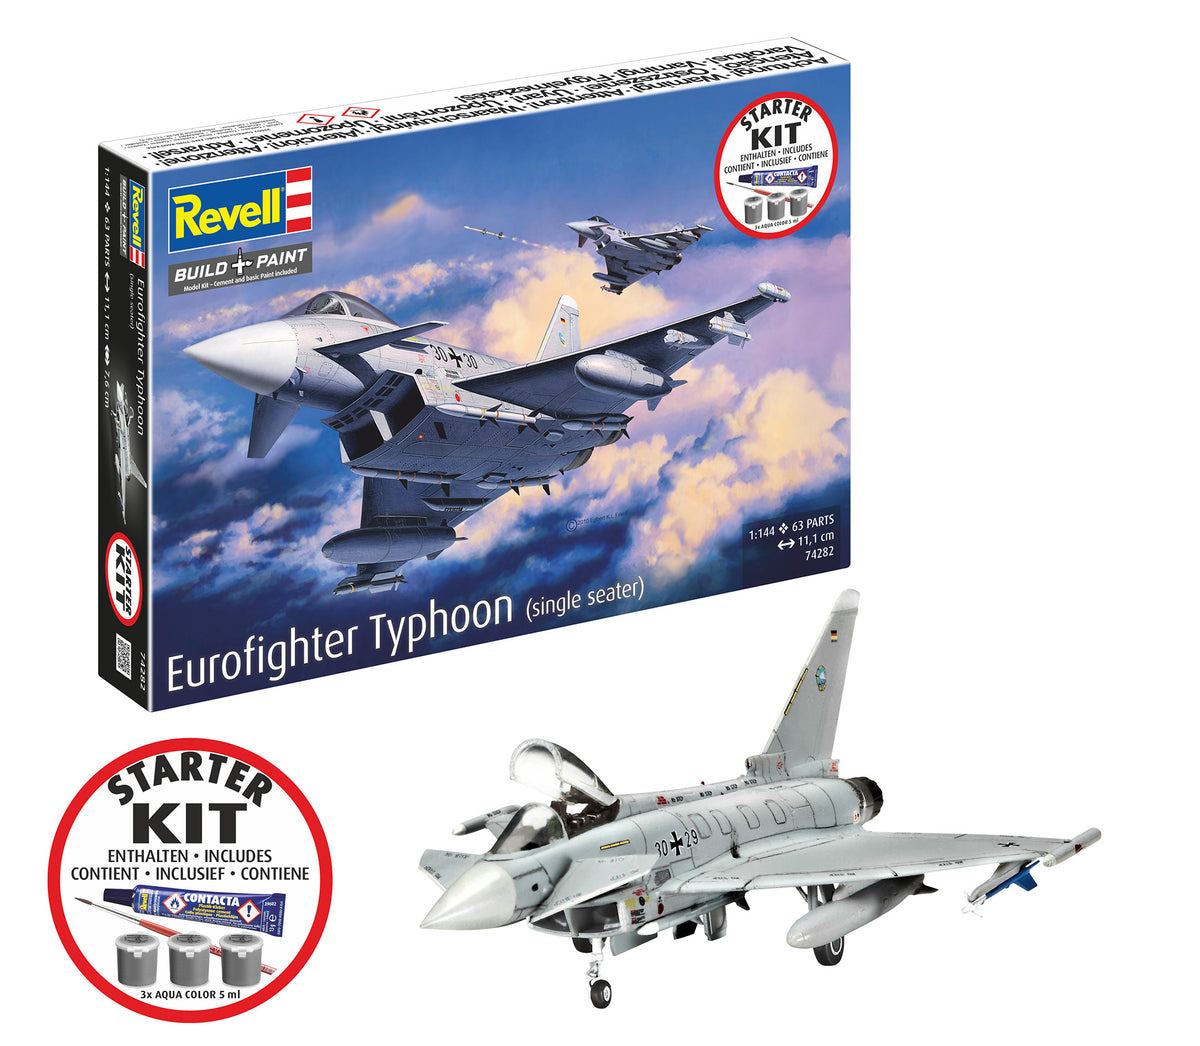
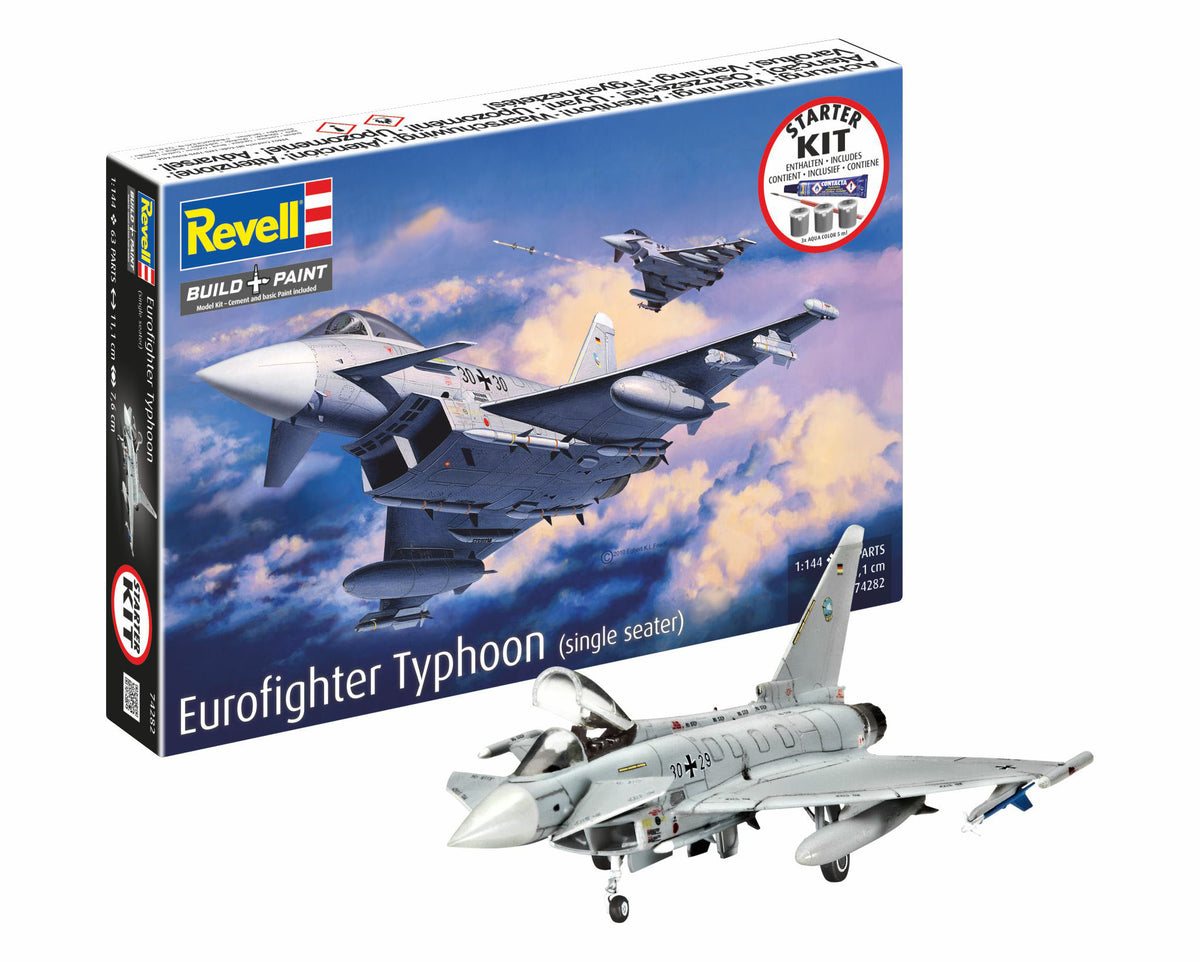

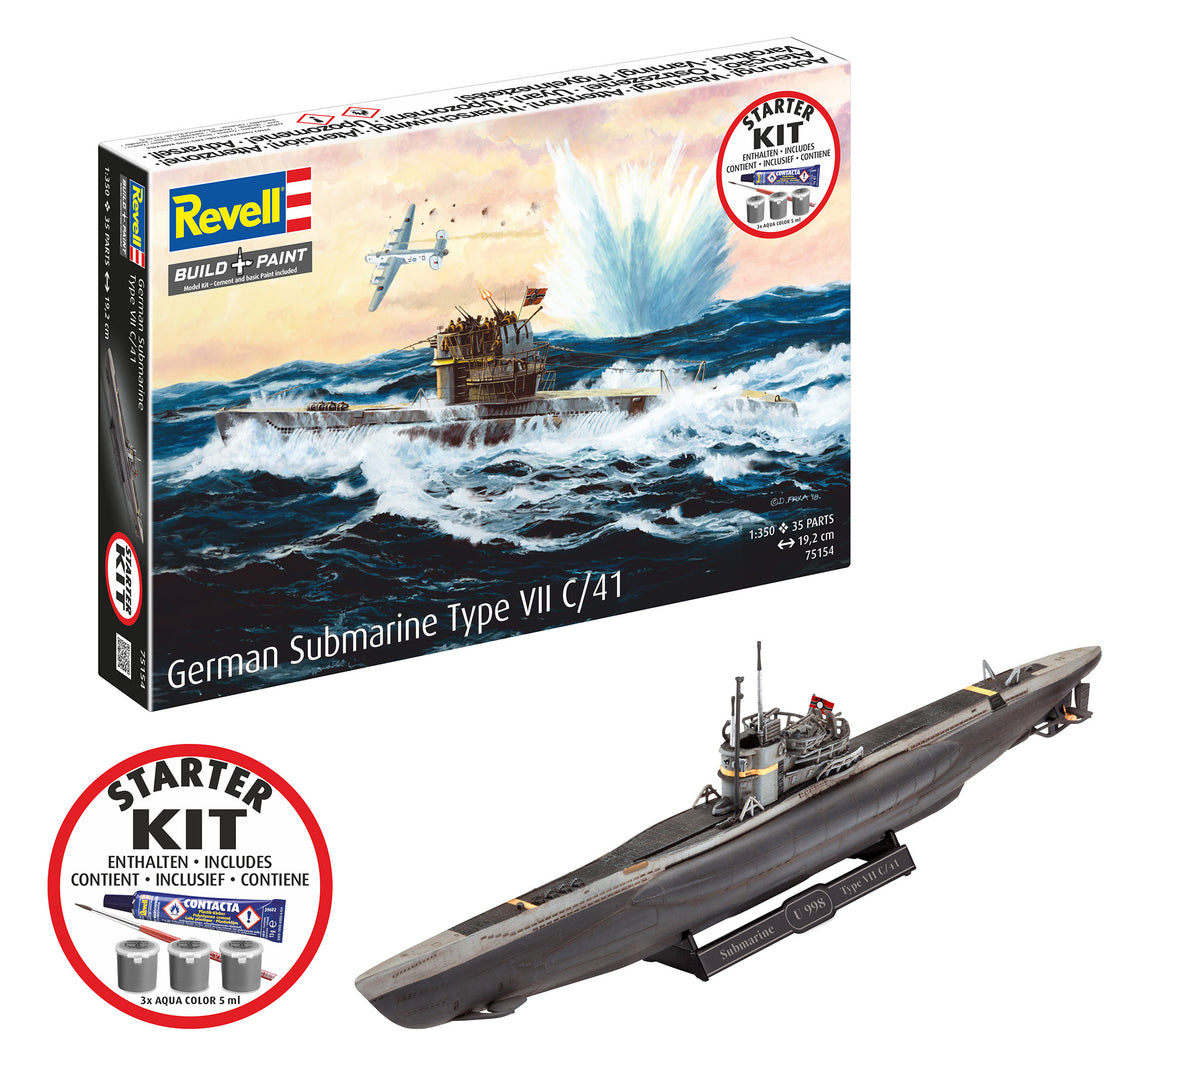
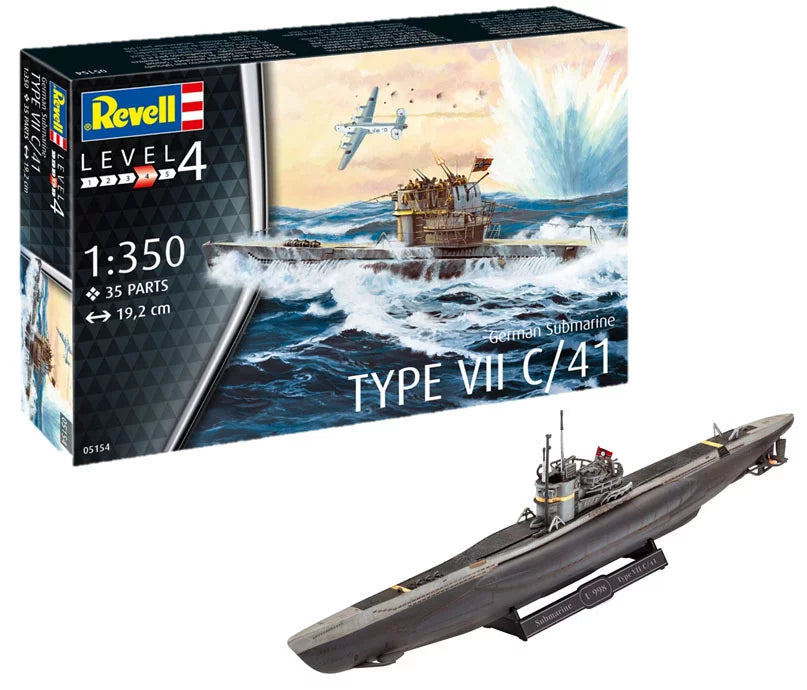
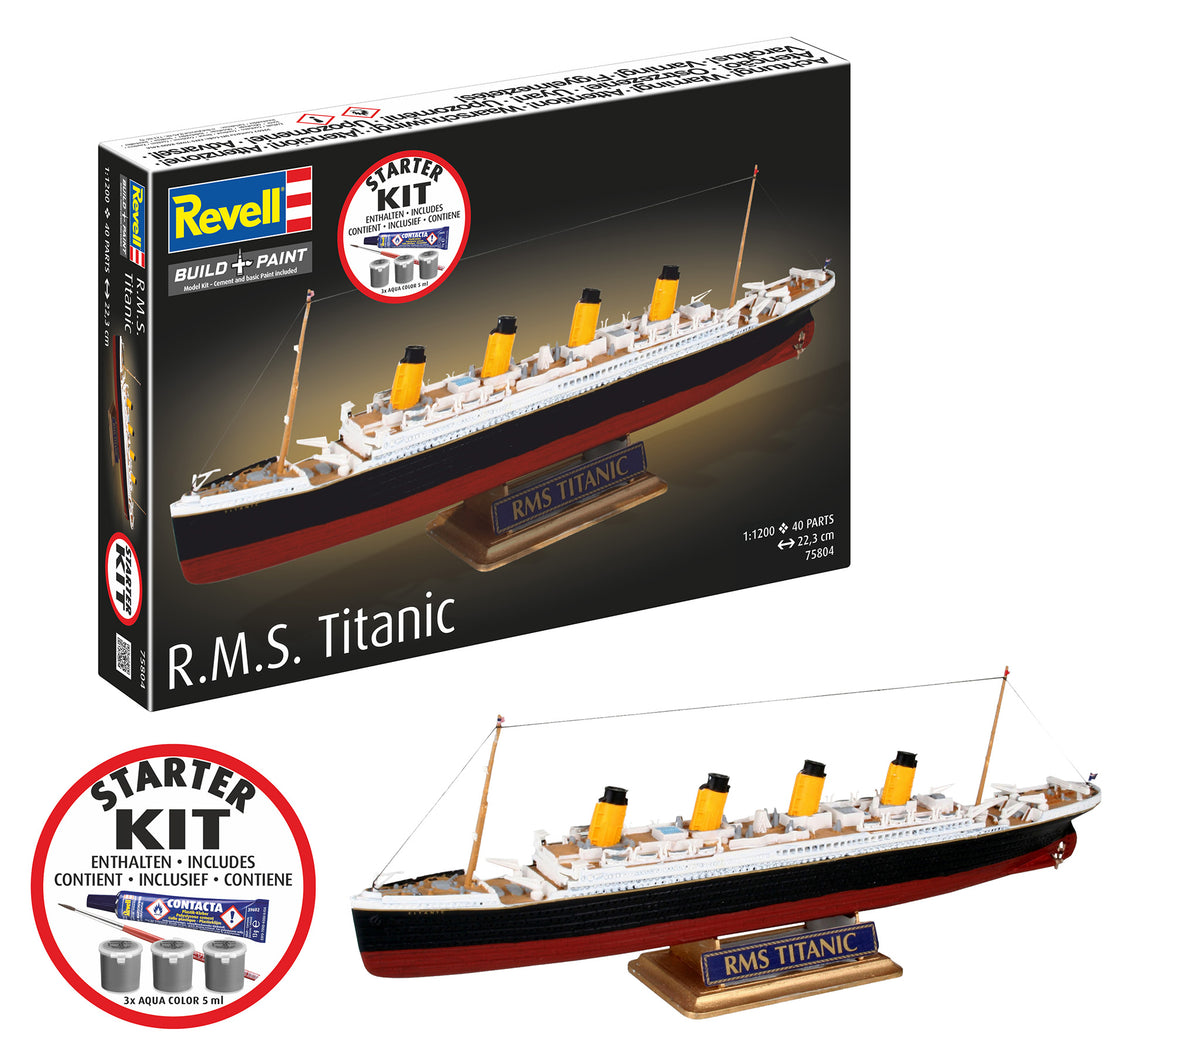
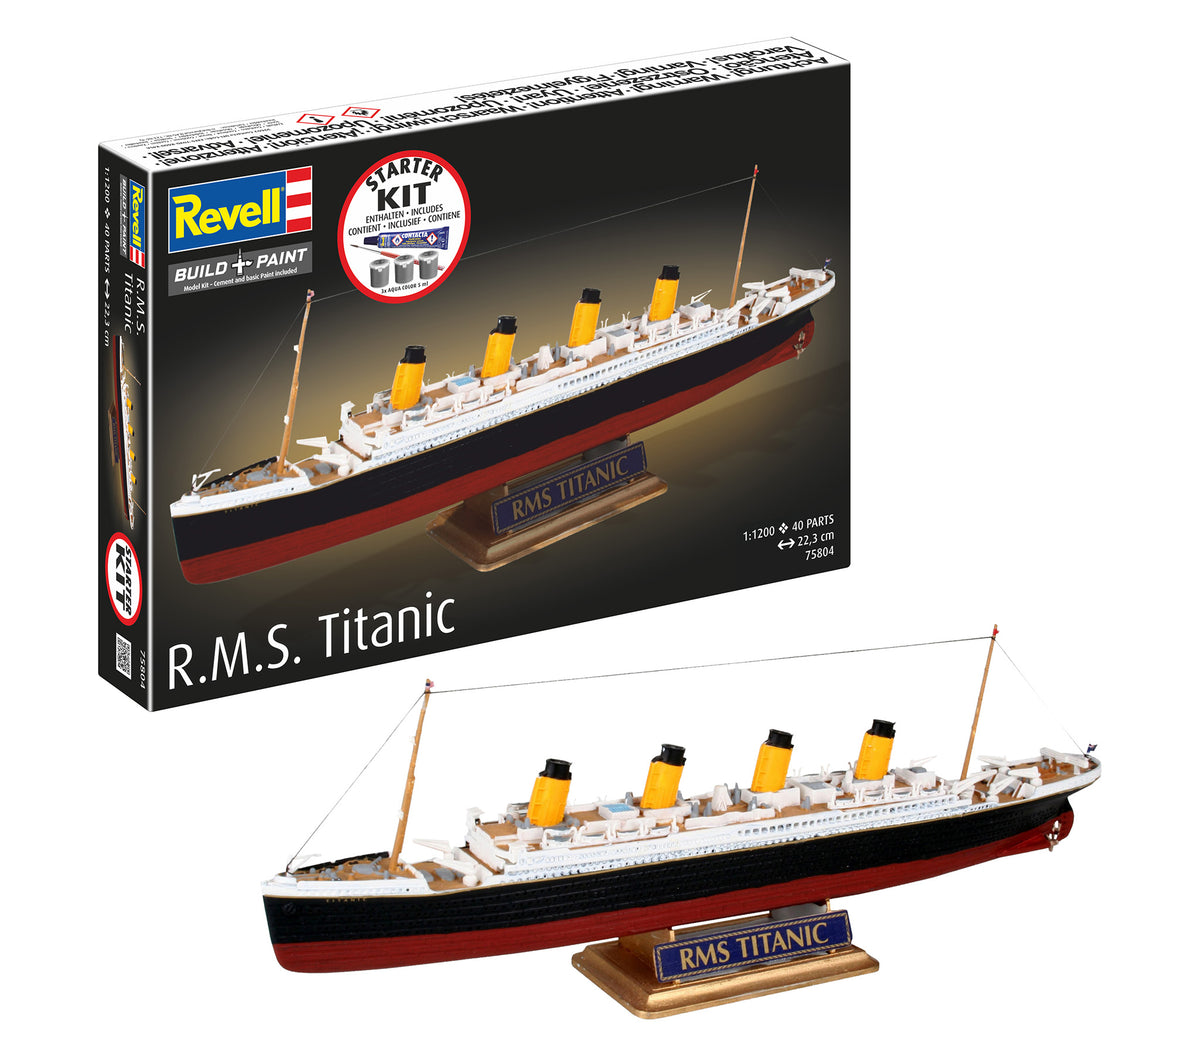
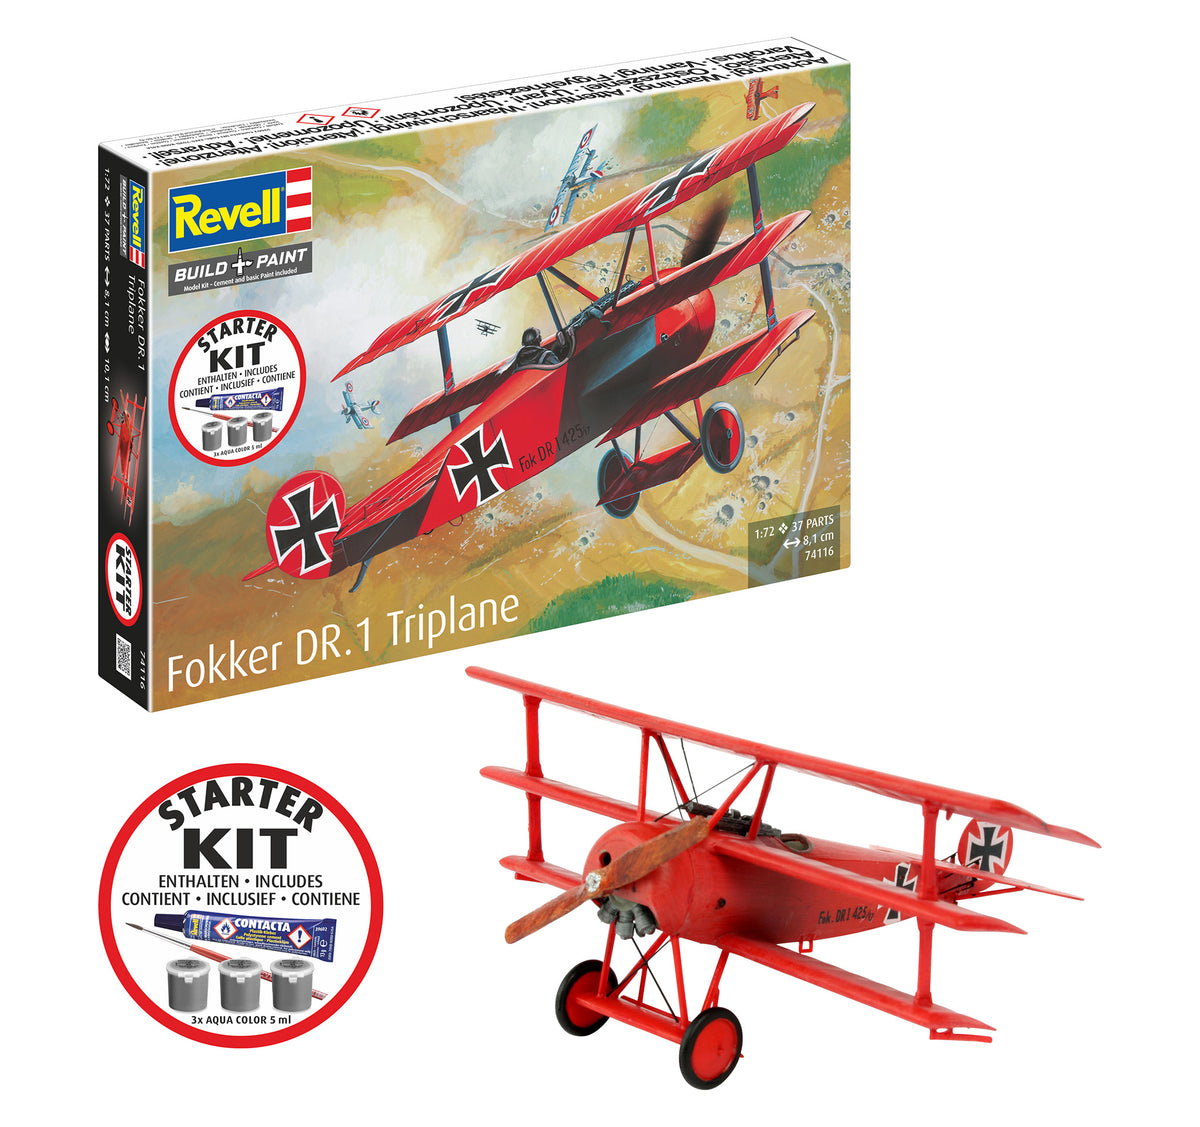
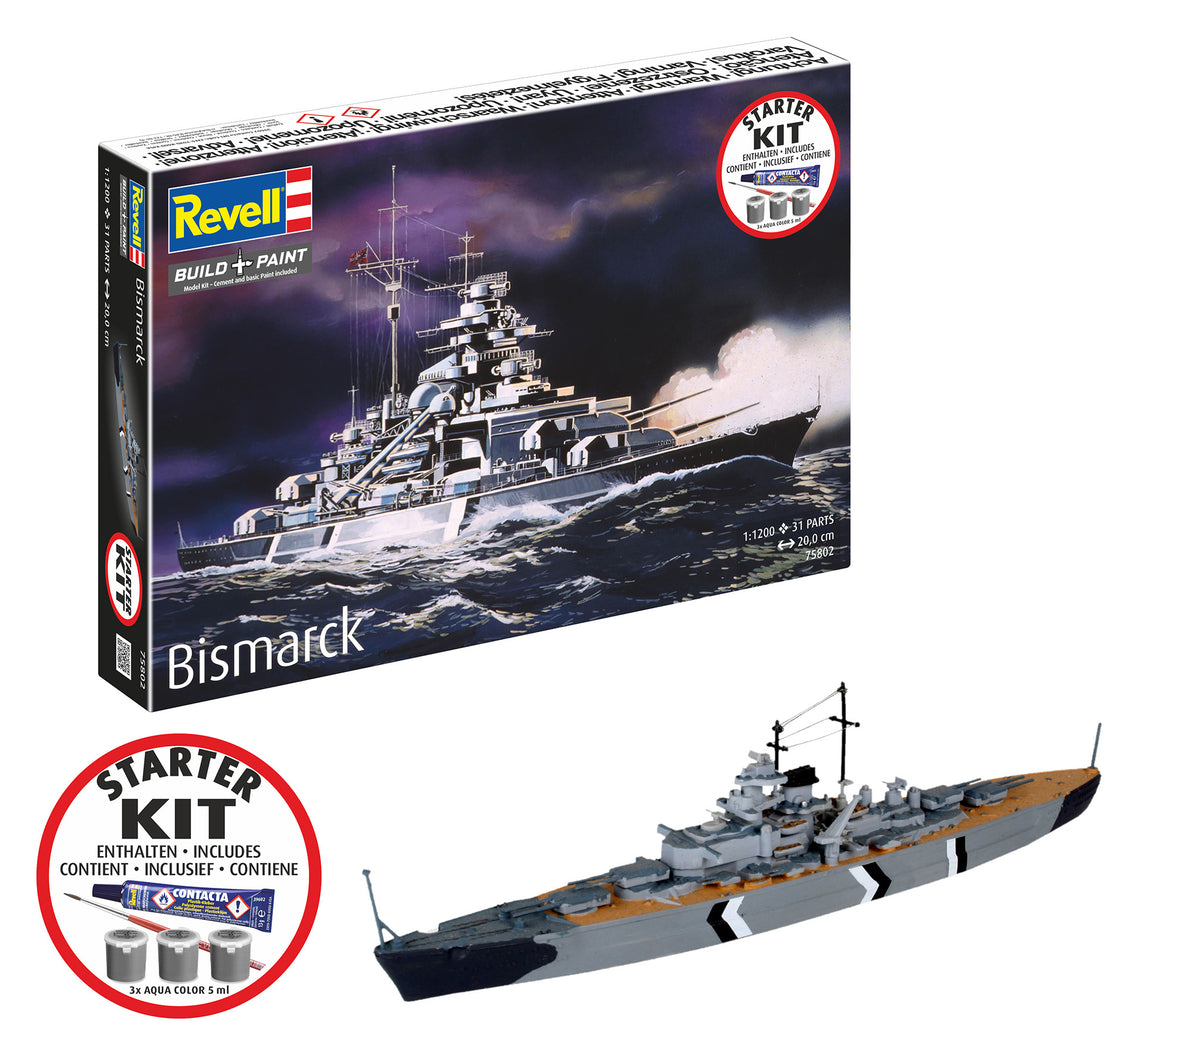
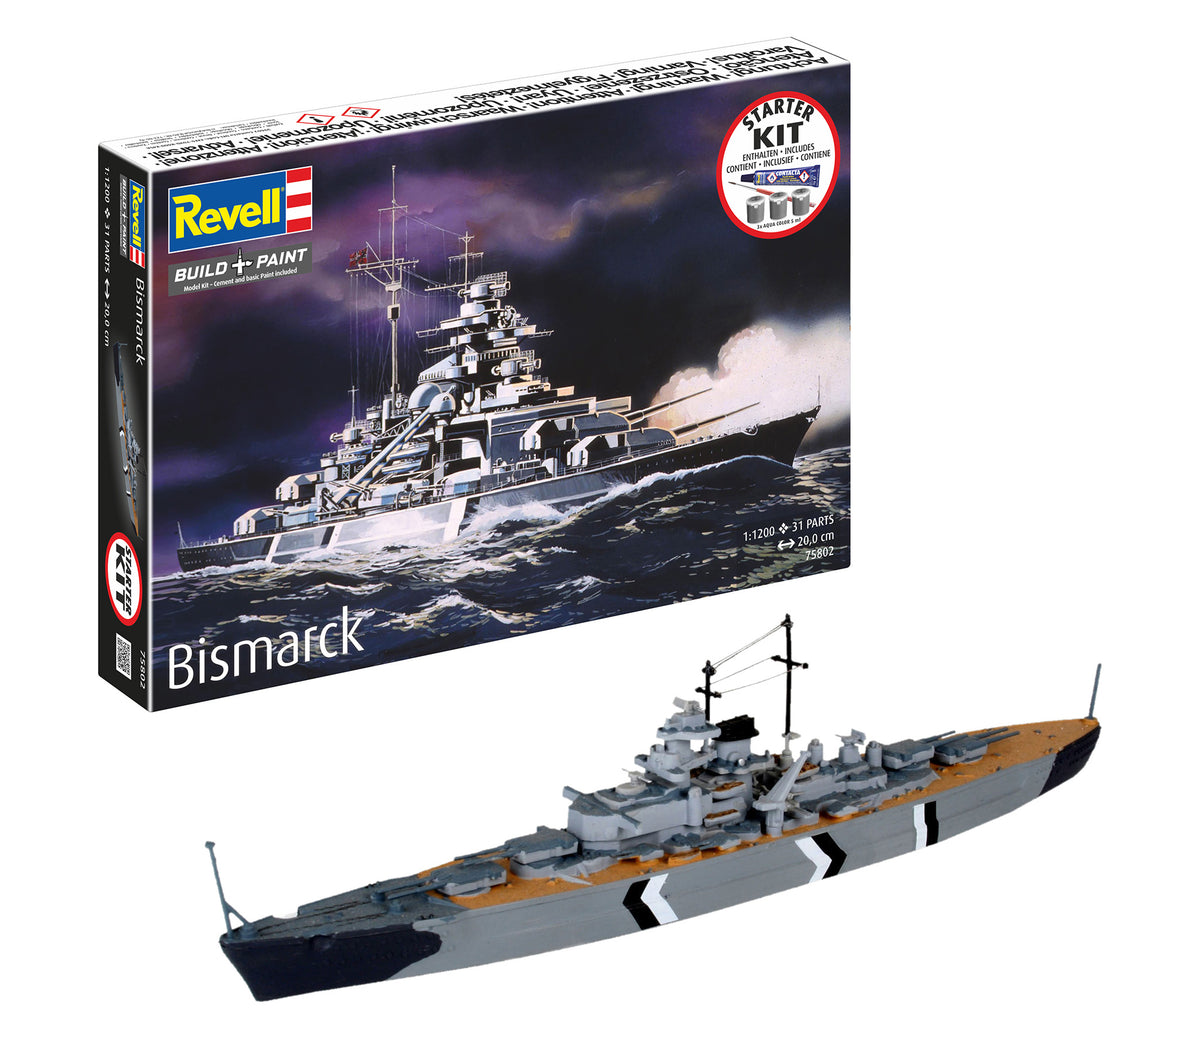
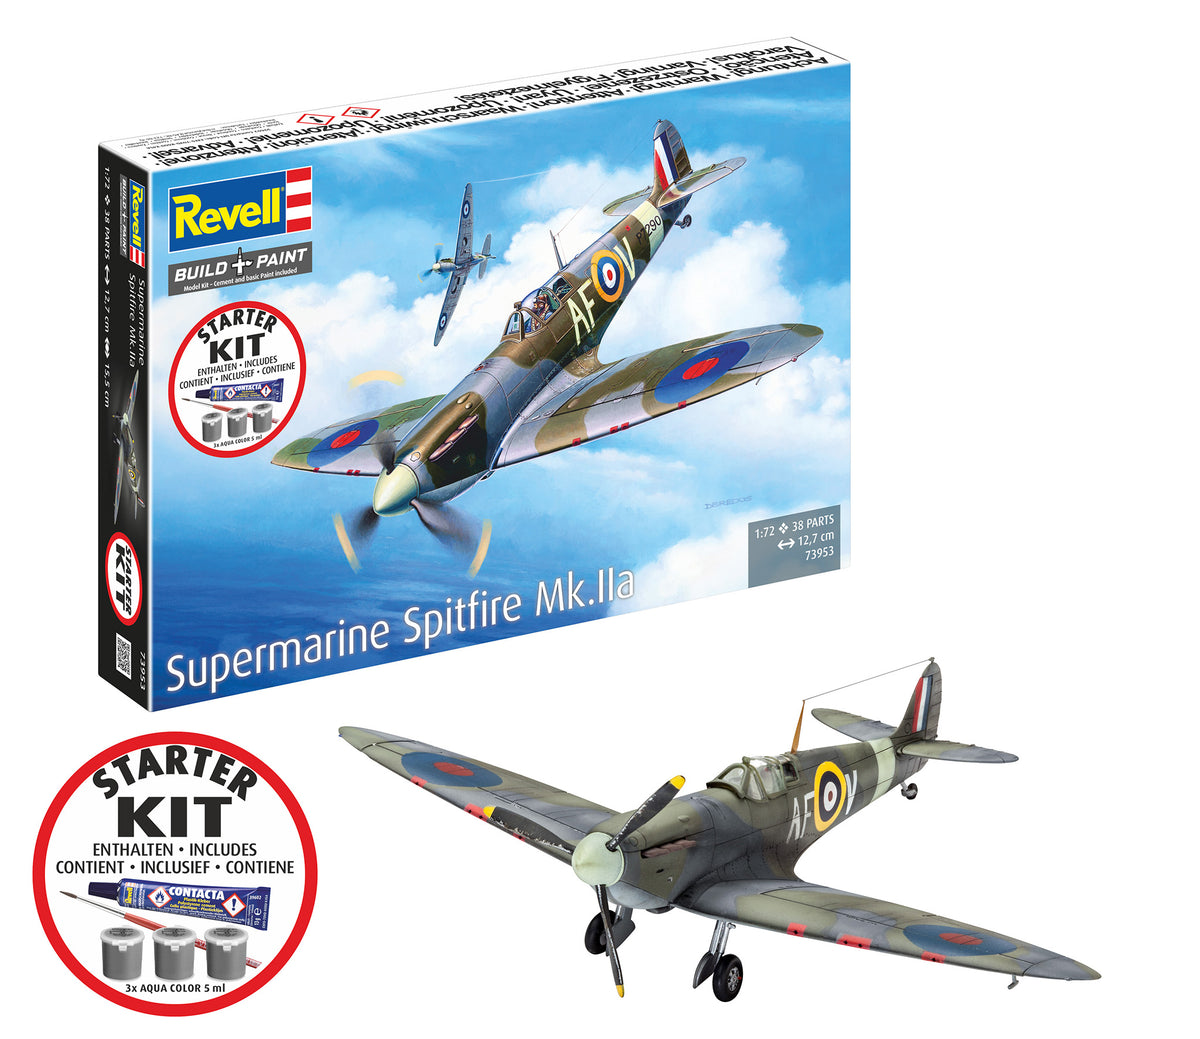
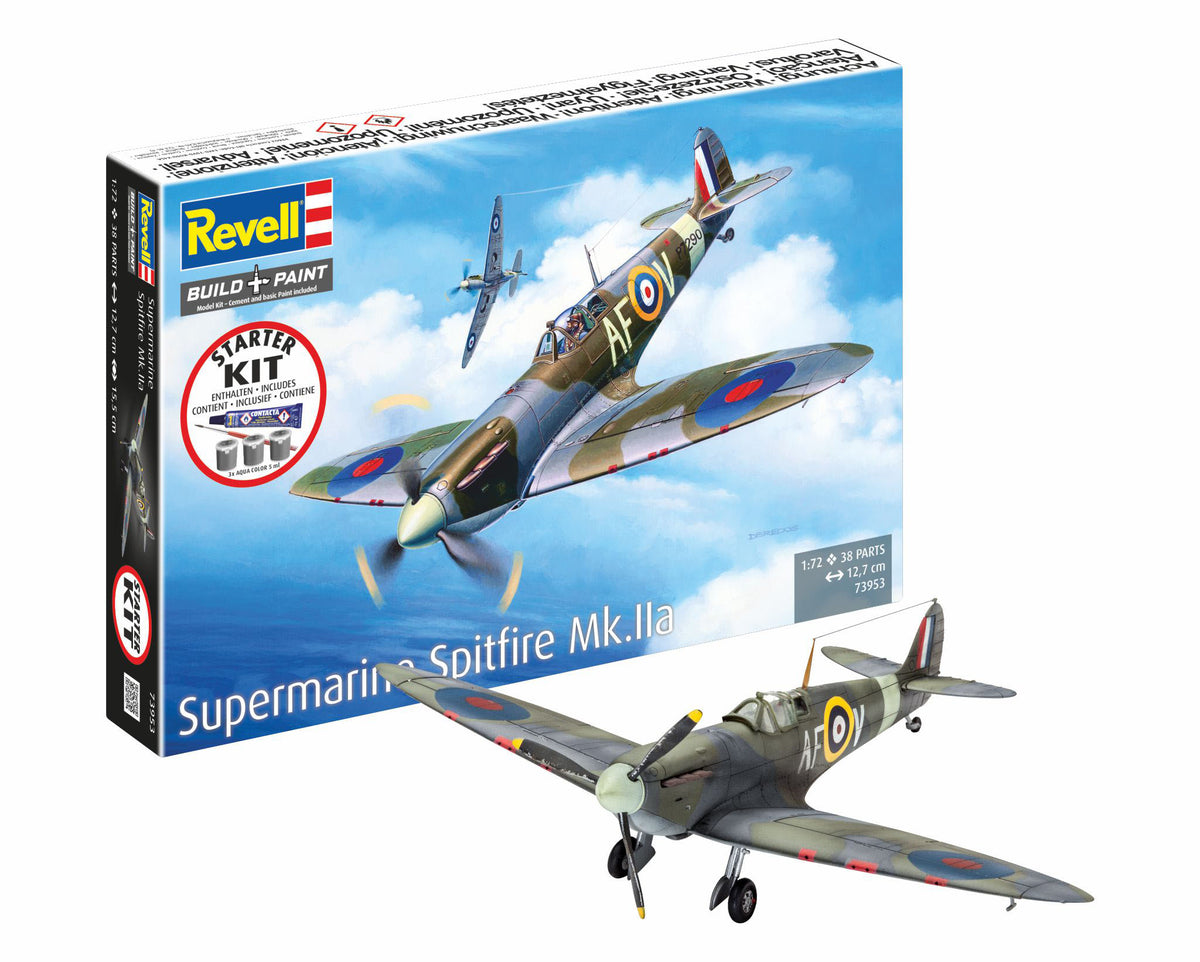
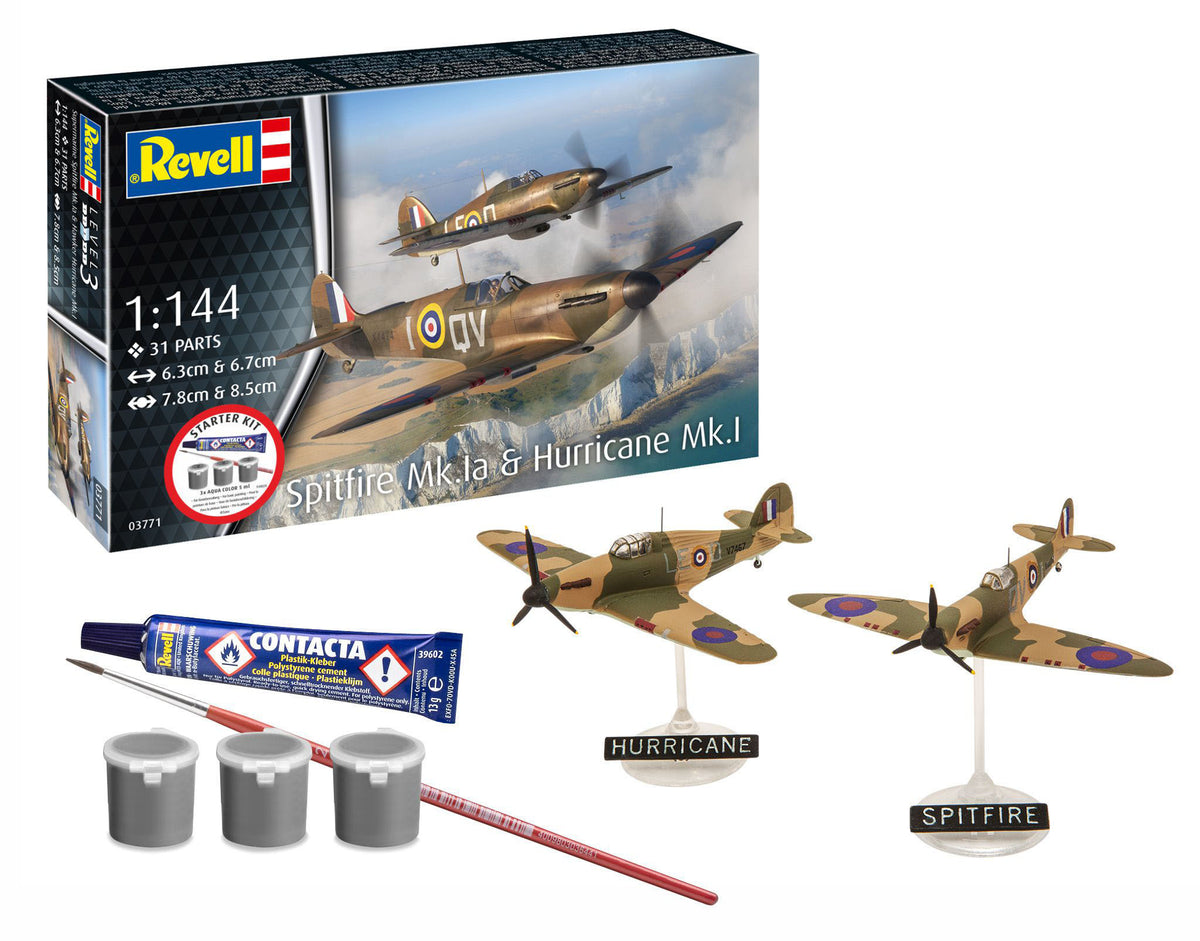
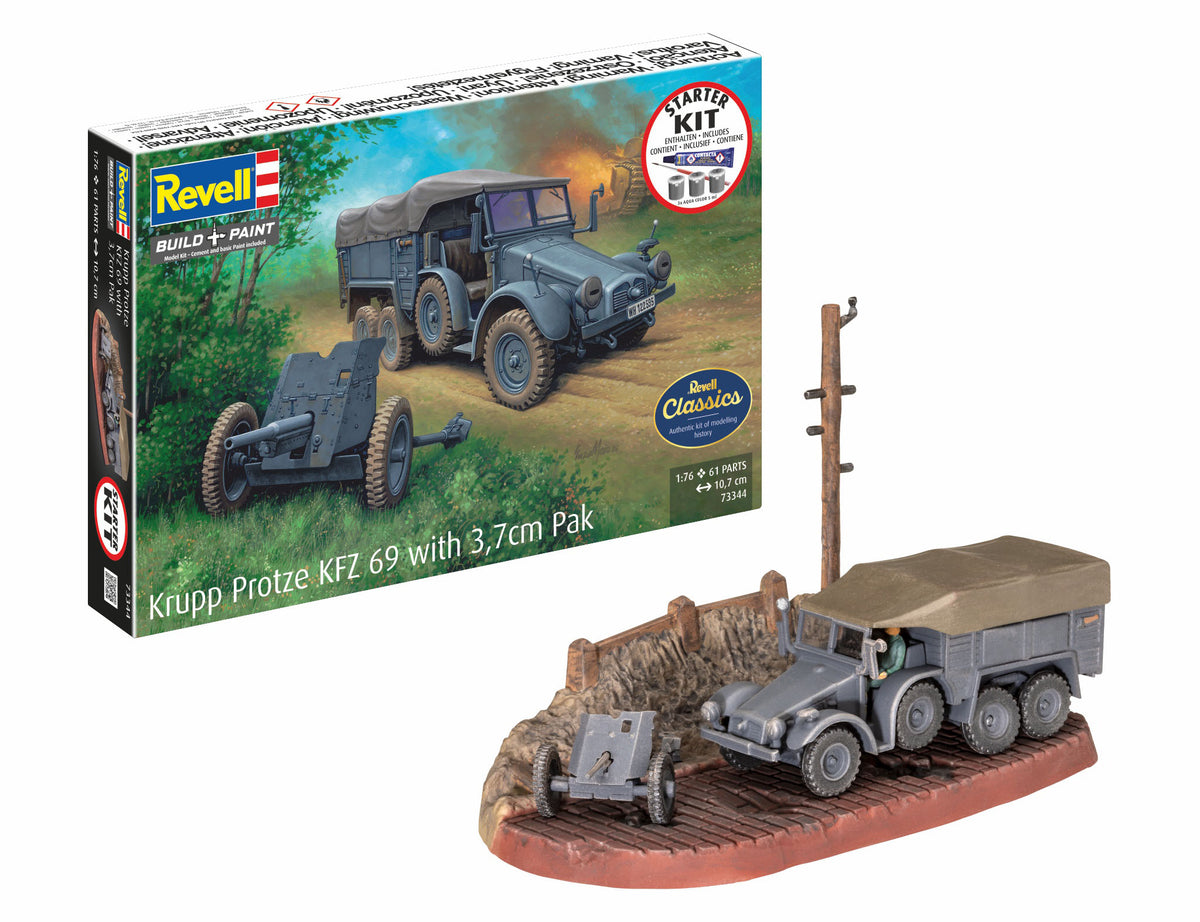
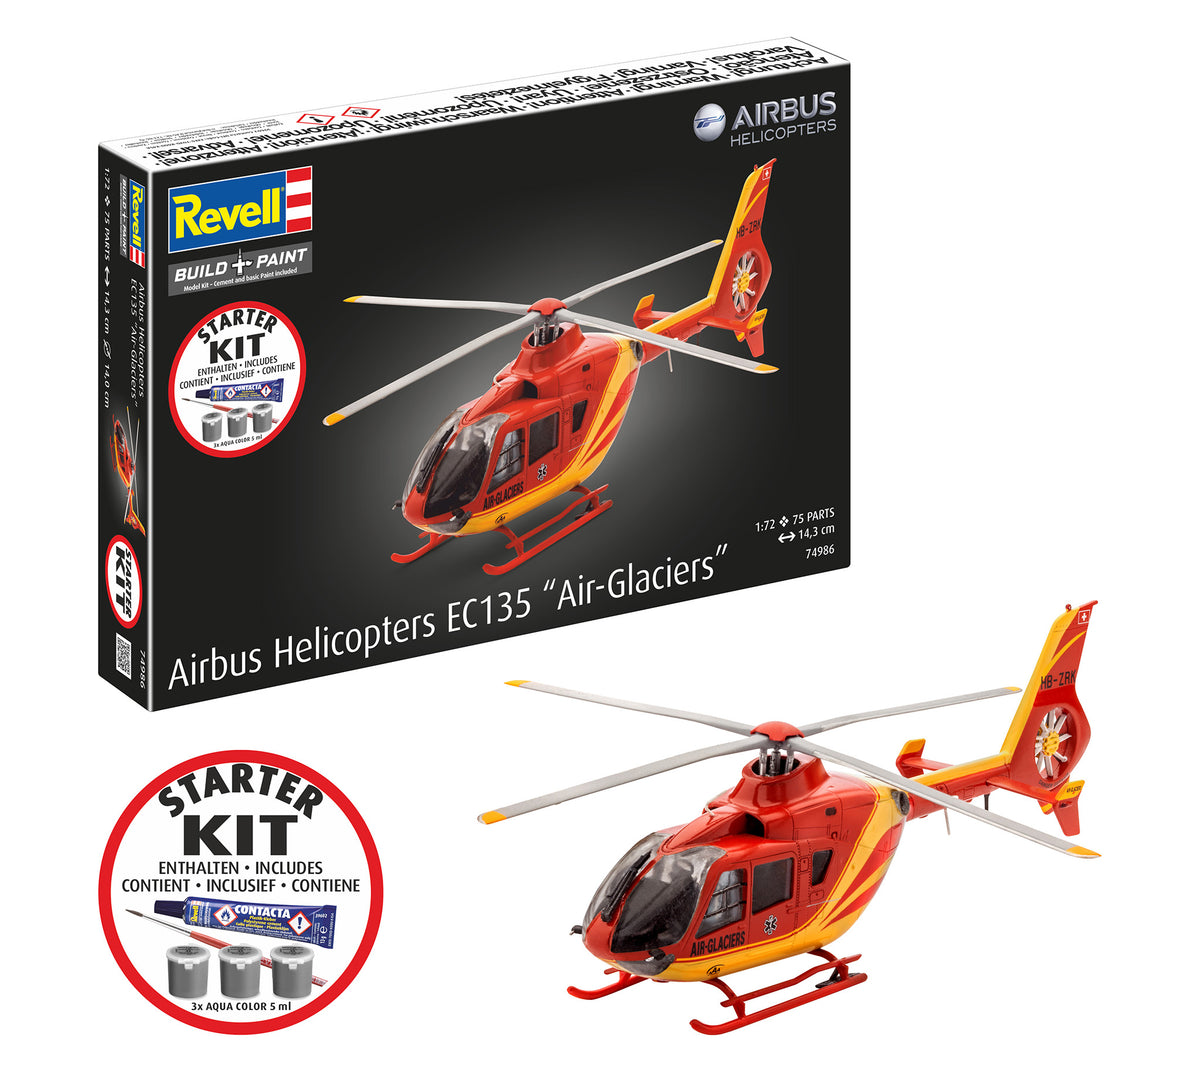
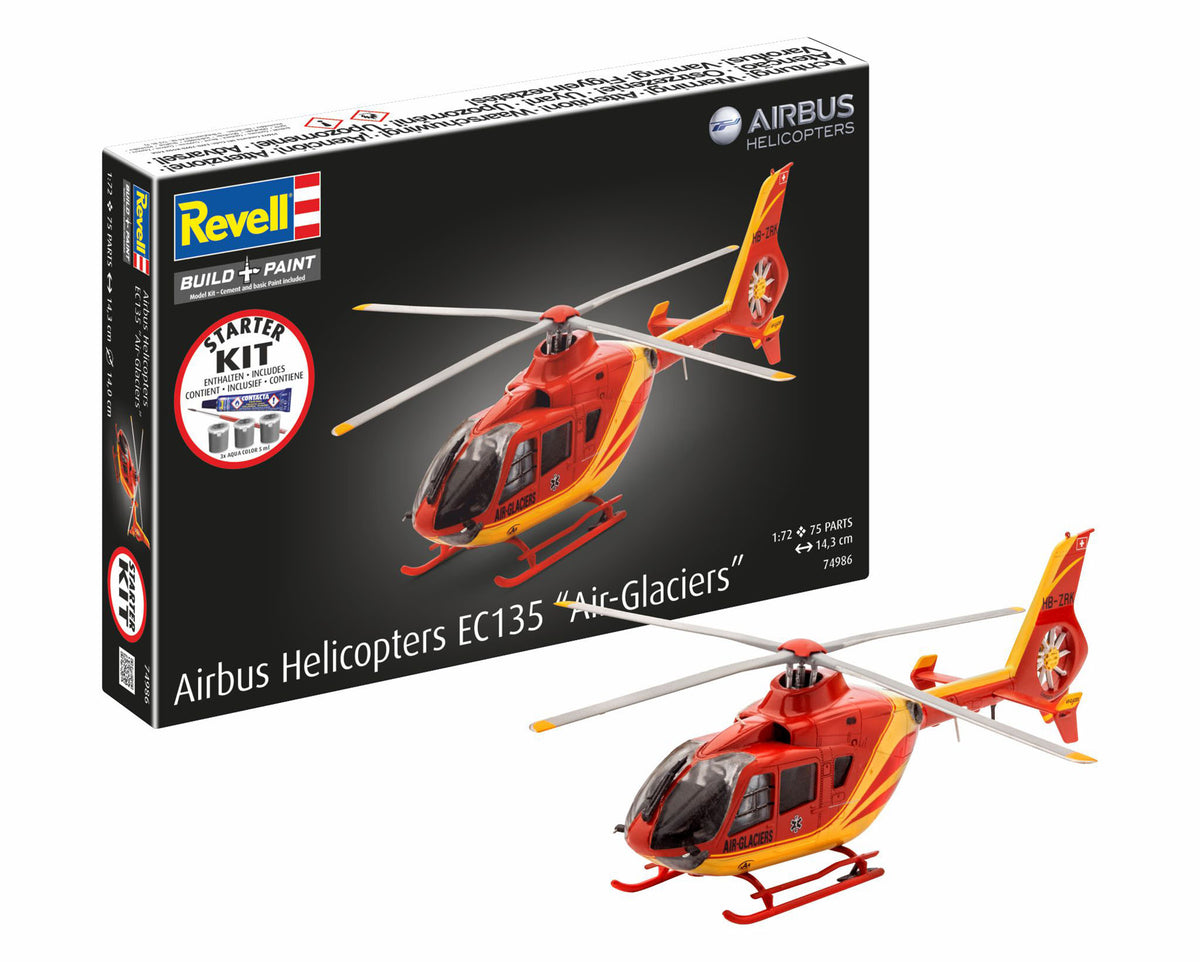
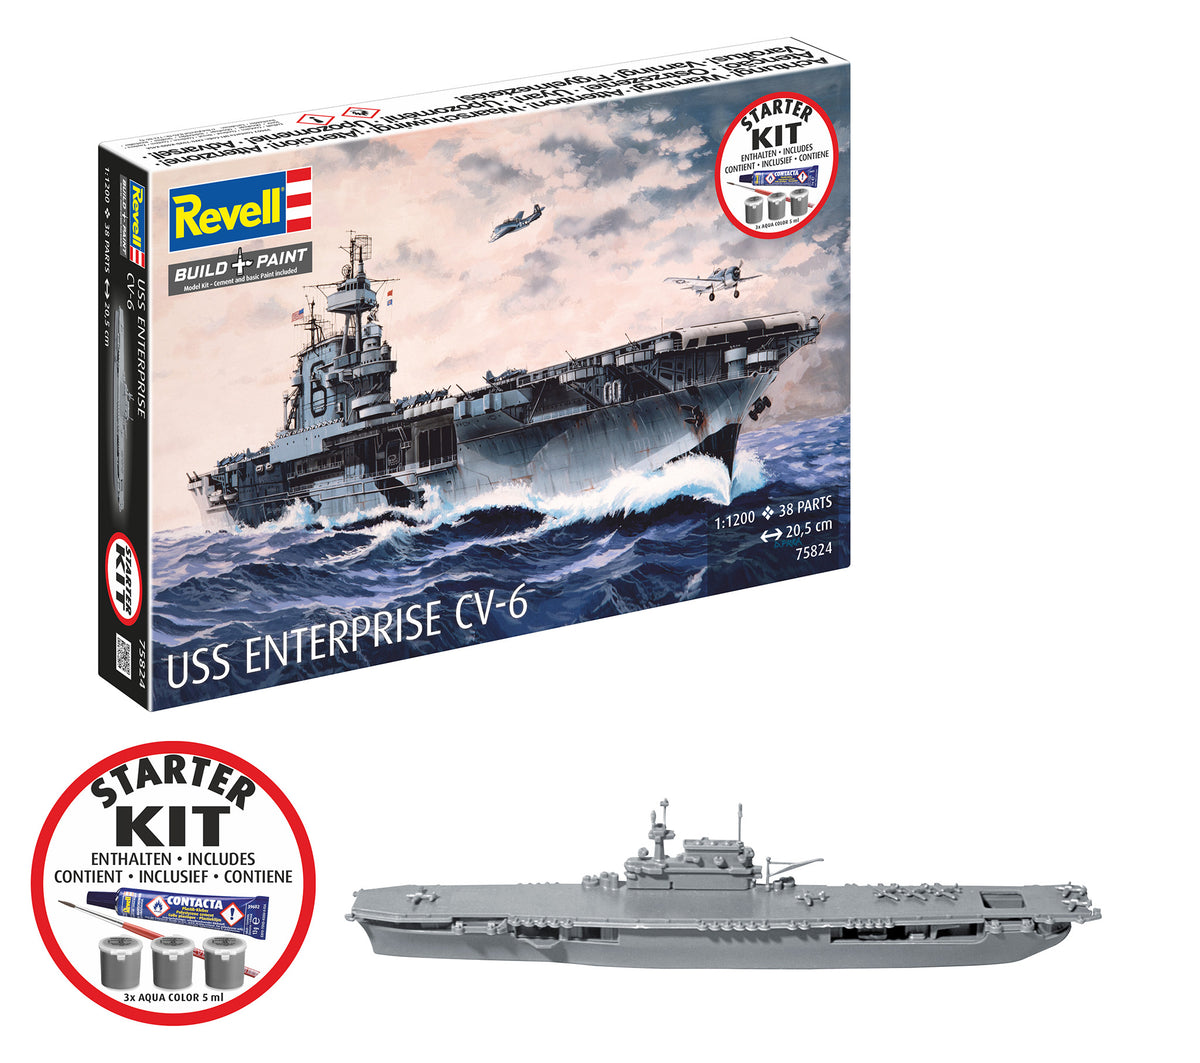
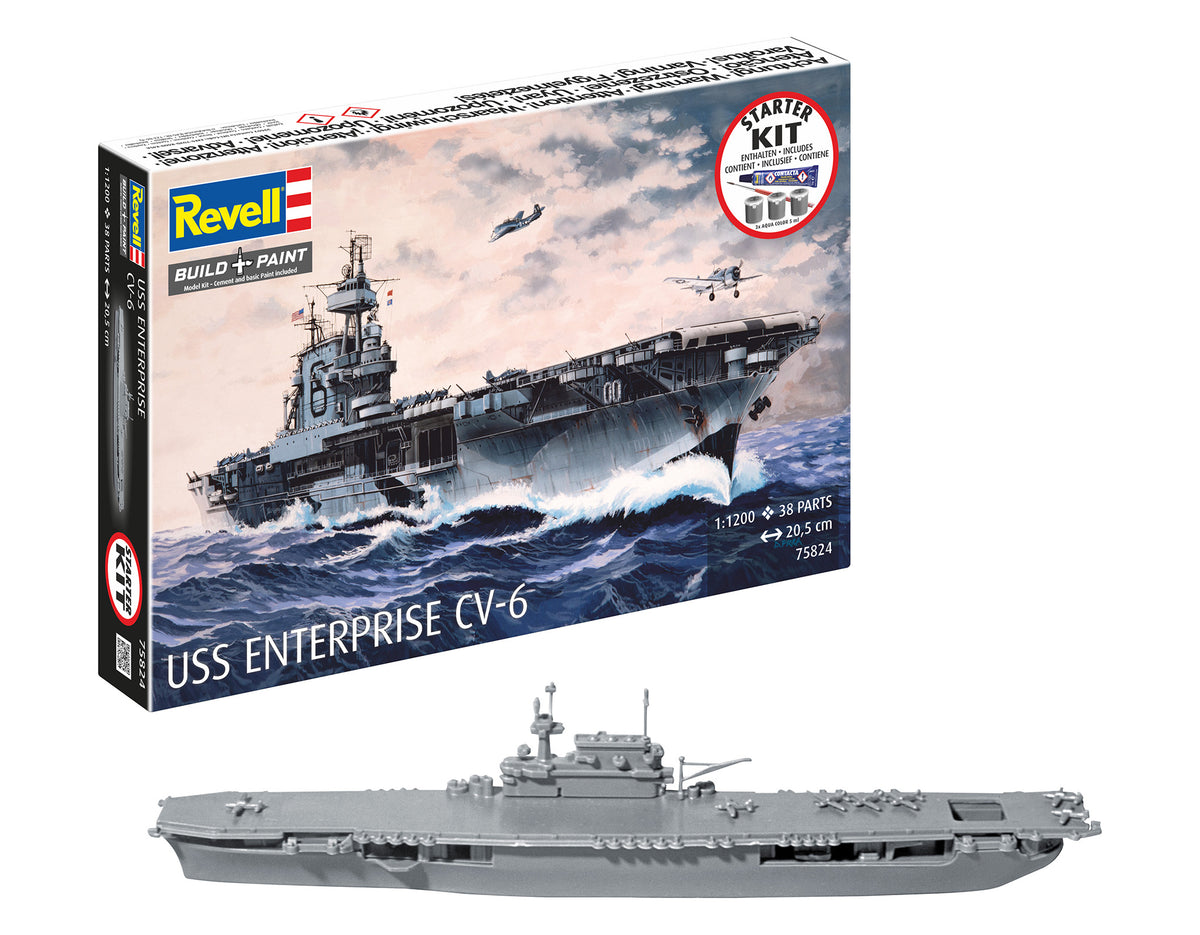

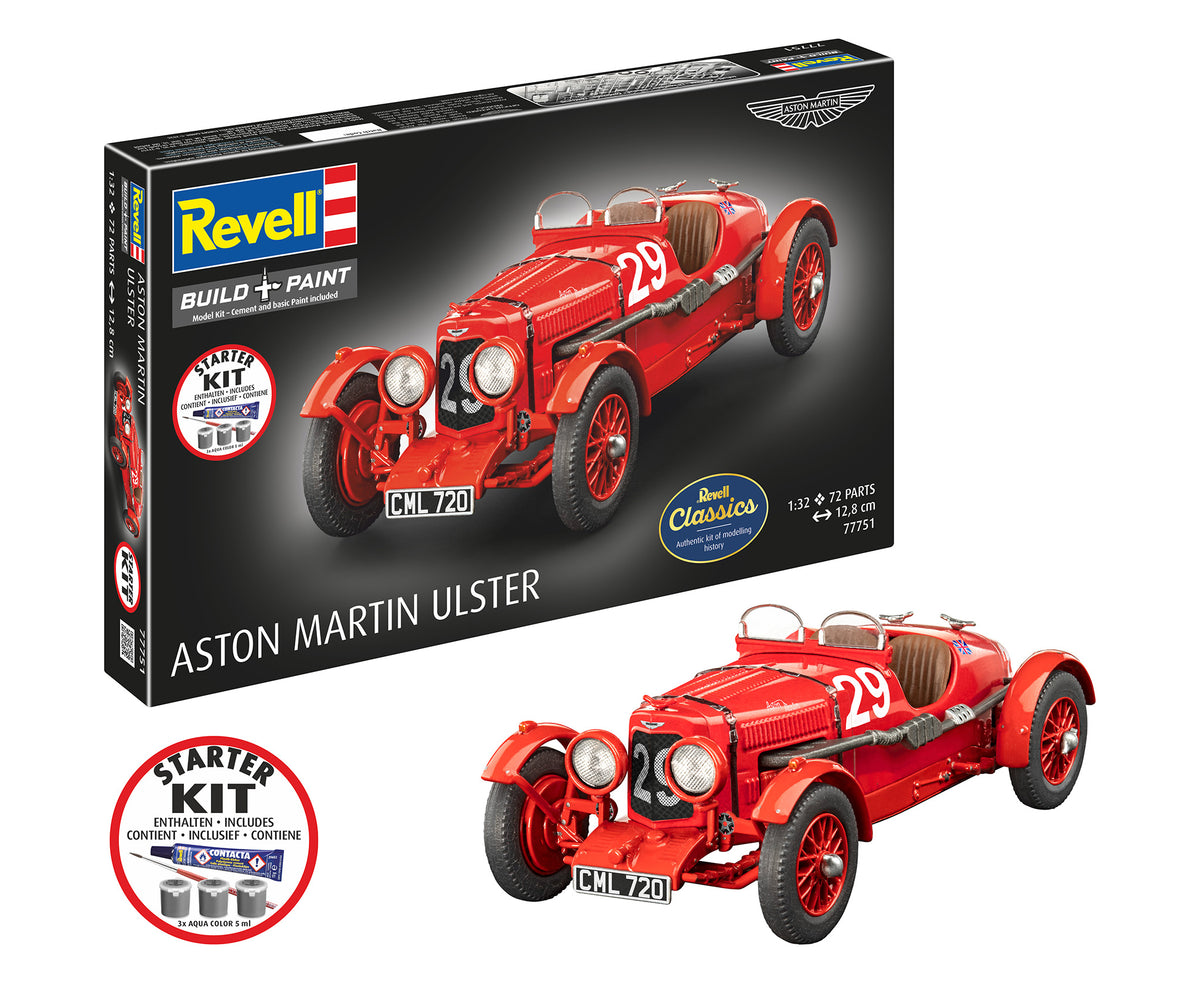
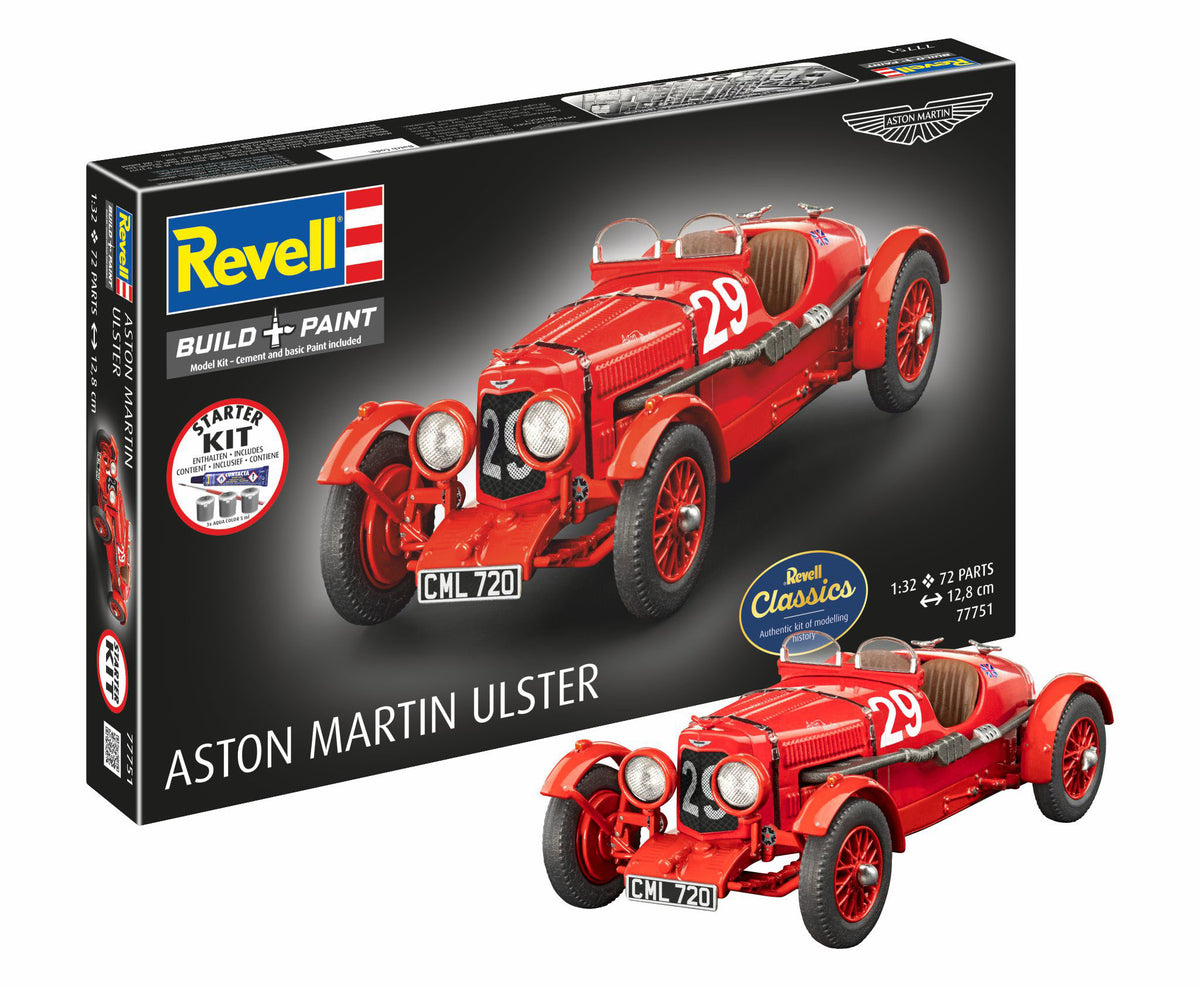
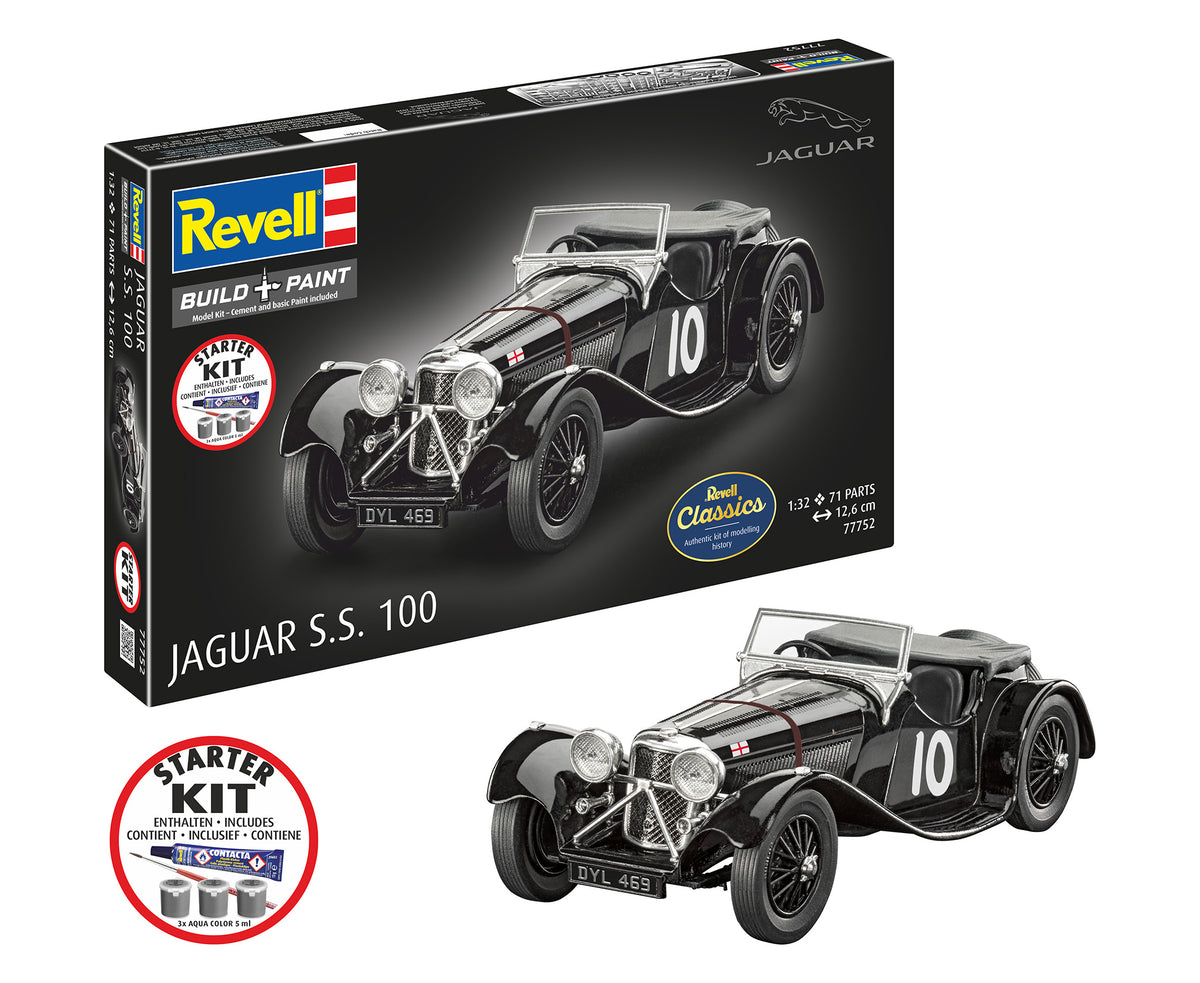
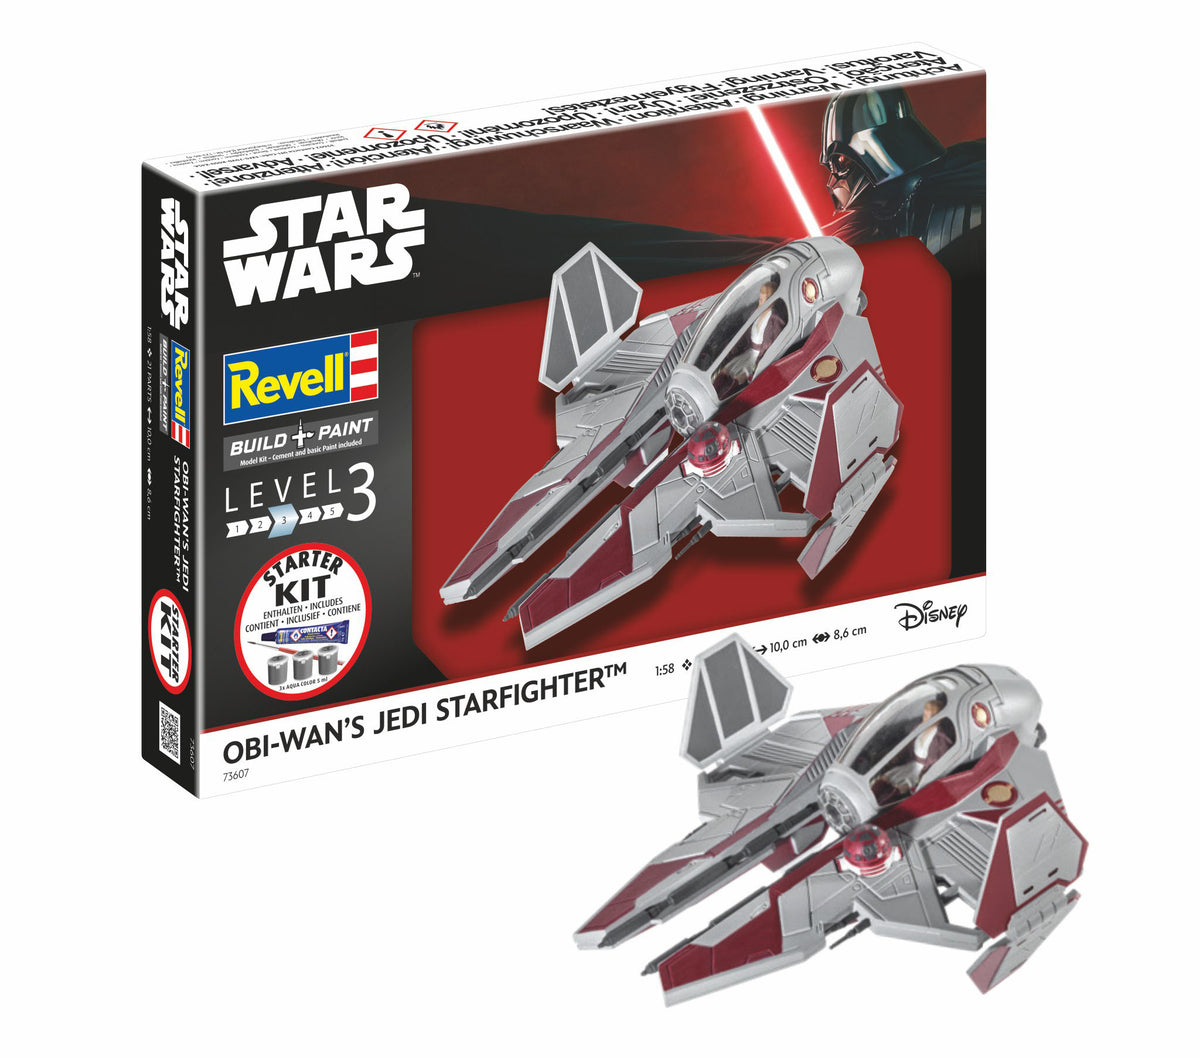
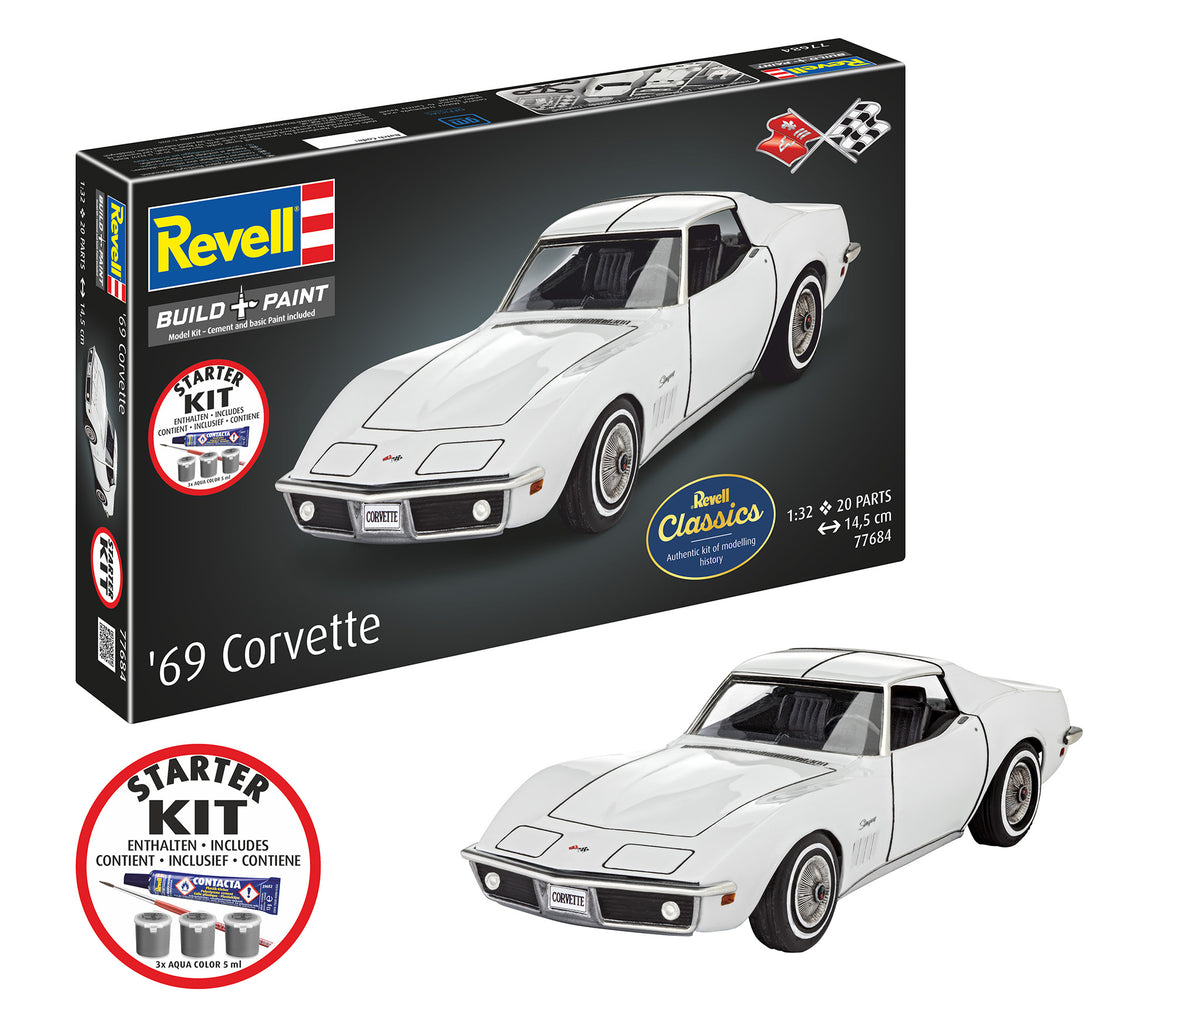
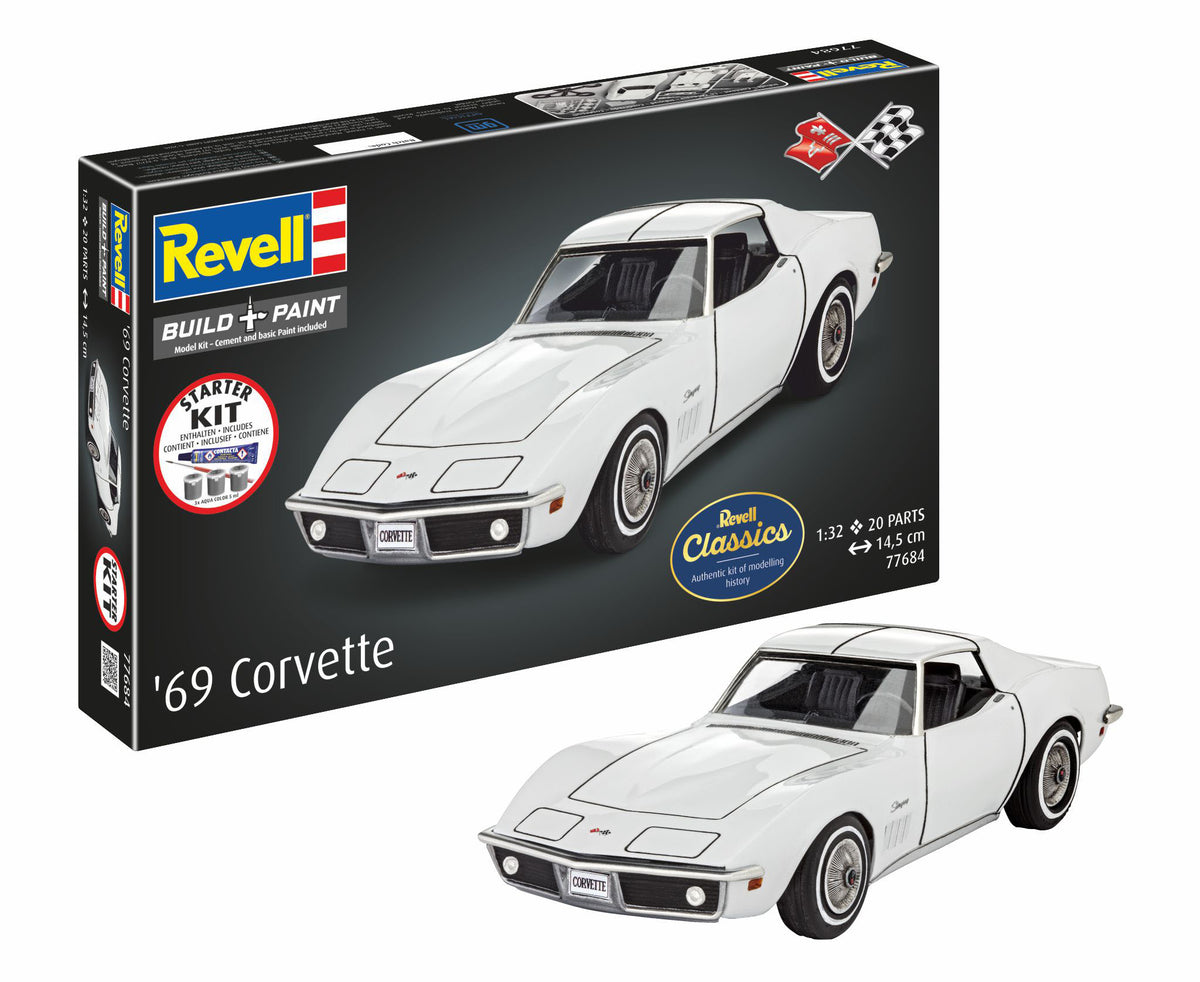
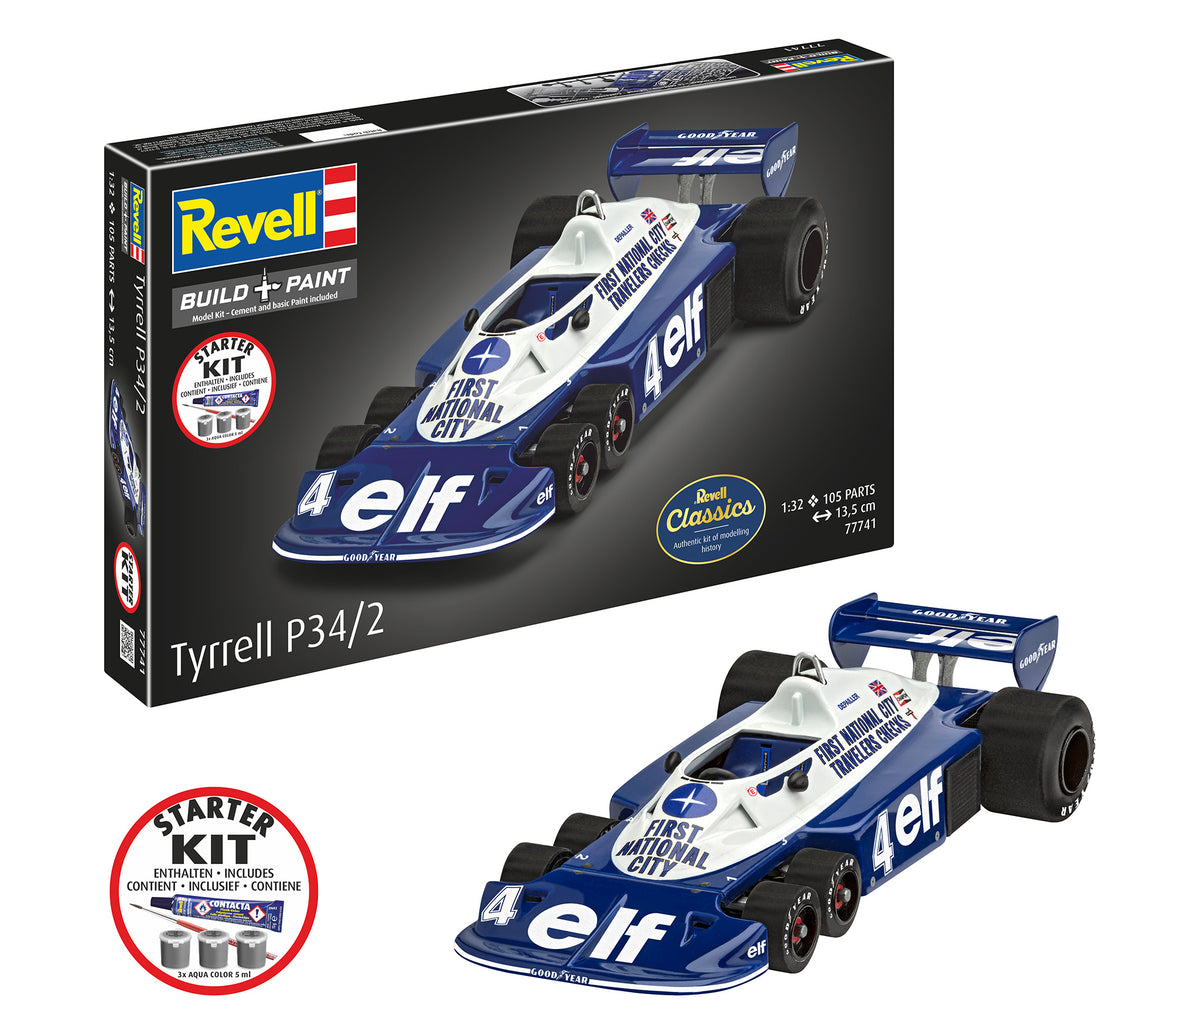
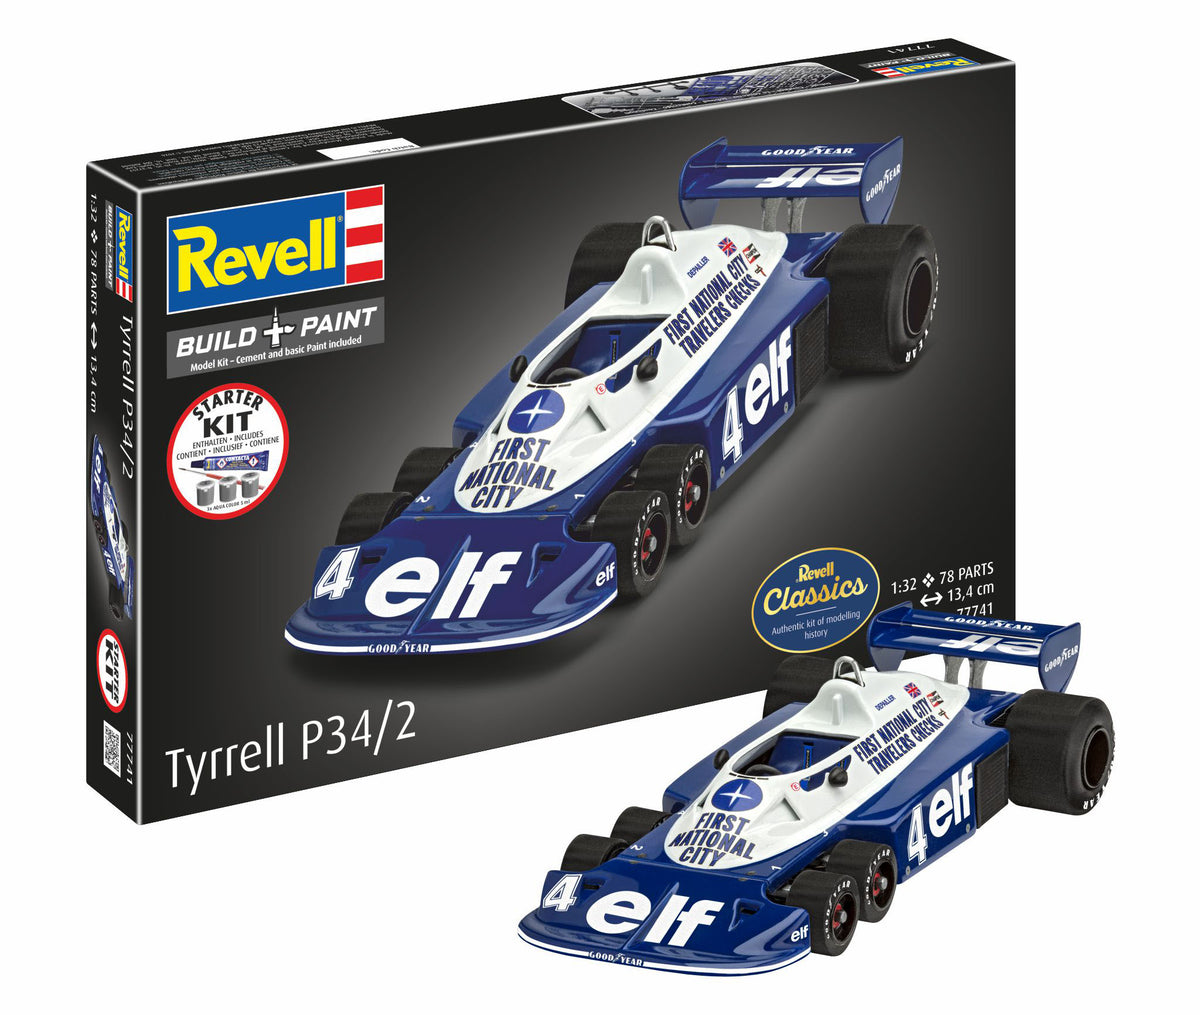
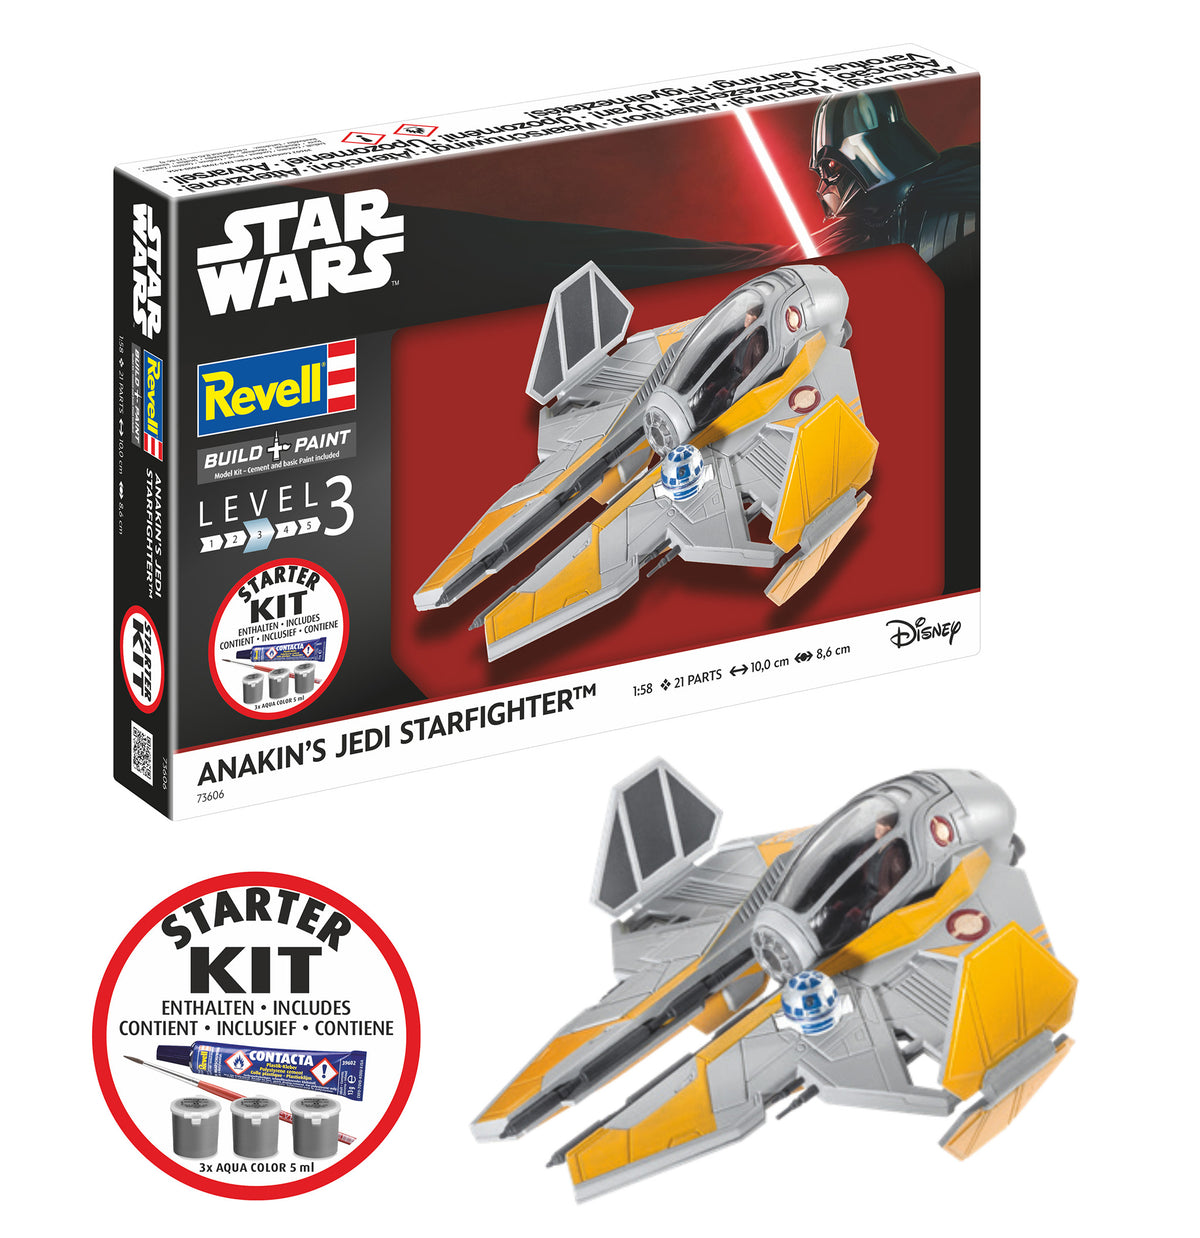
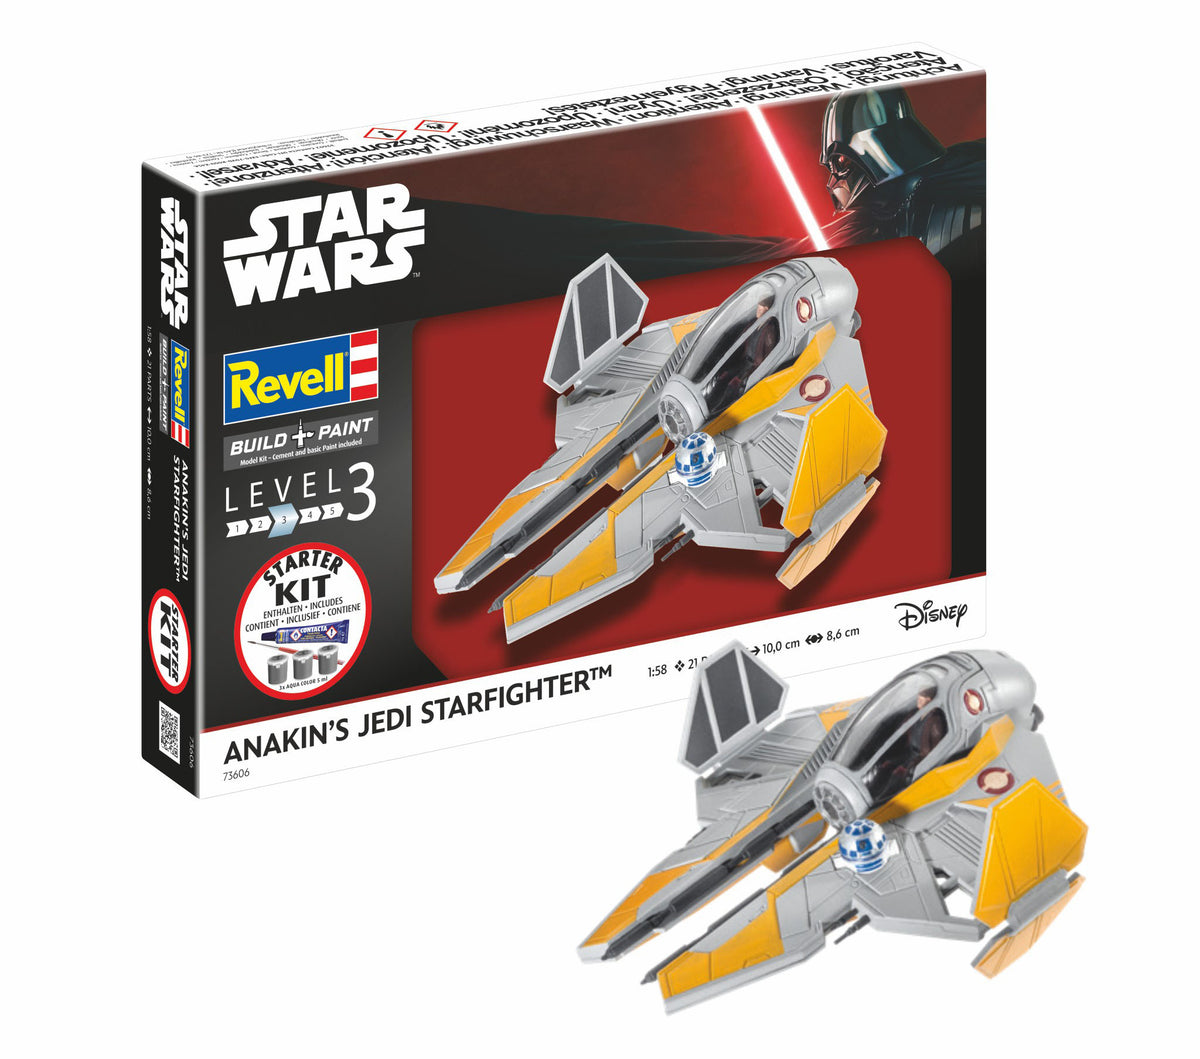
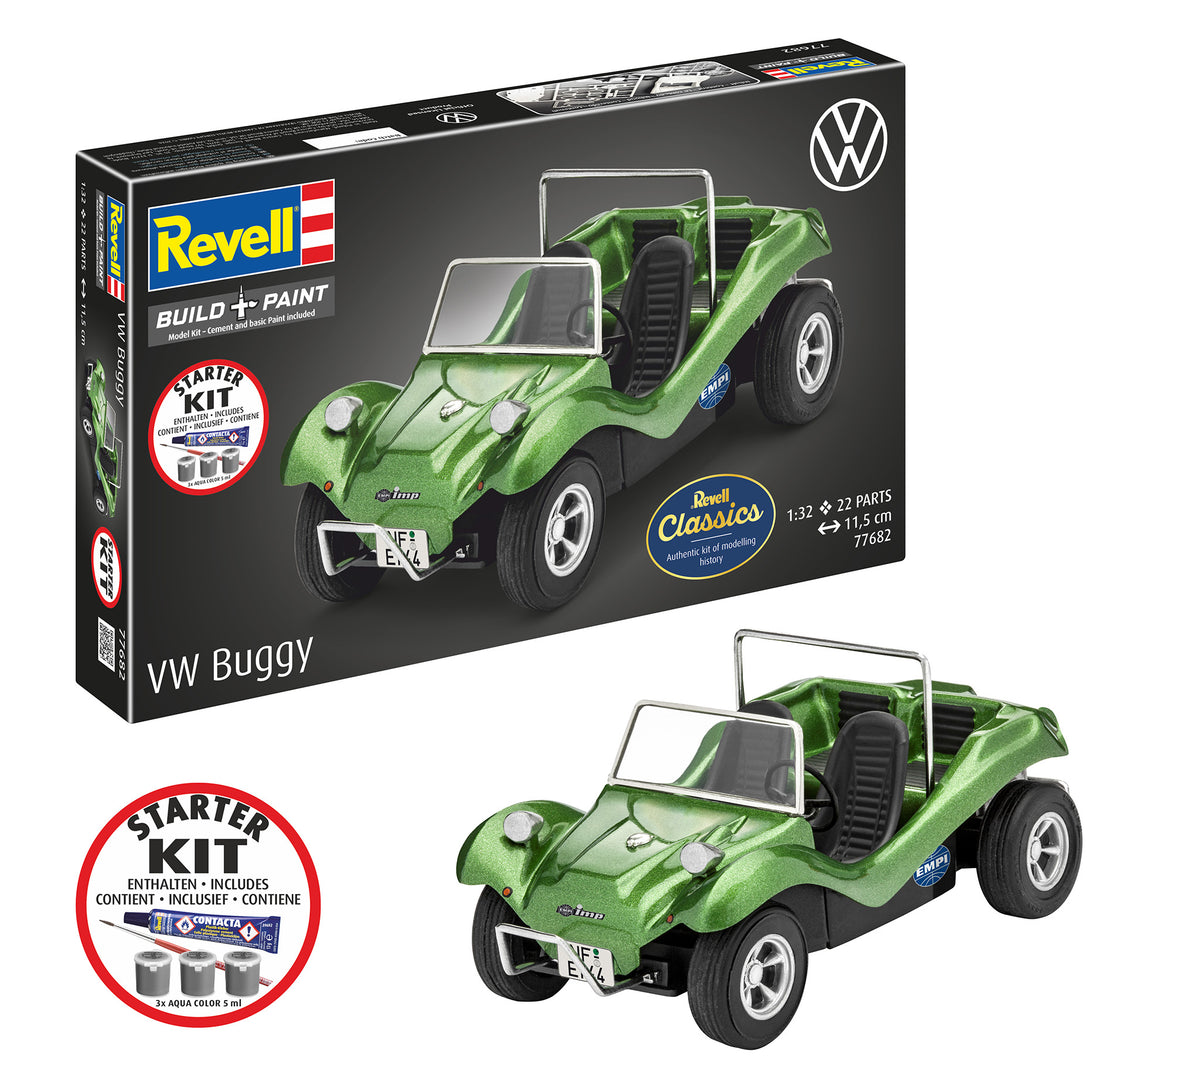
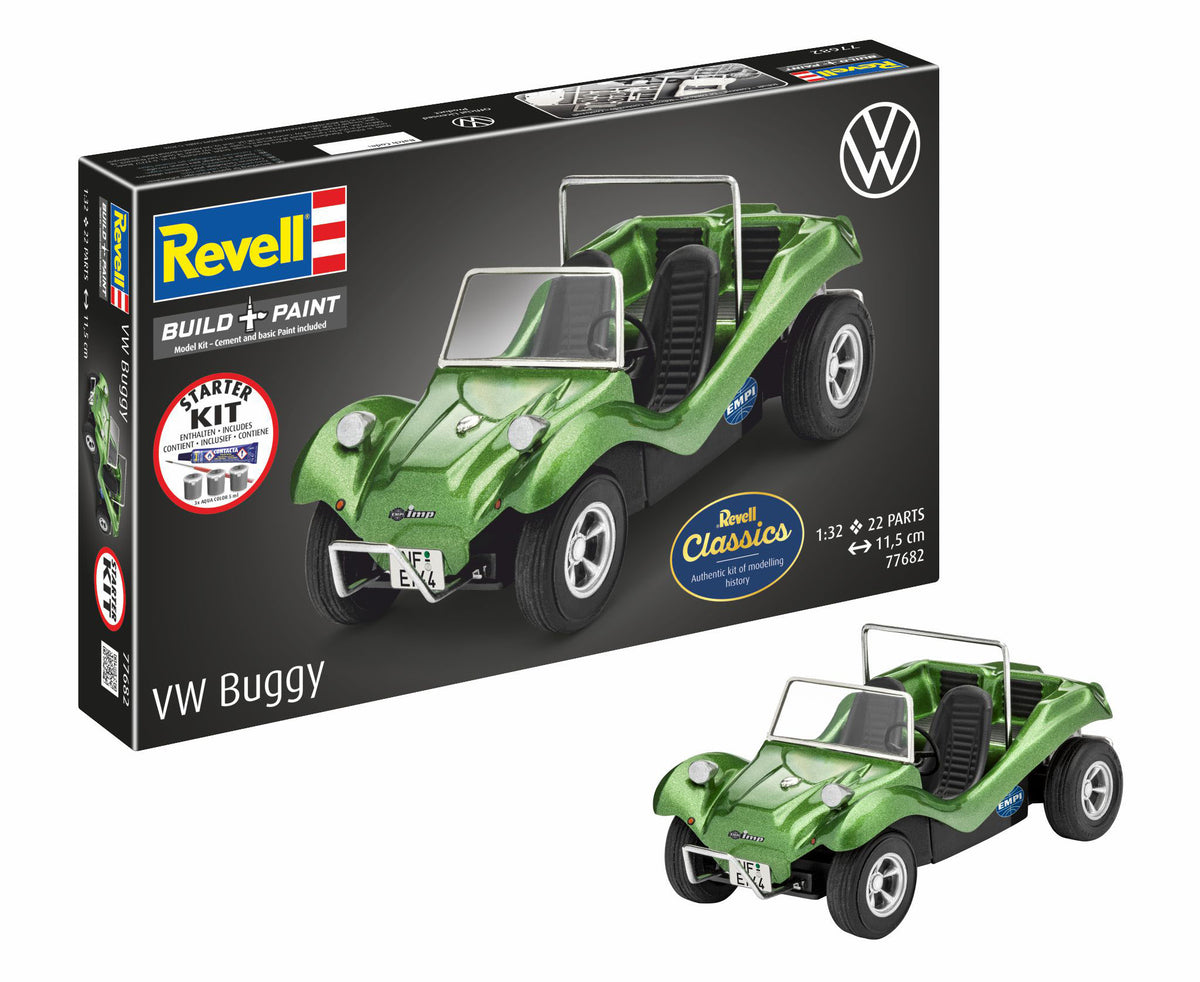


What distinguishes a real model building starter kit?
When you delve into the fascinating world of model building, you are often faced with an overwhelming choice. Hundreds of kits, countless colors, special tools and different adhesive variants can quickly confuse beginners. This is exactly where ours are placed Model building starter kits on. We designed these sets so that you don't have to search through half of a specialty store before making the first cut on the sprue. The principle is very simple: open the box, study the instructions and start crafting straight away.
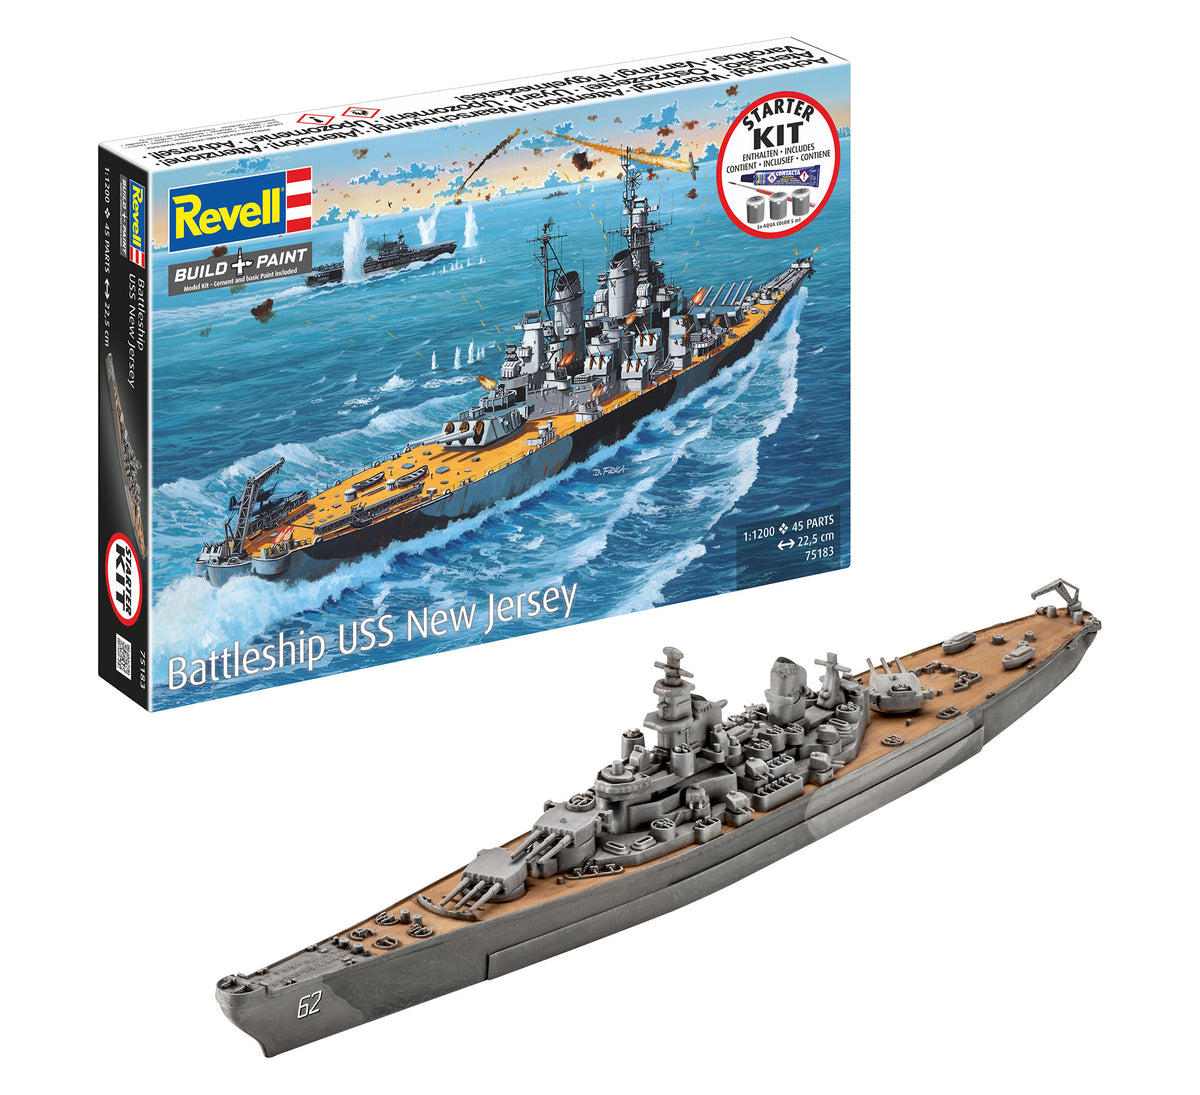
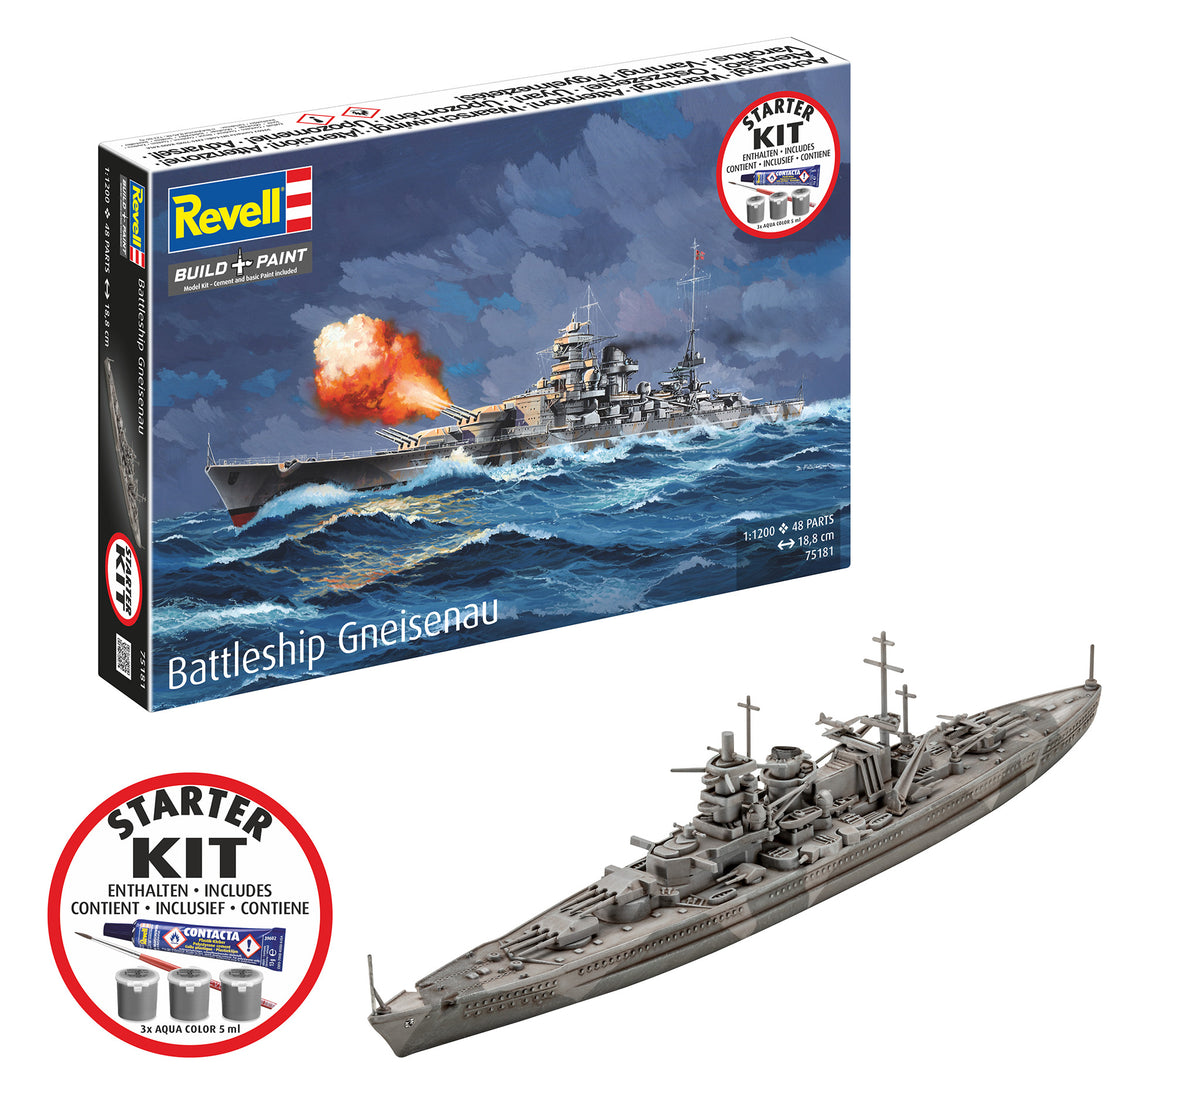
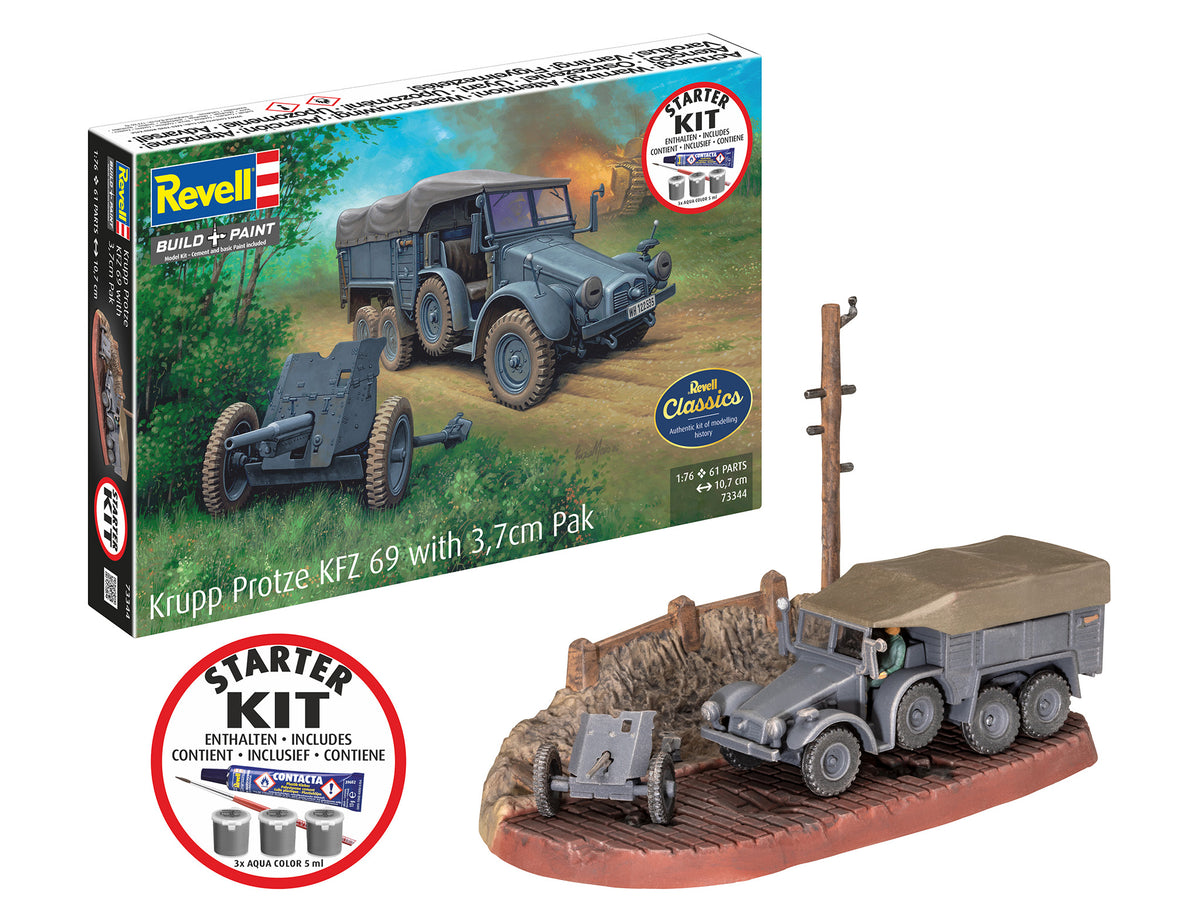
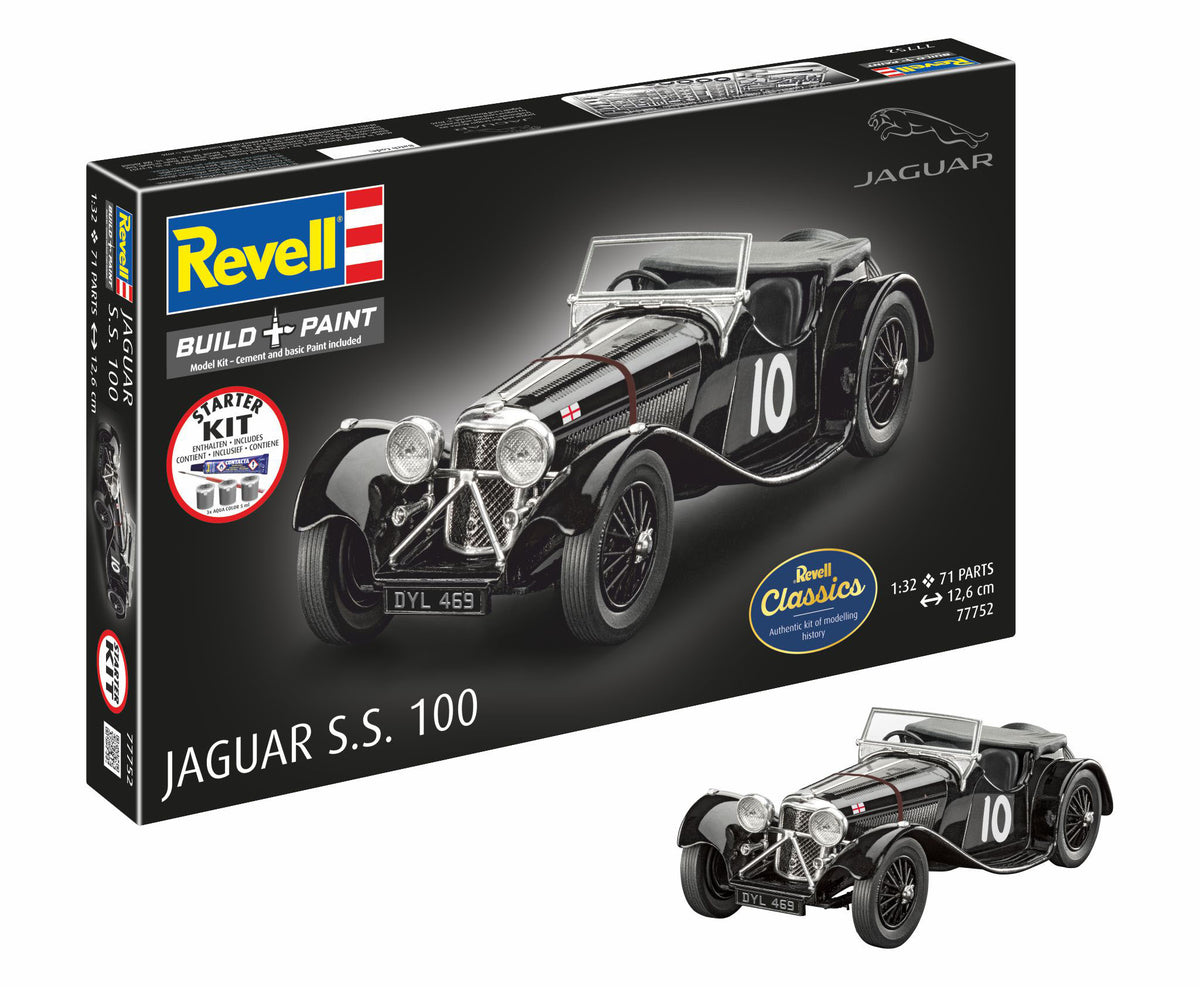
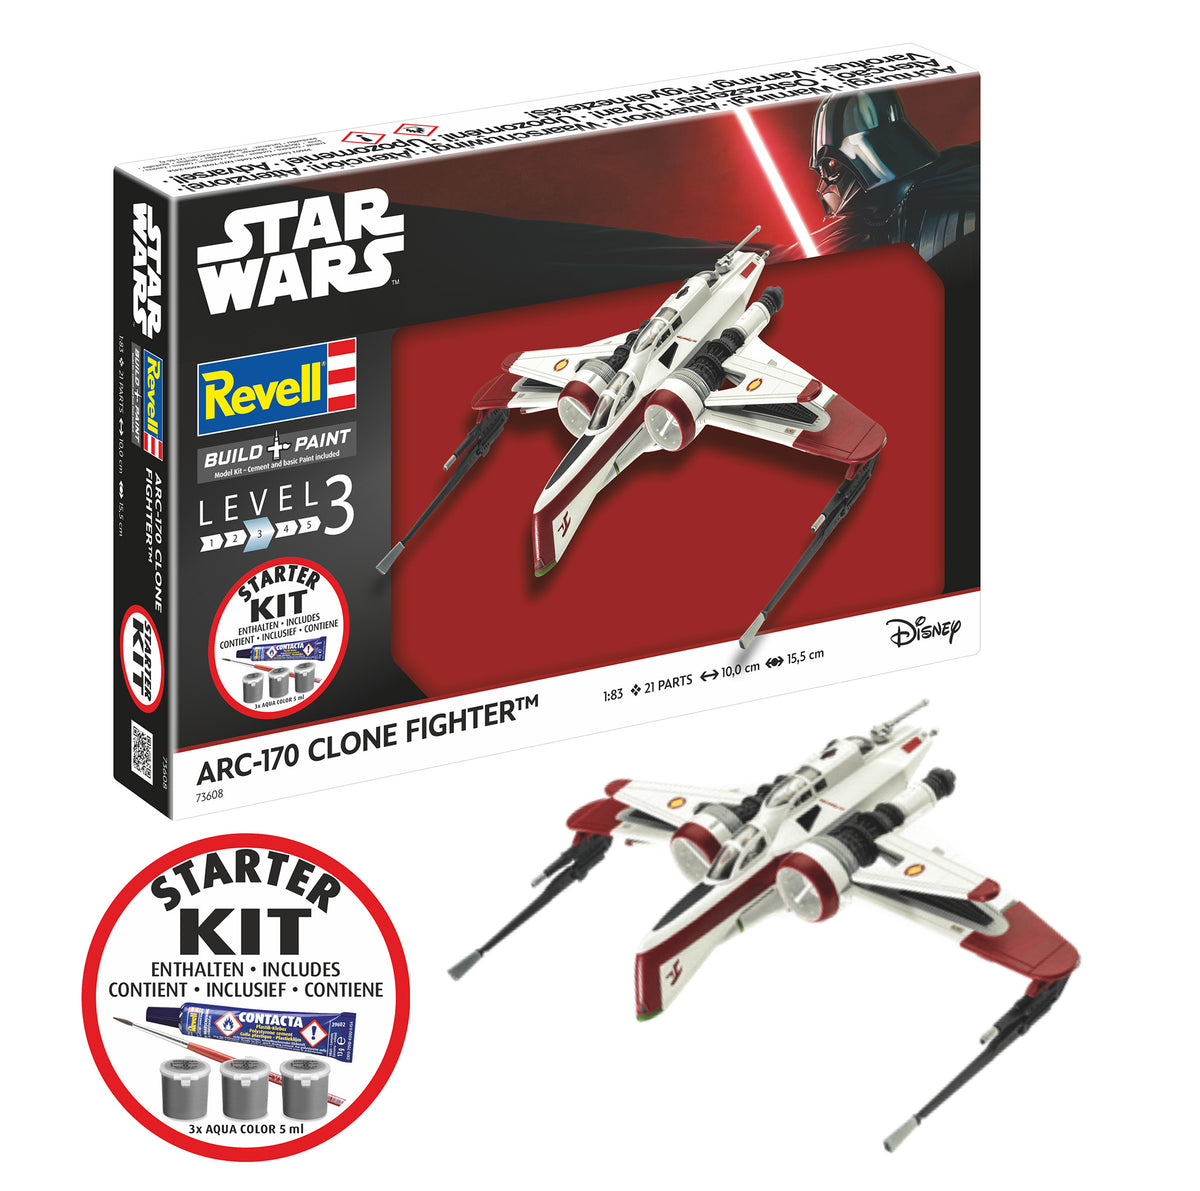
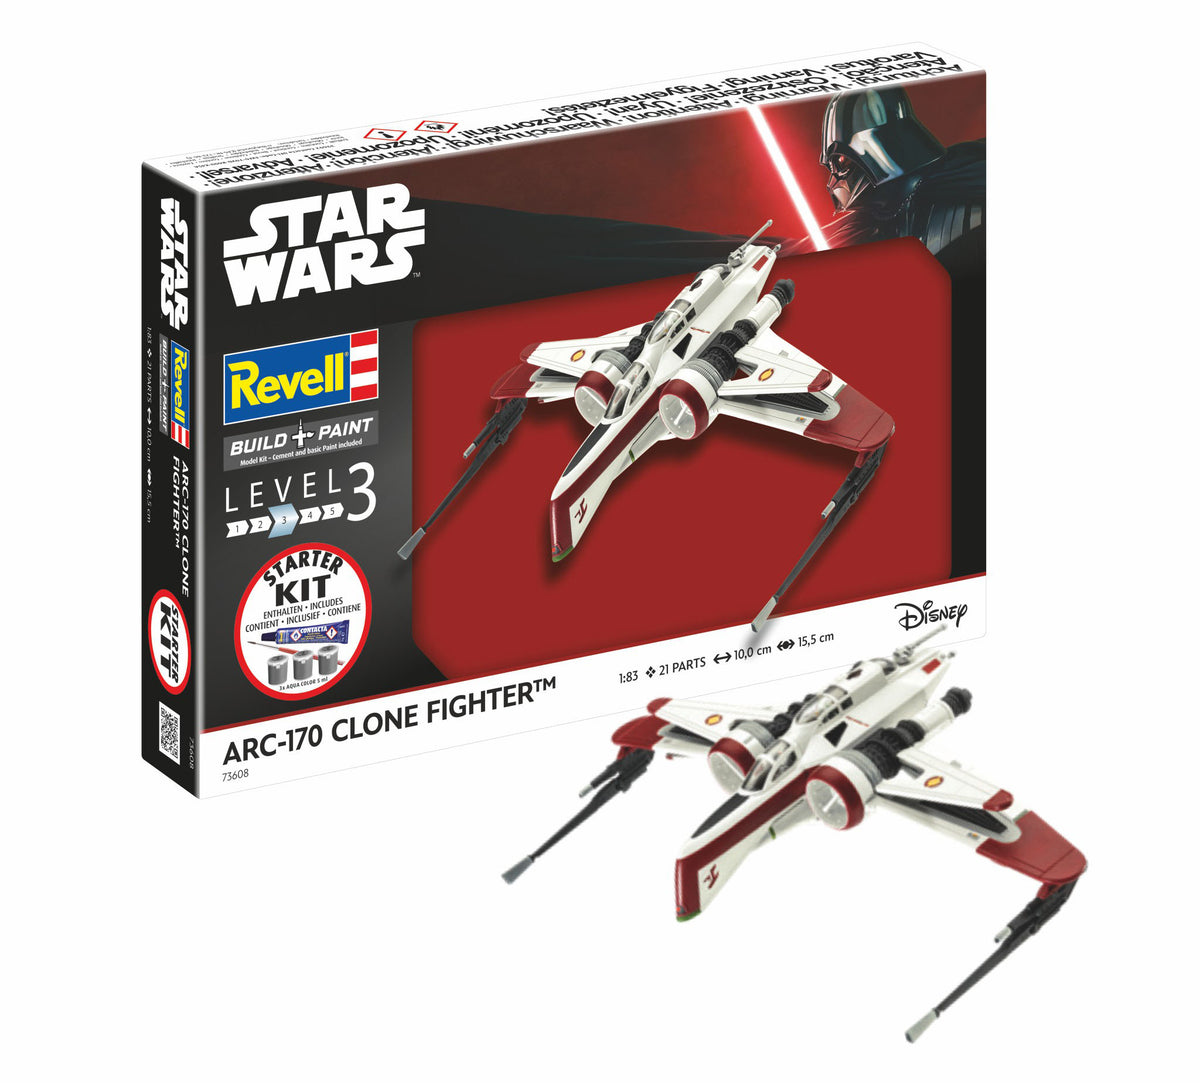
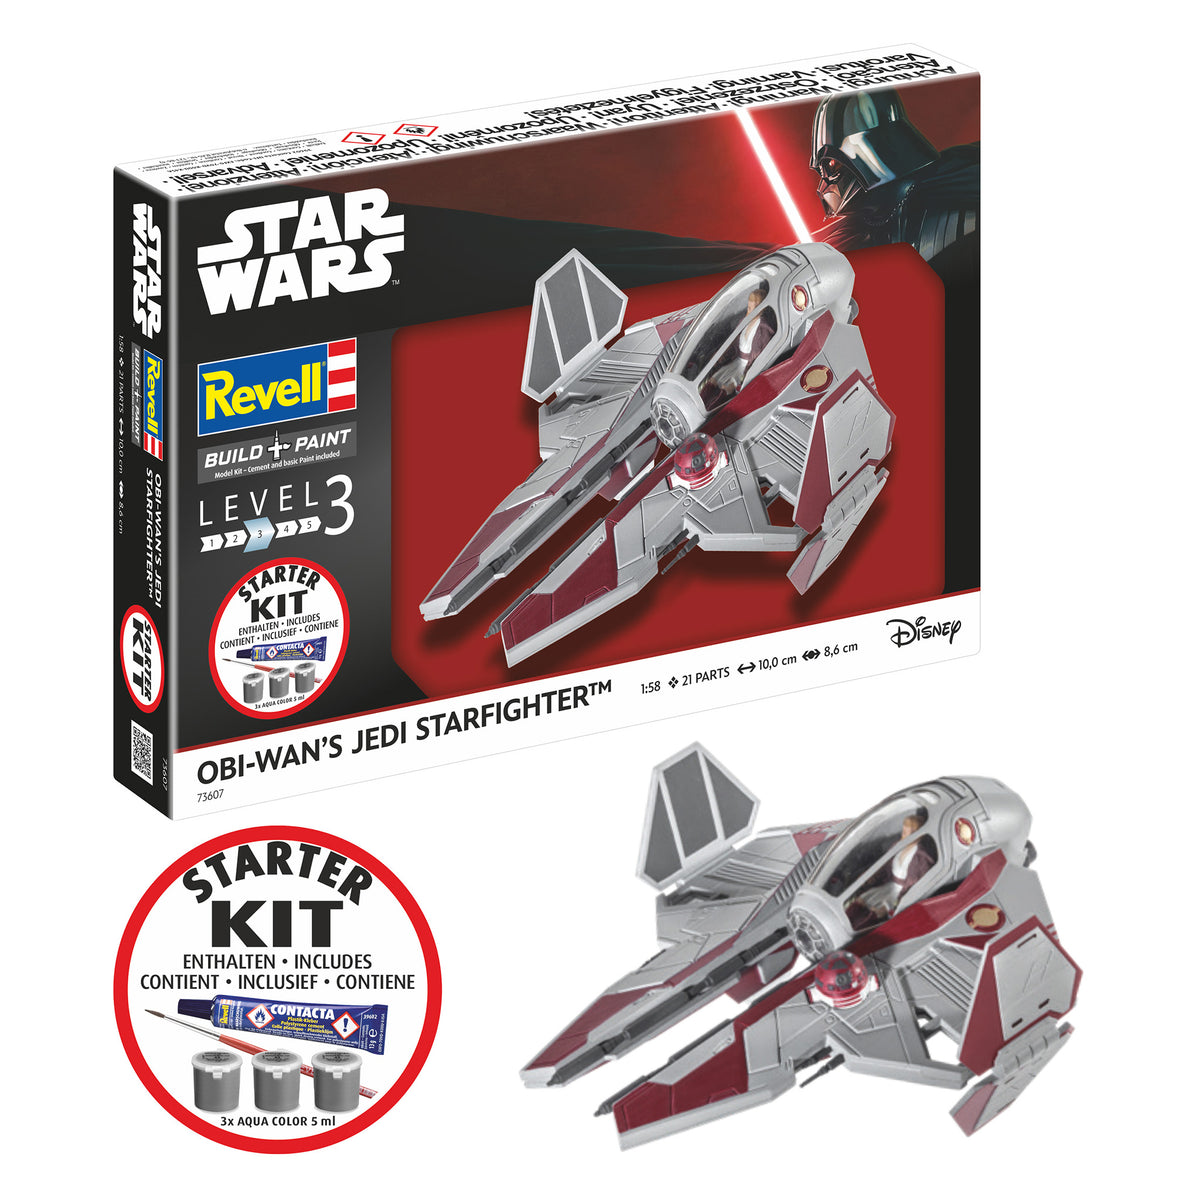
In addition to the high-precision plastic components, a fully-fledged starter set always contains the basic equipment. This includes selected basic colors in exactly the tones that are historically or visually required for the respective model. An ergonomic brush is also included, which is fine enough to cleanly paint even delicate details. The package is supplemented by a tube or bottle of our proven plastic adhesive, which welds components together permanently and stably. So you don't have to worry about chemical compatibility or color number tables in advance, but you have a harmoniously coordinated overall system in your hands.
This compilation takes away any initial fears you may have. In our years of practice in model building, we have repeatedly seen that beginners give up in frustration if an essential color is missing in the middle of the construction phase or the glue attacks the plastic. With a starter kit, this risk is eliminated. You concentrate fully on the pleasure of building, train your fine motor skills and experience step by step how a detailed work of art is created from many small individual parts.
The Anatomy of a Starter Kit: What's Really in Your Box?
A look into an opened starter kit box reveals the well-thought-out logic of our hobby. Each element has its fixed function and is optimized for maximum user-friendliness. In order to understand the process from the start, it is worth taking a closer look at the components included.
Precise plastic casting branches
The heart of each kit are the polystyrene moldings, also known in technical language as cast branches. The numbered components are arranged on them. Modern CAD designs guarantee that the parts are manufactured with minimal tolerances. Edges are sharply drawn, engravings such as sheet metal joints, rivets or cockpit instruments are surprisingly vivid. Each component can be clearly identified using the enclosed, richly illustrated step-by-step instructions.
The precisely coordinated basic colors
In every starter kit you will find small cans of Aqua Color colors or special base colors. These acrylic paints are low-odor, non-flammable and can be easily diluted with plain water. Once dry, they are smudge-proof and waterproof and offer a satin or matte finish that matches the original perfectly. The colors can also be mixed with each other if you want to try out your own nuances. This saves you the expensive purchase of large containers for colors that you may only need a few drops of in a small model.
Liquid glue with dosing tip
Model building glue works completely differently than conventional all-purpose office glue. It does not stick through adhesion, but rather easily dissolves the polystyrene plastic on the contact surface. When the parts are pressed together, they fuse together to form an inseparable connection - this is known as cold welding. Our included adhesive has a fine dispensing tip or a precise cannula. This allows you to place tiny droplets precisely at the adhesive joints without excess adhesive running onto visible surfaces.
The starter brush and wet slide decals
The included brush has durable synthetic hairs that retain their shape even after multiple applications of paint. It covers both small areas and fine lines. Each set is rounded off by a sheet of high-quality decals. These extremely thinly printed markings, national emblems, cockpit displays or decorative stripes are briefly soaked in lukewarm water and then pushed onto the finished model. They give your model the authentic look that you know from museum or original vehicles.
Choose the right theme world: Where does your model maker's heart beat?
The best way to get started with model building is to build an object that fascinates you personally. If you approach a role model with genuine enthusiasm, concentrated work becomes easy. Our range covers a wide range of areas of interest, so that every type of building gets its money's worth.
The fascination of aviation: giants of the skies and historical legends
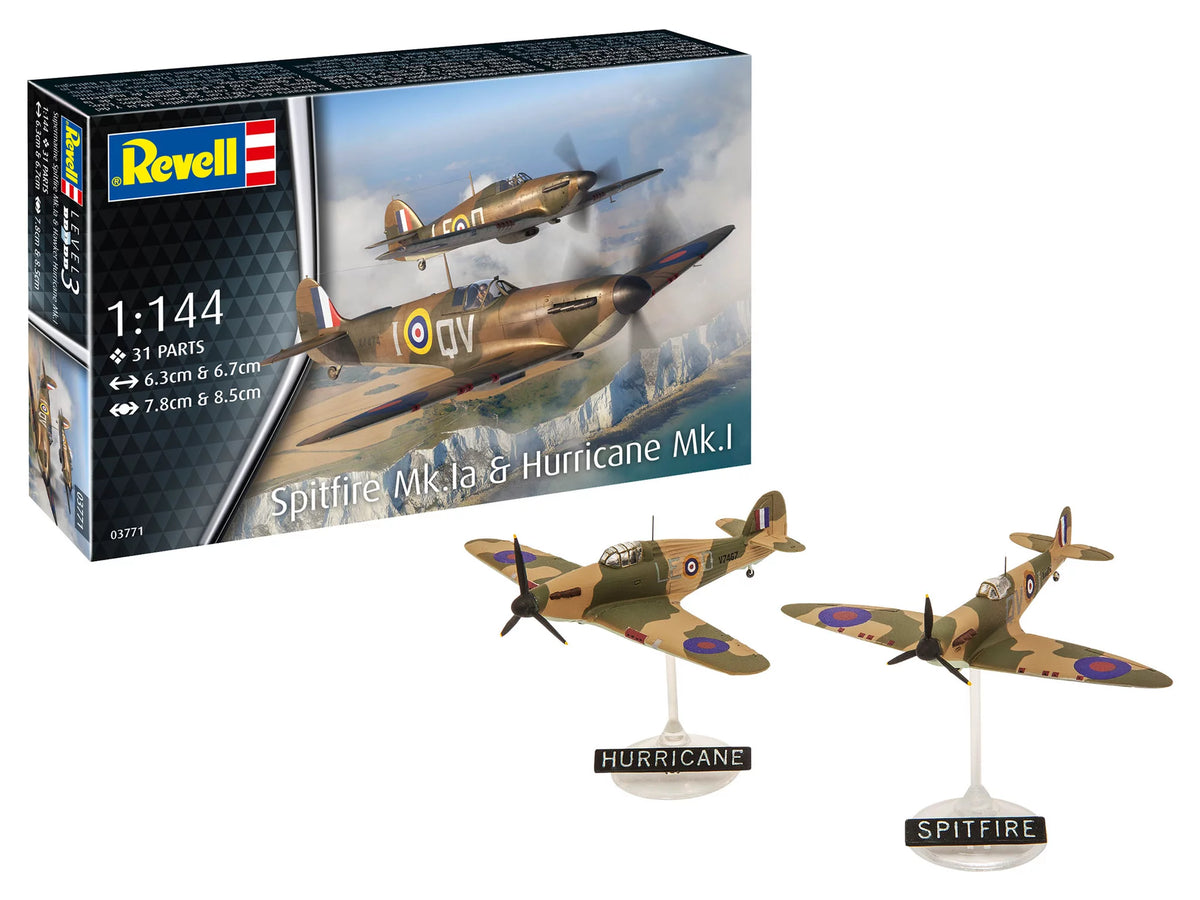
Airplanes have been one of the most popular topics in plastic model making for decades. They offer an attractive mix of elegant fuselage lines and detailed wings. Anyone who is enthusiastic about modern passenger aircraft will find this in the area Airbus aircraft model making impressive replicas of famous commercial jets. Assembling the wing structures and later applying the distinctive airline paintwork is a huge pleasure. But historical fighter aircraft such as the Spitfire, Messerschmitt or Mustang also provide the ideal basis for learning how to precisely mask cockpit glazing and apply camouflage patterns.
Maritime Monuments: Ships and Submarines
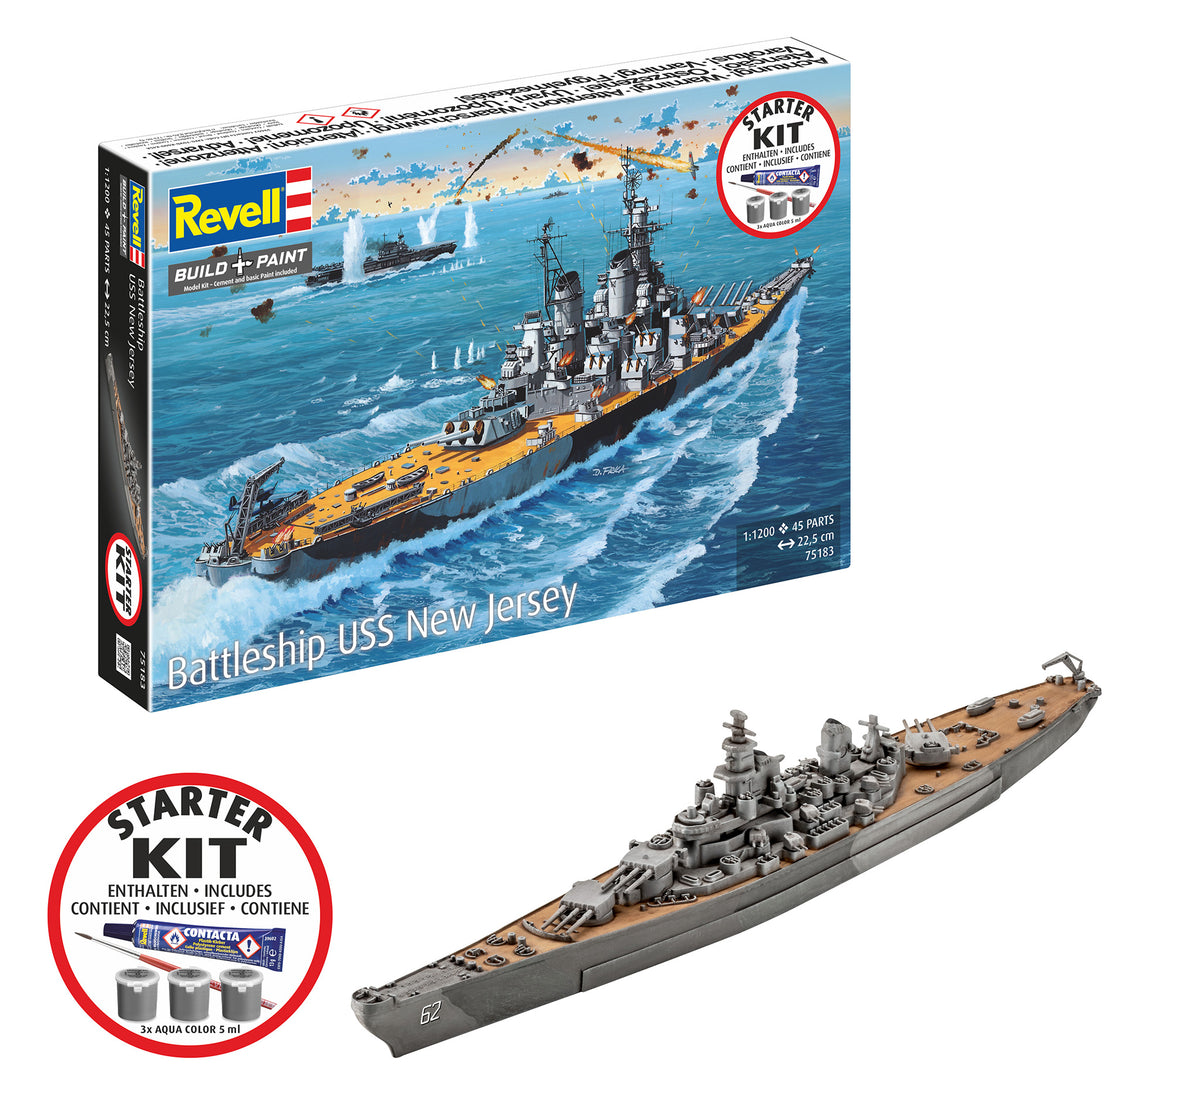
Watercraft present model builders with exciting challenges. The main thing here is to precisely position deck structures, railings, gun turrets or lifeboats. If you love strategic history and monumental engineering, models are from the area Military ships model making an excellent choice. The delicate masts and the combination of hull colors (such as the typical ship's bottom protection red) and deck colors require patience, but in the end they reward you with an impressive showpiece for every showcase.
Pop culture, film icons and automotive dreams
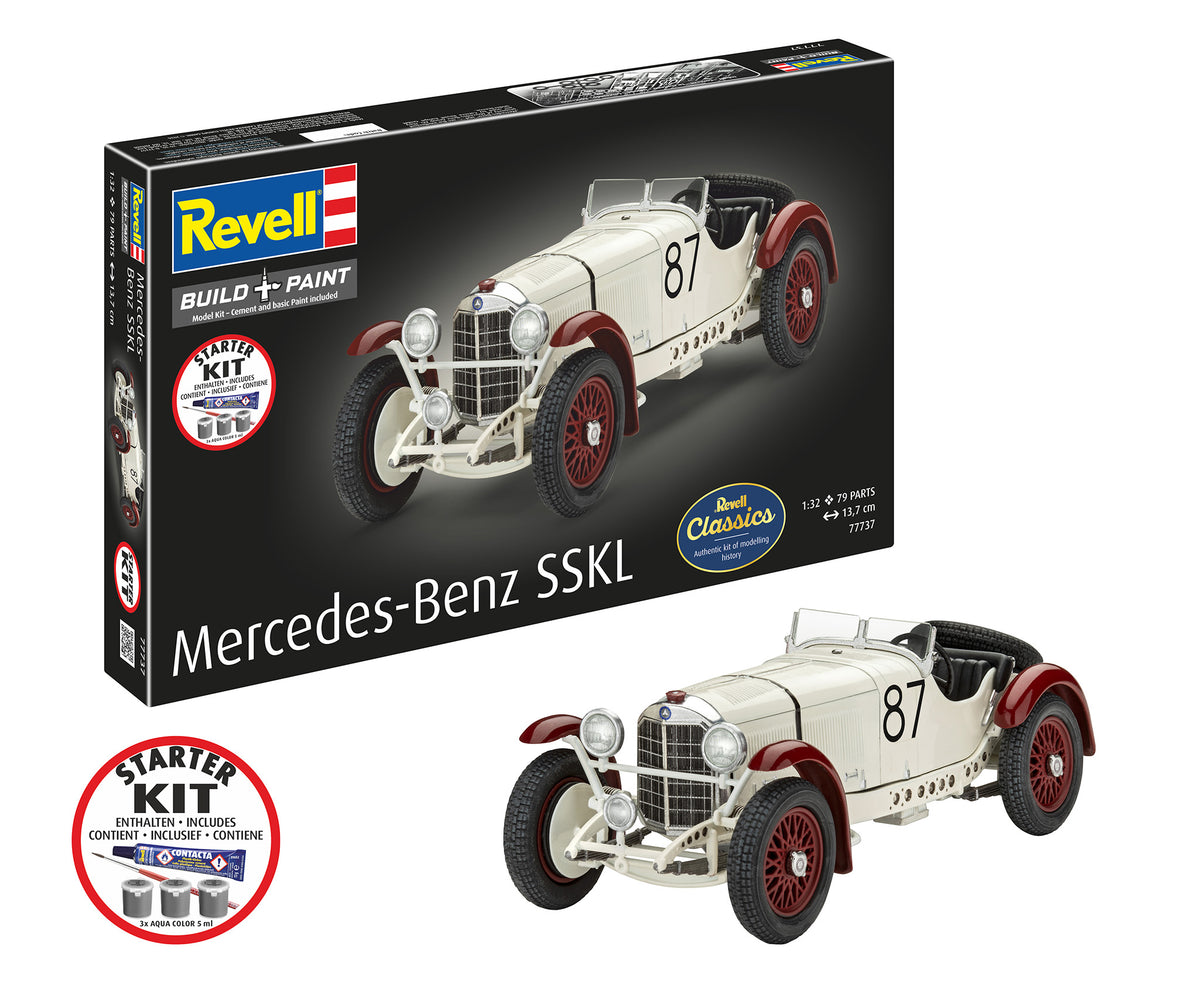
Maybe you would also like to link your introduction to model building with a classic from cinema history. Sports cars, movie cars and icons such as the secret service classics from the series James Bond 007 model making impress with their flawless body shapes and spectacular extras. With car models, the appeal lies in applying the gloss of the paint cleanly and designing the interior with the dashboard and seats in great detail. Step by step, a miniature is created that immediately brings back memories of unforgettable cinematic moments.
Standards and Skill Levels: Find the perfect balance for your skills
To ensure that your first project is a complete success, two factors play a crucial role: the scale and the so-called skill level. If you understand these two parameters, you can avoid frustration and accurately select the model that best suits your manual skills and the available space.
Decoding the scale relationship
The scale (e.g. 1:72 or 1:24) tells you how much the real model has been reduced in size. A simple rule will help you orientate yourself: the larger the number after the colon, the smaller the later model is in relation to the original.
- 1:72: The absolute standard for aircraft and military vehicles. An aircraft of this scale usually has a wingspan of 15 to 30 centimeters. It takes up little space, but already offers an amazing amount of detail. Ideal for beginners with limited parking space.
- 1:48 and 1:32: Larger aircraft scales. Here the cockpits are extremely detailed and you can see individual control levers and instrument scales. The many small parts can be challenging for the first build, but offer an impressive result.
- 1:24 and 1:25: The best way to go for cars and trucks. These models are typically 18 to 25 centimeters long. The parts are easy to grip, motors can be assembled separately, and doors can even be opened on some models.
- 1:700 and 1:350: Typical ship scales. Because ships are gigantic in reality (often 150 to over 300 meters long), they shrink to a manageable 20 to 40 centimeters at a scale of 1:700. Many parts here are extremely delicate.
The skill level classification
Our kits are divided into a five-tier skill system. Starter kits usually move up Level 2 to Level 3. Level 2 means simple gluing and painting with a manageable number of parts (usually around 30 to 60 parts). Level 3 is aimed at ambitious beginners and occasional hobbyists, includes up to 100 components and requires a little more care when assembling and painting. For the absolute first timer, we recommend starting with Level 2 or a compact Level 3 model. Once you've mastered the basics, you can easily move on to more complex kits or our multi-part ones Model building bundles Use it to gradually expand your collection.
Step by step to successful construction: The perfect practical instructions
In order to turn your individual parts into a presentable masterpiece, we recommend a structured process. Many construction errors can be eliminated from the outset by working calmly and carefully. Just stick to our proven seven-step routine.
- Prepare the workplace correctly: Find a well-lit table with a stable base. A cutting mat or thick cardboard protects the table surface from glue and cuts. Have a piece of kitchen roll, a glass of fresh water to wash out the brush, and a pair of tweezers.
- Clean components carefully: Plastic parts are manufactured using injection molding. To release them from the mold, release agent is used, microscopic residues of which sometimes stick to the surface. If you briefly swirl the cast branches in lukewarm water with a drop of dishwashing liquid before building and let them air dry, the paint and glue will then stick much better.
- Never break out parts: Never remove the components with your bare fingers. This causes the plastic to tear and leave unsightly holes. Use a fine side cutter or a hobby scalpel to cut off the part close to the sprue. Smooth the remaining burr with a fine nail file or sandpaper (grit 600 to 1000).
- Dry fit before gluing: Before you apply glue, always hold the parts together “dry”. Is the angle right? Is the pin sitting neatly in the guide? If not, carefully scrape off some of the burr. This way you avoid unpleasant surprises when the glue has already been applied.
- Use glue sparingly: Our model building glue is highly effective. A tiny drop on one side of the joint is sufficient. As you put the pieces together, gently press them together for a few seconds. If glue comes out, don't panic and wipe it off with your finger - this will only smear the engravings. It's better to let it dry and then carefully scrape it flat with the blade later.
- Painting in thin layers: Never apply the included colors thickly and pasty. On a small palette or saucer, dilute the paint with a tiny drop of water. Two thin layers of paint cover much more evenly than one thick one and do not drown out the fine surface details of the model. Allow each layer of paint to dry thoroughly before applying the next.
- Applying the wet slide pictures: Cut out the desired decal close to the edge. Place it in lukewarm water for about 20 to 30 seconds until the backing paper is soaked. Place the decal and paper on the model and carefully push the image onto the plastic surface using the tip of a brush or a toothpick. Using a clean cotton swab, gently press the image from the center outwards and dab off any excess water.
Avoid typical beginner mistakes: Our insider tips
In direct discussions with hobbyists, we often hear about similar starting difficulties. If you know the following pitfalls, you can easily avoid them and save yourself time and frustration.
Mistake 1: Cutting out all the parts at once
A common reflex among newbies is to immediately separate all the parts from the frame in order to have them “nicely sorted”. Don't do that under any circumstances! The parts are numbered on the frame and are referenced in the assembly instructions. If there are 50 gray plastic pieces lying loose on the table, finding the right small part quickly becomes a frustrating needle-in-a-haystack search. Always only remove the parts that you need immediately in the current construction step.
Mistake 2: Sticking to surfaces that have already been painted
Plastic adhesive must have direct contact with the raw plastic in order to weld the components. If you apply glue to an already thickly painted surface, it will only dissolve the paint layer. The connection becomes spongy and breaks again at the slightest touch. If you paint assemblies before assembly (e.g. the cockpit), carefully scrape the actual contact and adhesive surfaces free of paint with the tip of a knife.
Mistake 3: Lack of patience during drying phases
Model making is the perfect counterbalance to our fast-moving digital world. Adhesives and acrylic paints require time to fully chemically cure. Anyone who immediately puts a load on a chassis that has just been glued or sticks masking tape onto a damp layer of paint risks damage. Give your model a little rest after each construction phase. A cup of tea or coffee between steps protects your work from hectic errors.
Tool upgrades: What's worth it beyond the starter kit?
Our starter kits are designed so that you can complete a complete model without purchasing anything. However, if you notice that you have a passion for construction, a few targeted additional tools can improve your working experience even further.
A special model making side cutter with a cutting edge ground on one side enables extremely clean cuts directly on the component, almost completely eliminating the need for time-consuming regrinding. Curved precision tweezers are invaluable when inserting tiny rudders, direction finders or antennas that are difficult to grasp with your fingers. High-quality masking tape (washi tape) helps you mask razor-sharp paint edges between the fuselage and cockpit areas without paint creeping under the tape or damaging the primer when it is removed.
The value of analog construction in 2026
In an increasingly digitalized world dominated by screens, the classic Model making an invaluable retreat for the mind. When you sit at the craft table, your senses focus on craftsmanship precision, sense of form and material properties. It is an almost meditative activity that has been proven to help reduce everyday stress and sharpen one's ability to concentrate.
In addition, starter kits are ideal for starting cross-generational projects. Parents or grandparents who assemble an airplane or car with children impart basic technical knowledge, patience and the satisfying feeling of having created a tangible result with their own hands. When the finished model finally sits on the shelf, it brings with it real personal pride - something that no digital consumer product can replace.