




The fascination of the aircraft of the First World War in plastic model making
The era from 1914 to 1918 marked the birth of modern military aviation. In just four years of war, the aircraft developed from a daring experimental field for pioneers into a tactical weapon with specialized roles: fighters, reconnaissance planes and bombers emerged at a breathtaking pace. It is precisely this rapid evolution that makes historical aircraft from this period one of the most exciting topics in model making.
When you build a model like this, you hold pure aviation history in your hands. Unlike modern high-performance jets with closed fuselages and fully paneled cockpits, historical biplanes and triplanes reveal every little technical detail: wings made of fabric-covered wood, complex tension wires for stabilization, rotary or in-line engines exposed to the airstream and open-mounted machine guns with mechanical synchronization. Each kit requires patience and sensitivity and rewards you with an impressive display object that demonstrates craftsmanship.
Icons of the skies: Legendary fighter planes and their designers
The most famous machines of this era, which gained fame thanks to daring flying aces, await you in our range. Each pattern tells its own story about technical innovations and tactical turning points.
Fokker Dr.I and D.VII – masterpieces of German engineering
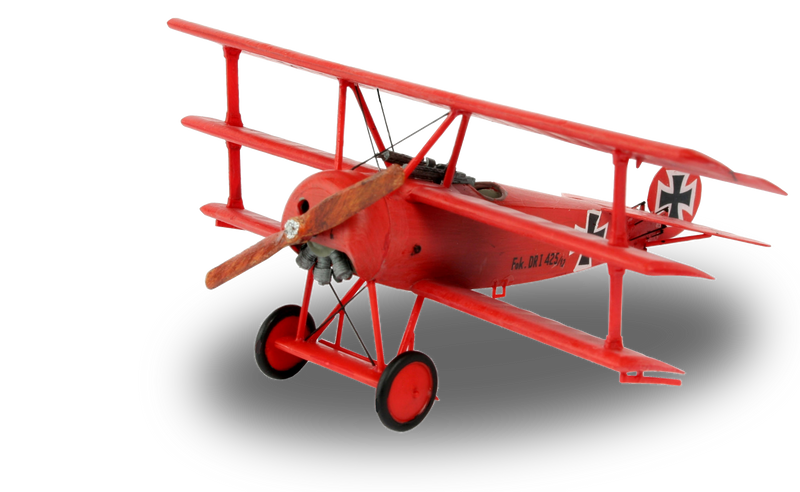
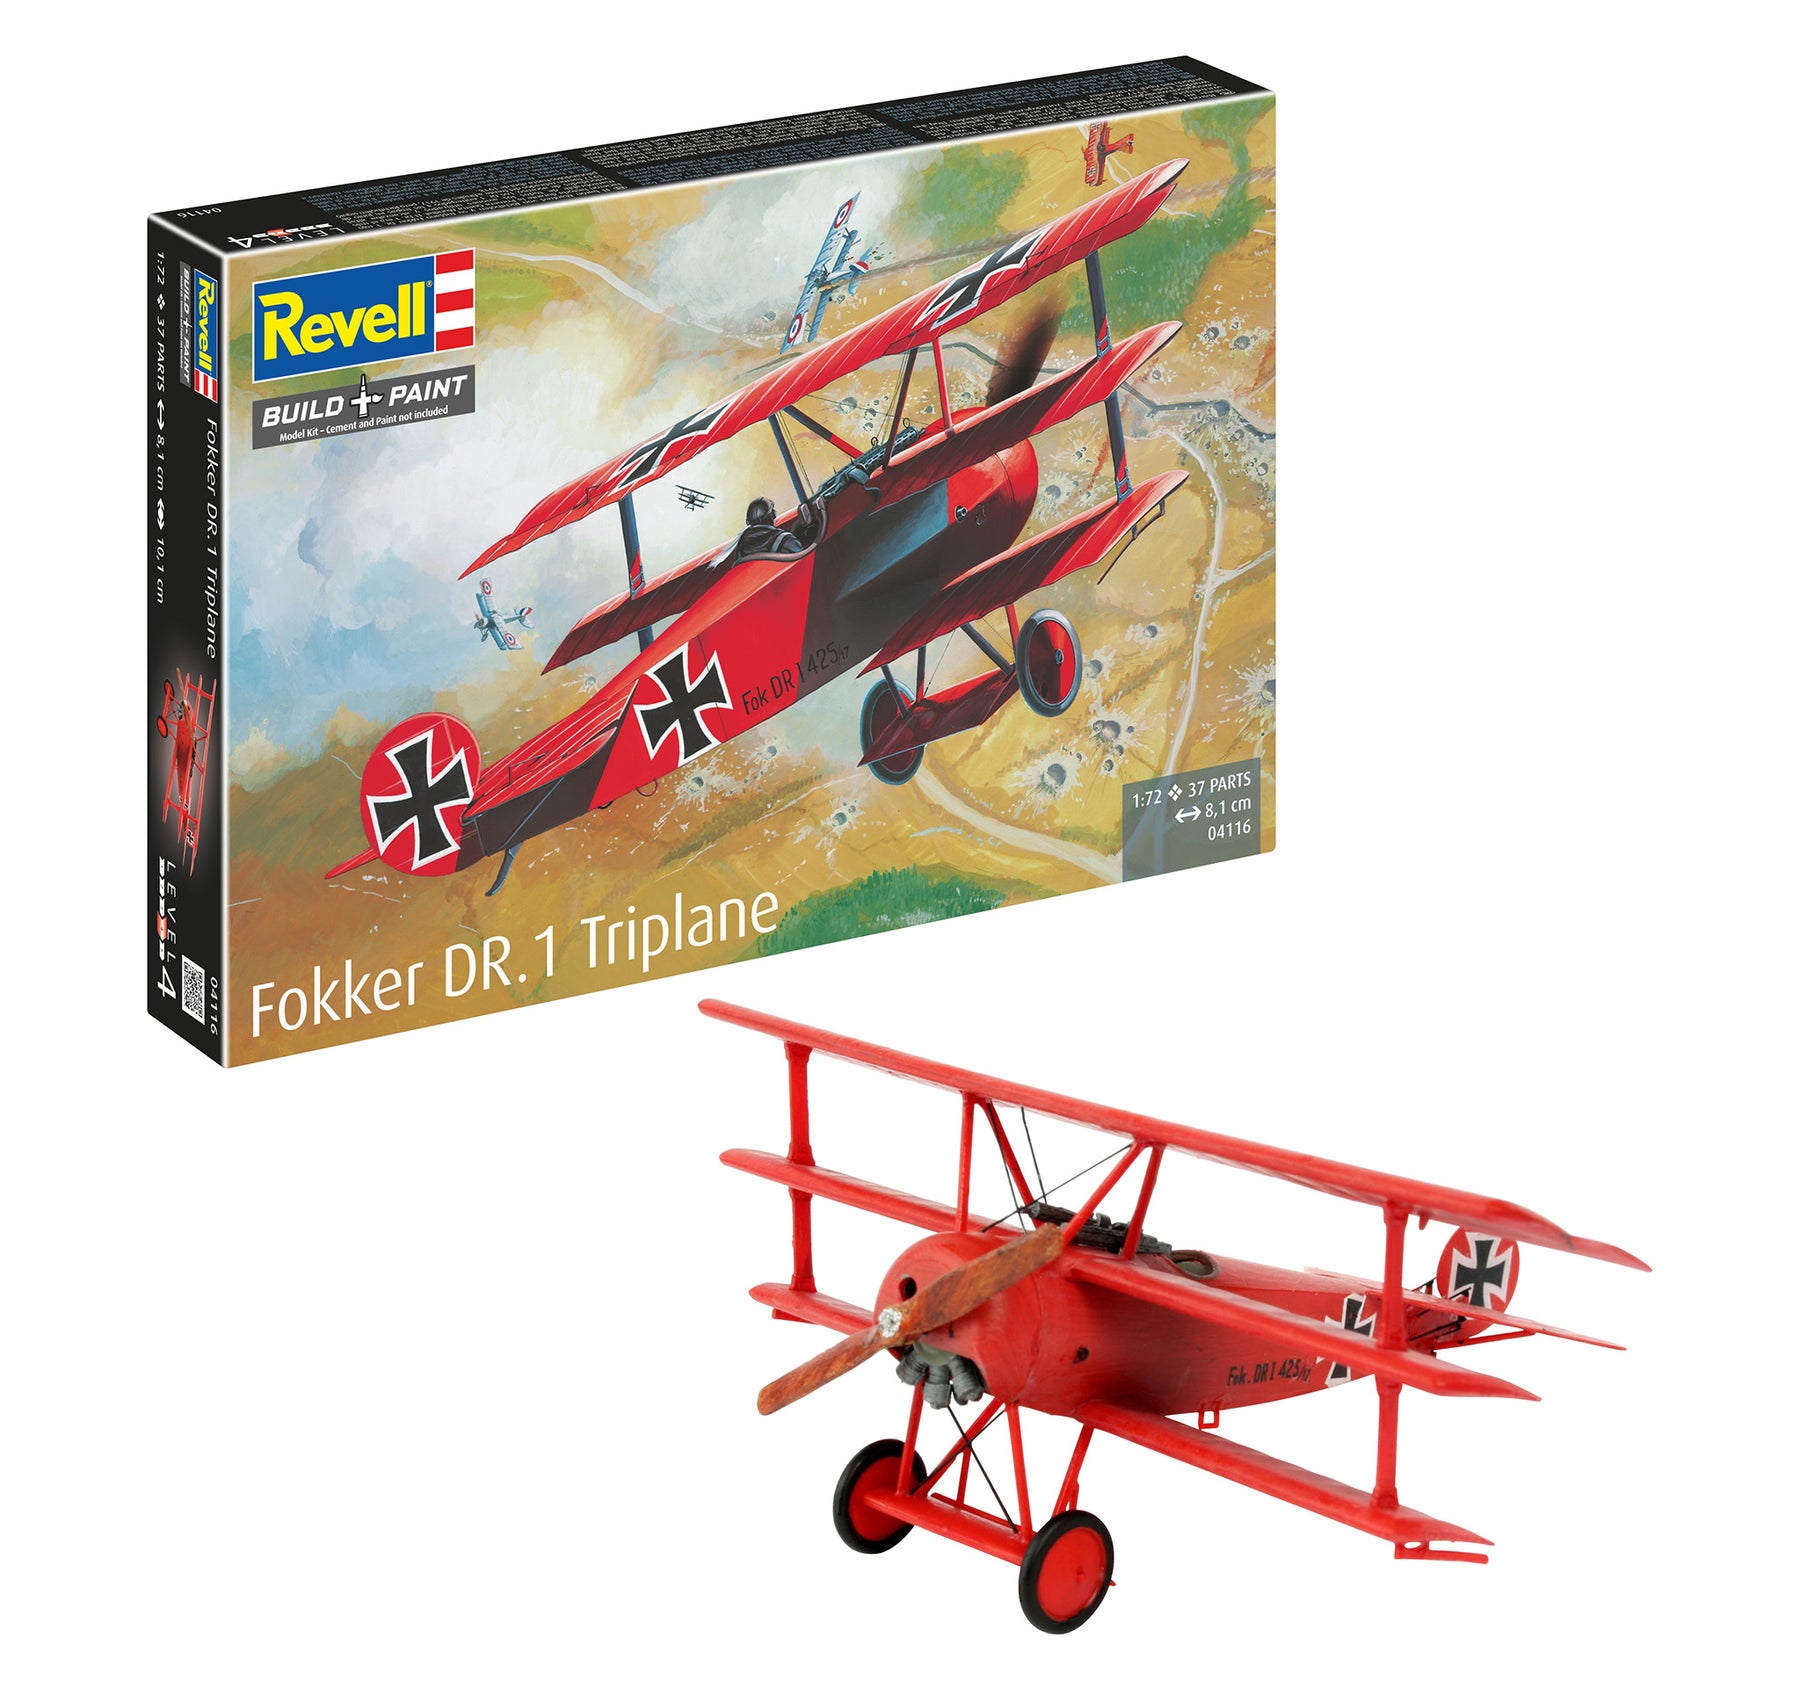
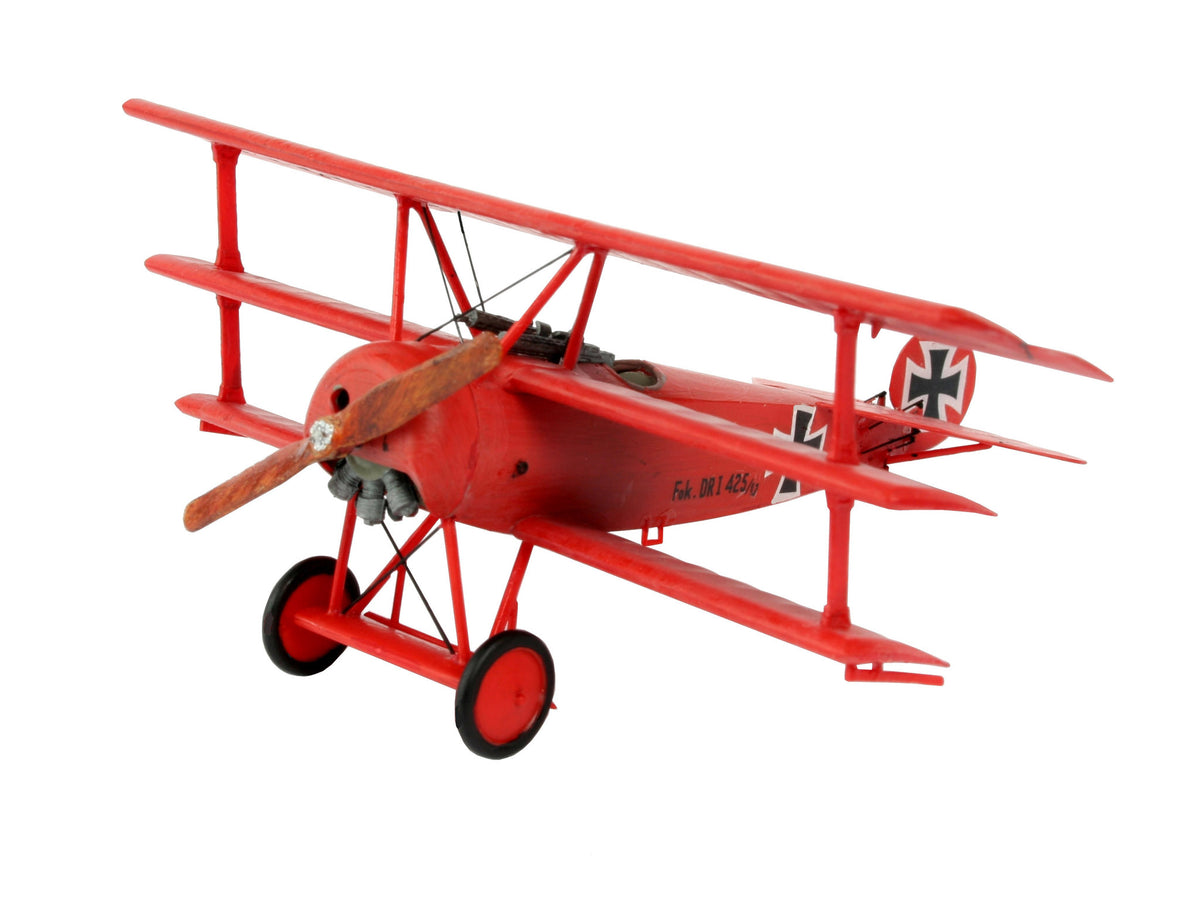
Hardly any other aircraft is as closely linked to a historical personality as the Fokker triplane Dr.I with Manfred von Richthofen, the “Red Baron”. Its distinctive silhouette with three superimposed wings gave the machine outstanding maneuverability when cornering. Model builders particularly appreciate the compact proportions and striking color scheme of this aircraft. The Fokker D.VII, which was considered the most advanced fighter in 1918, was even more powerful. Thanks to its thick wing profile with internal framework, it hardly required any external bracing - a real advantage when assembling it in the model!
Sopwith Camel and S.E.5a – The backbone of the Royal Flying Corps
On the Allied side, the Sopwith Camel dominated the airspace. Its name comes from the characteristic hump-shaped casing of the two synchronized machine guns. Powered by a heavy rotary engine, the original had an infamous torque that allowed experienced pilots to change direction at lightning speed. As a model kit, the Camel impresses with its delicate hull and open cockpit. The Royal Aircraft Factory S.E.5a, on the other hand, was the counterpart: thanks to its V8 engine, it was extremely fast, controllable and stable - an ideal addition to any historical collection.
Albatros D.III and D.V – Perfectly shaped wooden hulls
The Albatros series was characterized by an aerodynamically groundbreaking half-shell fuselage made of molded plywood. For modelers, this type of aircraft offers a fantastic opportunity to experiment with painting techniques. The reproduction of warm wood grains on the fuselage and wing structures gives these models exceptional depth and elegance.
Model building practice: bracing, wood look and realistic details
The construction of historical aircraft differs significantly from models of more recent eras. To achieve a truly masterful result, you should know and apply some specific techniques:
- The art of tension: Biplanes relied on cable tensioning to withstand the stresses of flight. For models in a scale of 1:72 or 1:48, you can achieve excellent results with elastic sewing threads, drawn cast branches or extremely fine model building wire. Tiny holes in the wings before assembly make it much easier to anchor the threads later.
- Representation of wood and canvas surfaces: Wings were not made of smooth sheet metal, but were covered with fabric treated with tension varnish. By subtly pre-shading the rib lines, you can achieve an amazingly real depth effect in the stretched fabric. For wooden hulls, a primer in a light sand tone is suitable, over which a wood grain is drawn using a fine brush and diluted oil paint.
- Detailing Exposed Motors: Rotary engines had their cylinders rotating around the crankshaft, while in-line engines had powerful exhaust pipes. With targeted washing and dry painting, cooling fins, valves and ignition cables can be highlighted.
To ensure that this delicate work can be carried out effortlessly, the right tools are essential. You can find fine tweezers, scalpels, masking tape and special adhesives in our extensive selection Model building accessories. High-quality tools ensure clean glued seams and precise alignment of the wing struts.
Masterfully paint camouflage patterns and historical markings
The color schemes of the aircraft from the First World War ranged from subtle camouflage to bright, psychologically effective signal colors. The complex Lozenge camouflage patterns (four- or five-color printing on fabric panels) of the German Air Force as well as the contrasting stripes and insignia of Allied squadrons are famous.
To create smooth color transitions, shades on the ribbed bands or realistic traces of soot and oil on the engine area, there is hardly any way around the spray gun. With high quality Airbrush technique You can apply colors very thinly without covering finely engraved surface details such as rows of rivets or fabric structures. For anyone who wants to completely re-equip their workshop or take their painting skills to the next level, we offer well-thought-out Airbrush complete sets the perfect introduction including compressor, gun and accessories.
If you are enthusiastic about the major military events and the dramatic turning points of that era, your horizons certainly don't end at the runway. For collectors interested in history who want to complete the overall historical picture, it is also worth taking a look at imperial and international ones Ships, which dominated the world's oceans at the same time.
The right scale: Which format suits your project?
Before you decide on a new project, the choice of scale plays a crucial role in terms of space requirements and level of detail:
- Scale 1:72 – The compact variety: Since the original machines in the First World War were comparatively small, the 1:72 scale results in handy models with a wingspan of around 8 to 12 centimeters. This scale is ideal for collectors with limited space or for creating expansive airfield dioramas with multiple aircraft and ground crew.
- Scale 1:48 – The ideal middle ground: In 1:48 the aircraft have a captivating presence in the display case. Cockpit instruments, control cables, control sticks and machine guns can be easily detailed without a microscope. Many experienced modelers consider 1:48 to be the perfect balance between handiness and technical depth.
- Scales 1:32 and 1:28 – the top class for those who love details: In these large formats, each kit becomes a spectacular masterpiece. Every single screw, etched tension straps and precisely reproduced cylinders make your model an absolute eye-catcher at every exhibition.
Step by step to the perfect model: Our expert tips
To ensure that the construction of your double or triple decker goes smoothly, we advise you to follow a well-thought-out sequence. Completely paint and weather the cockpit, engine and the inside of the fuselage halves before gluing the fuselage together. For biplanes, it is usually advisable to firmly connect the lower wing to the fuselage, then paint all components separately and only assemble the upper wing shortly before attaching the bracing. This way you avoid inaccessible areas when applying paint and ensure that the wing angles and struts are exactly aligned.