






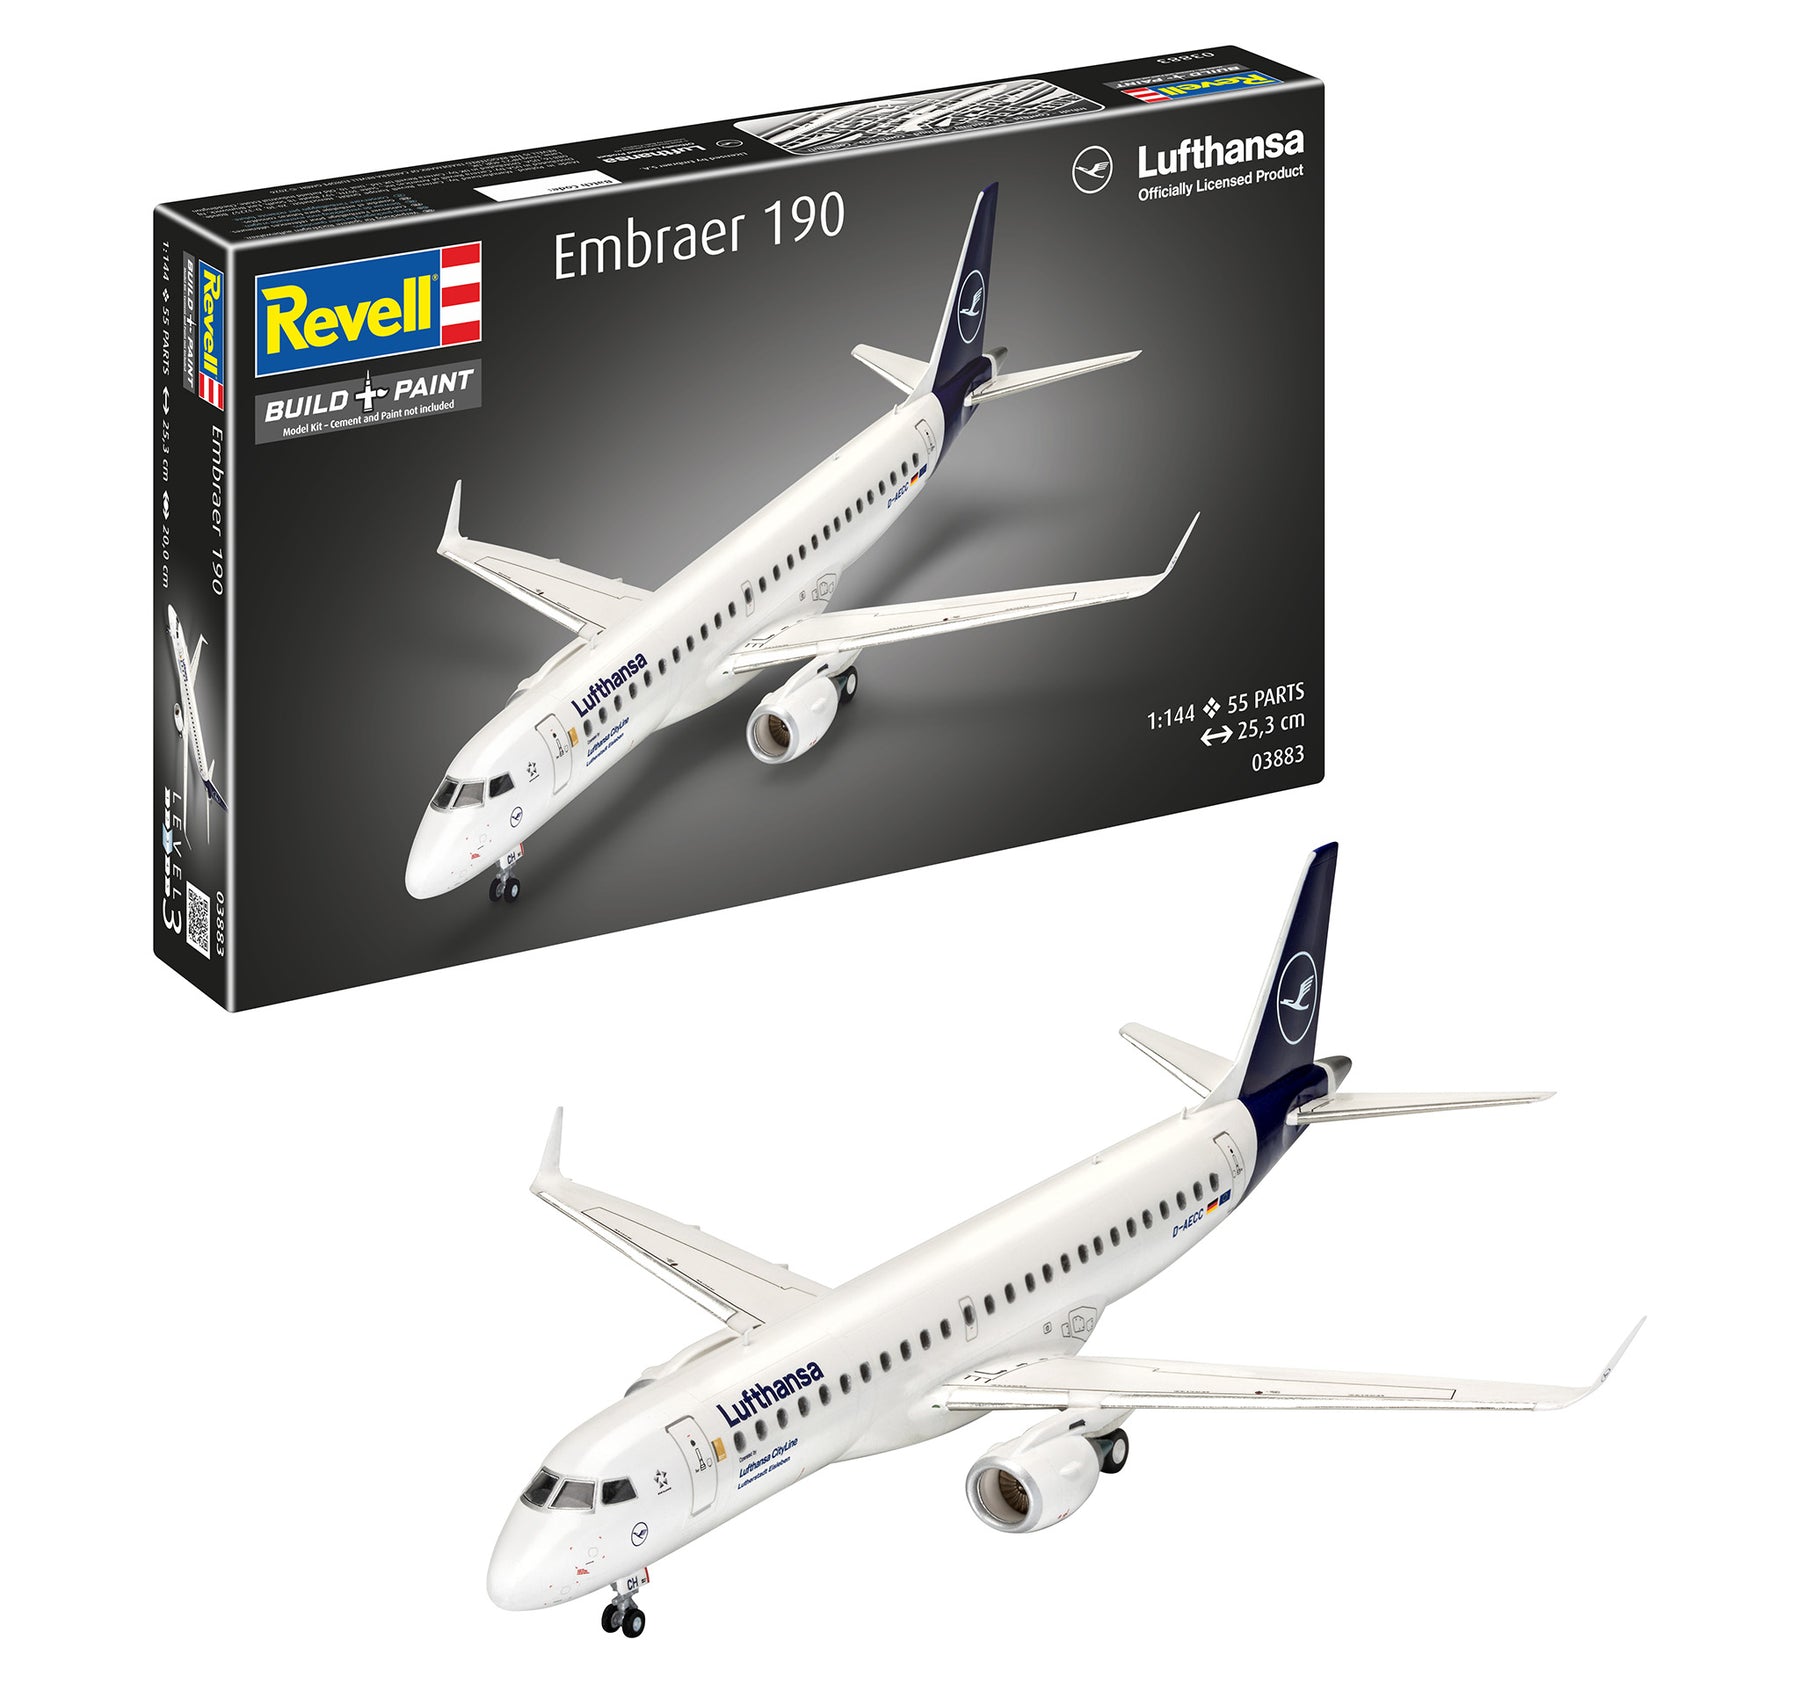
Experience the fascination of civil aviation at the craft table
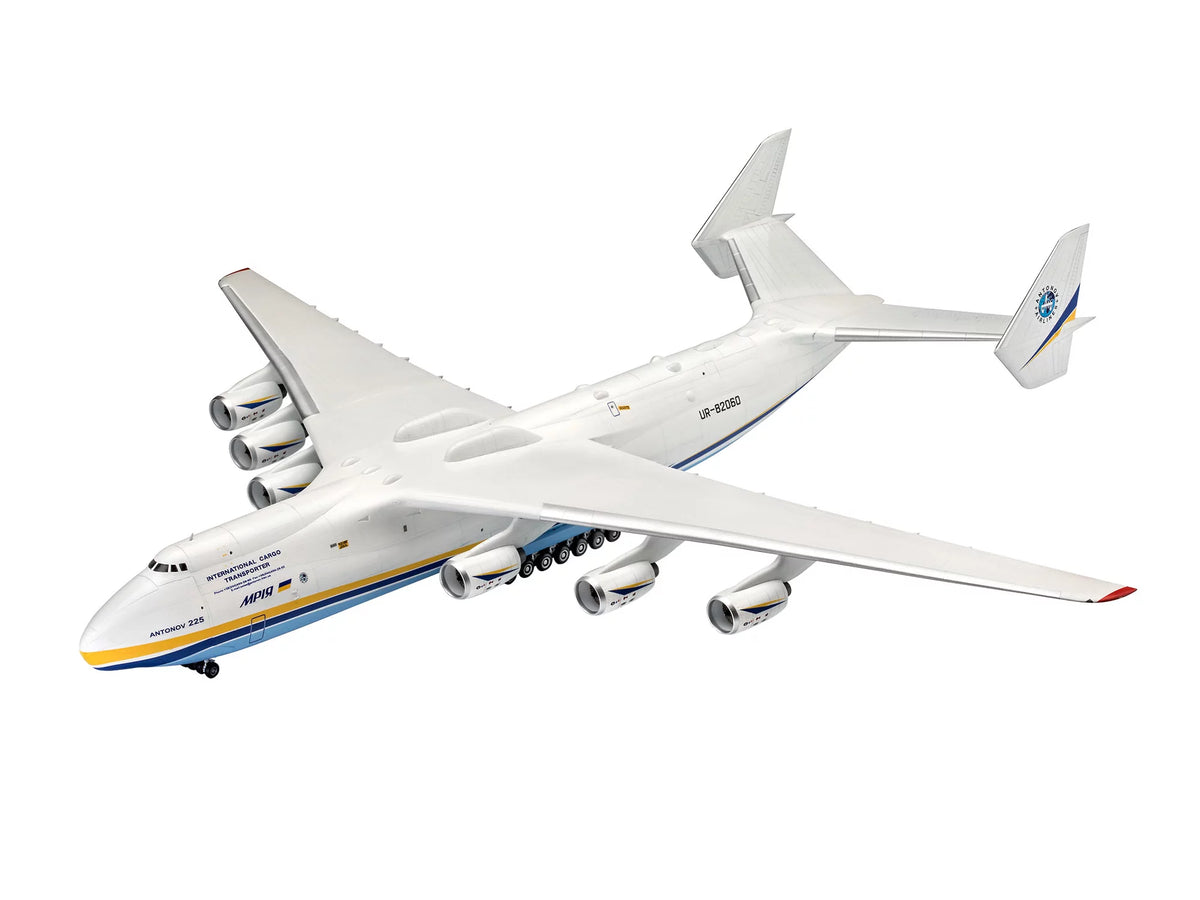
When the engines roar quietly, the wings shine in the sunlight and a majestic passenger jet soars into the sky, every aviation enthusiast's heart beats faster. With the civil aircraft model making section, you can bring exactly this magic directly to your workbench. Civil aircraft fascinate with their aerodynamic elegance, gigantic engineering achievements and the promise of distant lands. In contrast to military models, where camouflage colors and functionality dominate, passenger aircraft impress with high-gloss surfaces, colorful airline designs and a harmonious interplay of modern fluid dynamics.
When you put together a model of a modern airliner or a vintage flying boat, you're not just assembling plastic parts. You bring a vision of engineering to life. Every frame, every wing segment and every engine nacelle reflects decades of technological evolution. With us you will find a hand-picked selection of kits that depict both milestones in aviation history and current flagships of modern airlines. No matter whether you prefer fascinating long-haul icons or agile regional jets: We will accompany you on every step of your model building adventure with practical tips and suitable equipment.
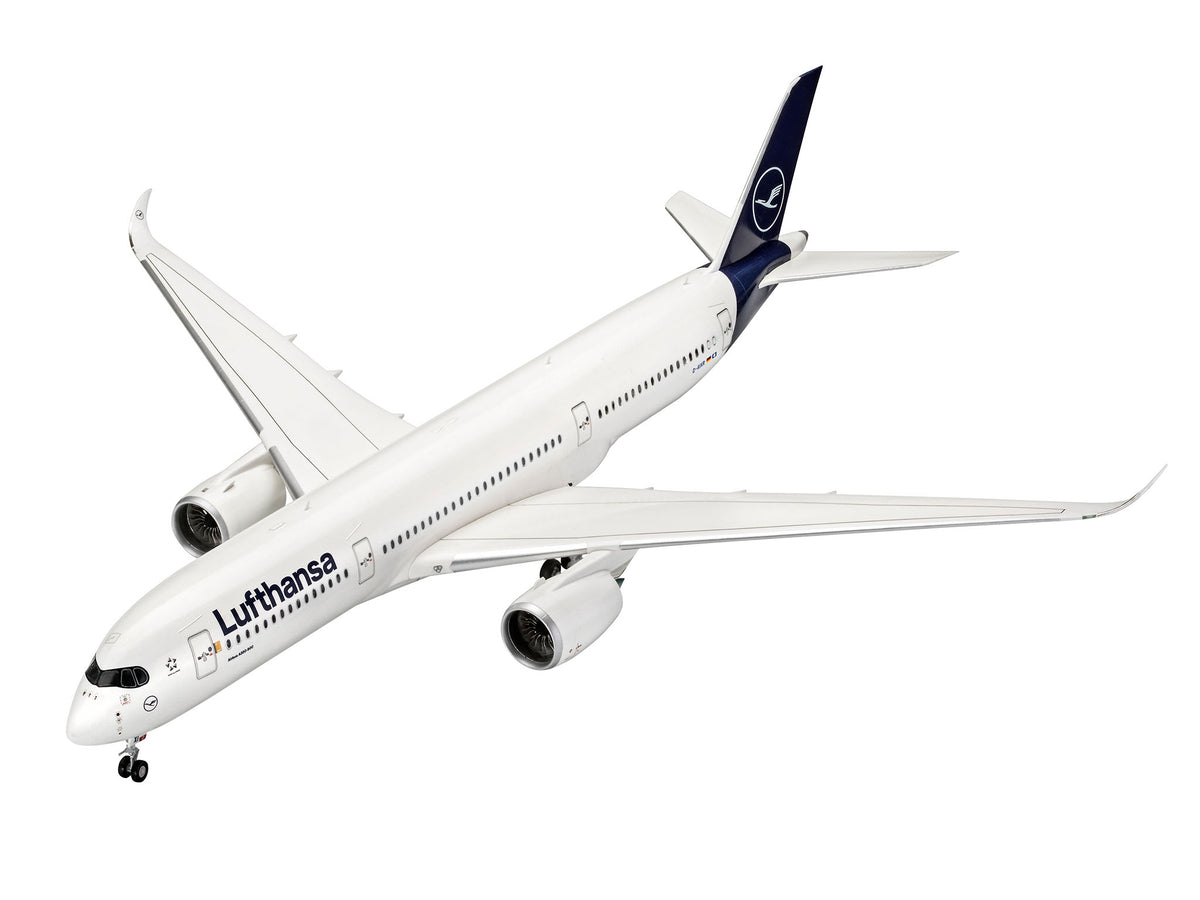
The design of the surfaces is particularly attractive: the flawless reproduction of bright white fuselages, accentuated by fine engravings, silver wing edges and precisely placed airline logos, represents a wonderful challenge. Here you can demonstrate precision craftsmanship and, with patience, create a real showpiece that will attract admiring glances in every showcase.
From jumbo jets to regional aircraft: variety of types in miniature format
Civil aviation offers an unprecedented range of shapes and dimensions. Our range covers the entire era of commercial air travel, so you can put together your personal dream fleet. The different designs place very individual demands on your model building skills.
Modern wide-body jets and flagships
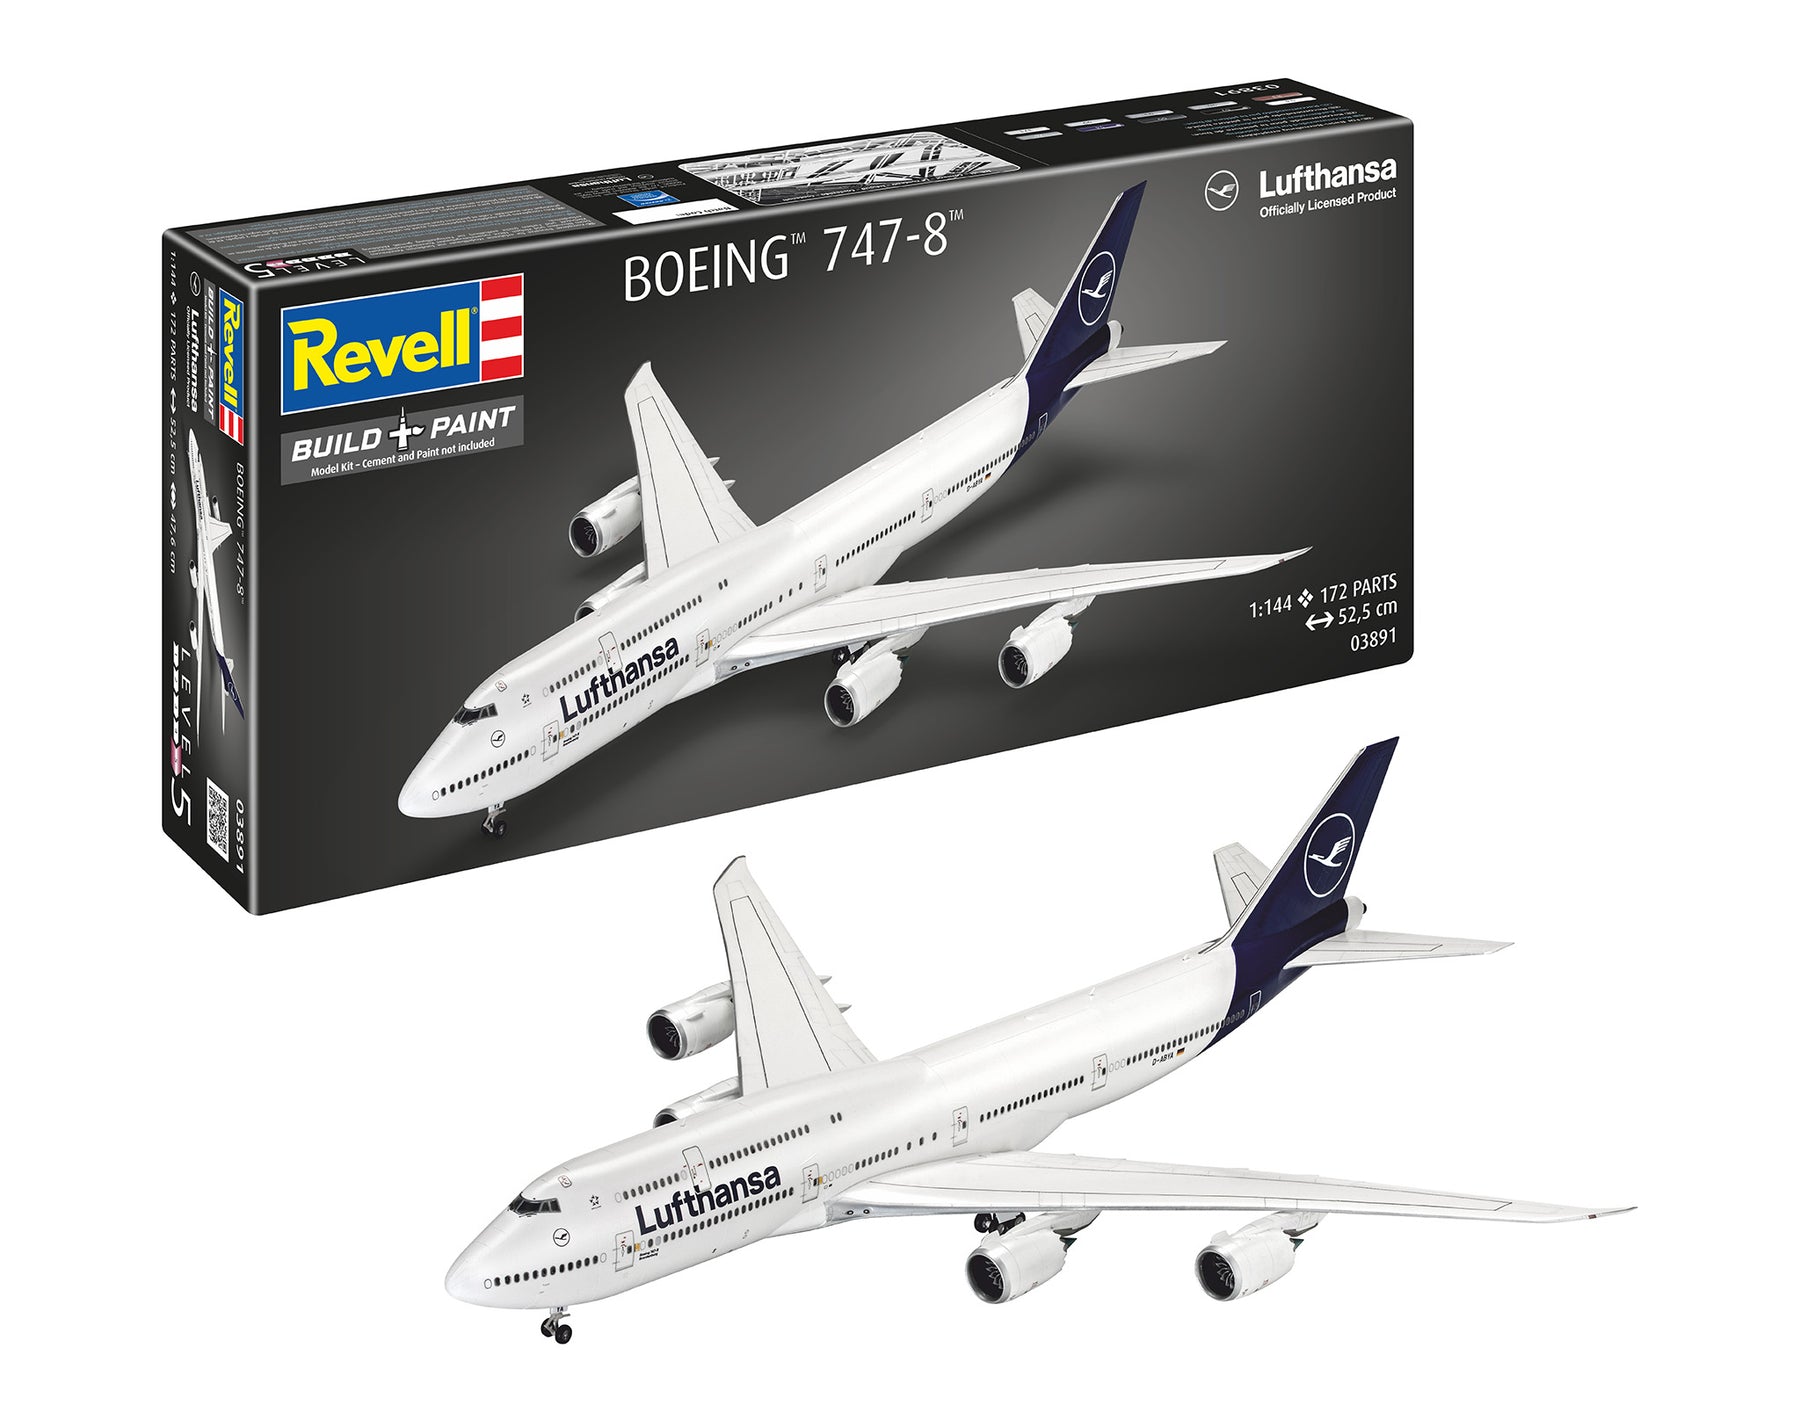
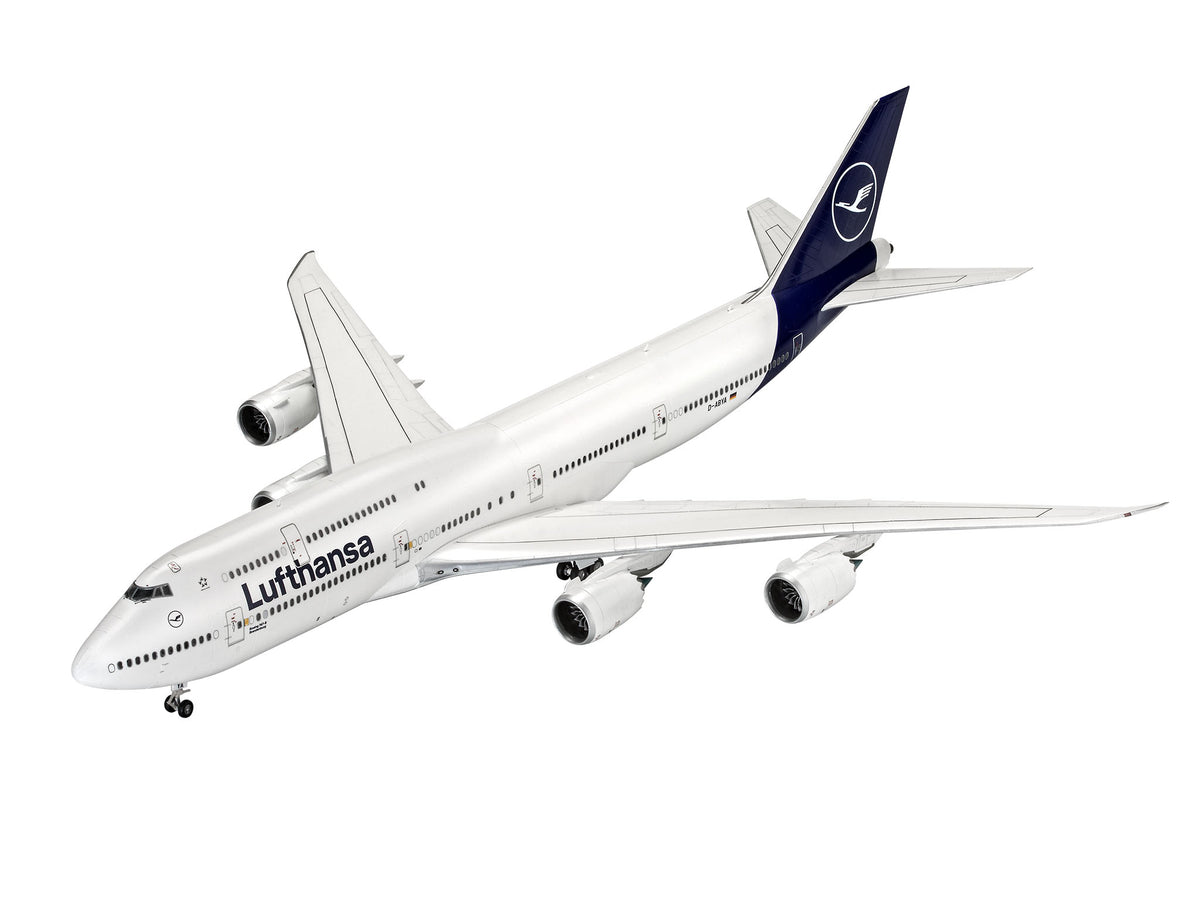
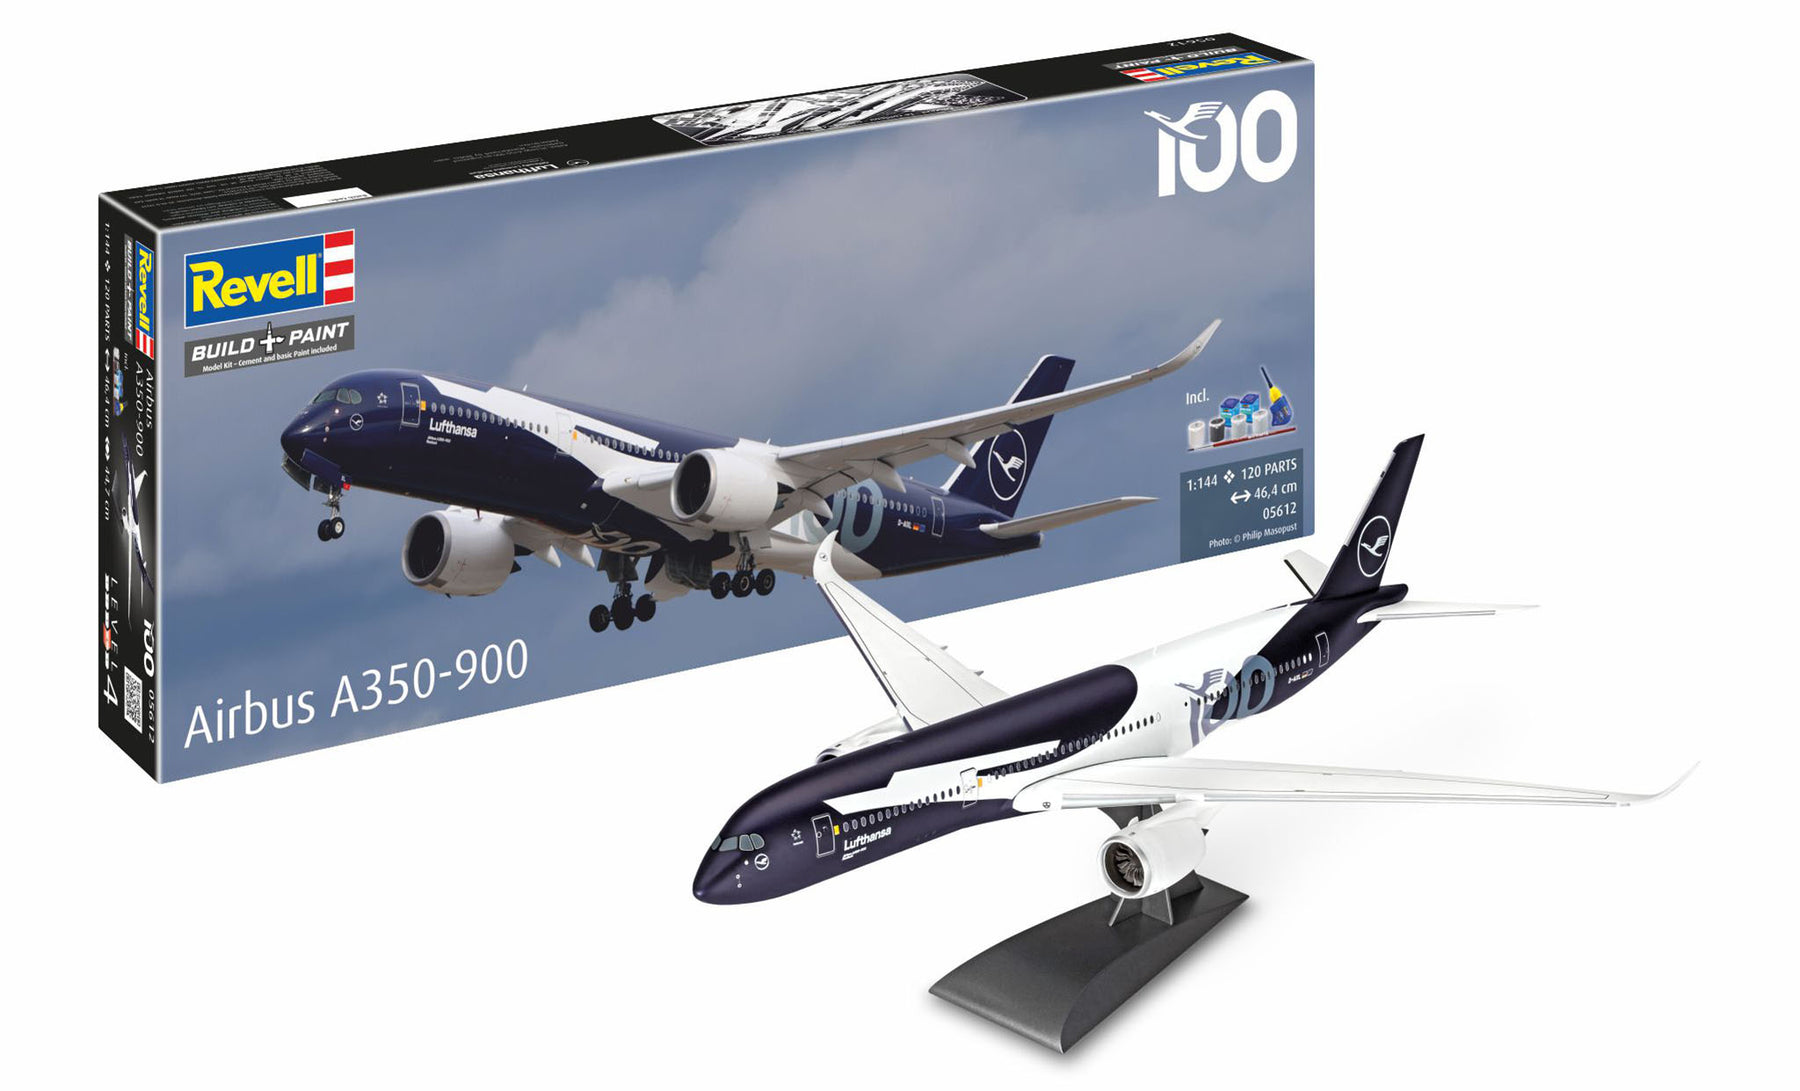
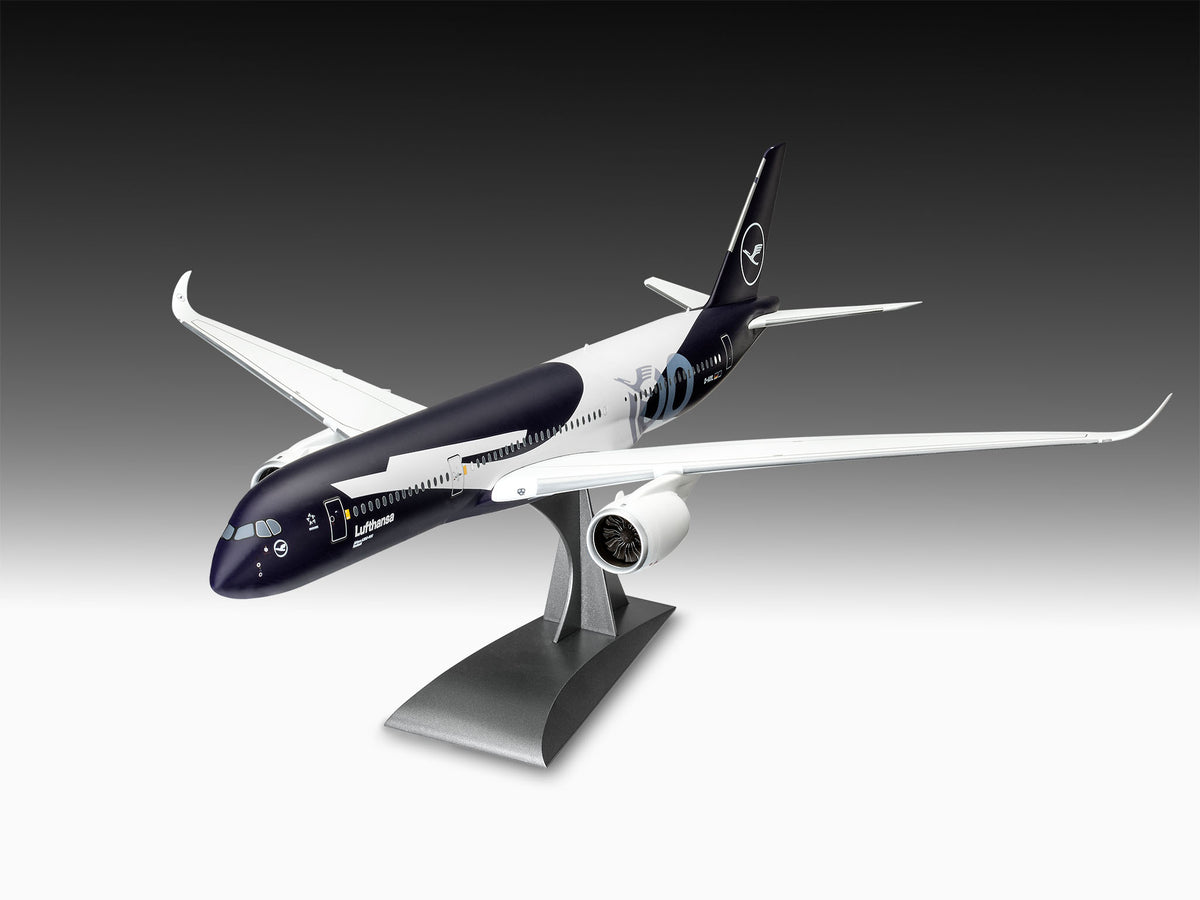
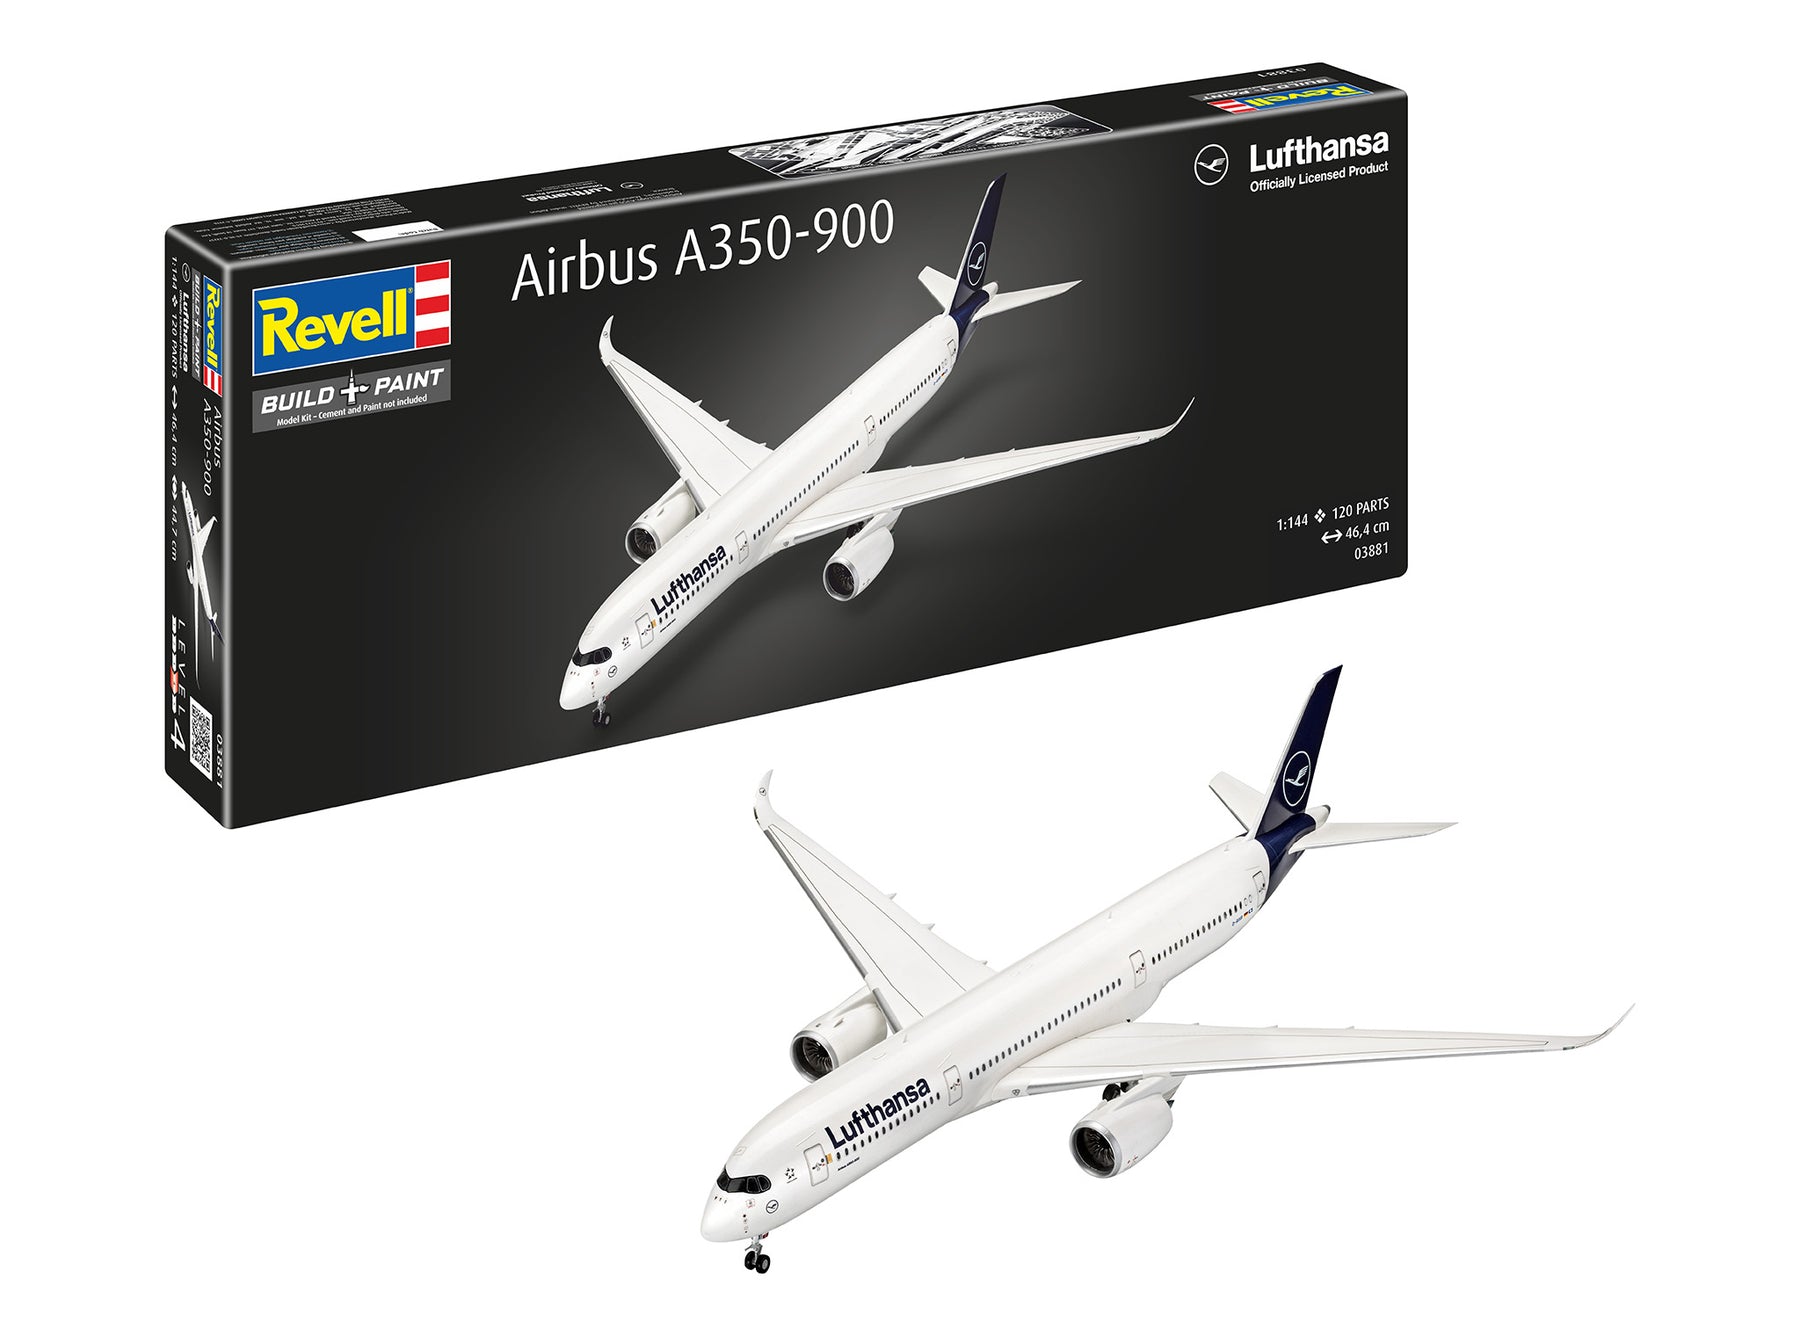
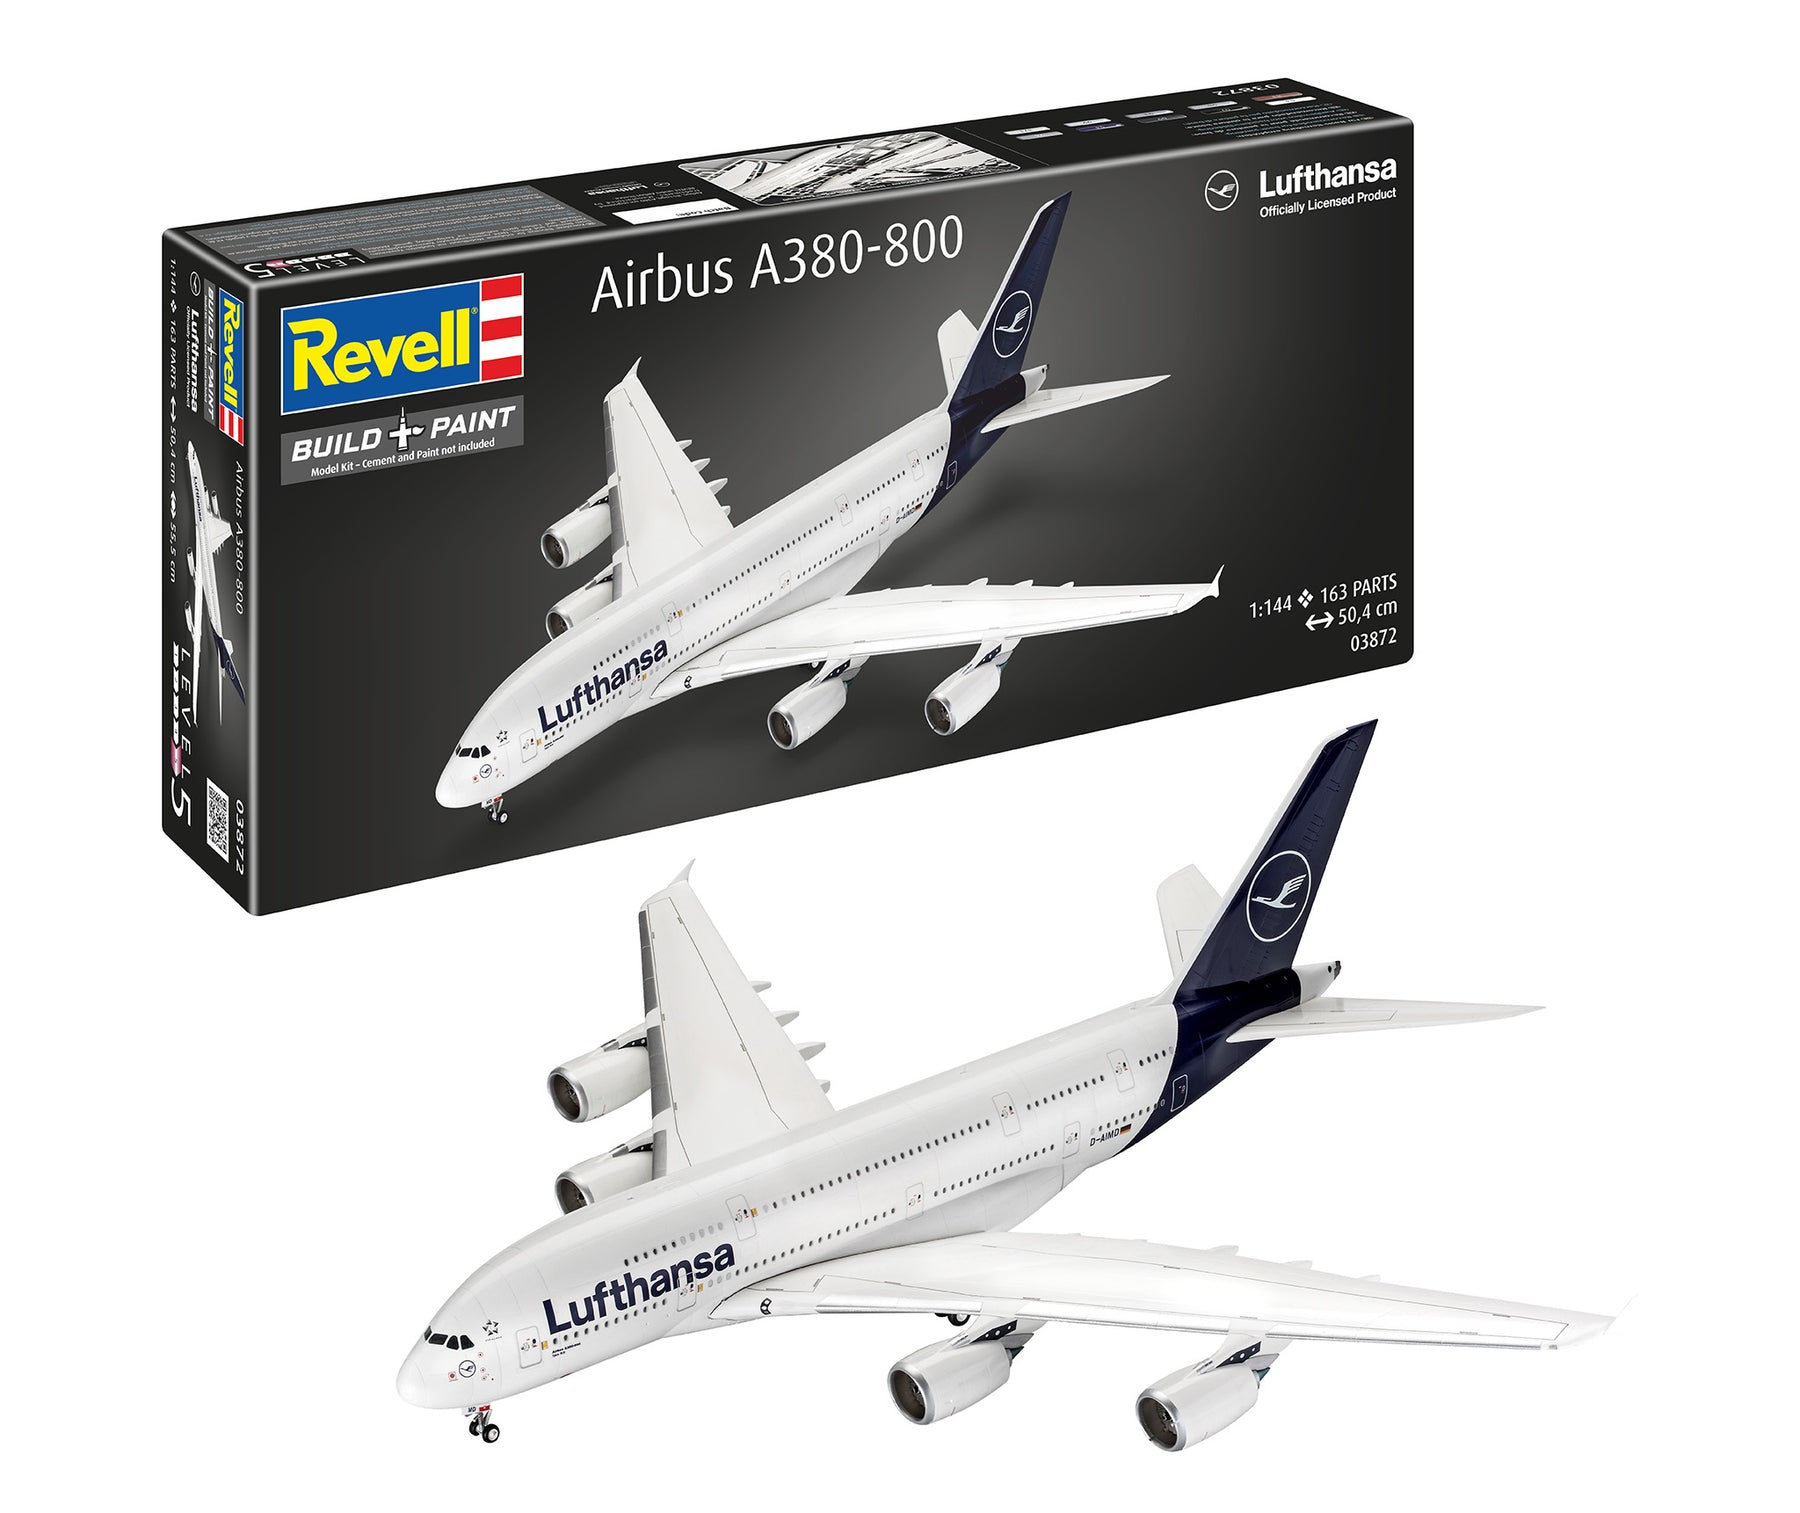
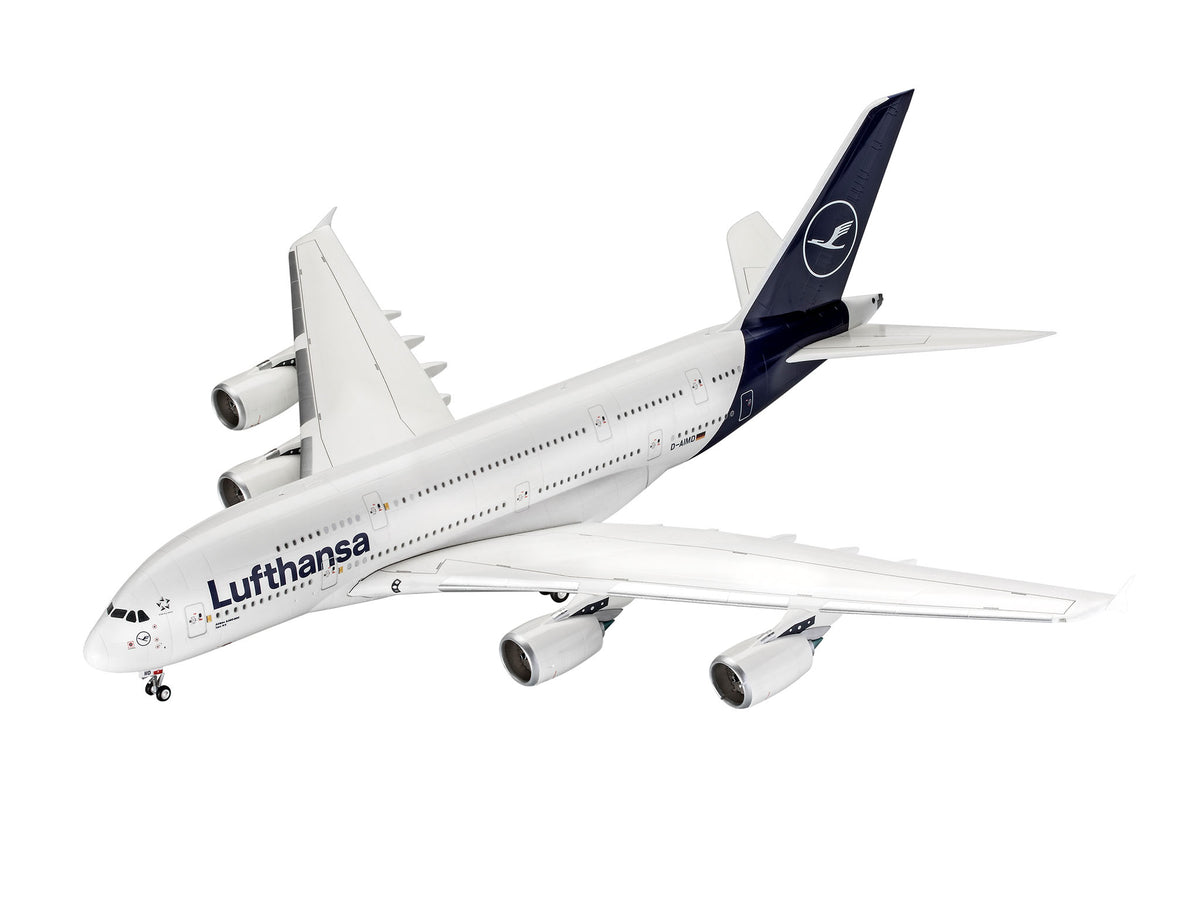
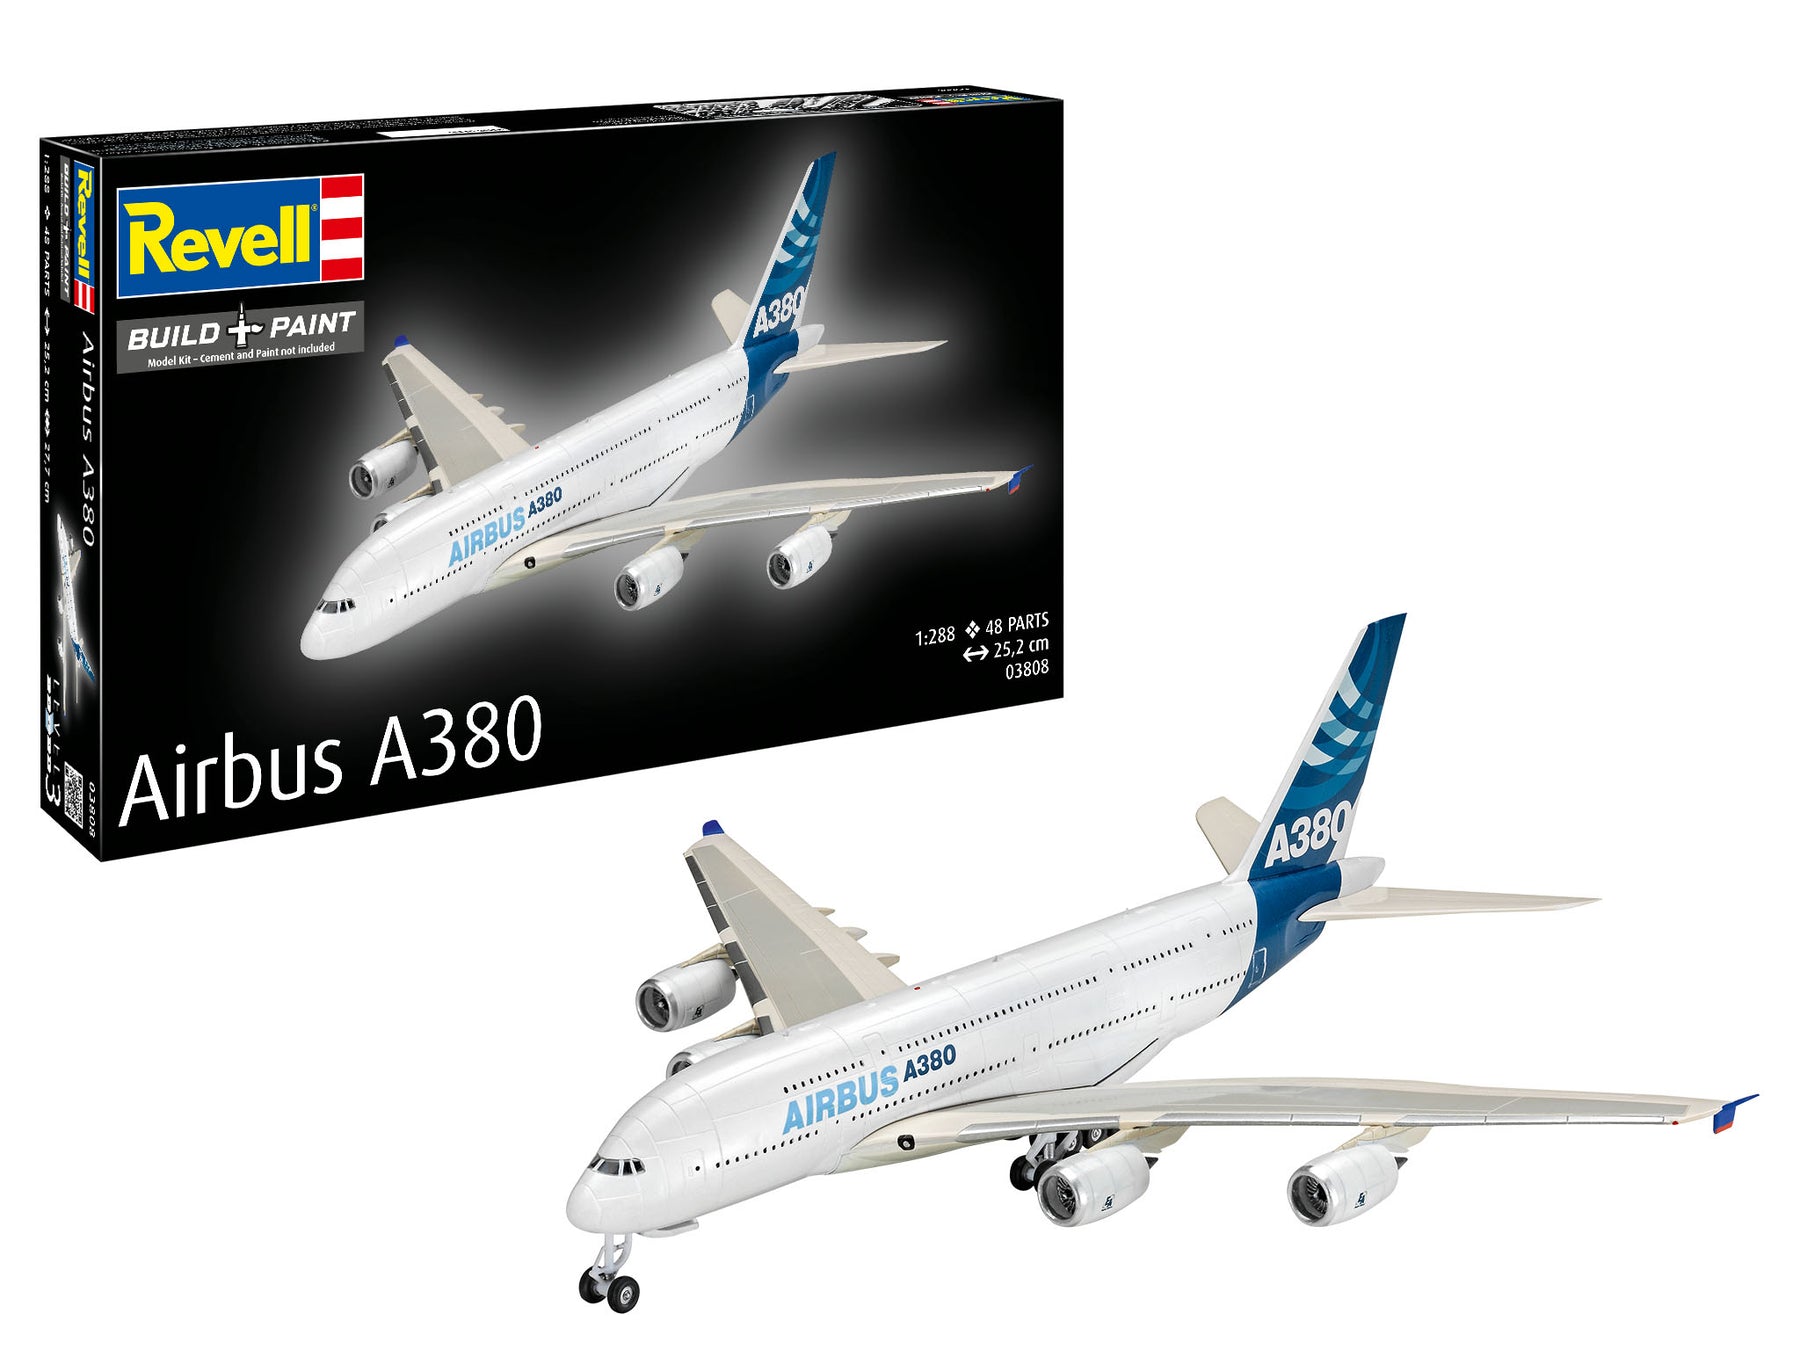
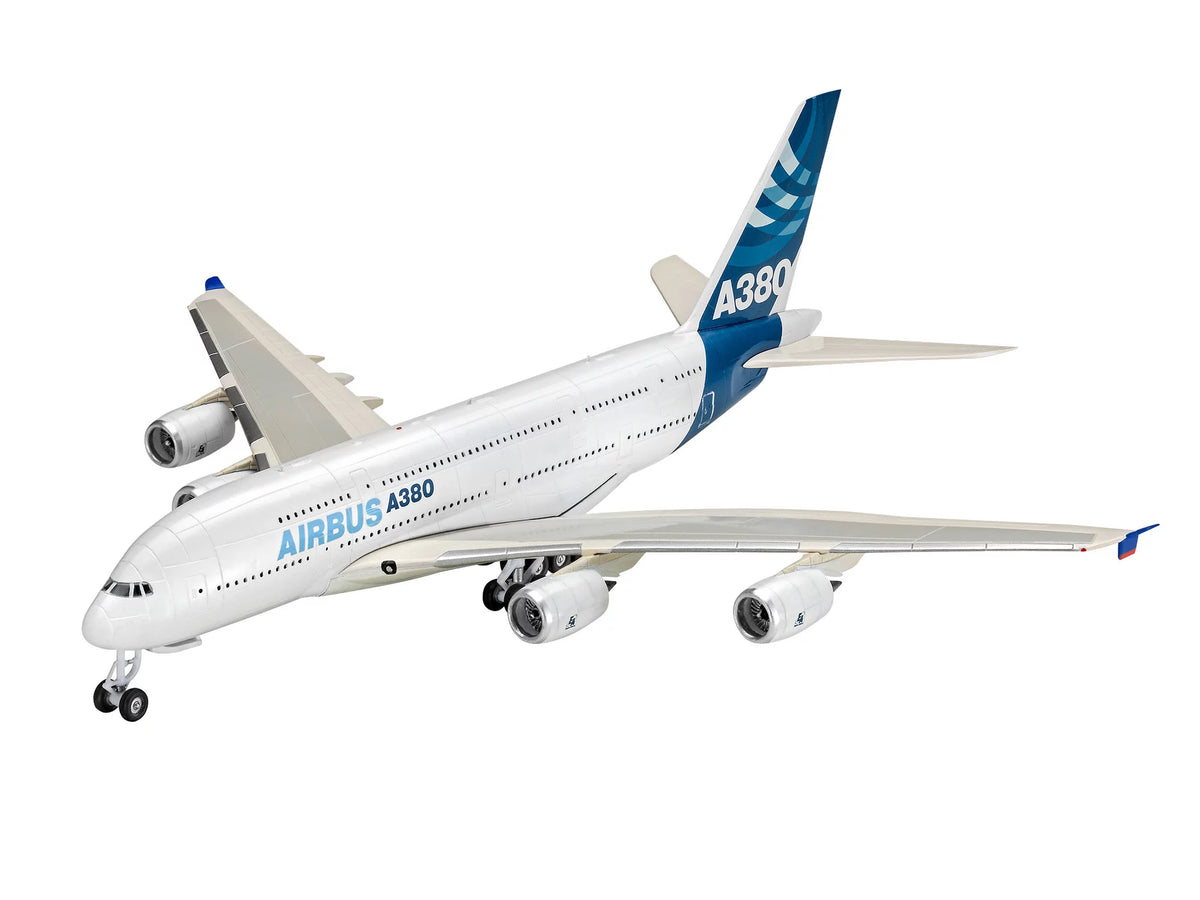
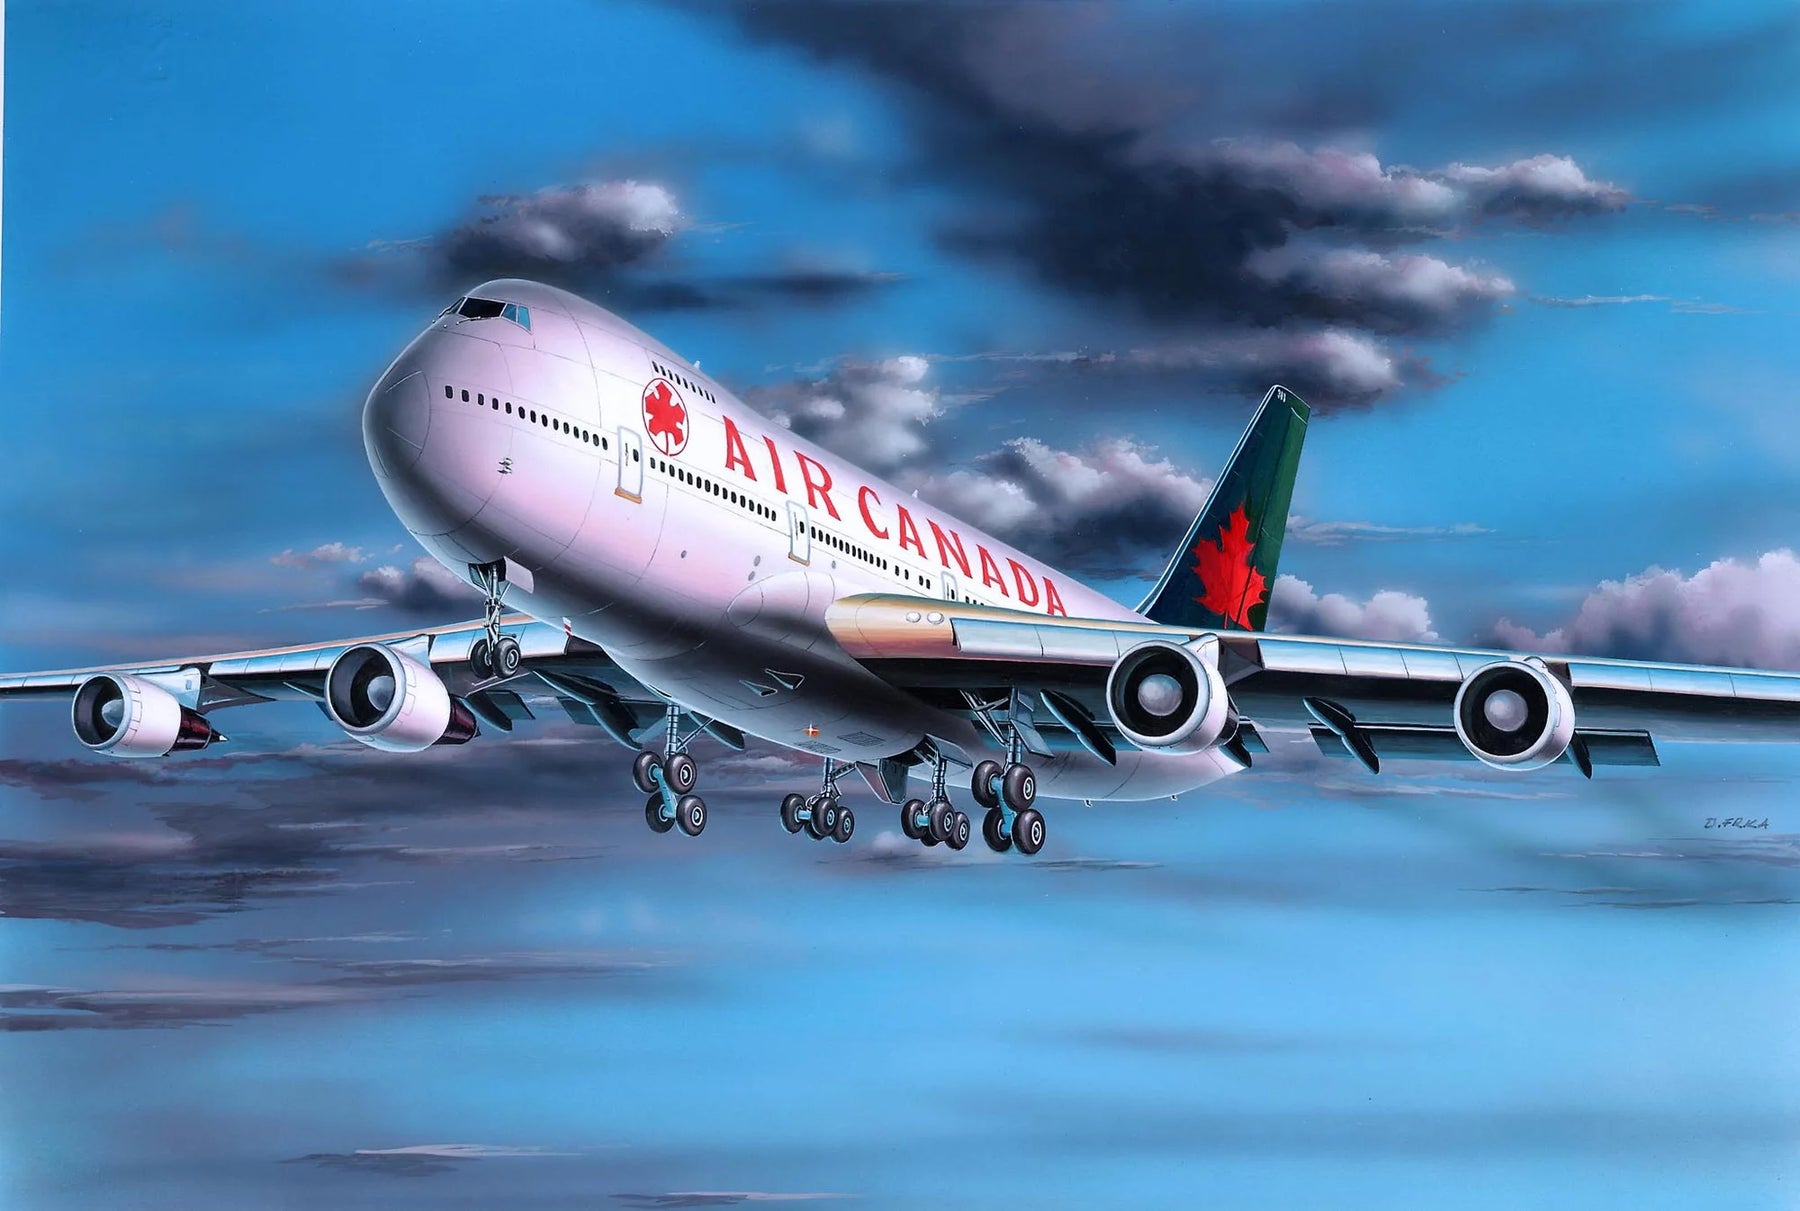
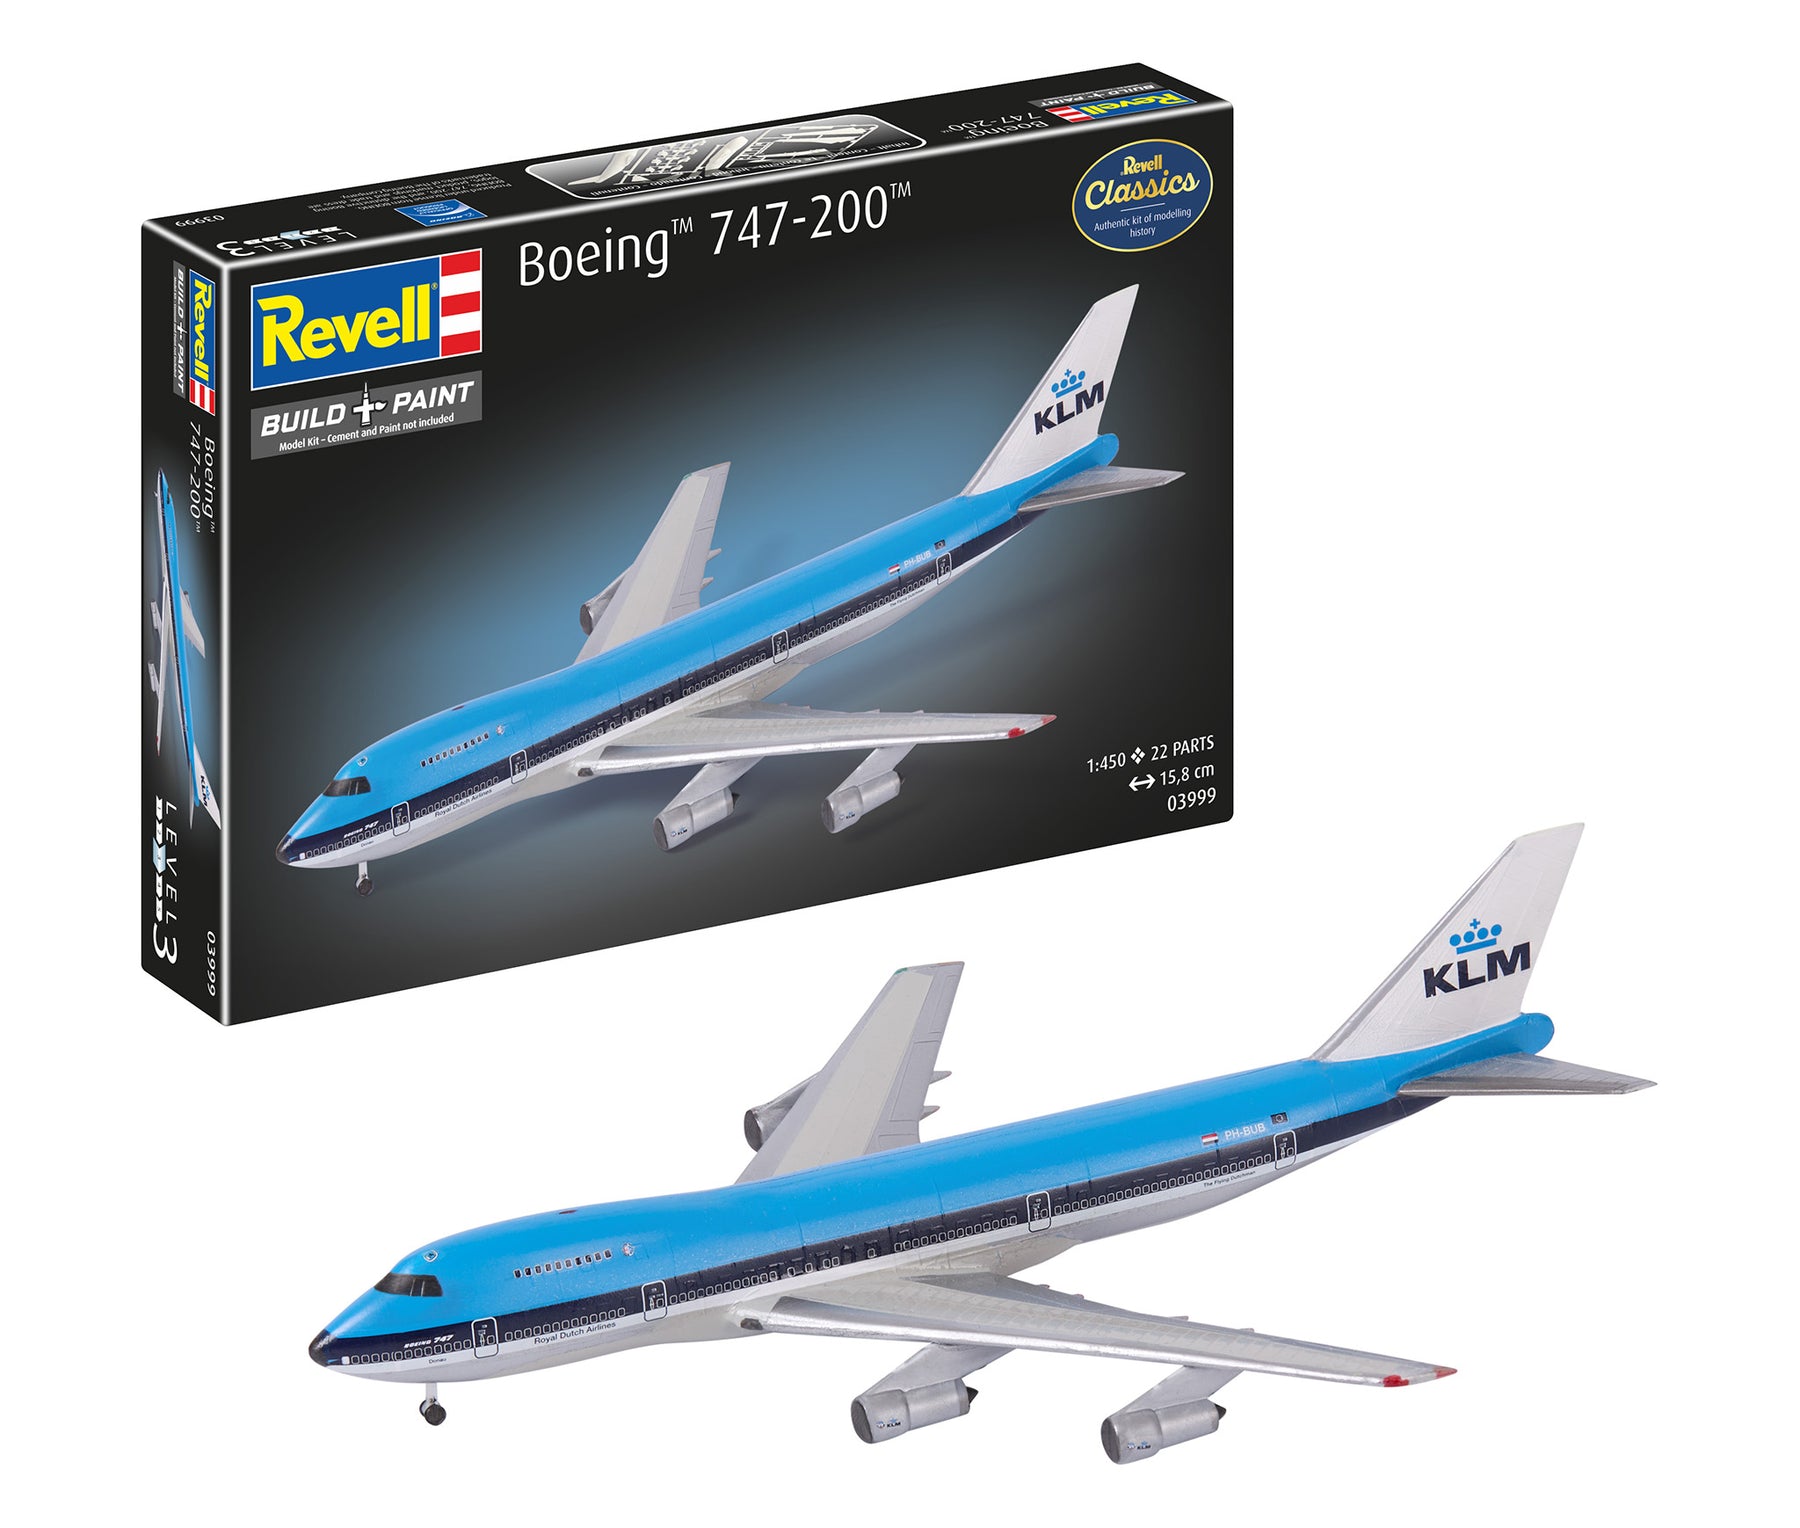
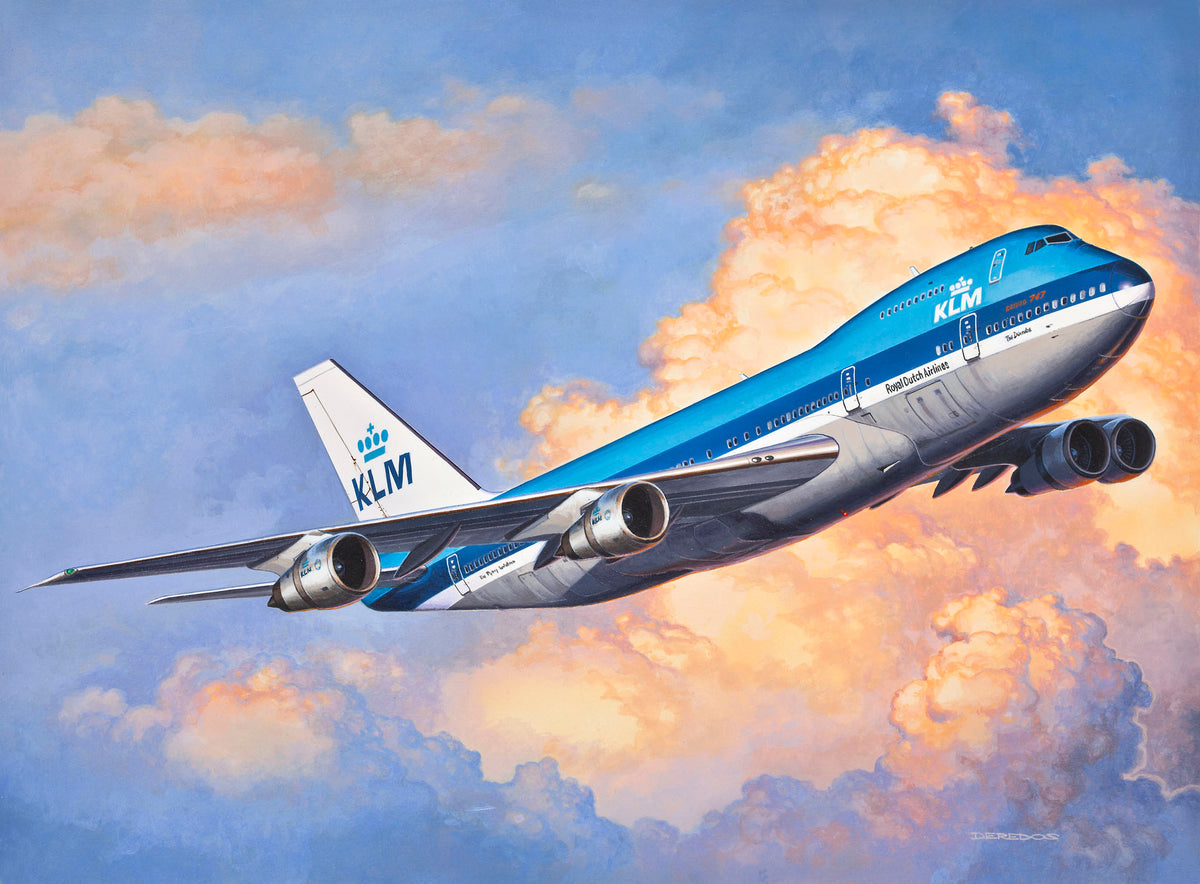
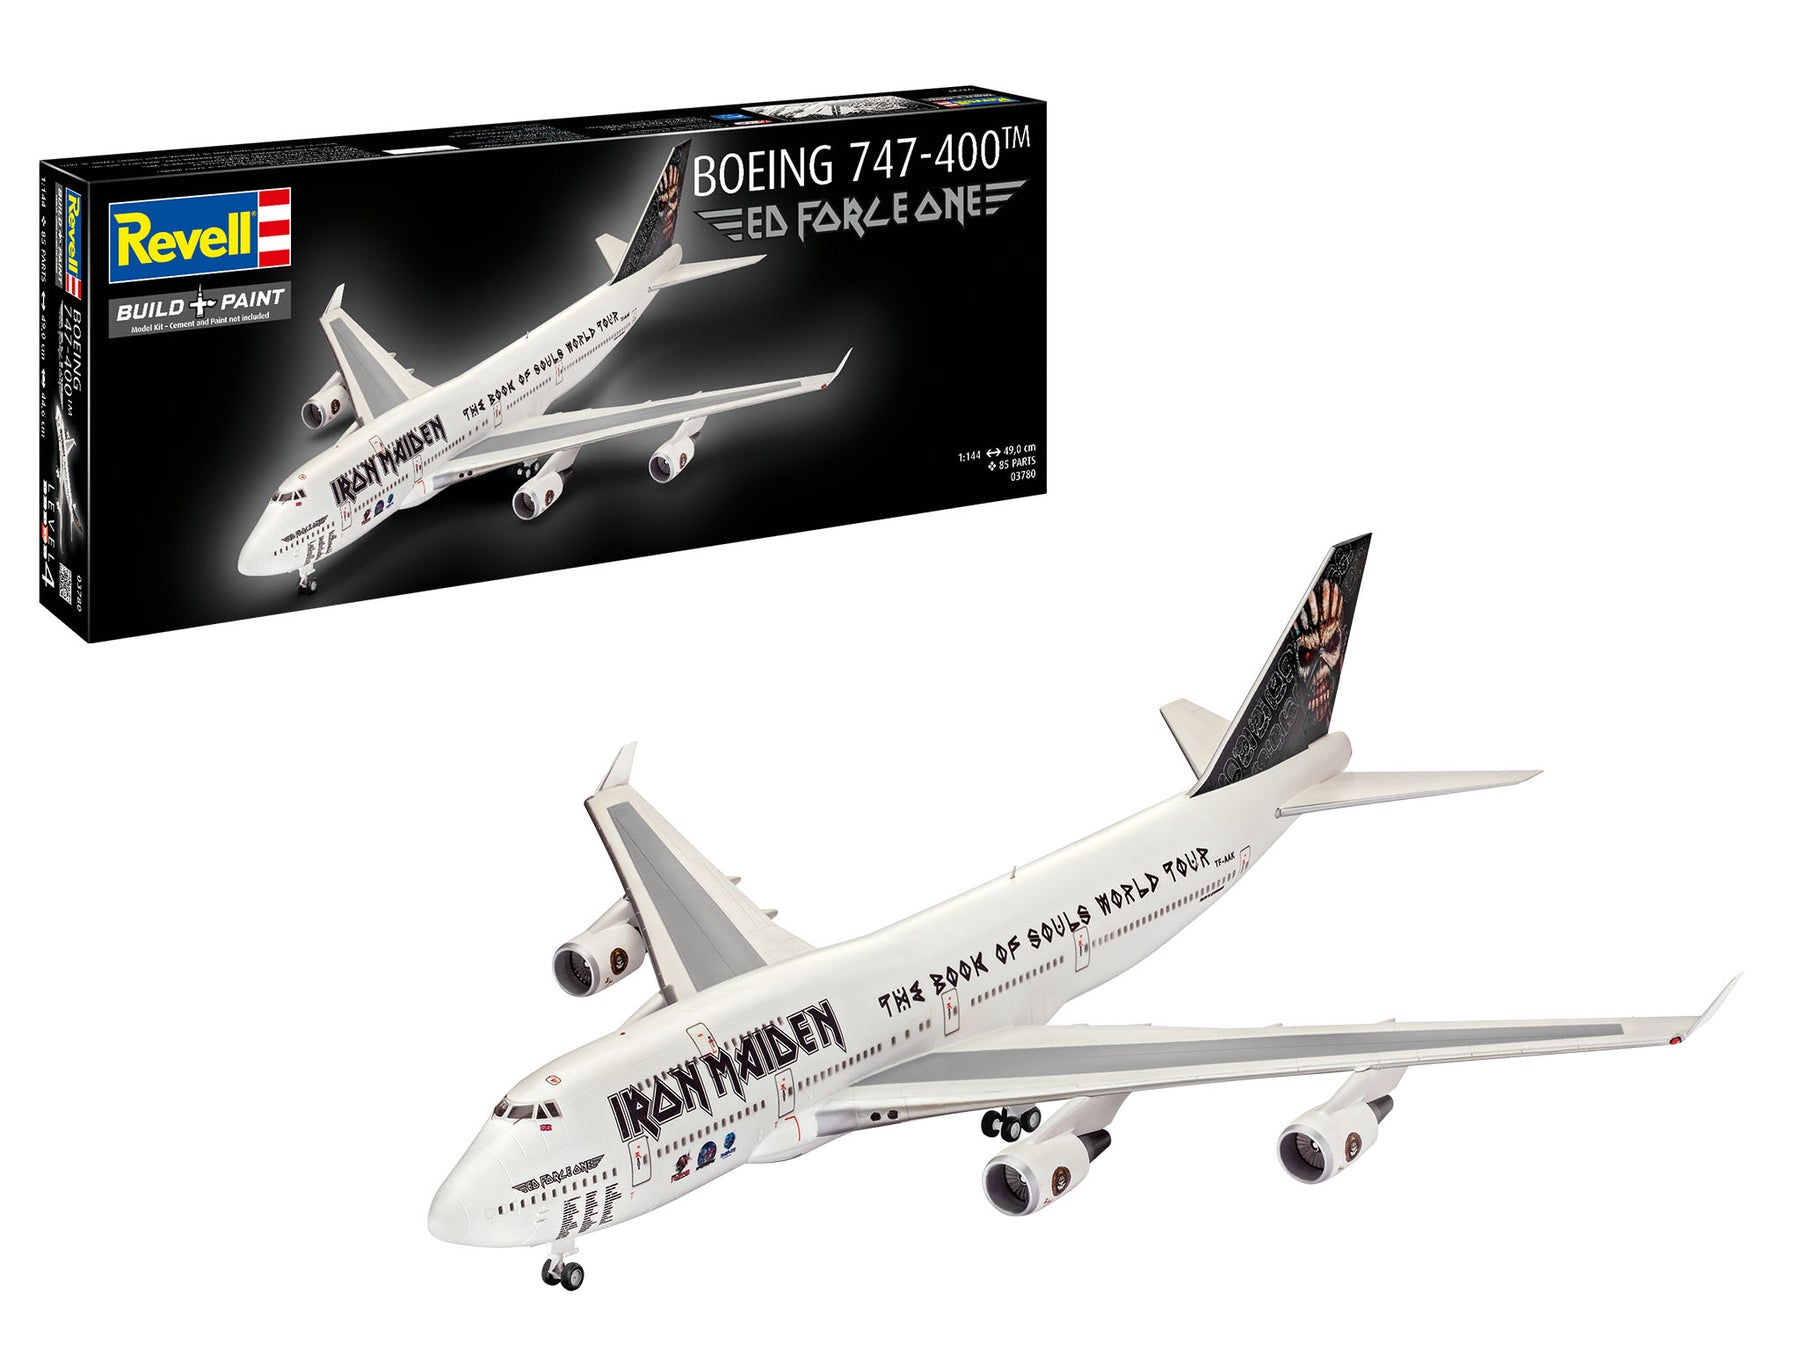
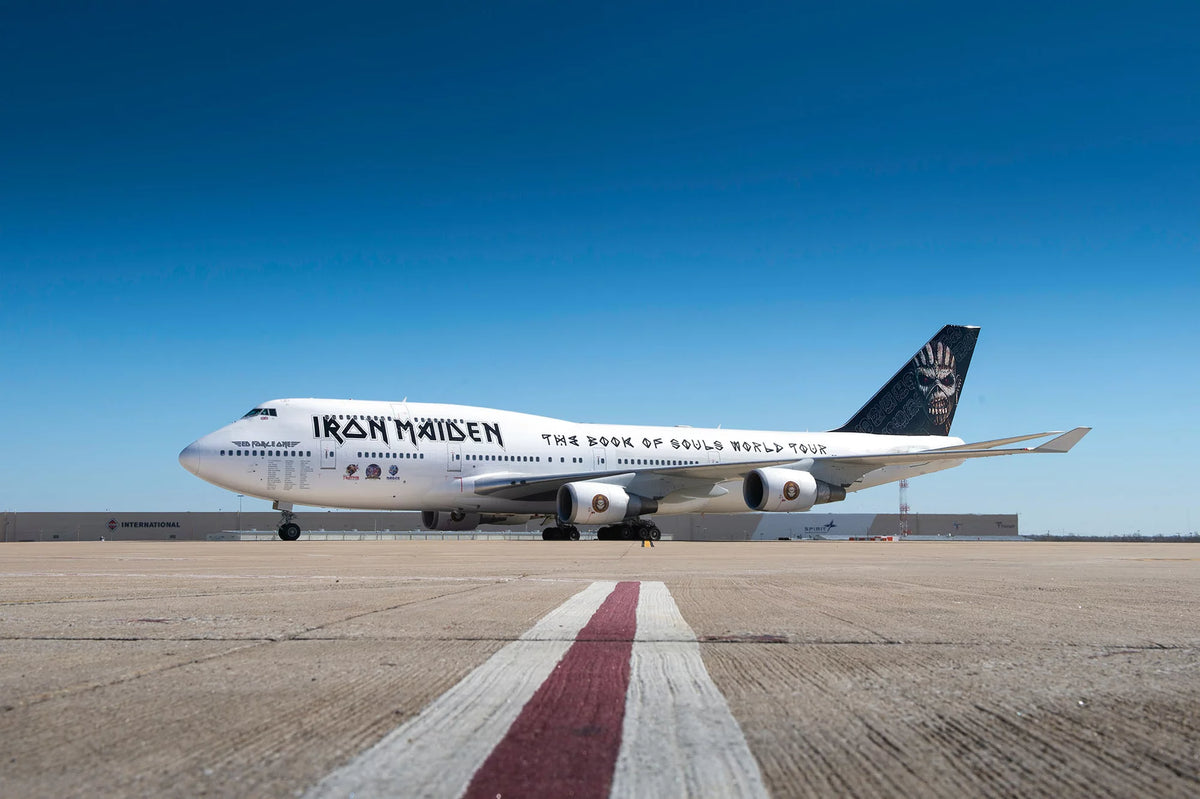
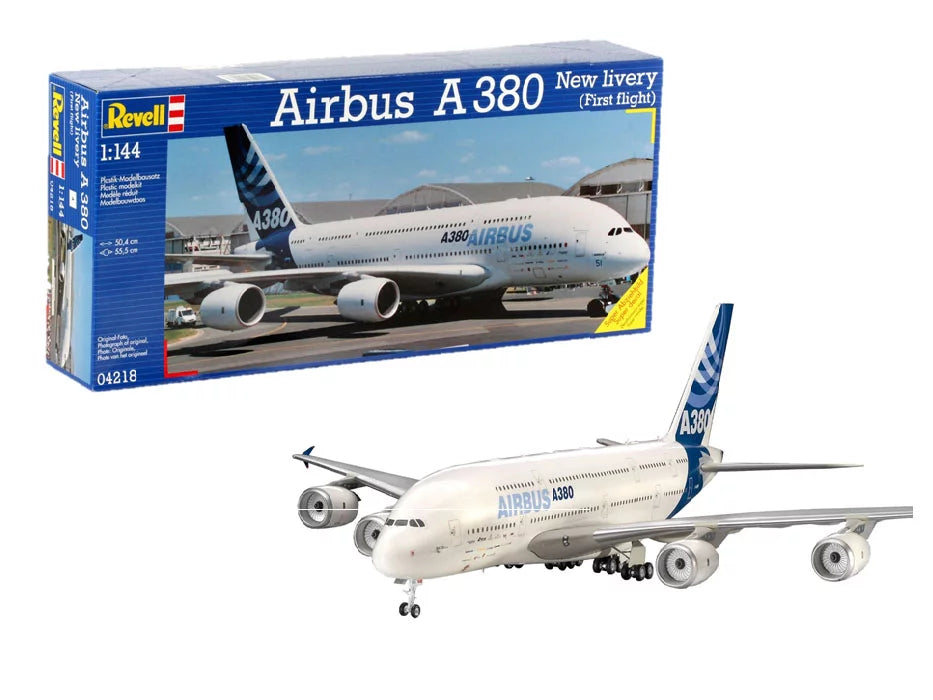
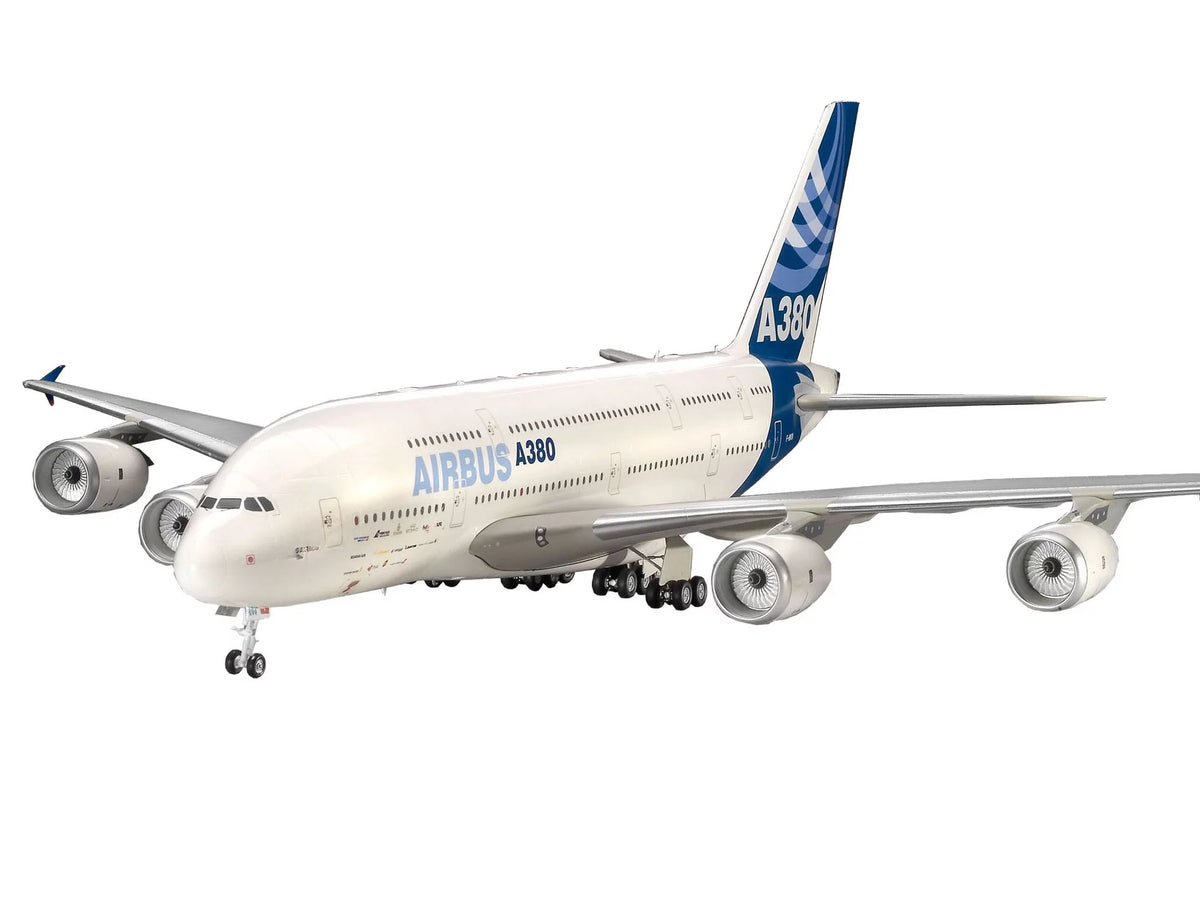
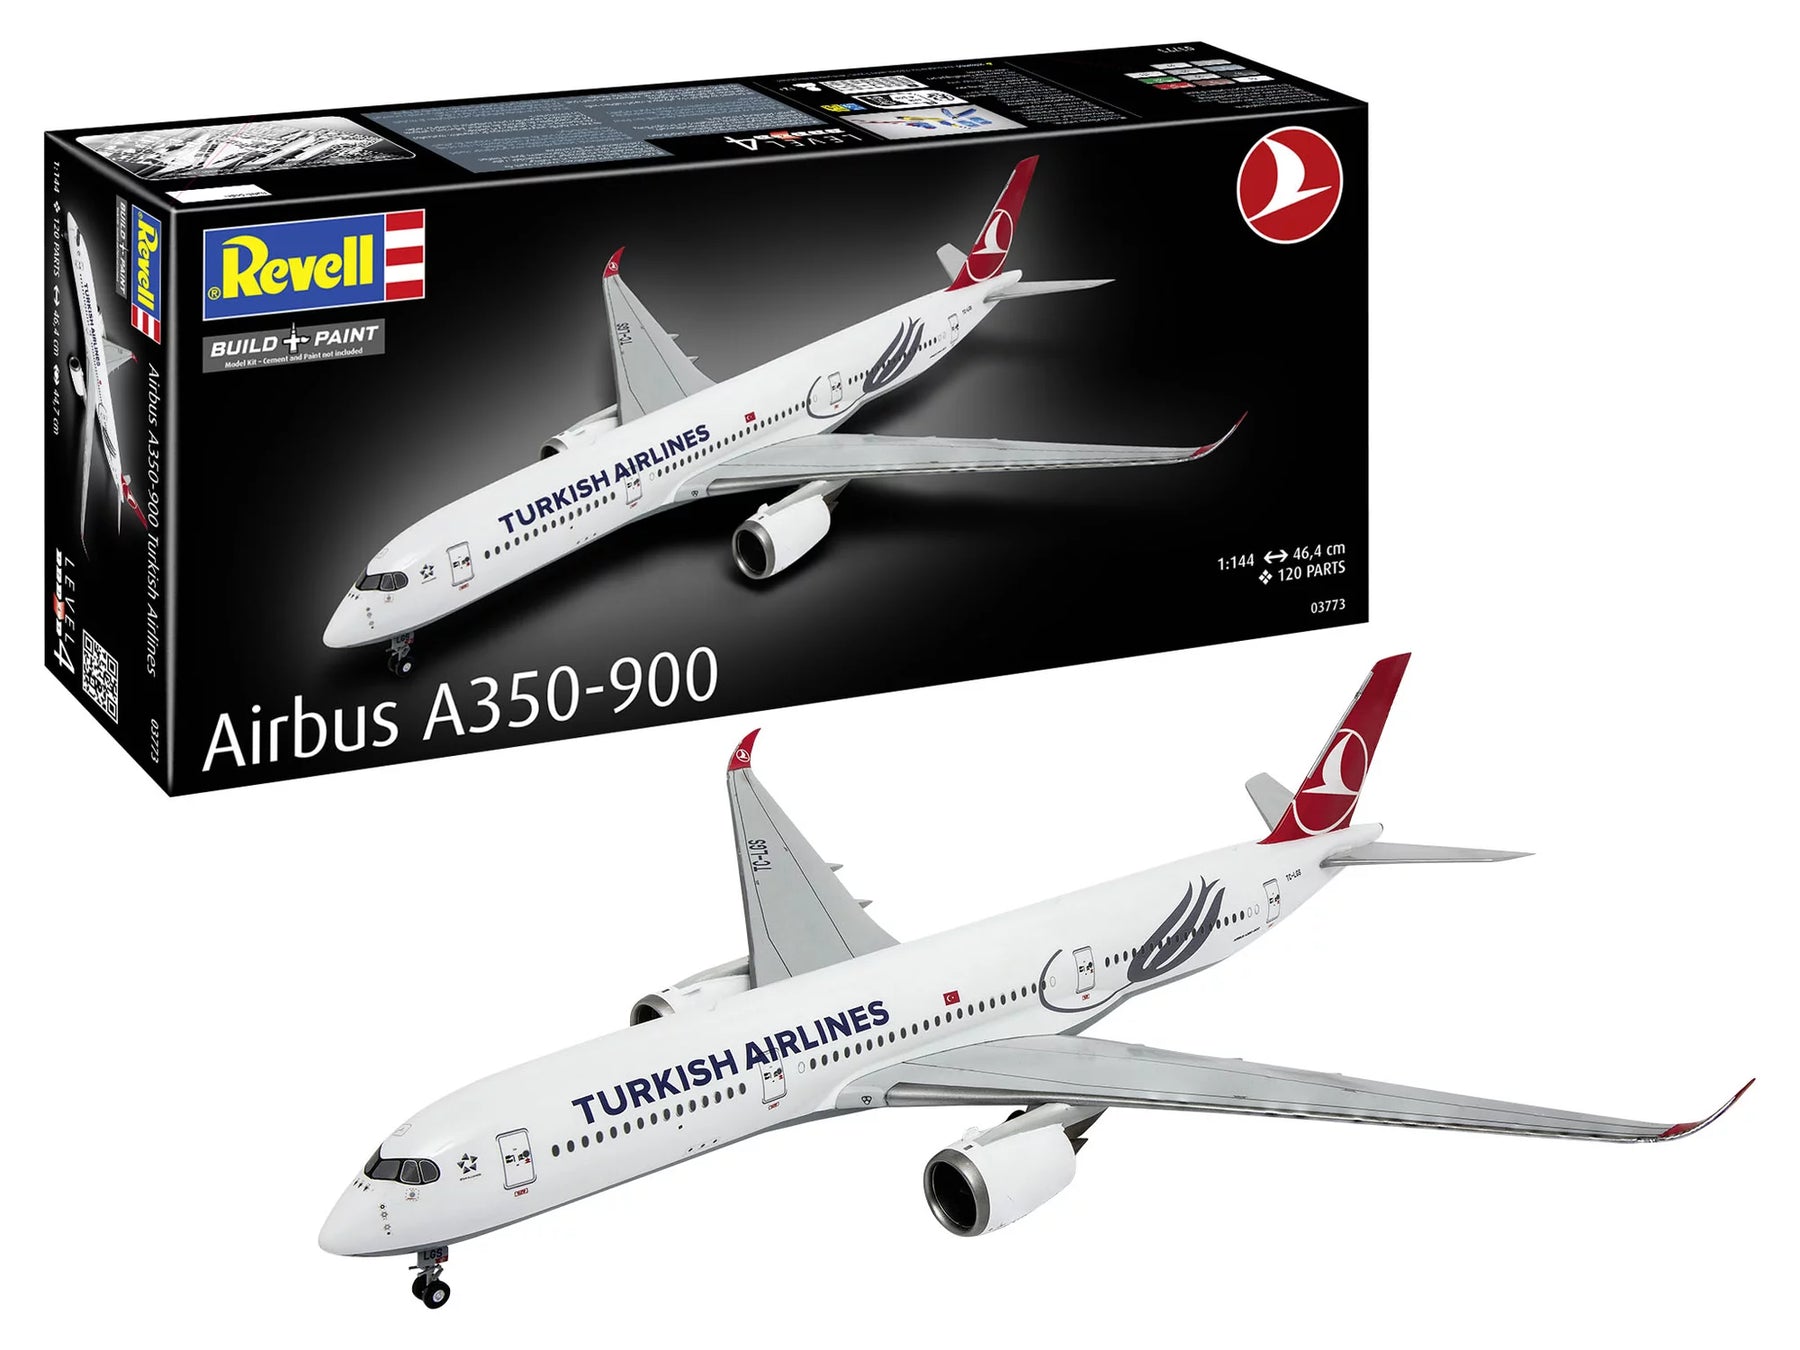
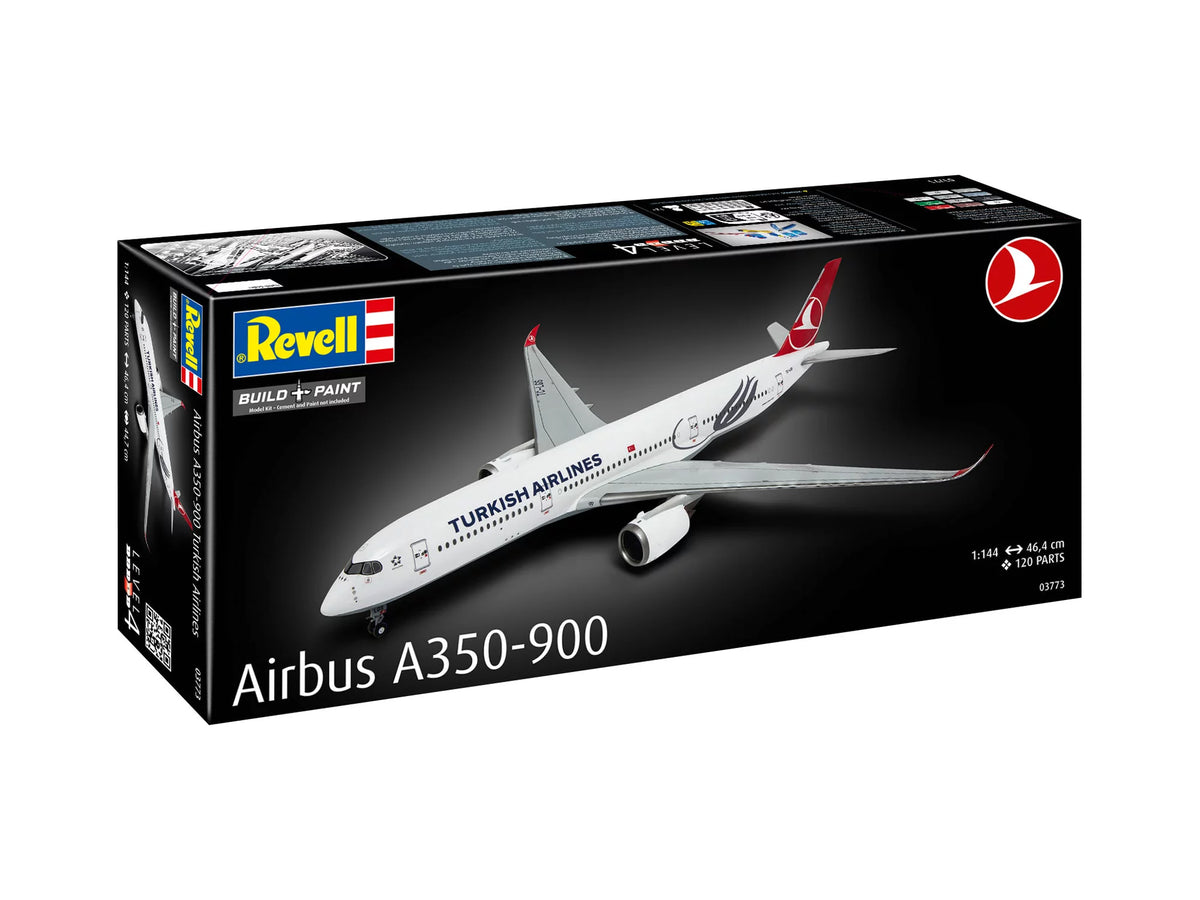
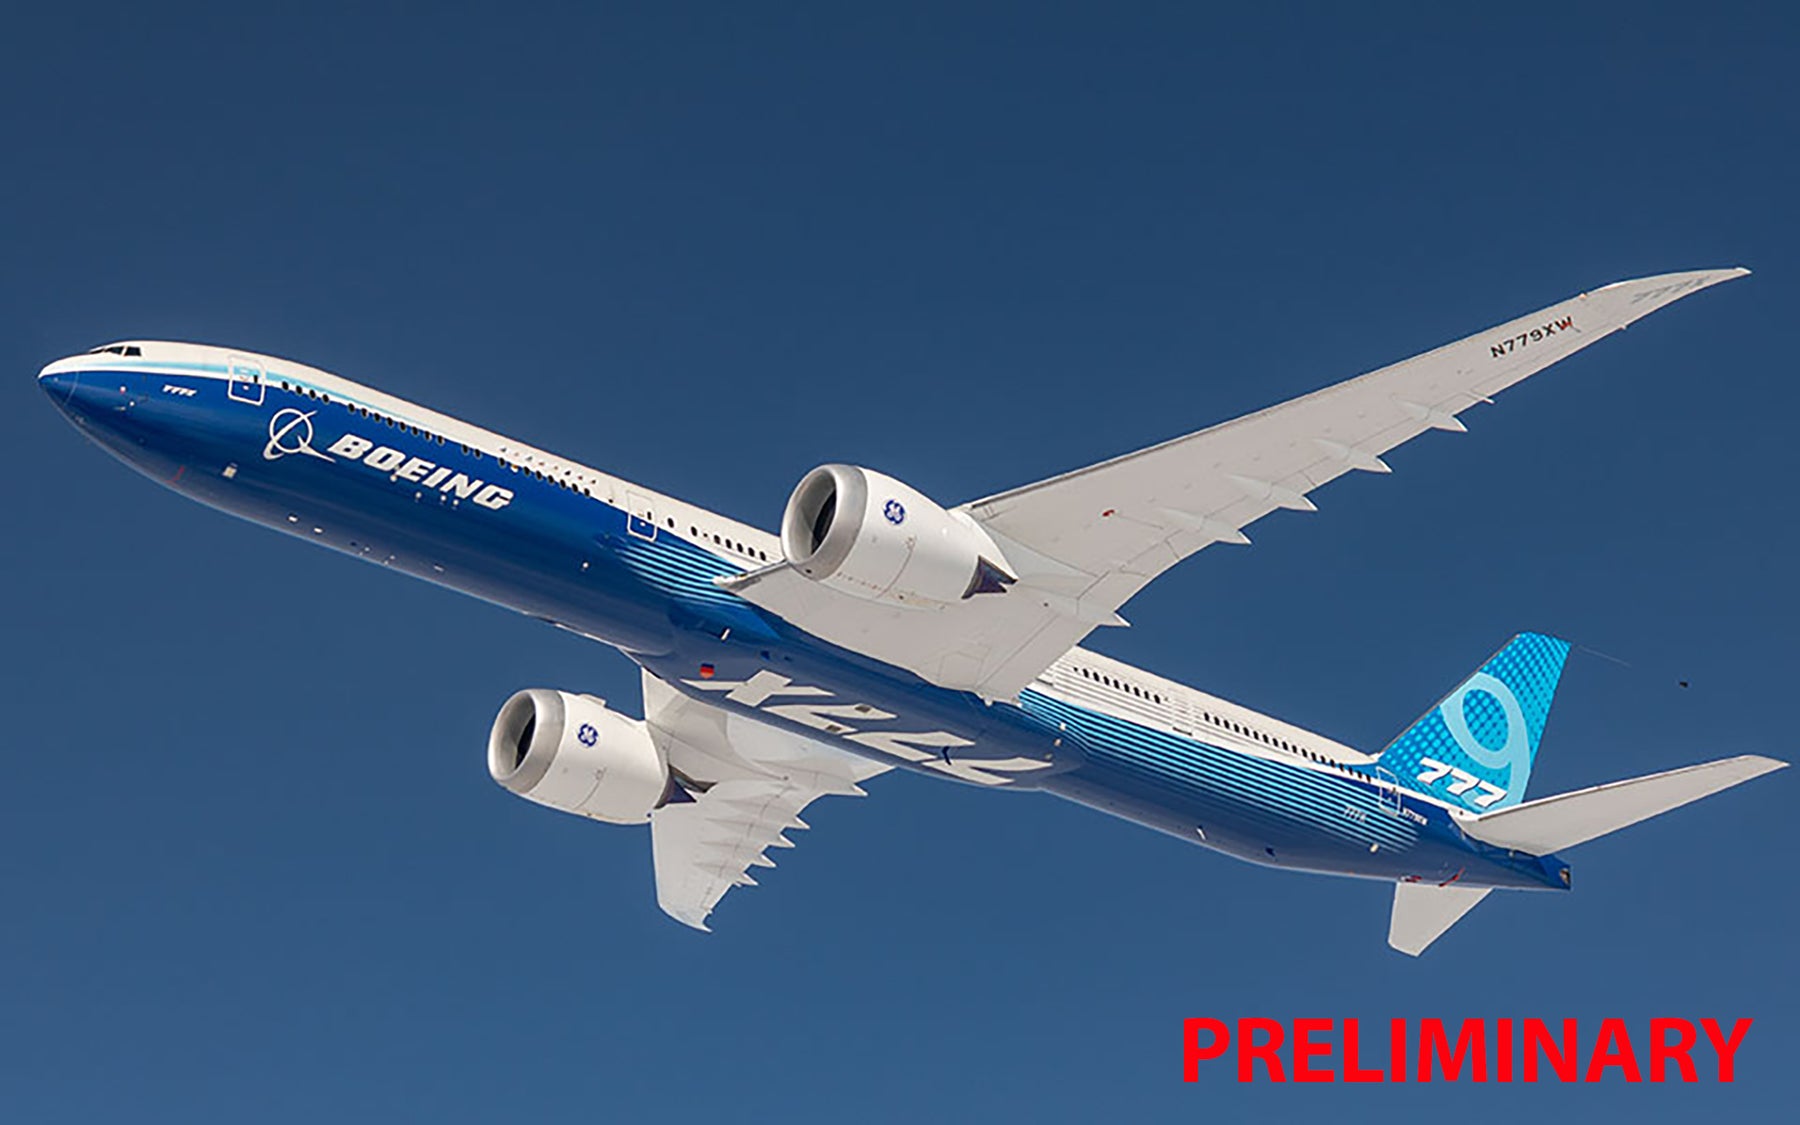
The undisputed queens of the skies are the two-story giants and modern long-range twin-jet aircraft. An Airbus A380 or a Boeing 747 impresses on a scale with its sheer dimensions and incredible wingspan. But modern efficiency miracles such as the Airbus A350 or the Boeing 787 Dreamliner also impress with their distinctive, curved wing ends, the so-called winglets or raked wingtips. If you choose one of these giants, you can expect highly detailed engines with delicate fan blades, complex multi-axis landing gear and huge fuselage halves, whose clean alignment is the be-all and end-all for a flawless result.
Short and medium distance classics
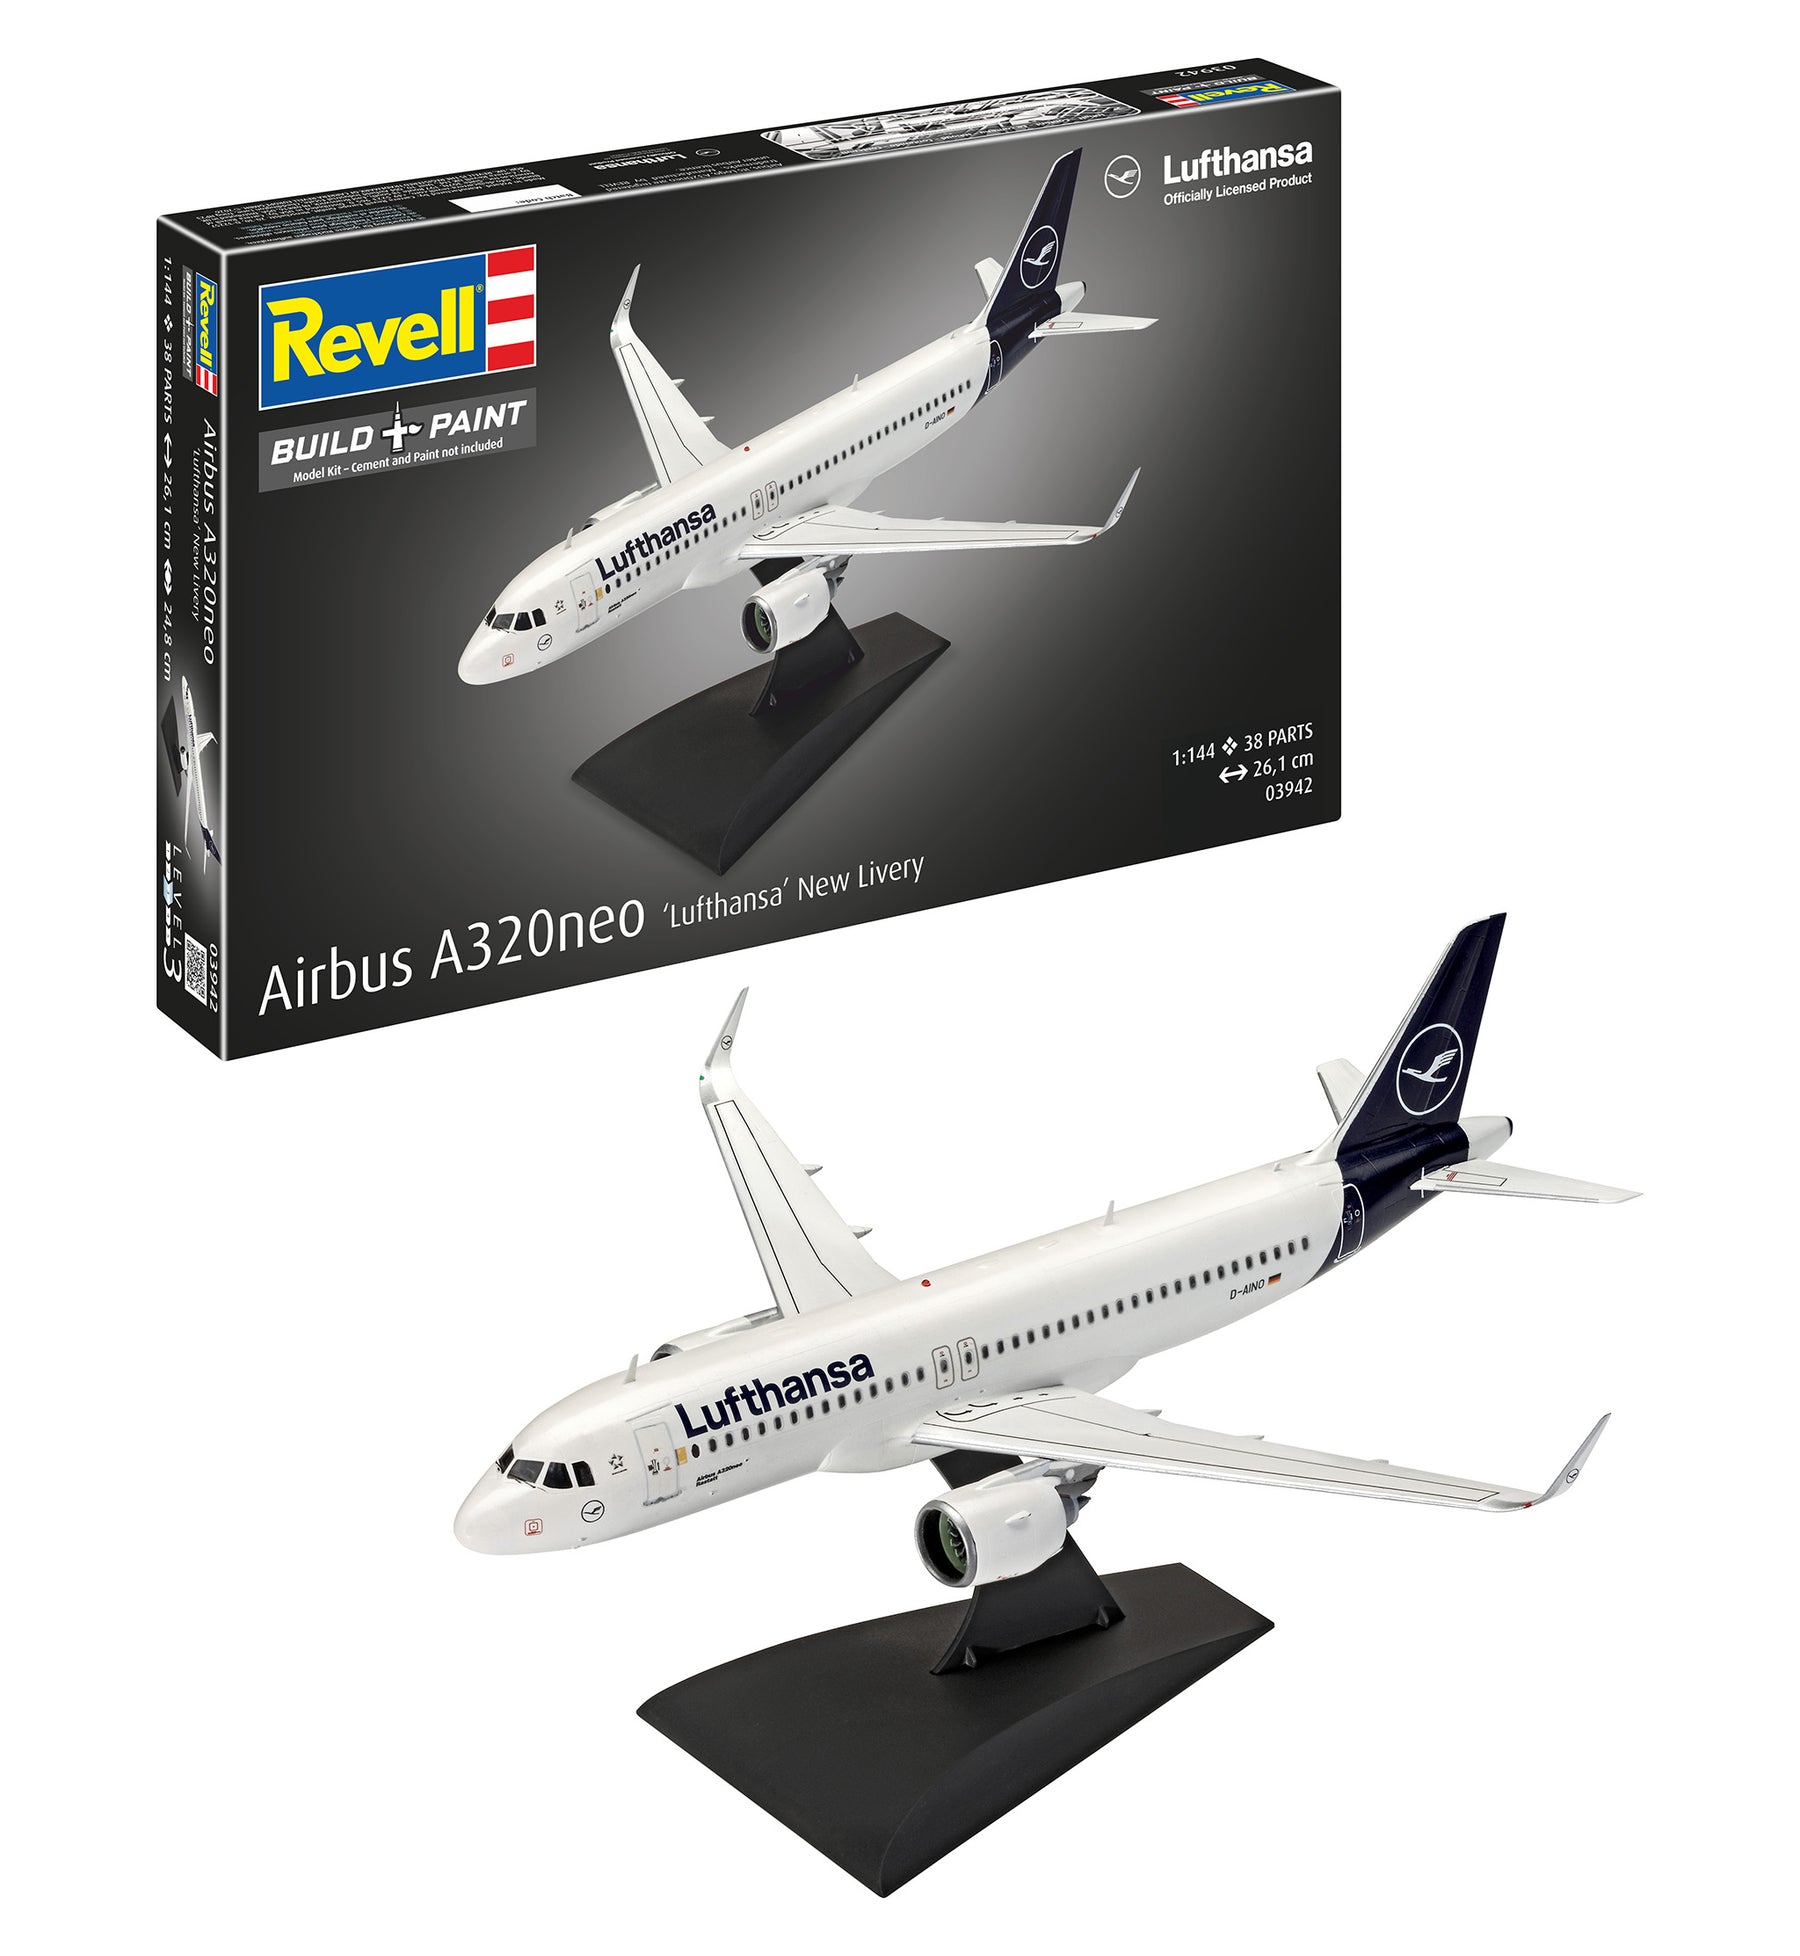
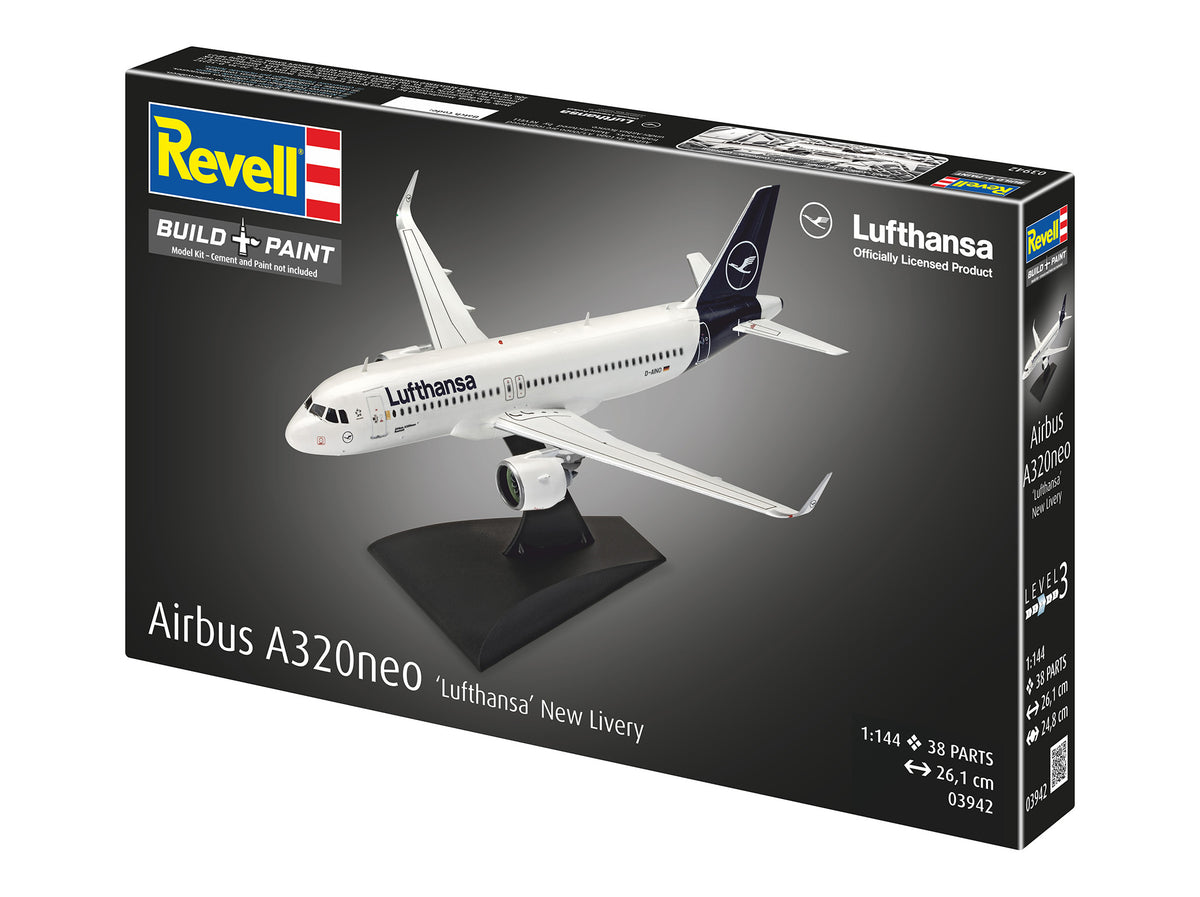
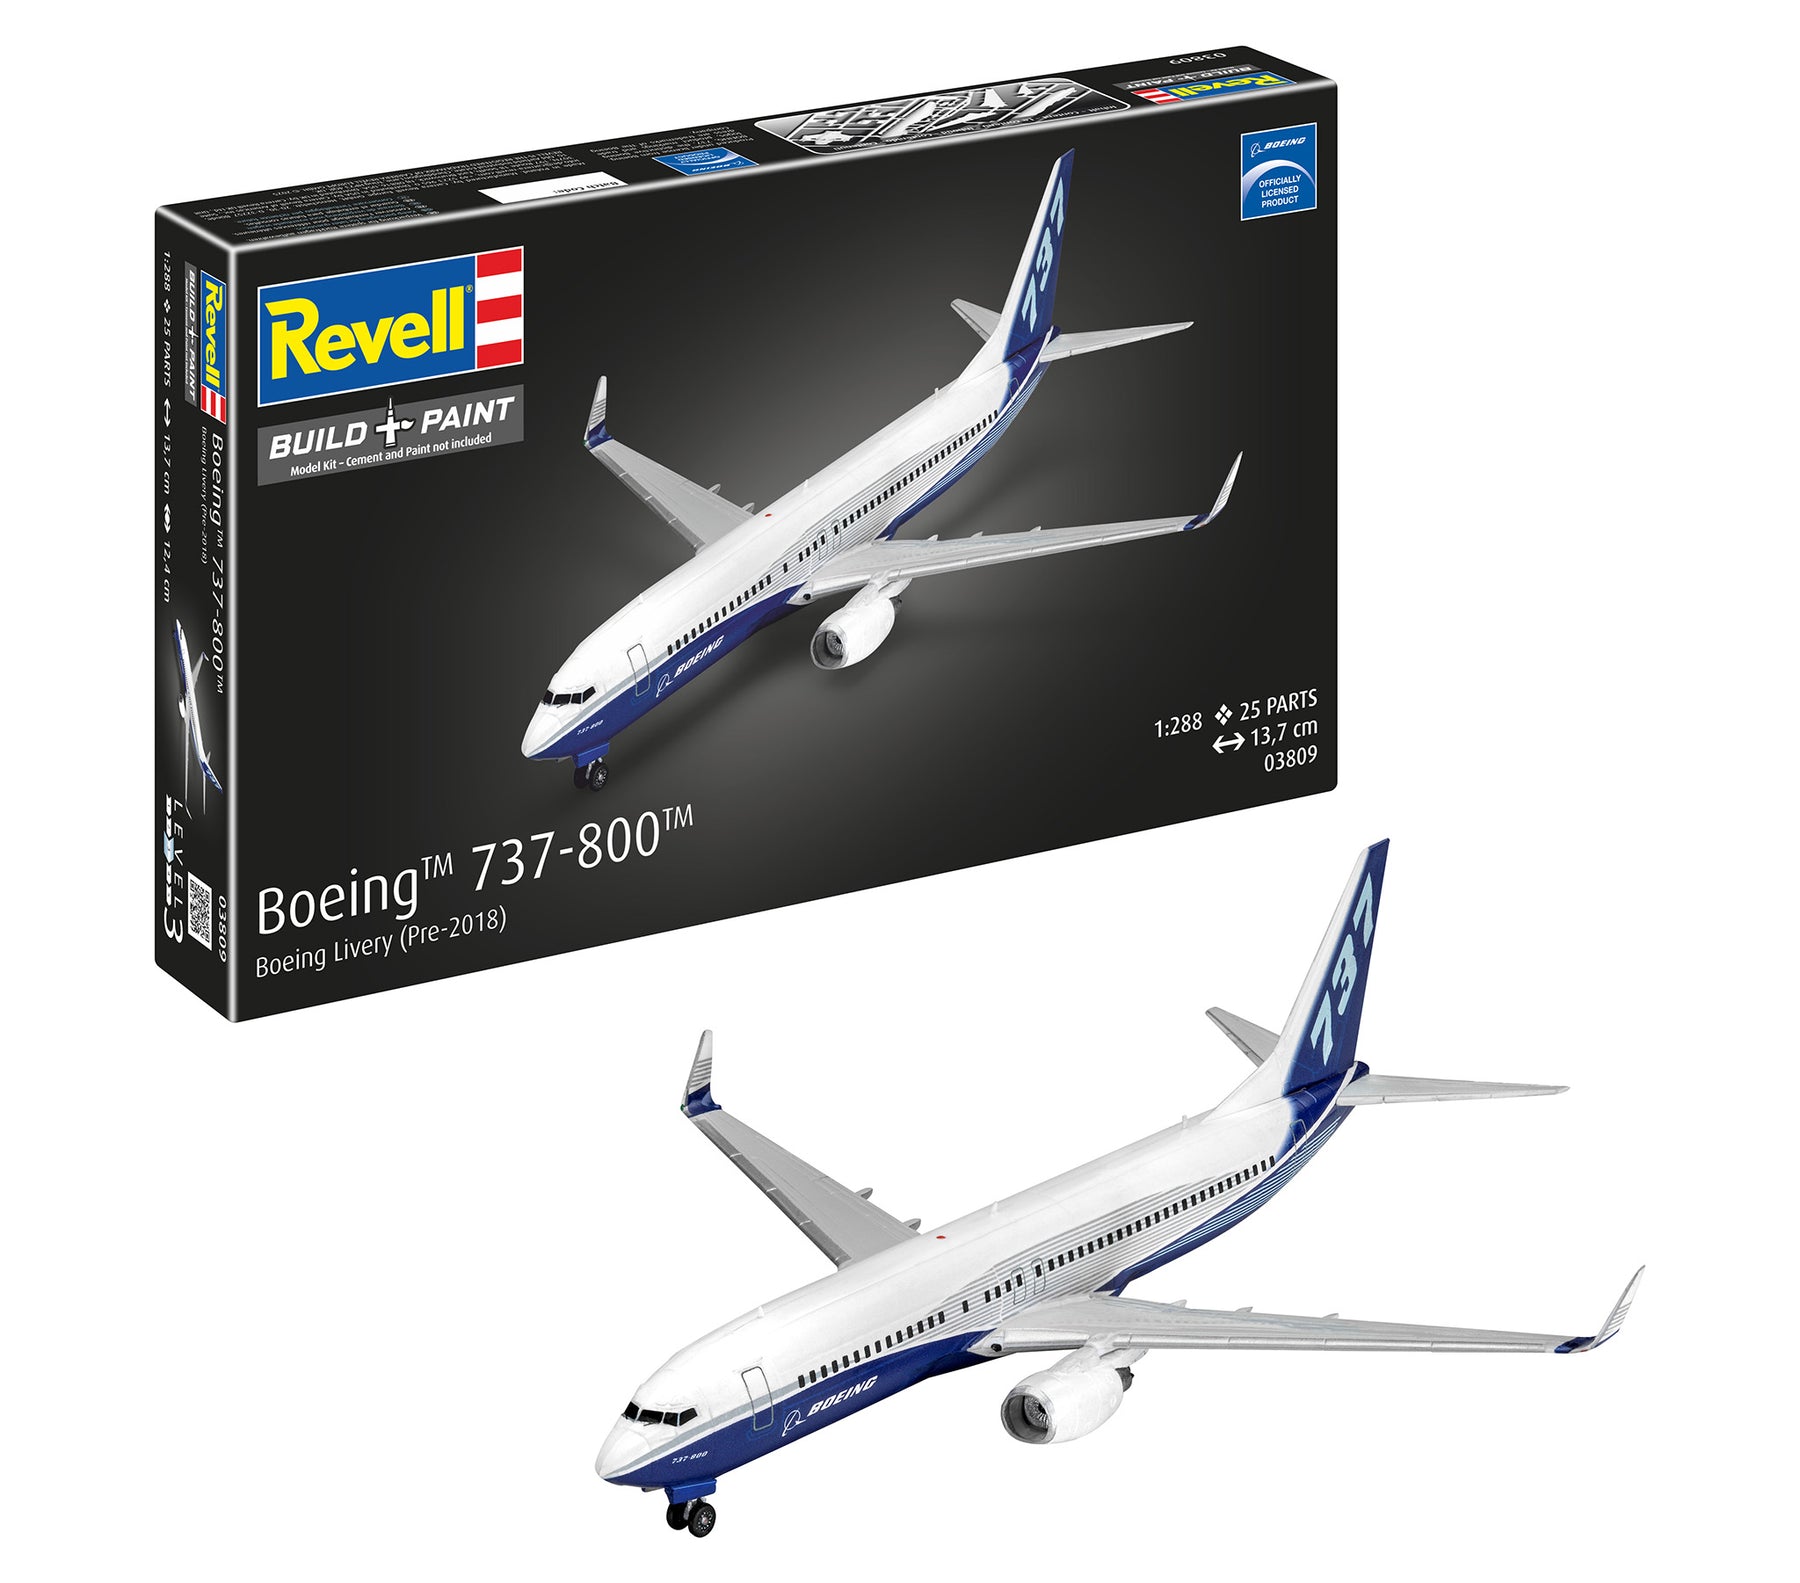
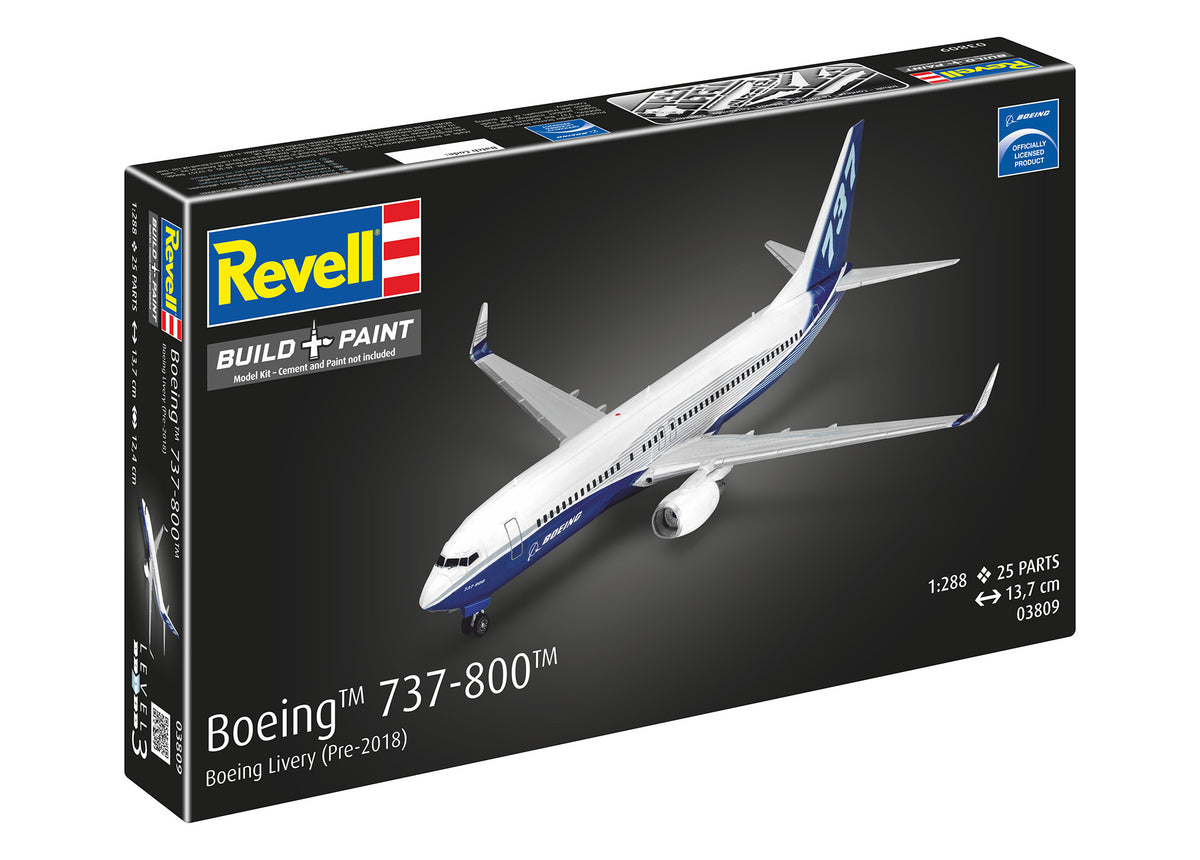
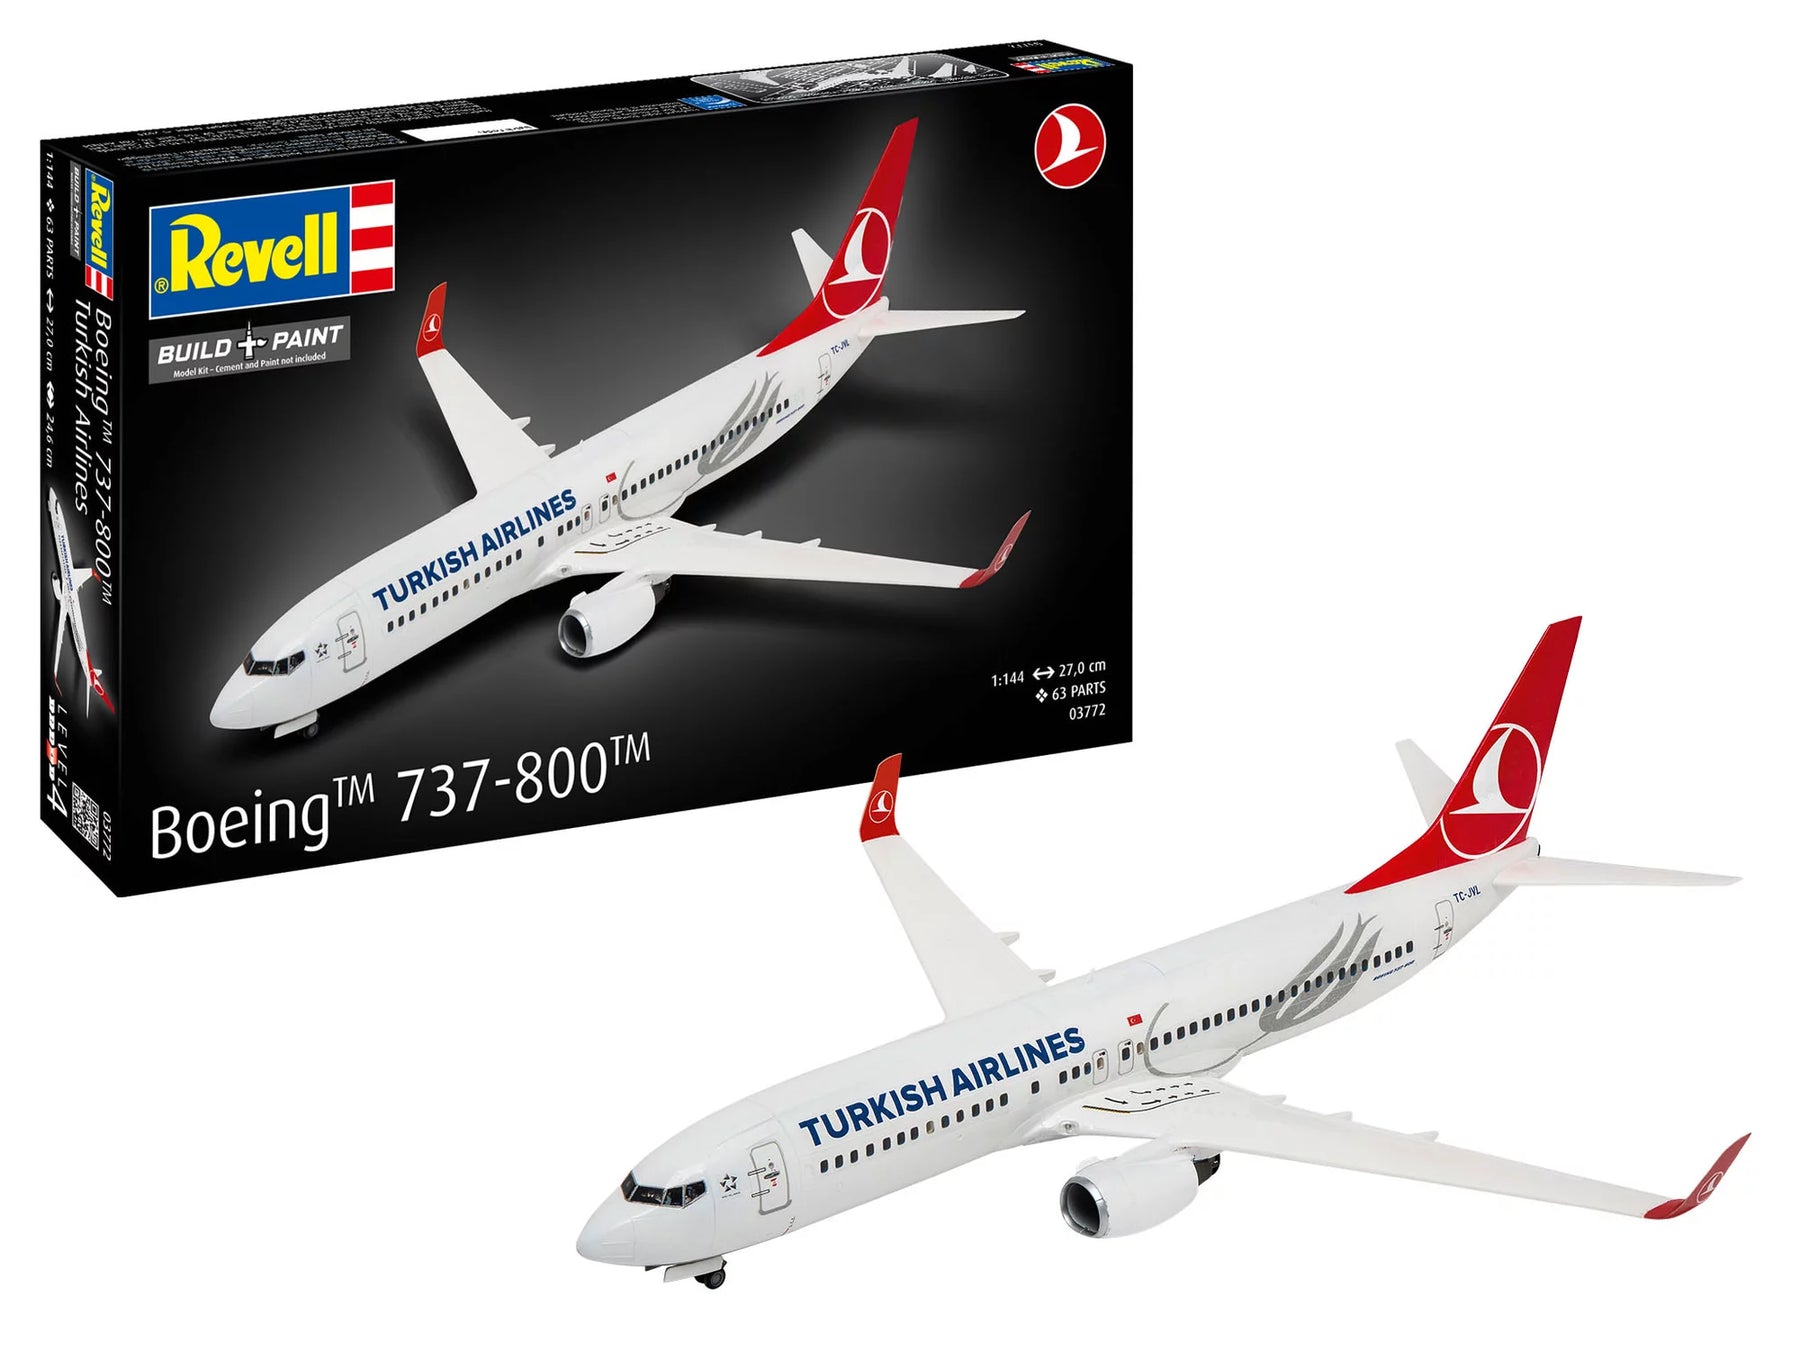
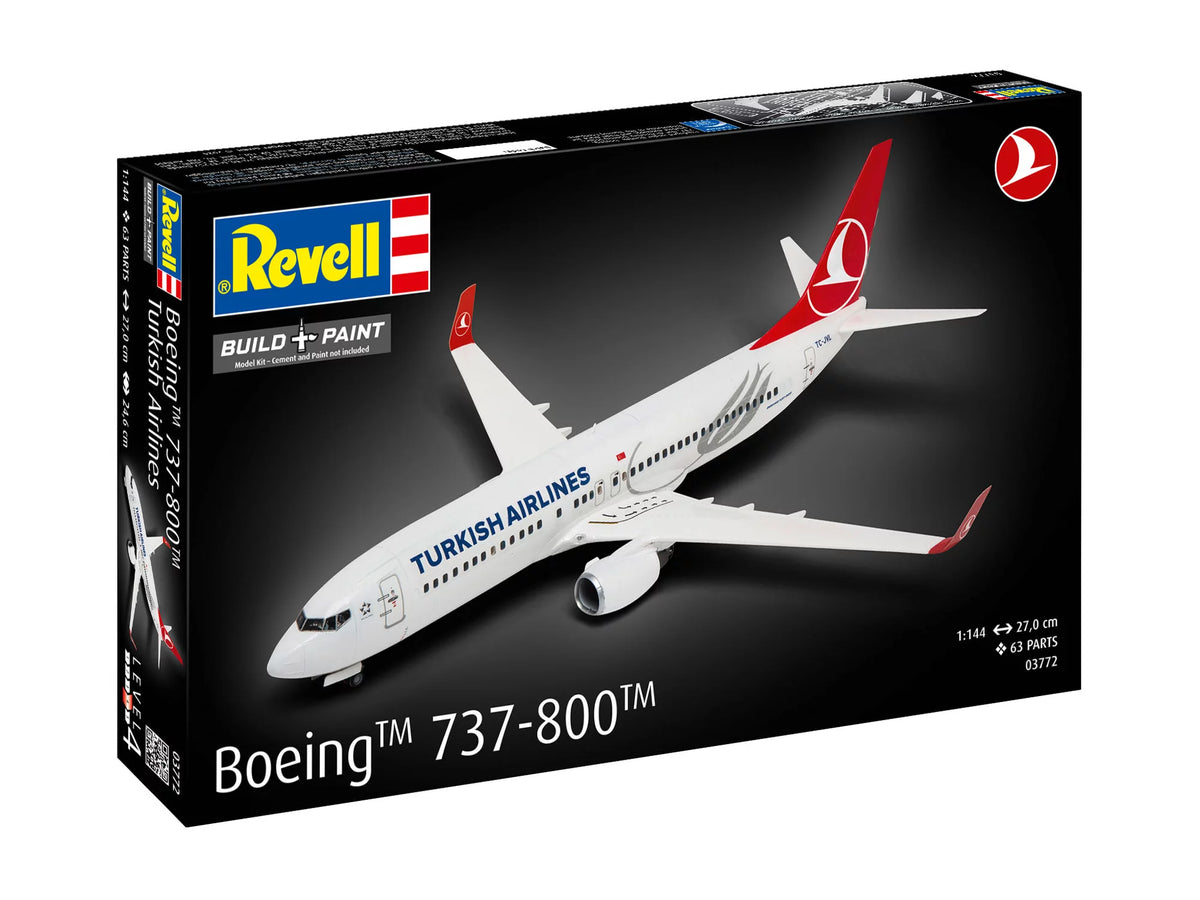
The real workhorses of global air traffic are aircraft like the Airbus A320 family or the Boeing 737. Almost every model maker has flown on vacation in such an aircraft. It is precisely this personal connection that makes the kits so popular. These aircraft are ideal for a manageable weekend project, but still require real detailed work when installing delicate antennas, landing gear doors and pitot tubes. With the right decals you can recreate exactly the machine with which you started your last vacation trip.
Aviation legends and pioneers
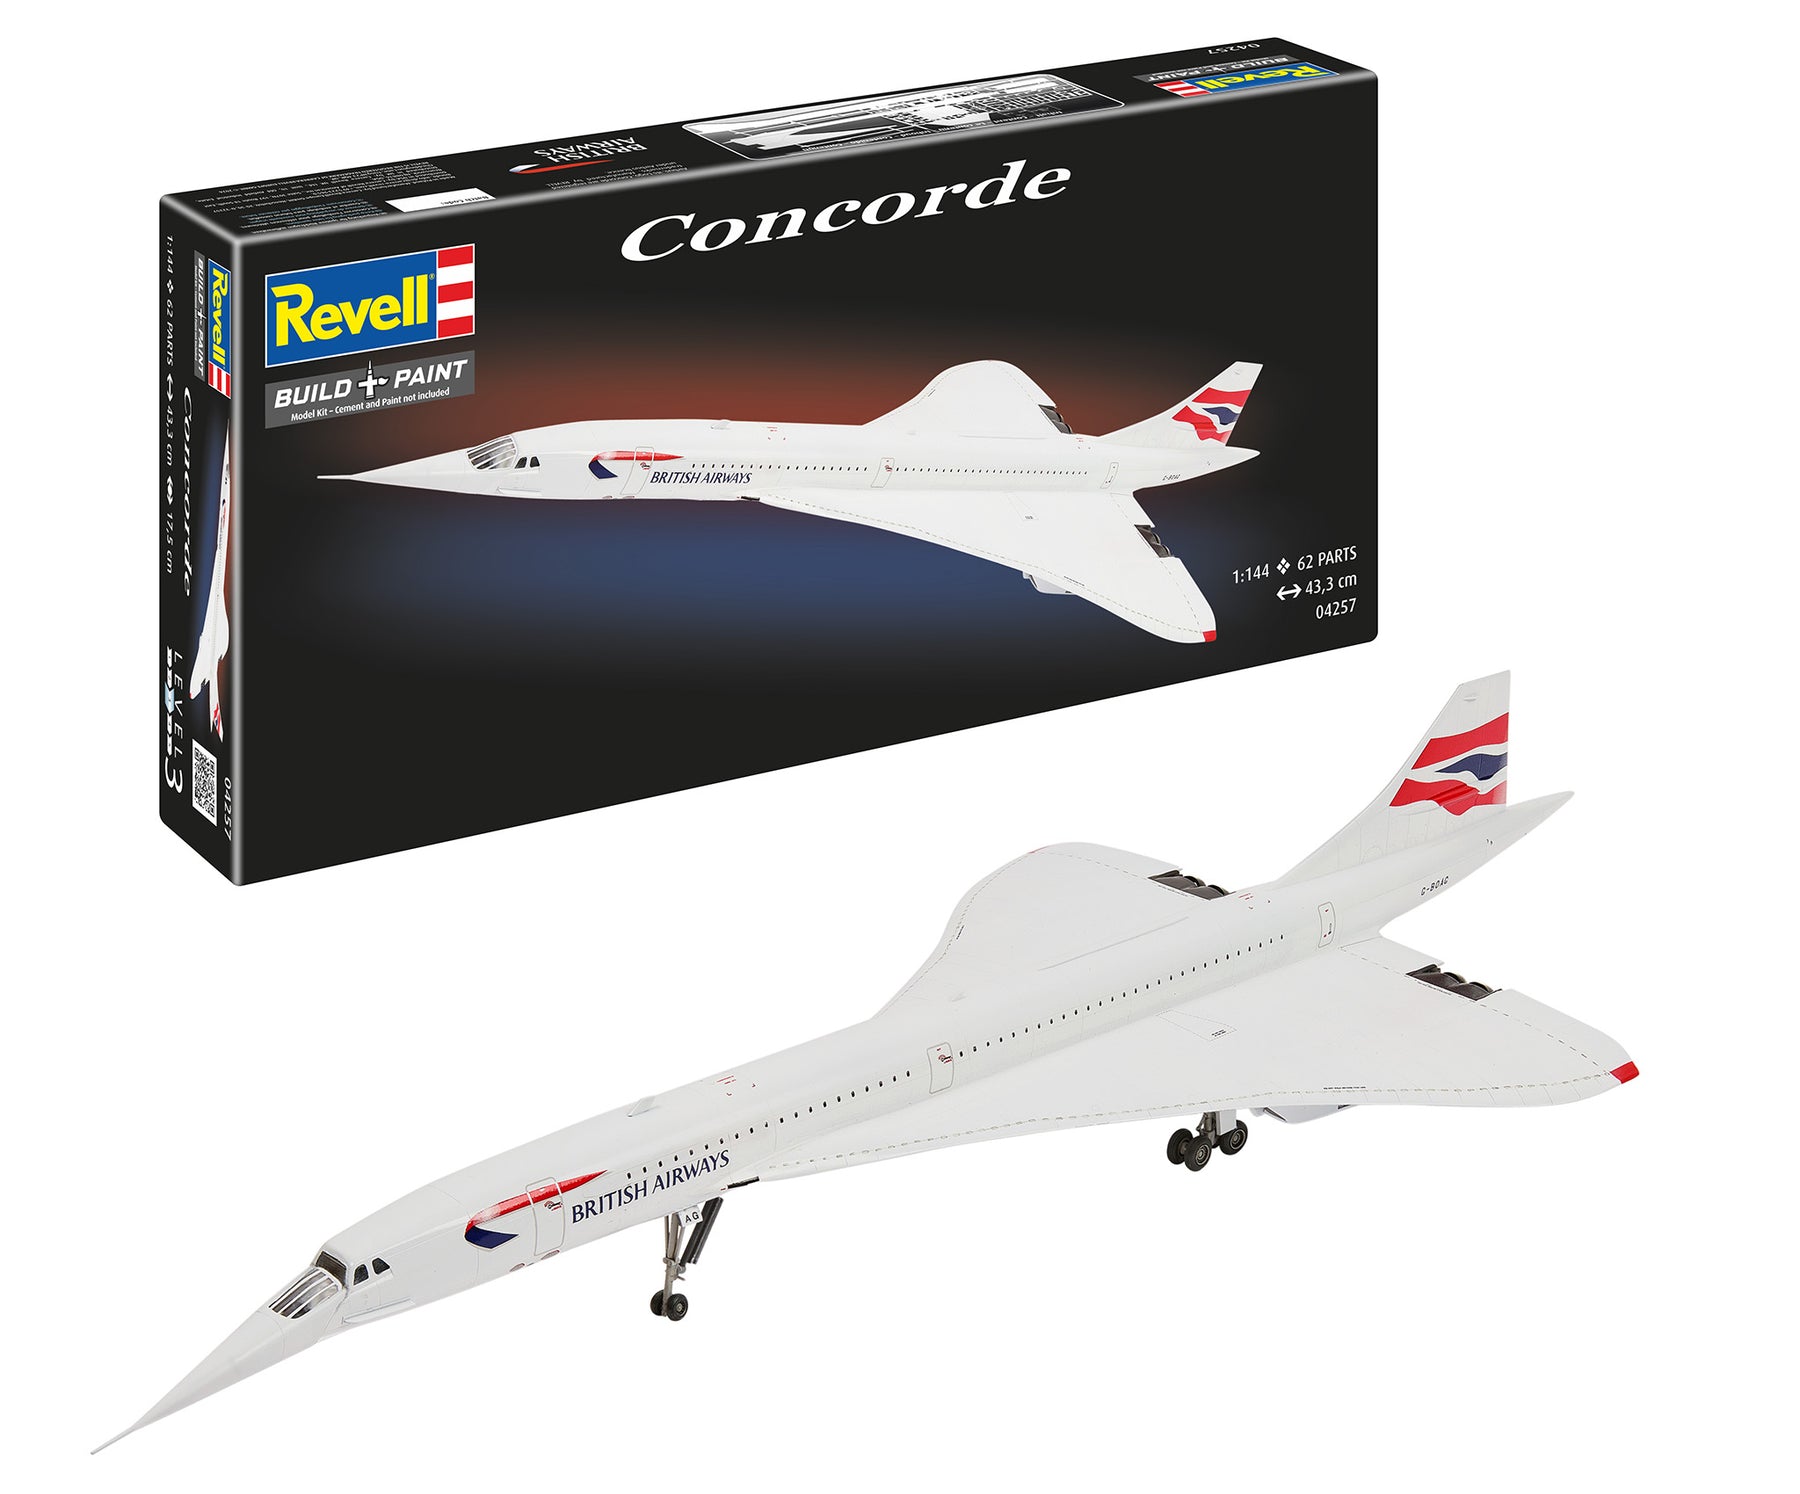
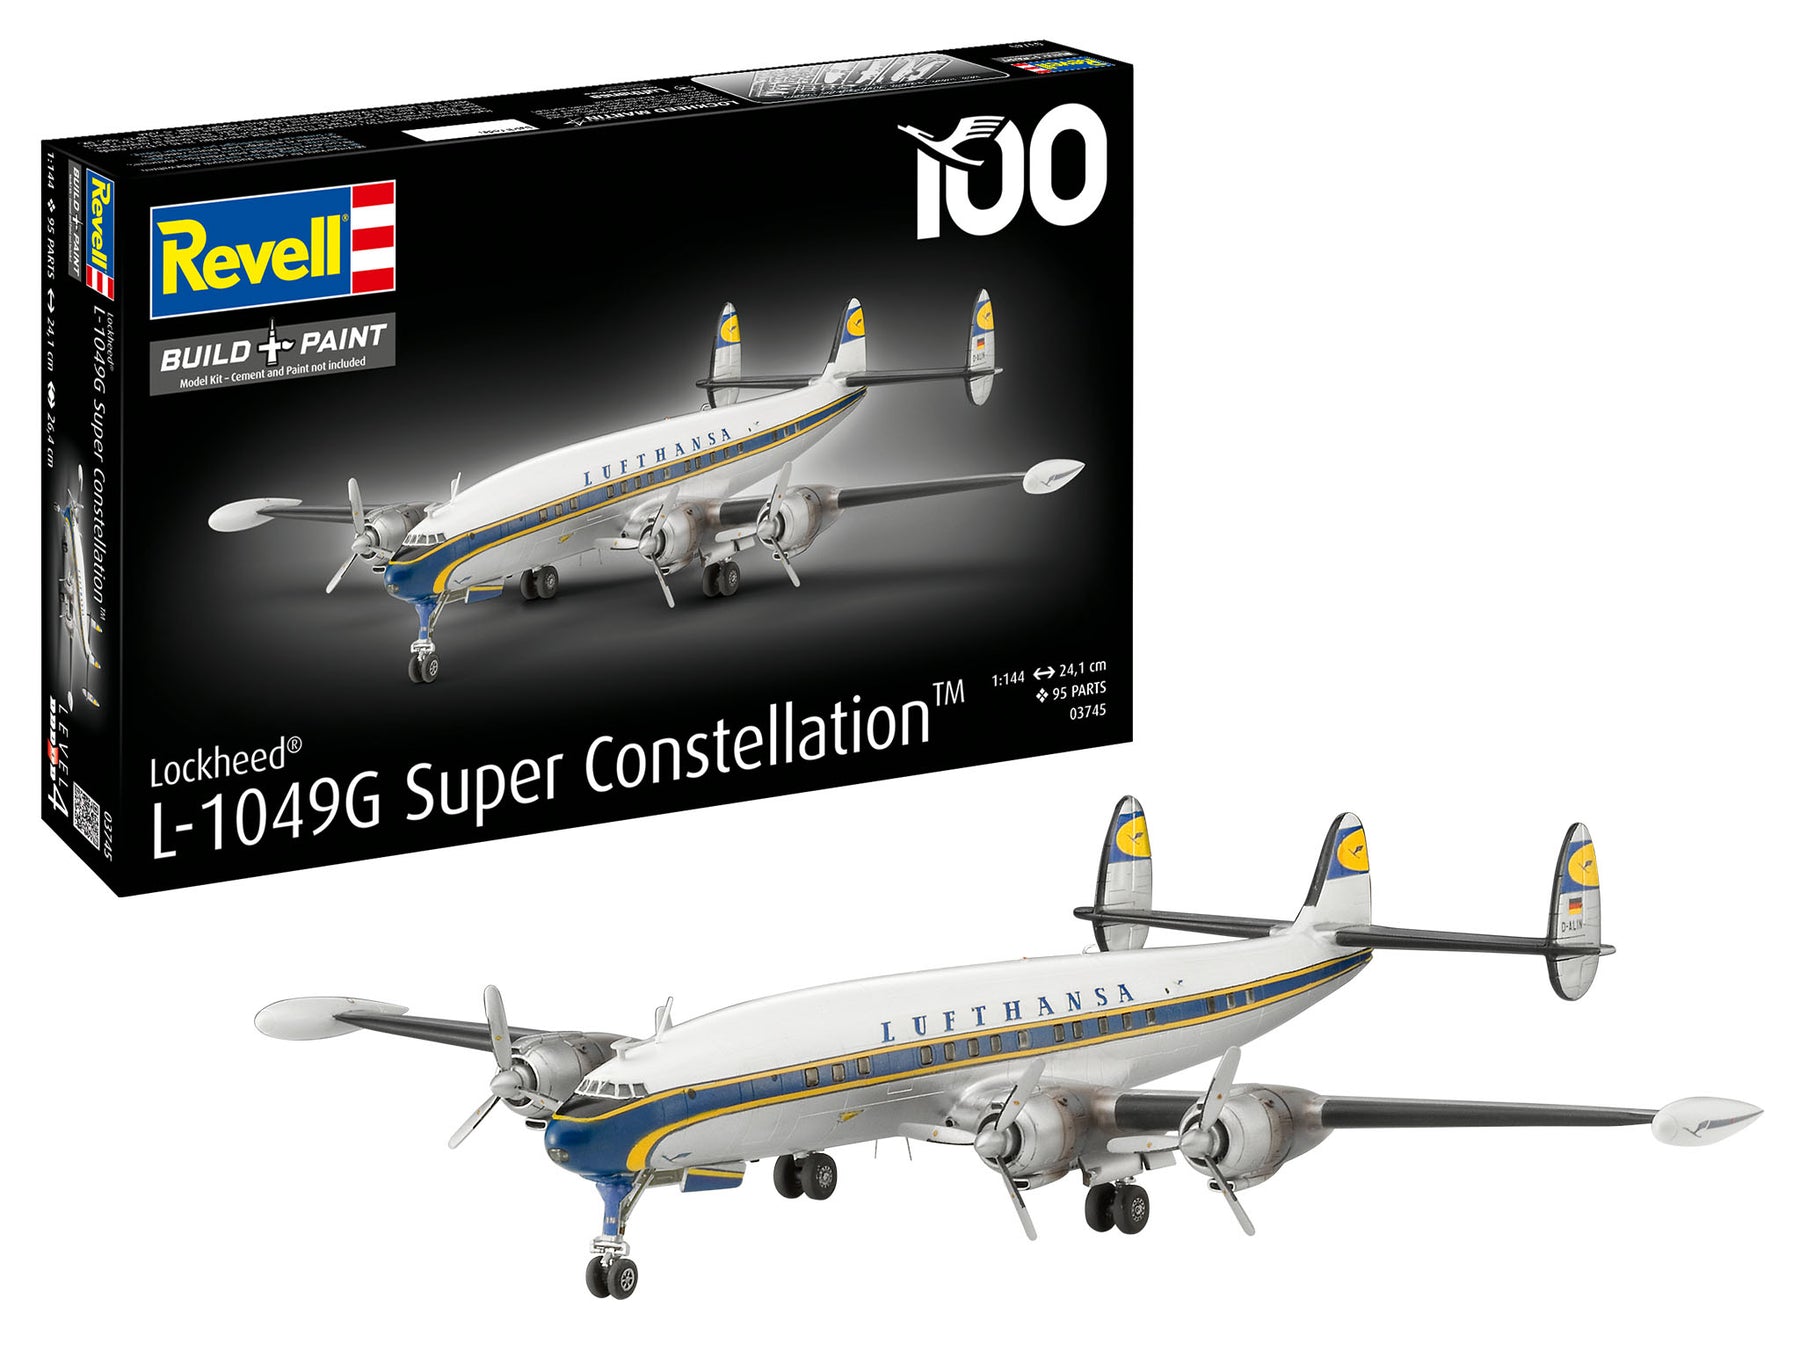
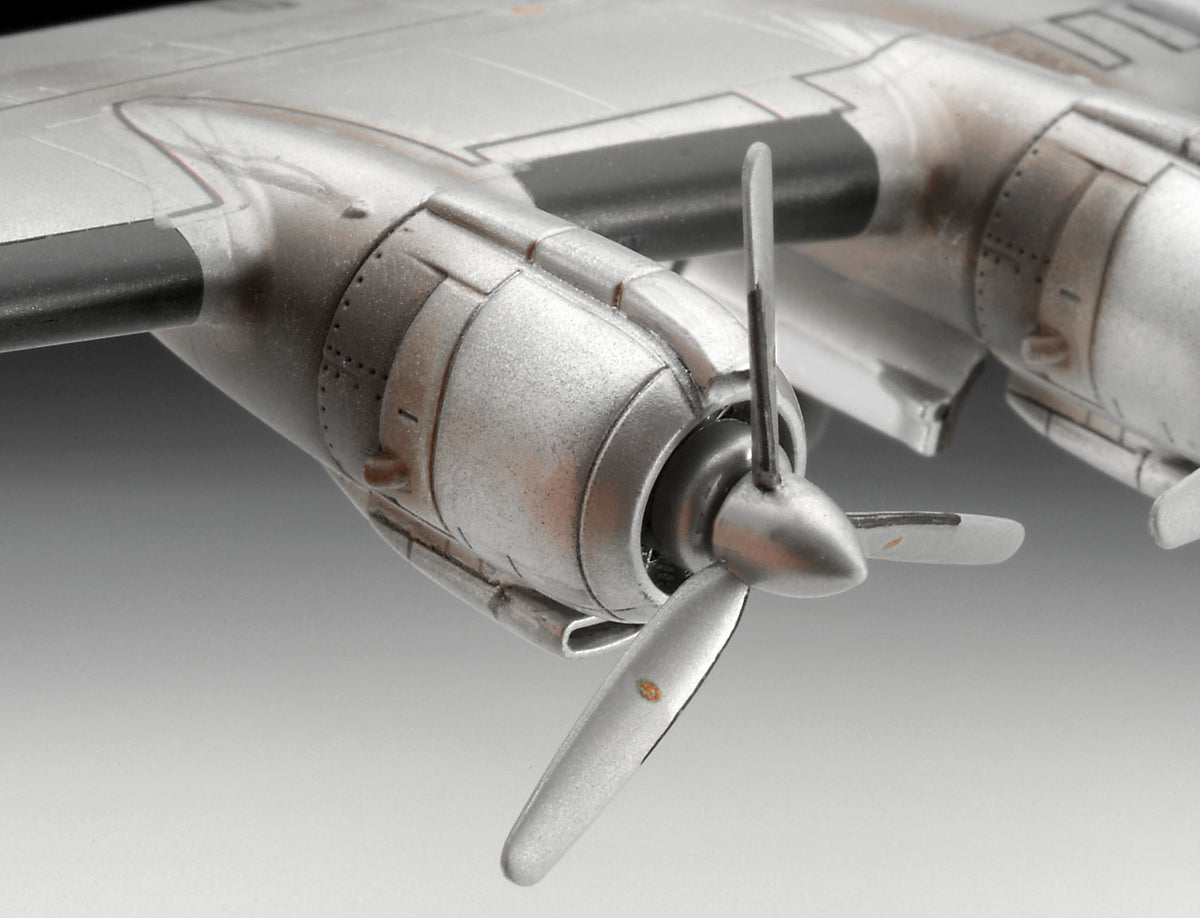
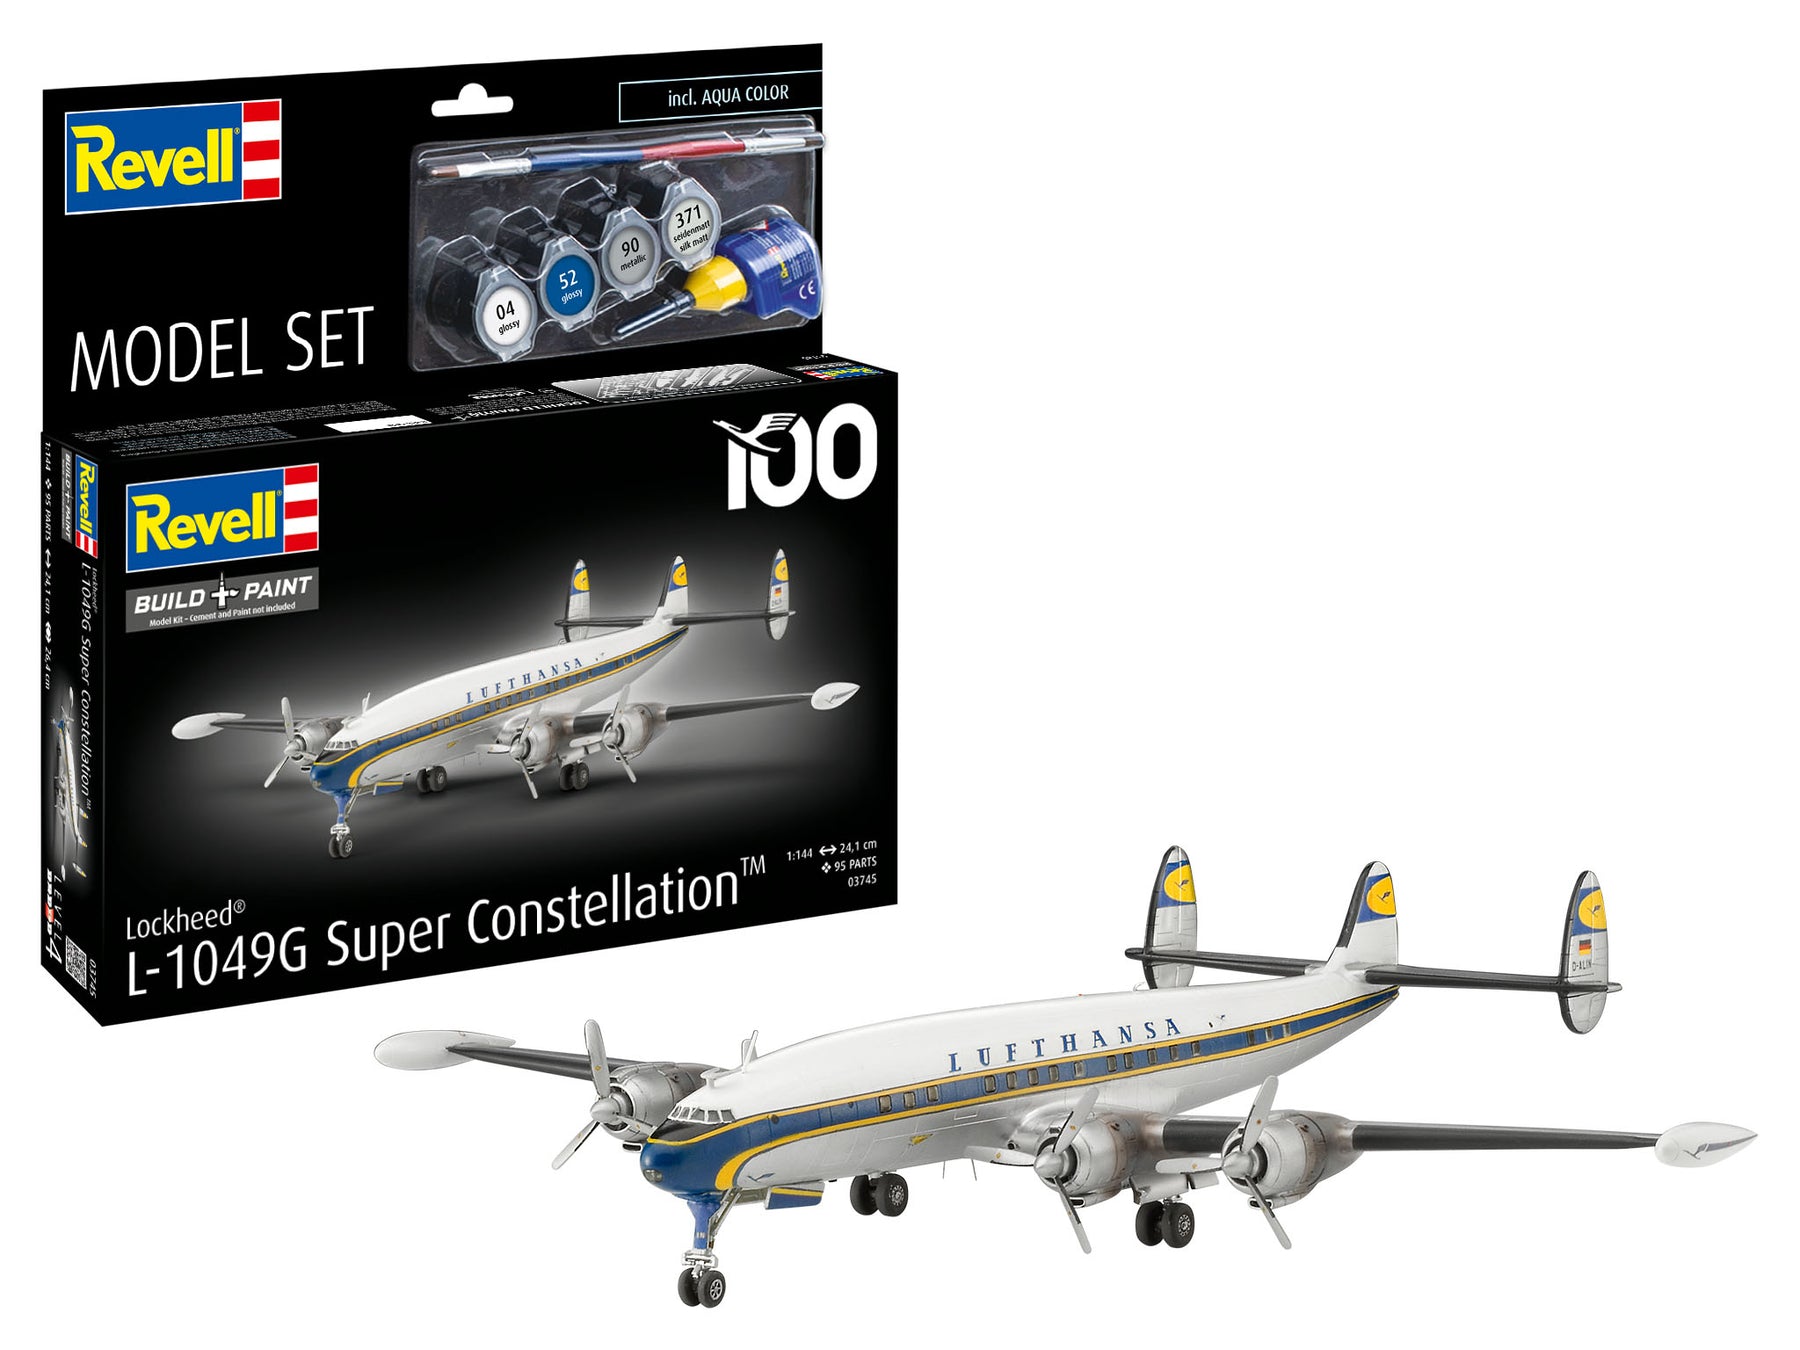
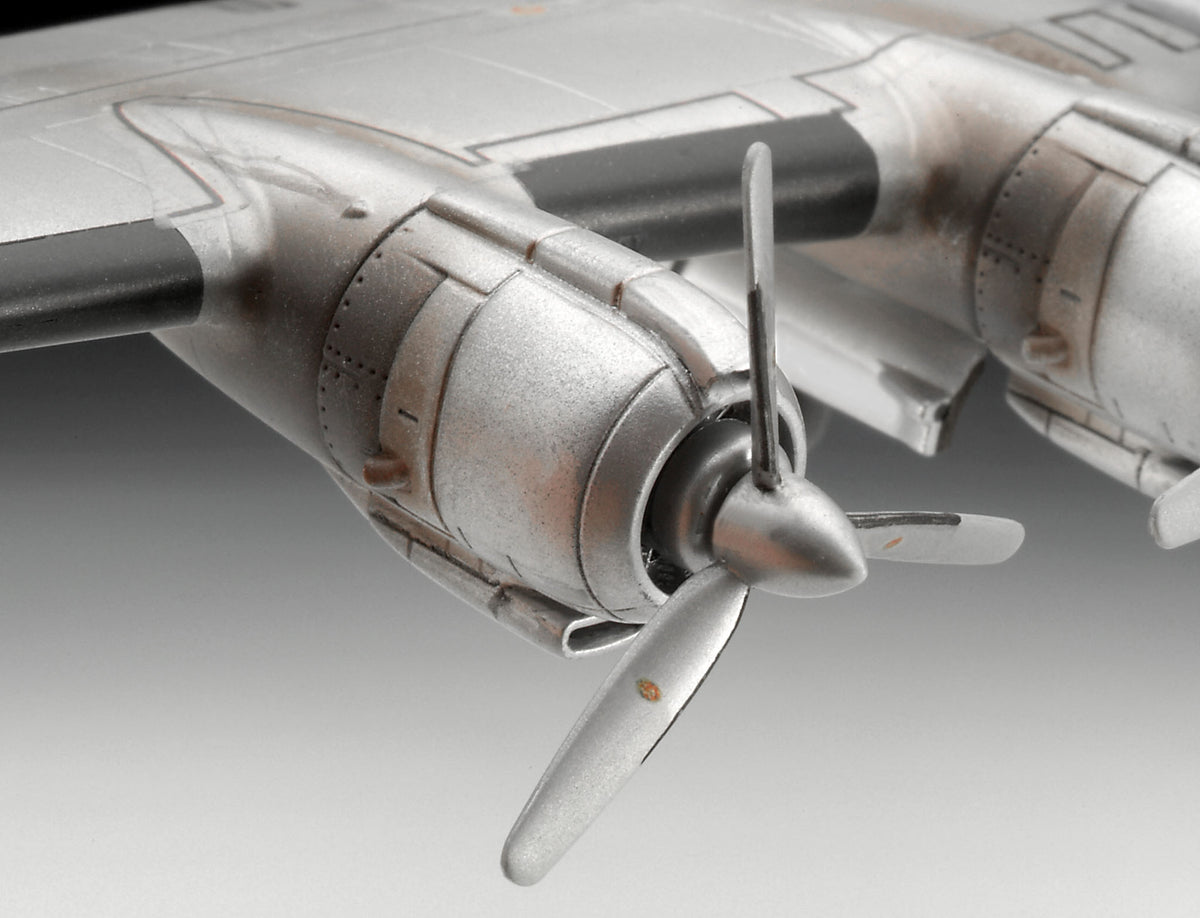
Maybe your heart also beats for the pioneer days and the golden age of flying. Think of the incomparable elegance of the Aérospatiale-BAC Concorde, which crossed the Atlantic at twice the speed of sound, or of propeller legends such as the Douglas DC-3, the Ju-52 or the Lockheed Super Constellation with its famous three-part vertical tail. These models challenge you with special painting techniques, such as the perfect reproduction of polished aluminum surfaces with a bare metal look or classic corrugated iron structures.
The right scale: understanding and choosing dimensions
The correct scale is crucial for how detailed your model will be and how much space you need for assembly and later presentation. In the area of model building civil aircraft, established standards have been developed over the years that allow you to make a direct size comparison.
The scale 1:144: The undisputed royal road
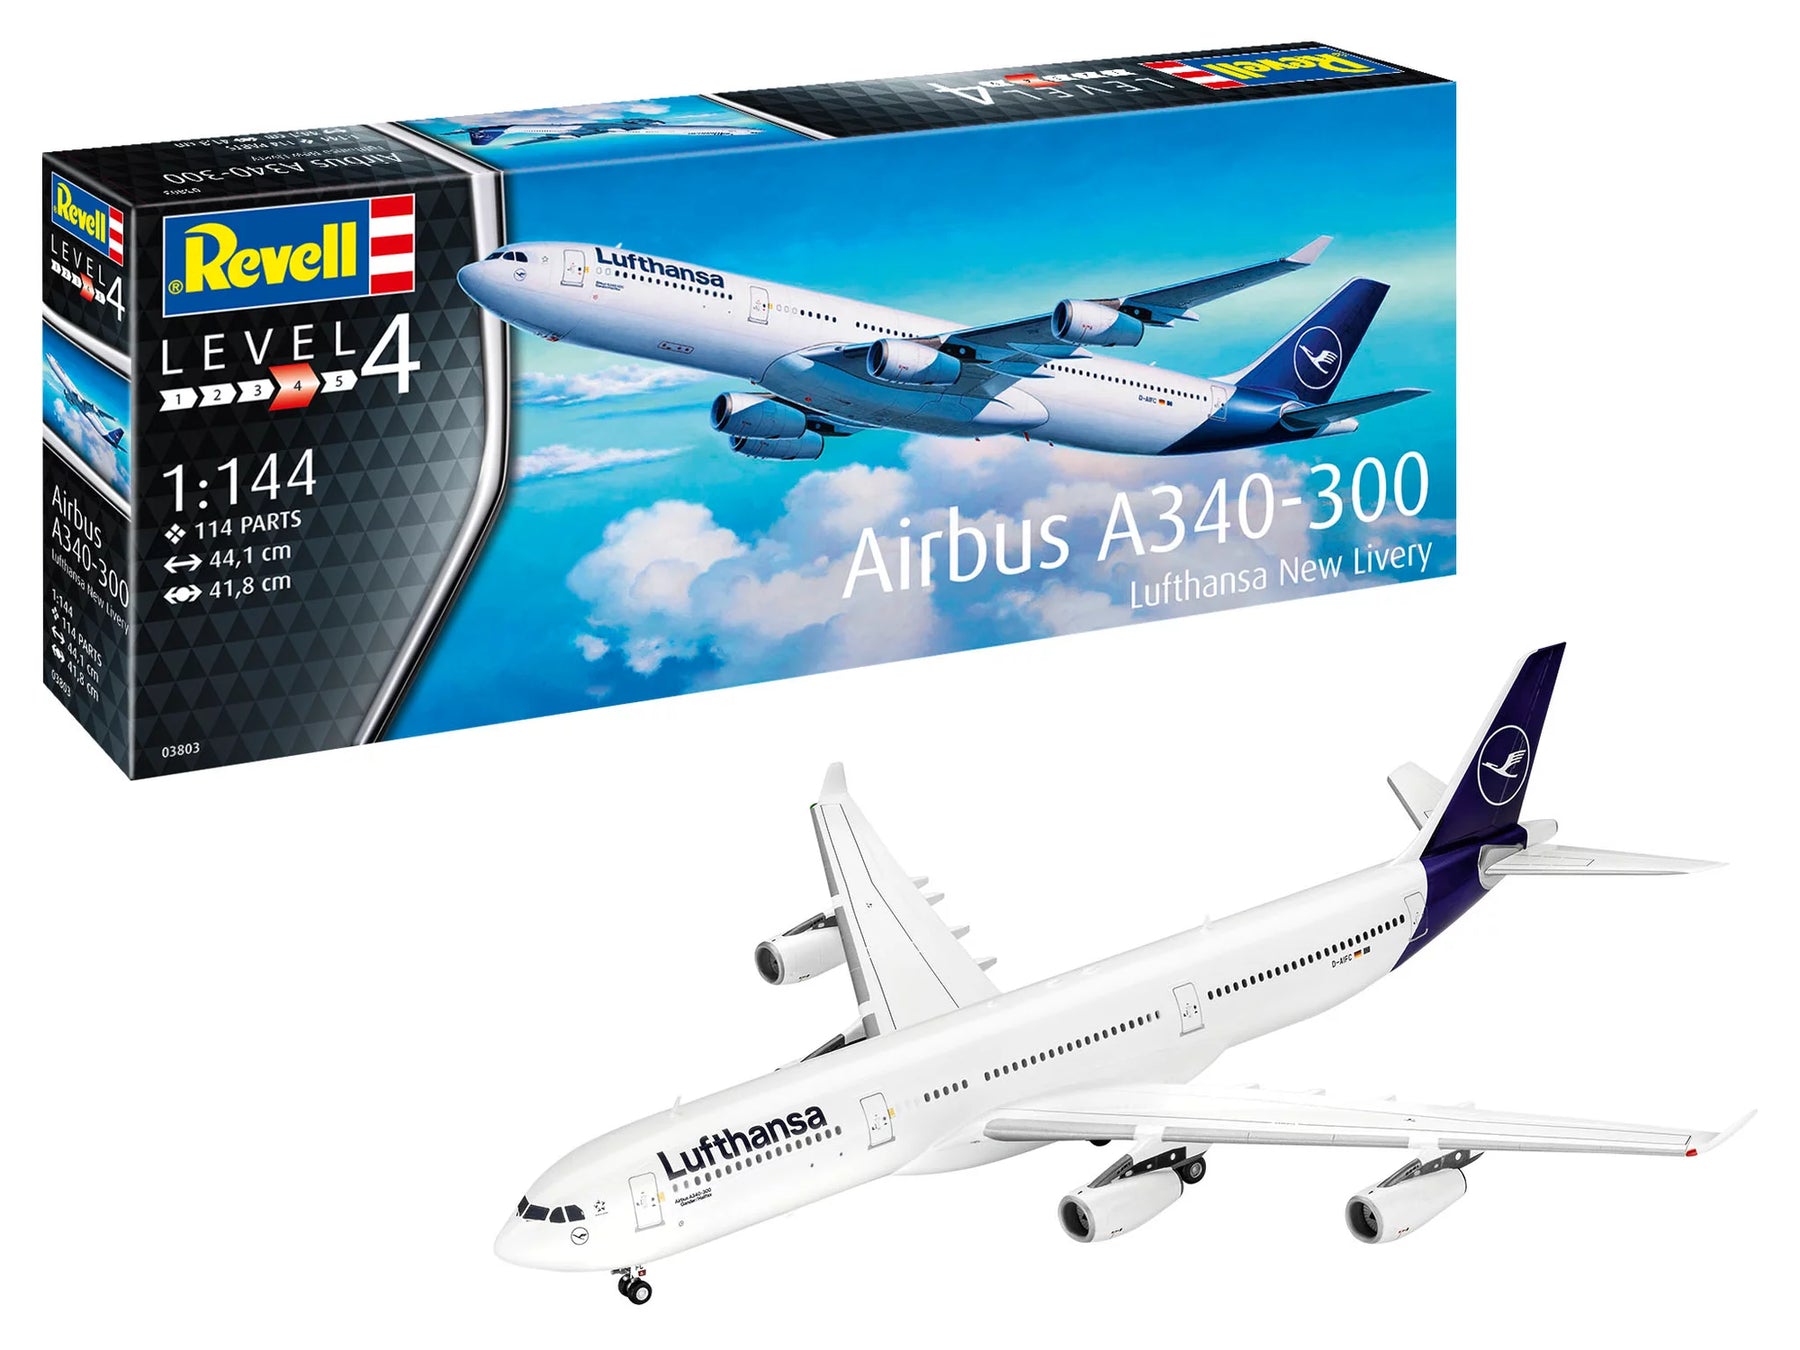
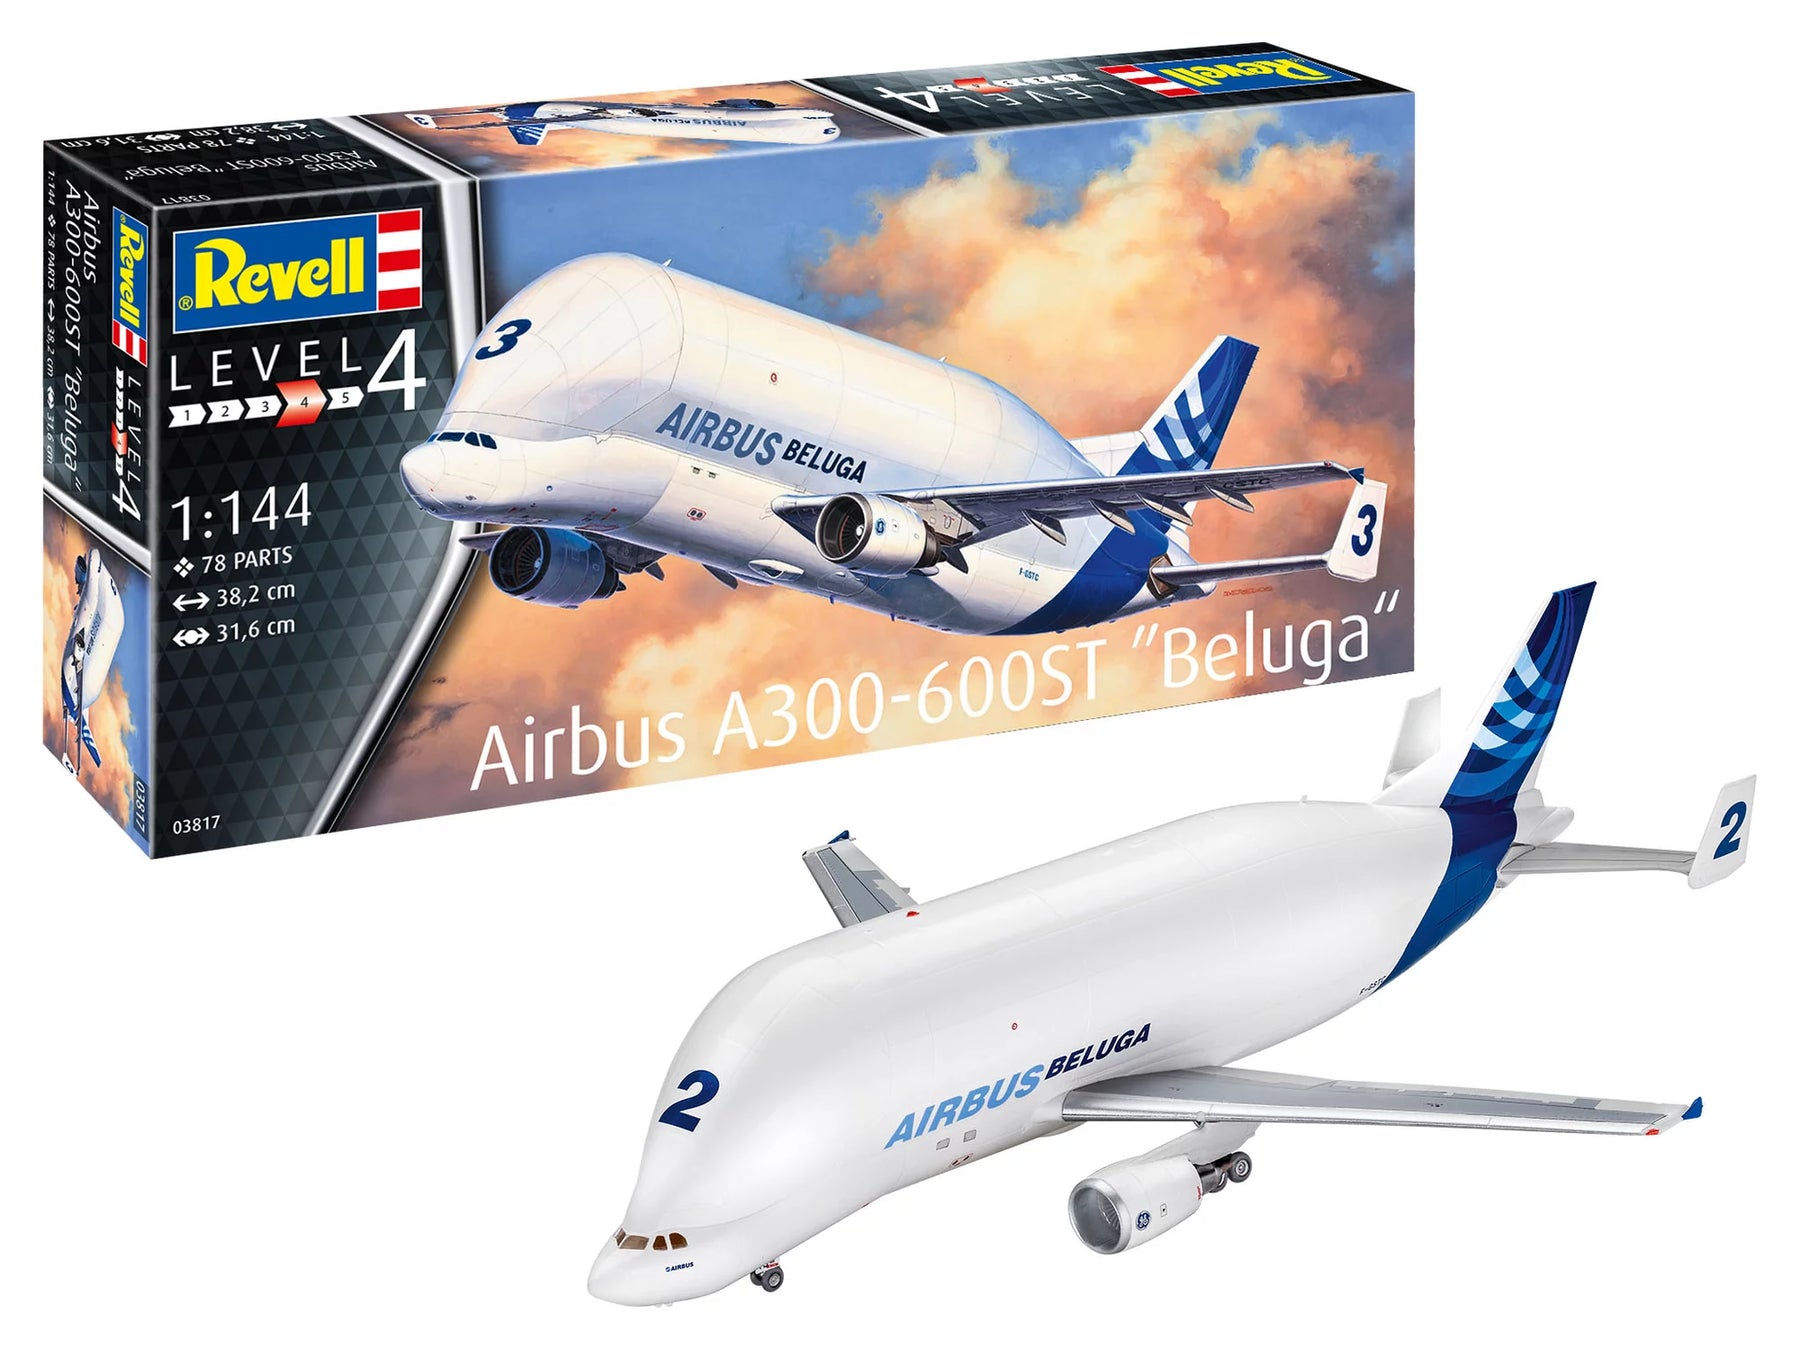
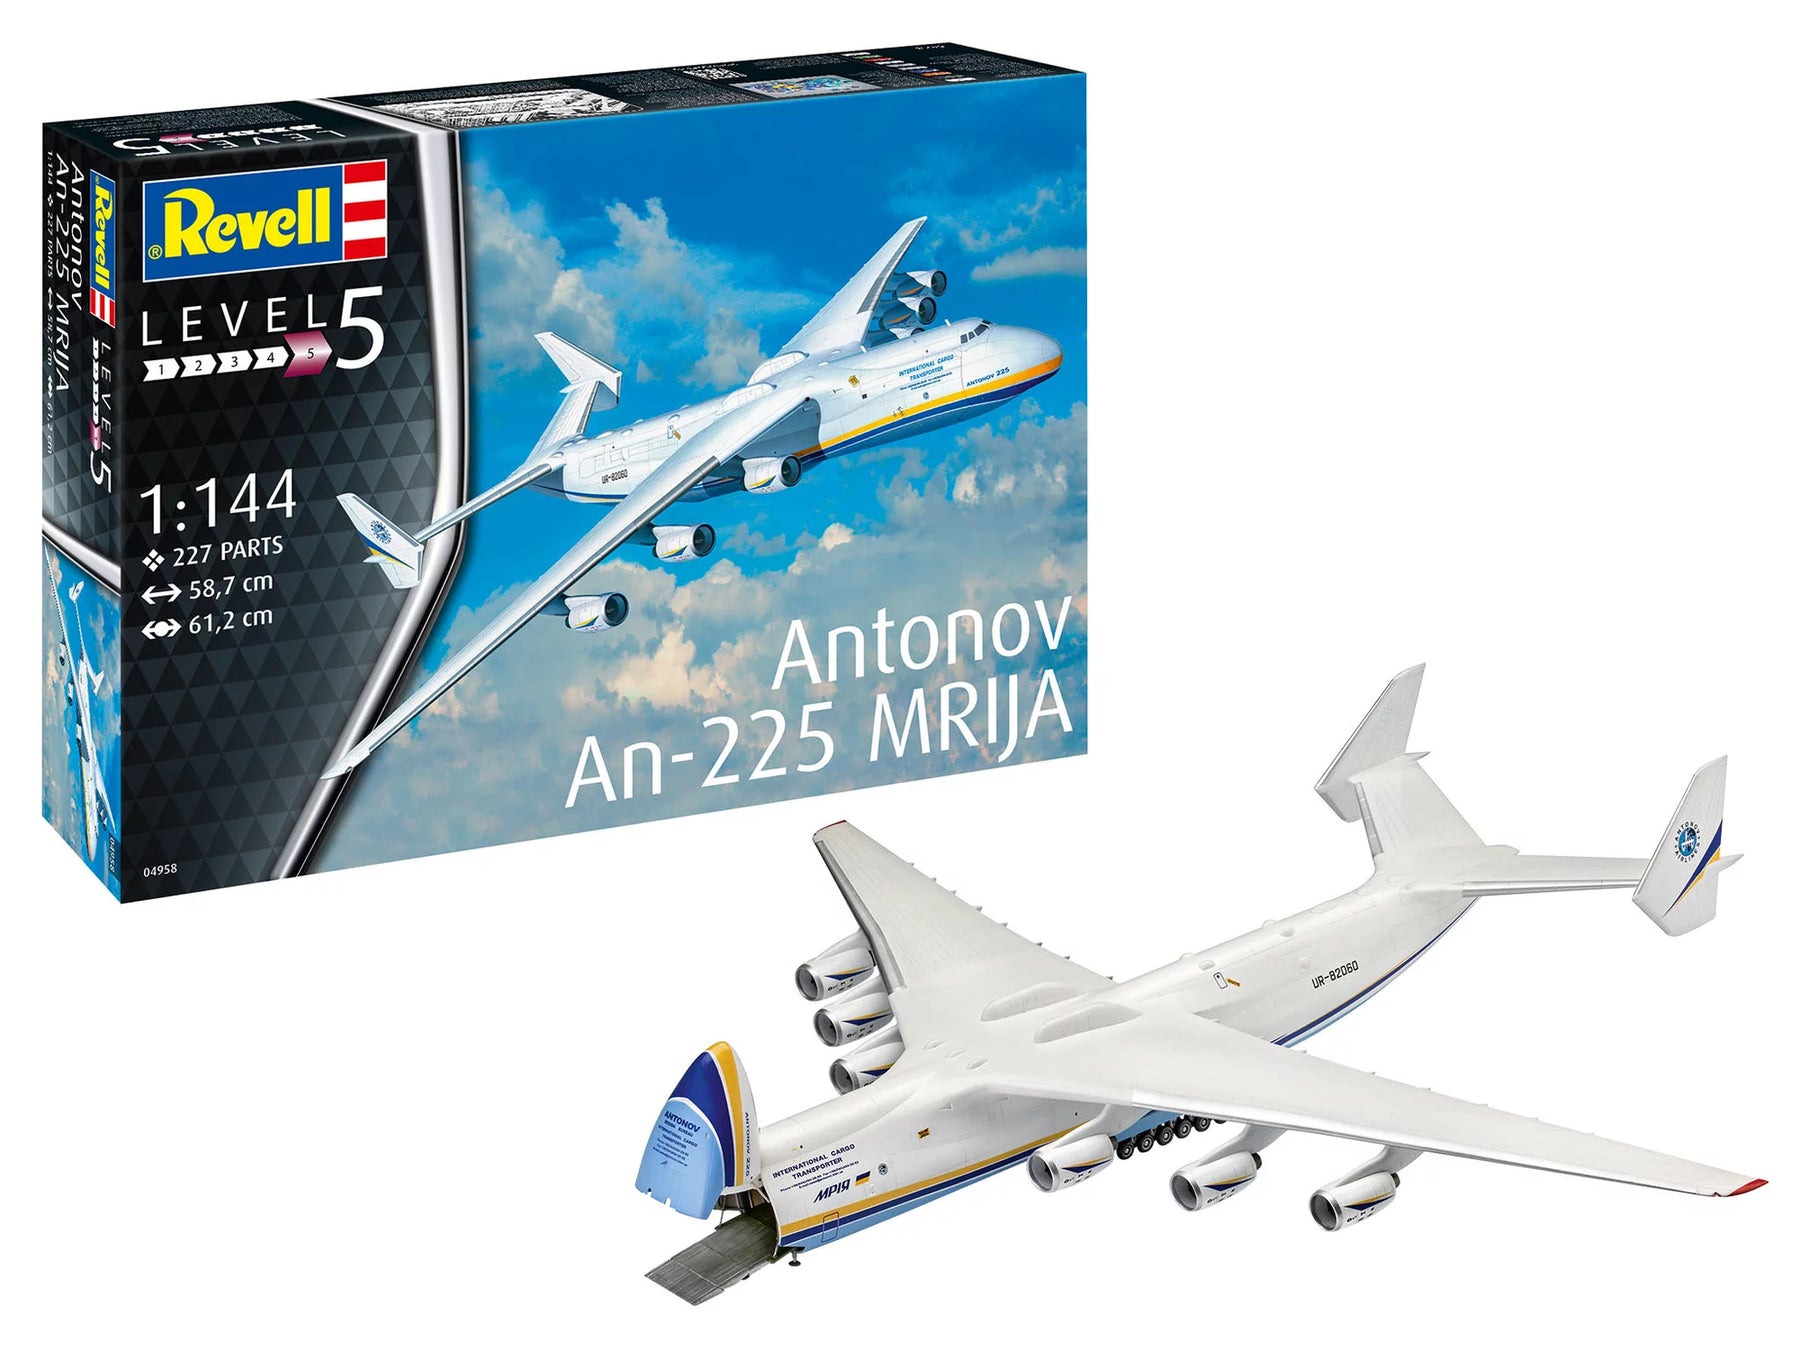
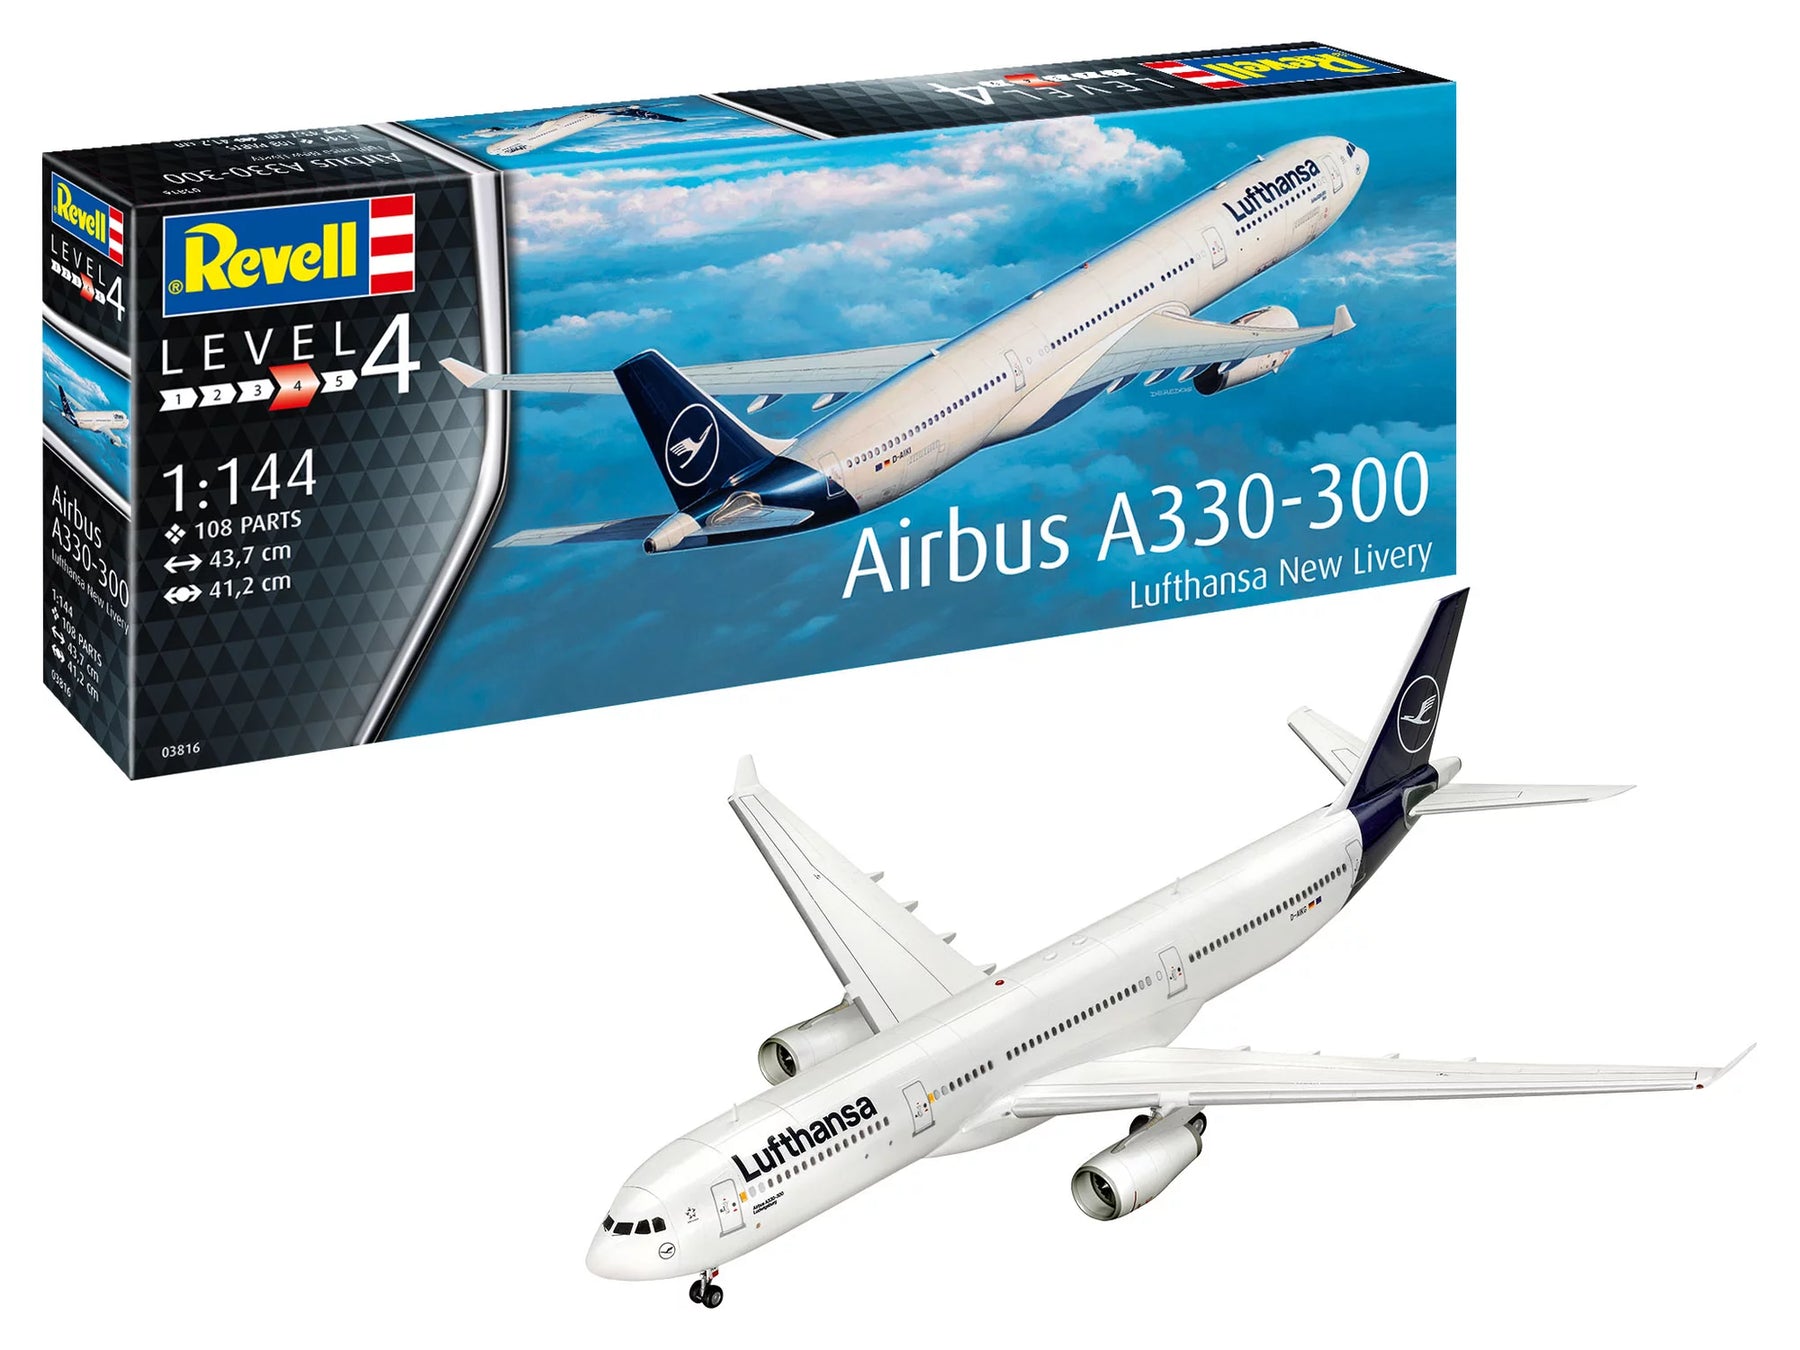
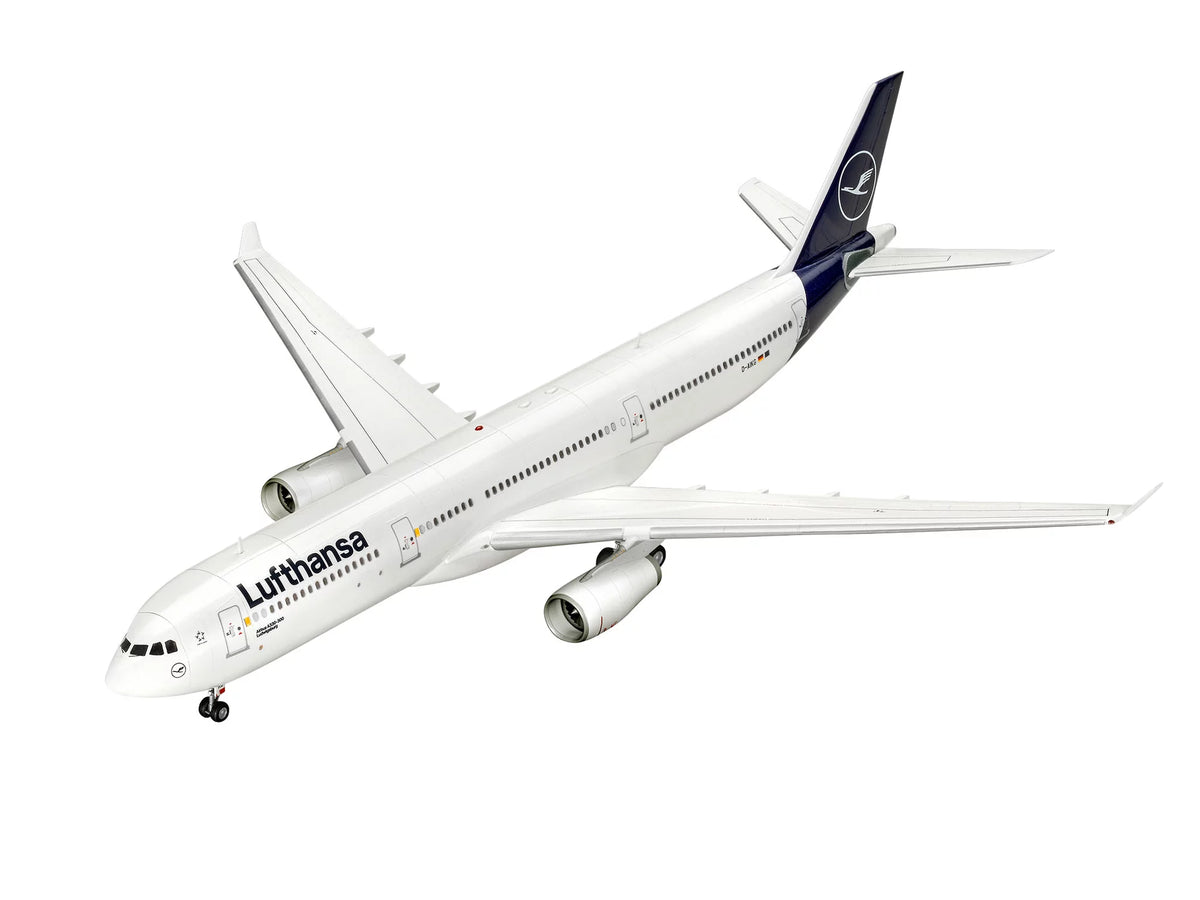
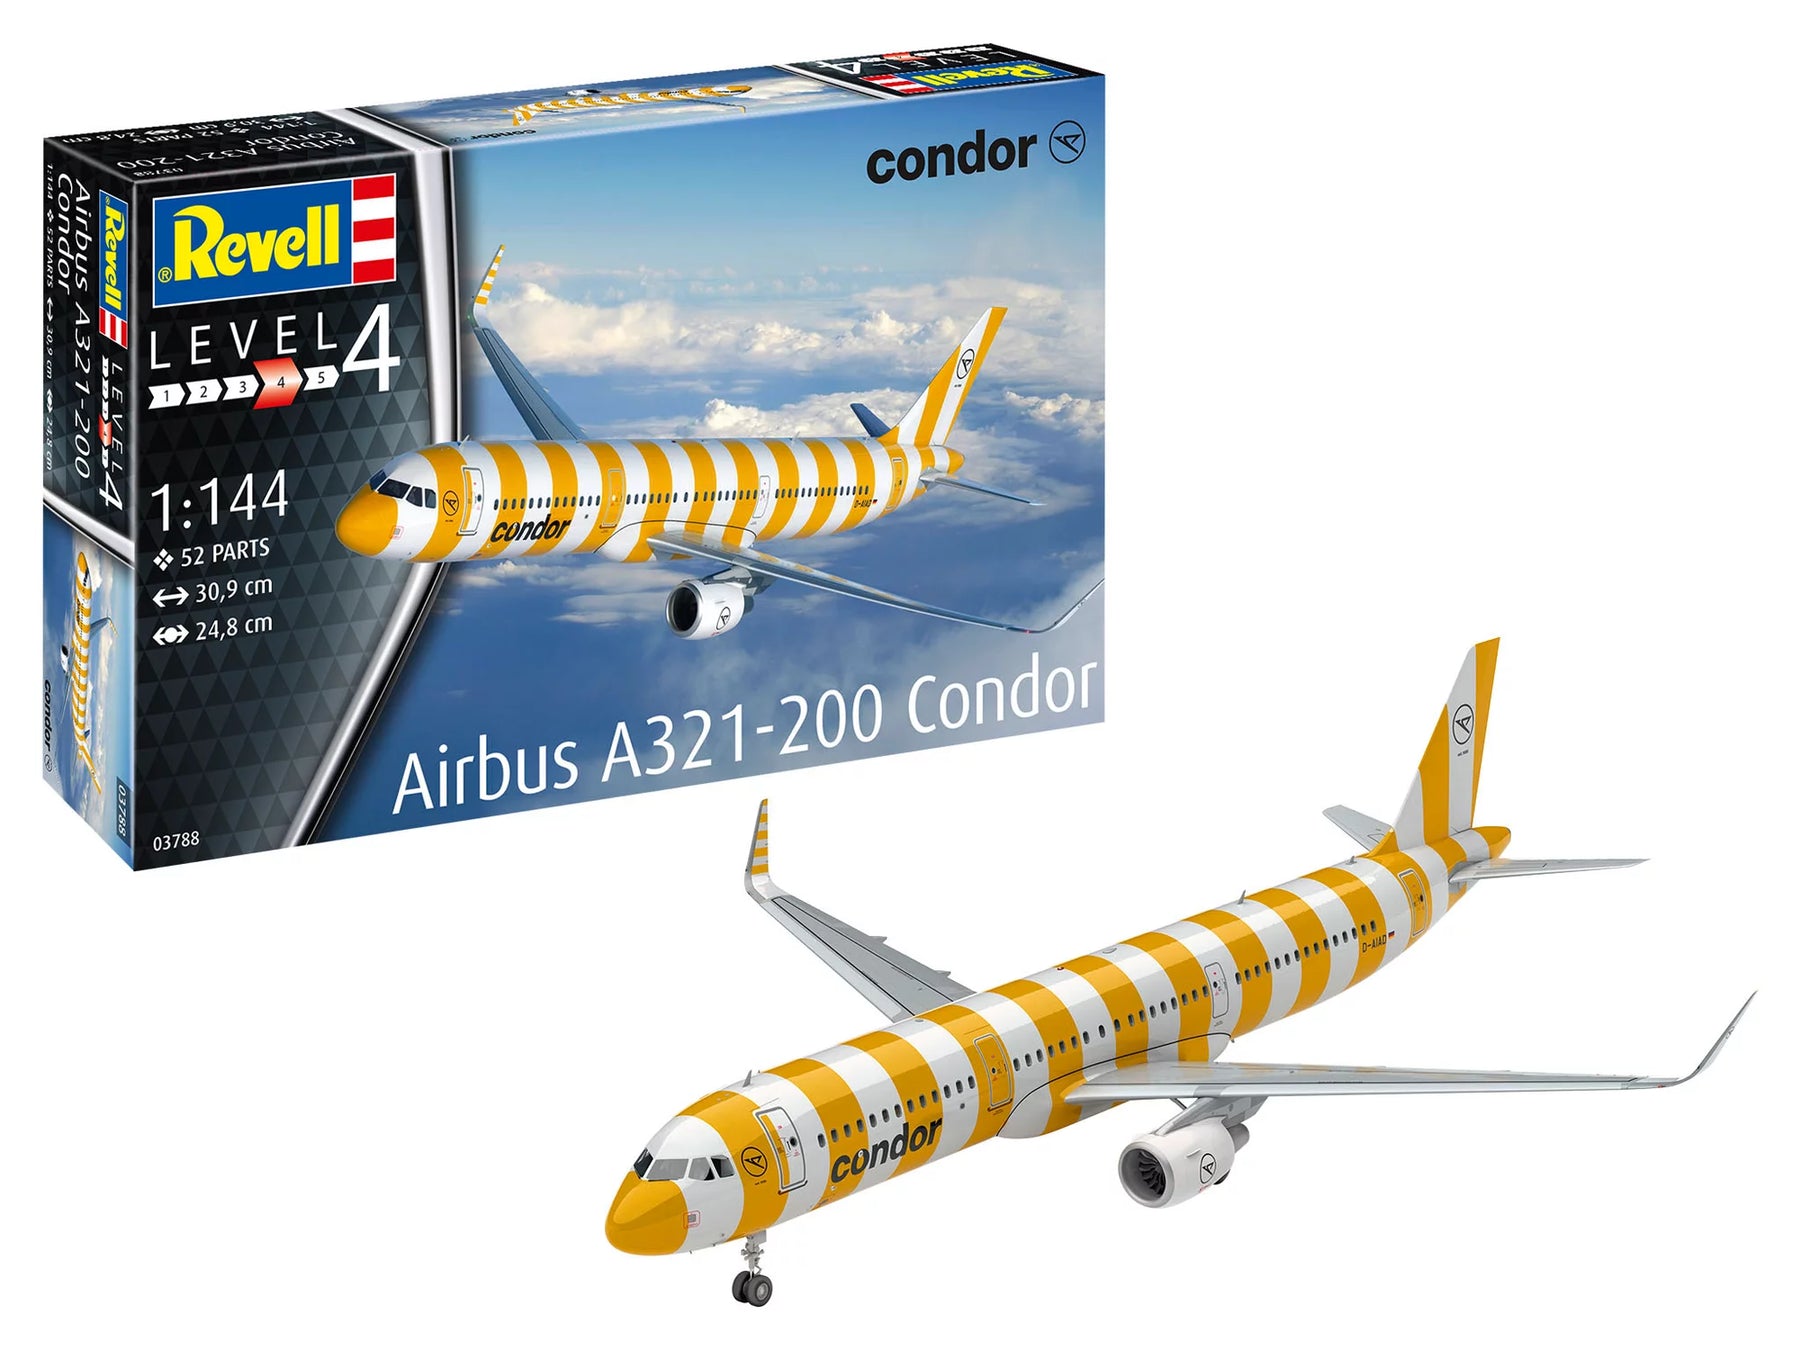
In the area of civil aircraft, 1:144 is the worldwide standard scale. It offers the optimal compromise between attention to detail and manageable size. A wide-body aircraft like the Boeing 747-8 in 1:144 still reaches an impressive length of over 50 centimeters and a similar wingspan, but remains compact enough to fit on a shelf or in a collector's display case. For medium-sized aircraft like the Airbus A320, 1:144 means a model length of around 26 centimeters. The advantage: On this scale, there is a huge market for aftermarket parts, etched parts and individual decals from almost all international airlines.
The 1:72 scale: Perfect for smaller machines and historical icons
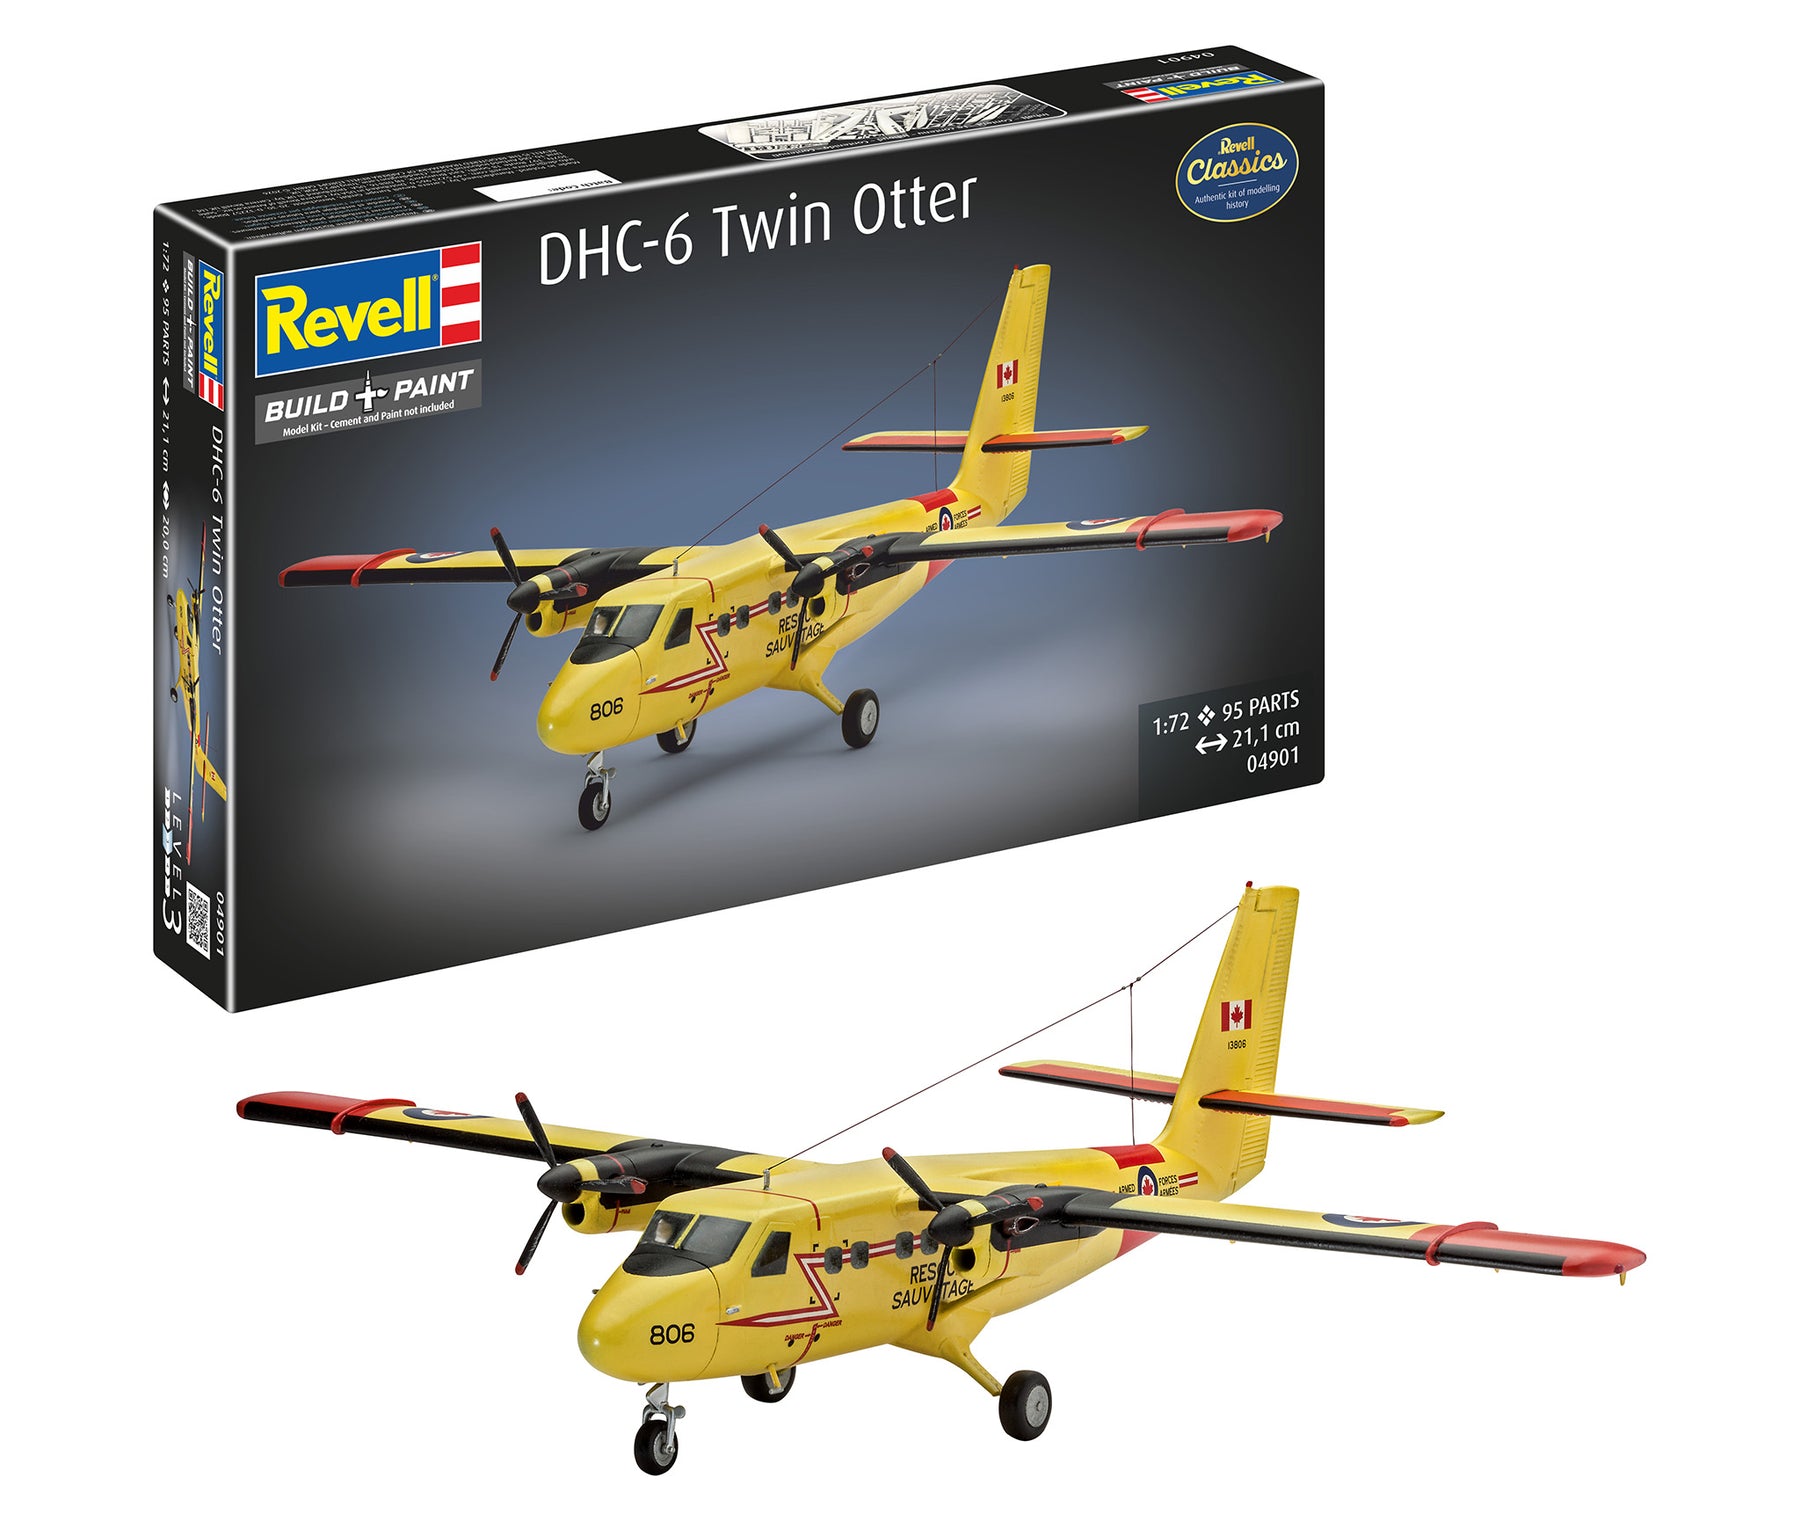
If you're focused on twin-engine commuters, business jets, propeller planes or vintage aircraft, 1:72 is a fantastic choice. Here you can fully equip cockpits with instrument panels, seats and control horns, indicate passenger cabins and detail landing gear shafts with cables and hydraulic lines. However, a 1:72 airliner requires a lot of floor space, but rewards you with breathtaking visual impact.
Larger scales like 1:48 and miniature sizes like 1:200
While 1:48 is primarily used for smaller sports and touring aircraft such as a Cessna or Beechcraft, 1:200 is particularly popular with collectors with limited space. In 1:200, even entire airport dioramas with several wide-body aircraft can be created on a moderate base plate.
The level classification: Find the perfect kit for your ability
To ensure that your construction project is a complete success and that frustration doesn't even arise, our kits are divided into transparent requirement levels. This way you know exactly which model best suits your current level of experience.
- Levels 1 to 2: Ideal for young beginners and occasional hobbyists. These kits consist of a few, robust parts that can often be connected using innovative plug-in systems without any glue. Pre-painted components ensure a quick, motivating sense of achievement.
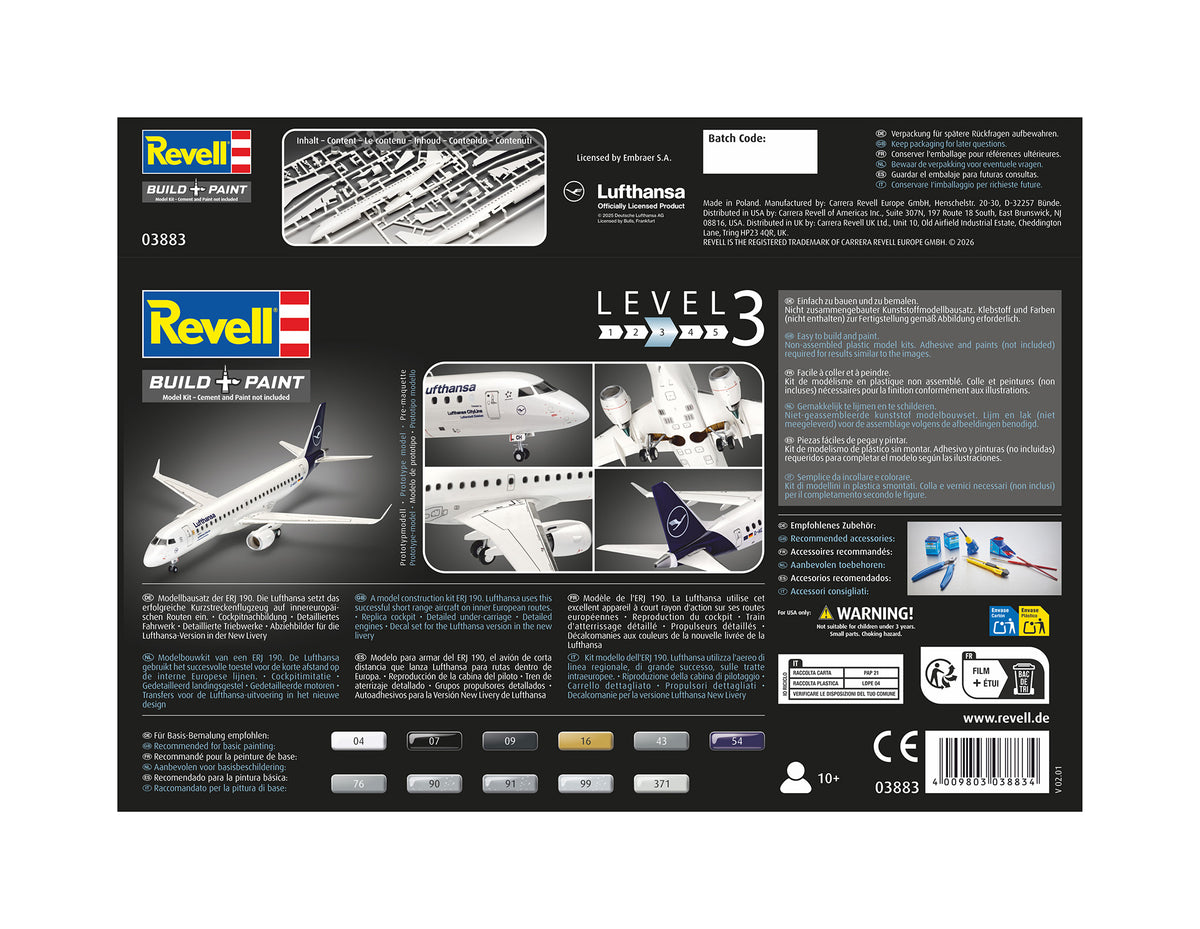
- Level 3: The classic entry into plastic model making. Here the parts are glued and painted. The kit complexity is up to 100 components. Perfect for anyone who wants to learn the hobby in depth or want to get back into it after a break. For a completely uncomplicated start, we recommend our prepared ones Model sets, which, in addition to the parts, already contain basic paints, brushes and precision glue.
- Level 4: For advanced model makers. With up to 150 or more individual parts, delicate landing gear designs, separate slats and multi-part engines, these kits require patience, a steady hand and experience when cleaning and filling.
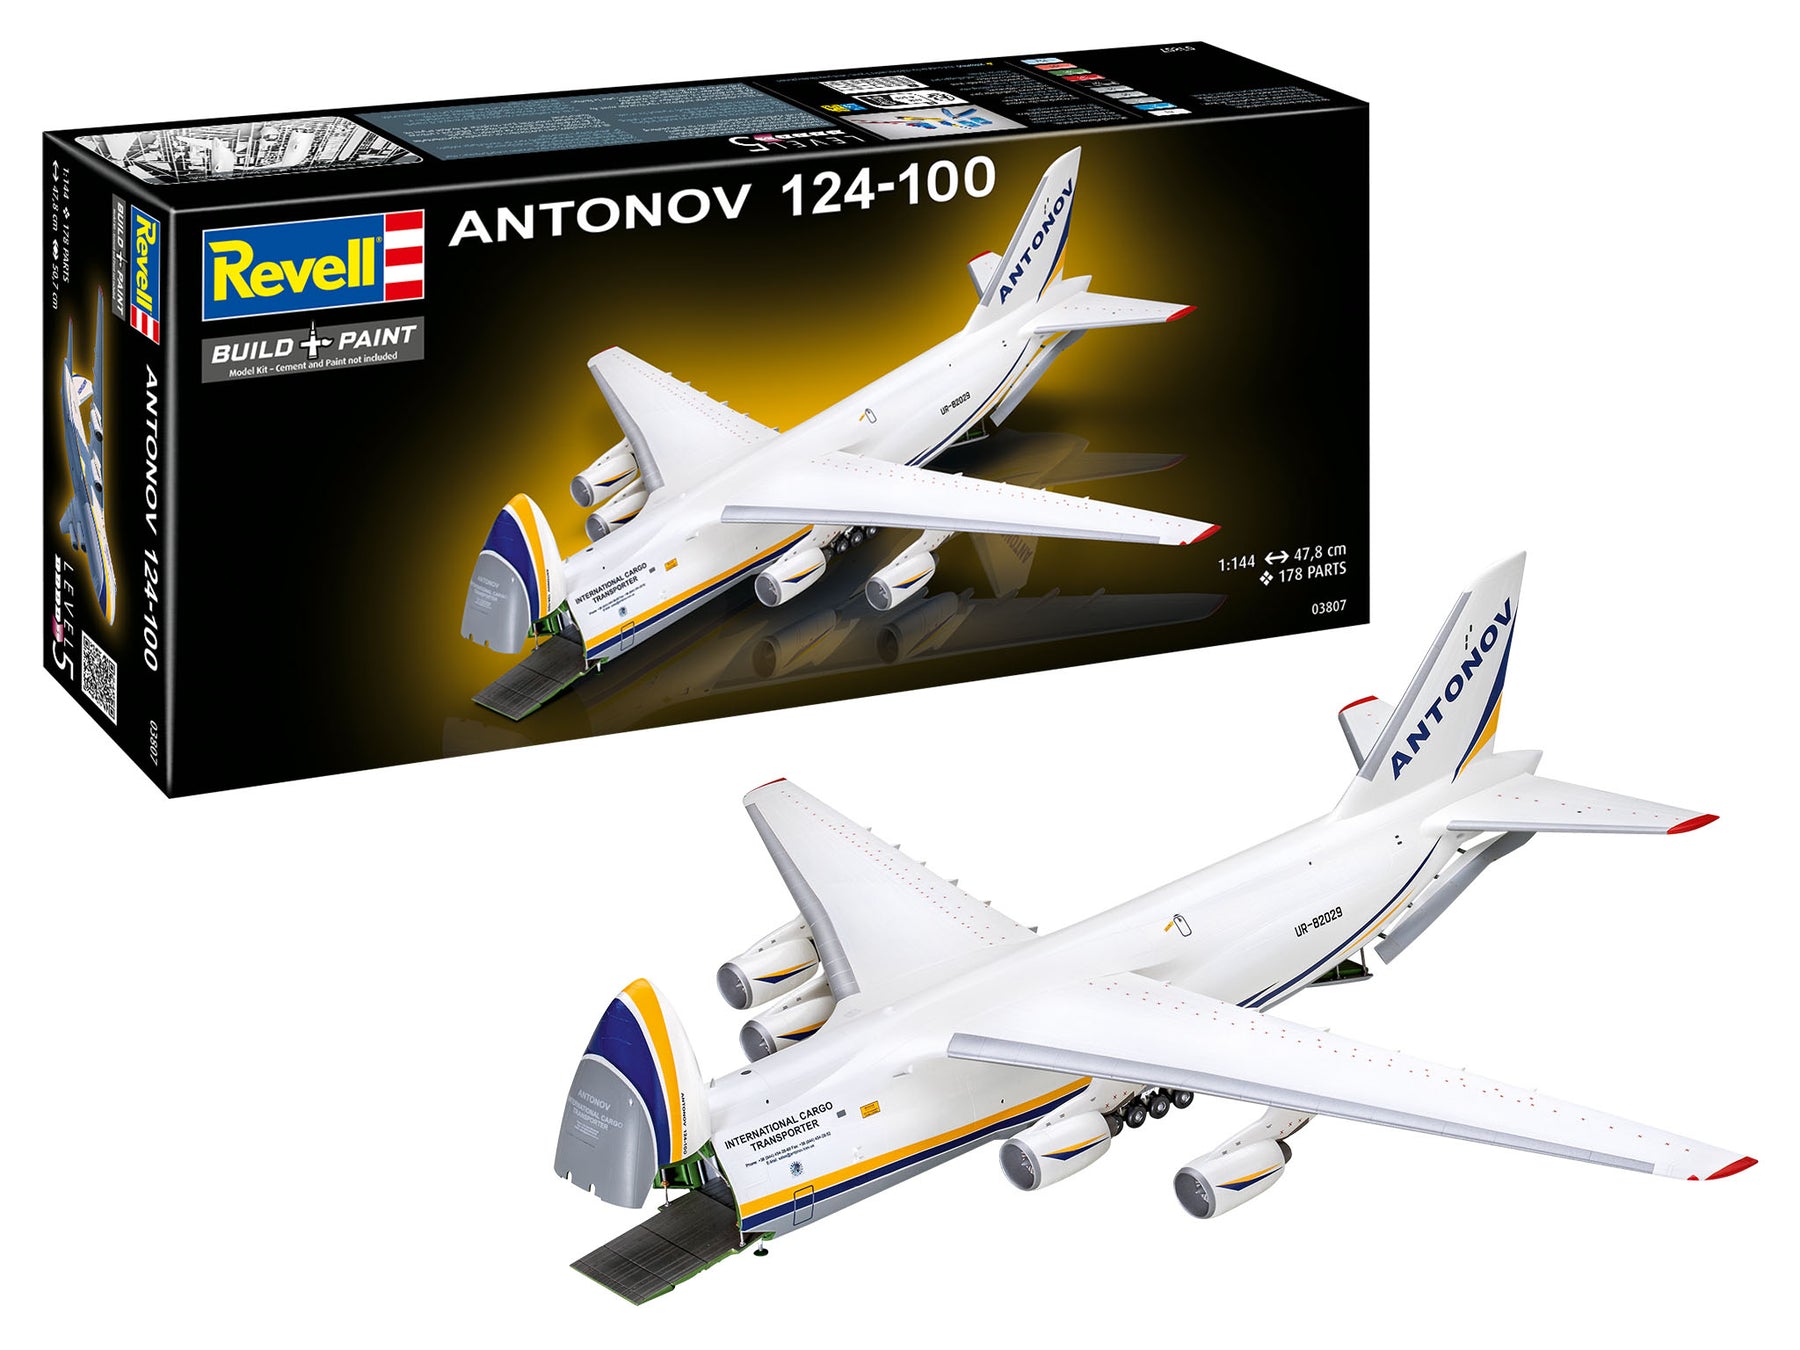
- Level 5: The premier class for real experts. Highest number of parts, maximum depth of detail, often combined with complex photo-etched parts. Here, a museum model is created with masterful precision from countless individual elements.
Step by step to the perfect airliner: construction techniques and practical tips
A passenger aircraft is less forgiving of negligence during construction than a weathered military tank. A small gap in the fuselage seam or an uneven paint finish is immediately noticeable on a smooth, white surface. However, with the right techniques, you can master these challenges confidently.
1. Preparation: Clean separation and fit test
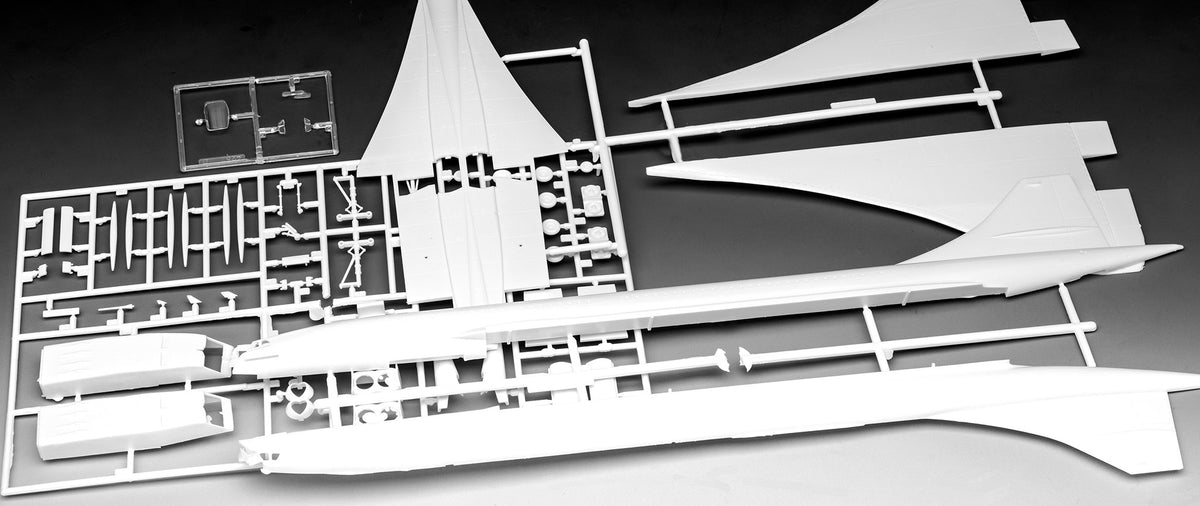
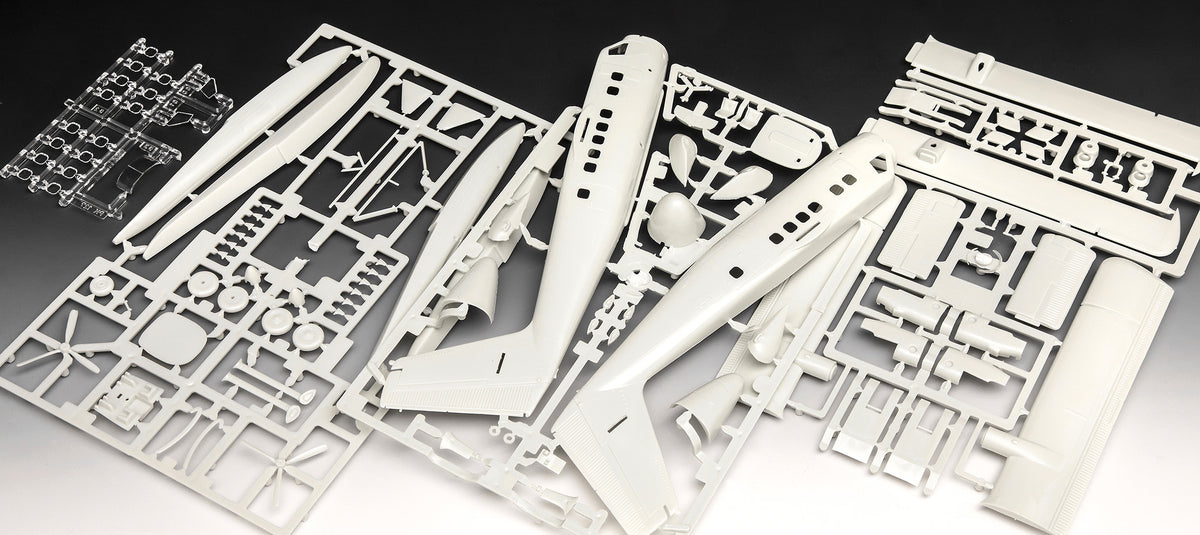
Never separate the components by simply unscrewing them from the casting. Instead, use a sharp side cutter with a flat cutting edge and cut away from the part. The remaining burr is then carefully removed with a craft scalpel and smoothed with fine sandpaper. Before you apply glue, dry fitting is mandatory: Put the fuselage halves, wings and engines together as a test to determine where some work may need to be done.
2. Don't forget the bow weight!
One of the most common beginner's mistakes with commercial aircraft is the so-called "tailsitter" effect: Because the center of gravity of civil aircraft is often behind the main landing gear due to the swept-back wings and heavy tailplanes, the finished model tips backwards onto the tail. To prevent this, you must install sufficient ballast in the bow tip before gluing the fuselage halves together. Fishing lead, small steel balls or modeling clay, which are securely fixed with superglue or white glue, can help. Follow the weight specifications in the construction instructions exactly - if in doubt: it's better to have a few grams more in the bow than a plane that doesn't stand on all wheels.
3. The clean fuselage seam: filling and sanding
Joining the two longitudinal fuselage halves inevitably leaves a separating seam on the back of the fuselage and the underside. Apply plastic glue so that when you press it firmly together, a tiny bead of melted plastic oozes out. After it has completely hardened, sand this bead flat. If minimal grooves remain, fine filler can help. When wet sanding, work your way from 600 grit to 1000 to 2000 grit. Finally, you should carefully retrace any panel lines that were lost during sanding with an engraving needle (prescribing).
4. Cockpit window: transparent parts or decals?
At a scale of 1:144, opinions differ when it comes to the cabin and cockpit windows. You usually have two options: On the one hand, you can use transparent clear strips. Before painting, these must be meticulously covered with precisely fitting masking films or liquid masks so that the panes remain crystal clear. On the other hand, many experienced model makers prefer so-called photodecal windows. The window openings are closed from the inside, filled and sanded flat before assembly. The cabin windows are later applied to the finished paintwork as detailed, often printed decals with a depth effect. This ensures an extremely clean look and saves the hassle of masking tiny window cutouts.
Paint and surface finish: The art of brilliant white
The typical color scheme of modern airliners, also known as “Eurowhite” in the aviation industry, commands respect from many model builders. White is difficult to cover on dark plastic and shows every irregularity mercilessly. A well thought-out approach guarantees you a brilliant result.
Primer as an indispensable base
Always apply a fine layer of primer to the thoroughly degreased model - a quick bath in lukewarm water with a drop of detergent is sufficient. A light, gray or white primer evens out the smallest differences in the color of the plastic, reveals sanding marks and ensures optimal adhesion of the following coats of paint. If you are still looking for suitable tools, masking tapes or sanding pads, you can find them in our section Accessories everything you need for professional preparatory work.
Airbrush: The key to streak-free shine
While brushes work excellently for small parts and the cockpit, they quickly reach their limits with the large, smooth surfaces of an airliner. White applied with a brush tends to have brush strokes and varying layer thickness. For a mirror-smooth, flawless finish, the spray gun is unbeatable. In our category for Airbrush We offer you a versatile range of precise guns and paint systems that are specifically optimized for model making.
To ensure that the spray jet remains uniform and without a drop in pressure, the air supply is crucial. A reliable stream of compressed air ensures that the paint is perfectly atomized and covers the model like a wafer-thin mist. Powerful Airbrush compressors with integrated pressure reducer and water separator form the heart of your workplace and guarantee consistent results in every painting step.
Multicolored Livery and Masking
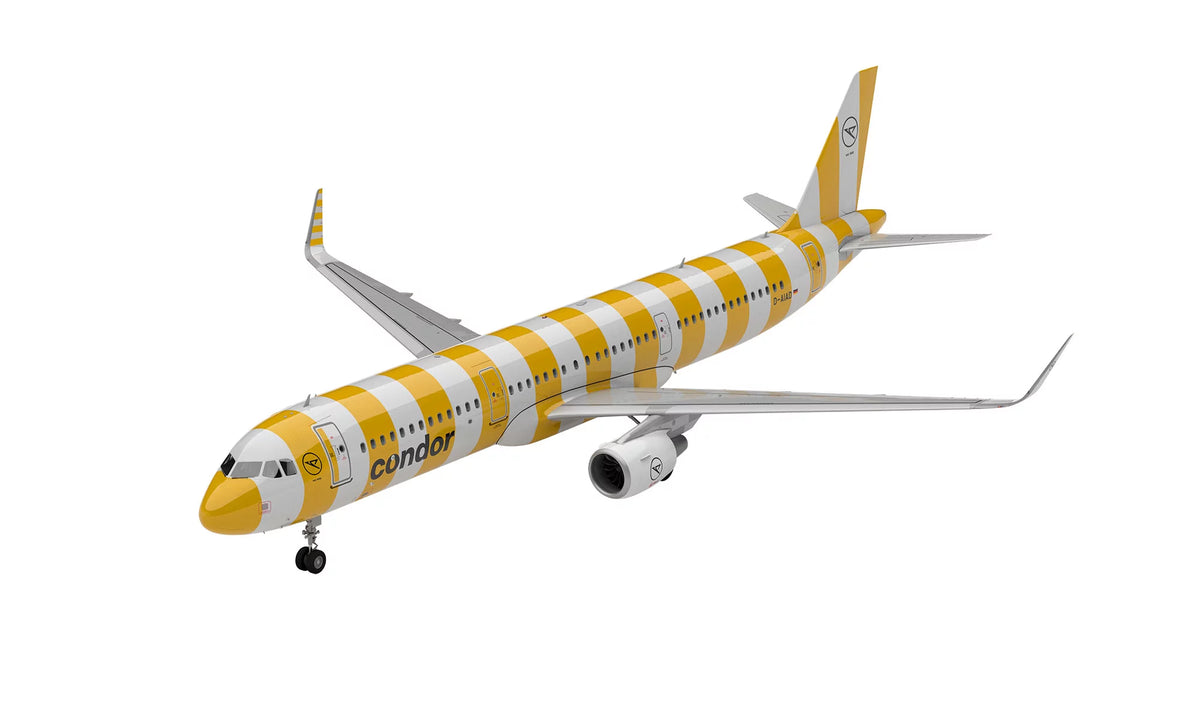
Most airlines combine white fuselages with colored vertical stabilizers, belly pans or curved color bands (cheatlines). Exact masking is required here:
- Use special masking tape made of rice paper (washi tape) as it creates sharp edges and does not leave any glue on the paint.
- For curved lines, there is special, elastic vinyl masking tape that can be flexibly placed around the curves of the torso.
- Press the edges of the ribbon firmly with a cotton swab or toothpick to prevent paint from seeping underneath.
- First spray a touch of the underlying base color along the masking edge - if something runs underneath, it seals the edge invisibly before the contrasting color is applied.
Apply decals masterfully: the heart of airliner construction
No civilian aircraft model is complete without its airline's signature livery. Modern decal sheets for civil aircraft are often true works of art: They include not only huge fuselage lettering and tail logos, but also hundreds of tiny maintenance instructions (stencils), emergency exit markings, windshield wipers and tread markings on the wings.
To ensure that the decals appear as if they were painted on and to prevent the infamous “silver ring” effect – the unsightly shine of the transparent carrier film on a matt surface – you should stick to this tried and tested sequence:
- Glossy clear varnish as a base: Never apply decals to matte paint. A glossy seal ensures a mirror-smooth surface on which no micro-air bubbles are trapped.
- Use decal plasticizer: Civilian aircraft decals must have complex curves, engravings and rivets. Use special plasticizer solutions. They make the carrier film ultra-flexible so that it literally sucks into the joints.
- Align with patience: Using a brush, carefully push the decal from the backing paper onto the model. Use a damp cotton swab to gently brush out any remaining water and air from the center outwards.
- Seal: After it has completely dried, seal the model with a clear varnish of your choice - for airliners, usually semi-gloss (semi-gloss) or high gloss, as real passenger jets are regularly washed and polished.
Weathering in civil aircraft: less is more
While mud, thick traces of rust, chips and bullet holes are commonplace in military model making, civil aircraft model making requires a completely different approach. Commercial aircraft are subject to strict safety and maintenance cycles and are kept meticulously clean by airlines. Excessive weathering quickly appears unrealistic on an airliner.
However, these aircraft are not sterile toys. Subtle signs of aging add realism and depth to your model:
- Panelline wash: Highlight control surfaces and hull seams with a very subtle light gray or tan wash. Pure black looks far too harsh on a white background.
- Engine exhaust: During operation, fine traces of soot and heat accumulate on the thrust nozzles and the undersides of the wings behind the pylons. These traces can be misted very delicately using highly diluted smoky gray paint or color pigments.
- Hydraulic tracks: During hard flight operations, minimal traces of lubricant and hydraulics occasionally appear on the landing gear legs and along the flap shafts, which you can indicate with a thin brush and some oil paint.
Diorama construction: Your miniature airport comes to life
Once you have completed your aircraft, the question of presentation arises. Of course, a single model looks great on a solid acrylic glass stand or on its own chassis in the display case. But the true fascination unfolds when you embed your model into a scenery.
An airport diorama offers endless creative possibilities. Even a simple wooden base plate onto which you paint the concrete slabs of a runway including expansion joints, yellow taxiway lines and tire wear, massively upgrades the model. Complete the scene with matching ground handling equipment on a scale of 1:144: passenger stairs, catering vehicles, tow bars, pushback trucks and baggage carts immediately create a lively ground handling atmosphere. This means your civil aircraft model becomes the center of a fascinating airport world.
Why model building civil aircraft is the perfect hobby
Building civil aircraft models combines historical research, technical understanding and precision craftsmanship to create an incomparably relaxing hobby. If you sit down at your workplace after a long day and concentrate on the clean deburring, the fine masking and the perfect lines, you completely ignore the stress of everyday life. Step by step you will see how a highly complex, perfectly shaped miniature airliner is created from seemingly inconspicuous plastic frames.
Regardless of whether you are a newcomer assembling your very first aircraft or an experienced professional who wants to fill an entire display case with aviation icons: In our online shop you will find high-quality kits, tailor-made accessories and the right tools for your next project. Choose your favorite airliner from our range now and start your next model flight!