








The fascination of space and space travel in model making
Since time immemorial, the view of the night sky has captivated us. But it was modern space travel that made it possible to actually overcome the boundaries of our earthly homeland, to set foot on the moon and to send unmanned probes to the edge of our solar system. If you are passionate about space and astronautics, you share this unbridled curiosity about the unknown and admiration for top engineering achievements. Plastic model making gives you a unique opportunity to not only marvel at these technological masterpieces in documentation or museums, but to physically understand their construction.
When you put together a space model, you understand the dimensions and functions of the individual stages, capsules and engines with completely different eyes. You can see how delicately the heat shields are constructed, the enormous amount of fuel that has to be transported in relation to the actual payload and the precision with which solar sails are deployed in the vacuum of space. In our many years of model building experience, we know: A space kit is much more than a simple standing model. It is a constructed journey through time through the history of manned and unmanned space travel, which finds its place of honor in the living room or study at home.
Whether you want to relive the glorious beginnings of the Mercury and Gemini programs, want to recreate the unforgettable Apollo project in great detail or prefer the era of reusable space shuttles: Our kits offer you the right model for every historical chapter of space travel. Each individual kit impresses with authentic surface engravings, precisely scaled proportions and precisely fitting components, which guarantee you a thrilling building experience from the first separation of the sprue to the final application of the wet-slide images.
Icons of space travel history: From Apollo to the ISS
Certain missions have left their mark on world history forever. These icons form the heart of every space collection and offer you sophisticated model building fun with a high historical recognition value.
The Saturn V and the moon landing: A giant of technology
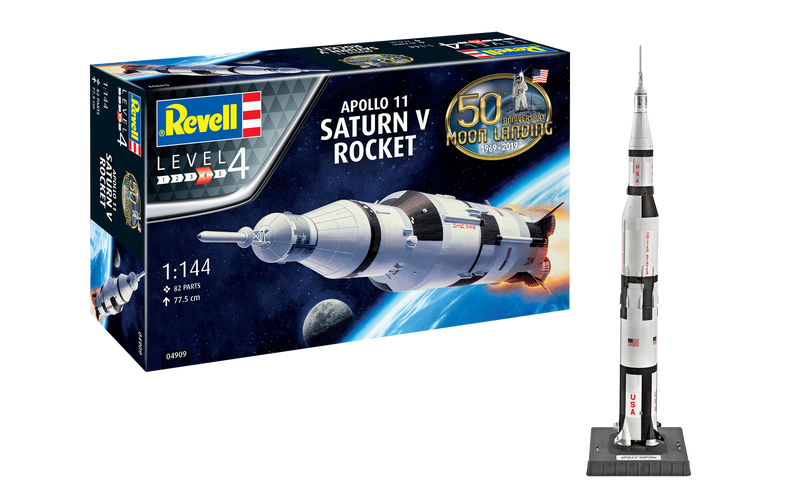
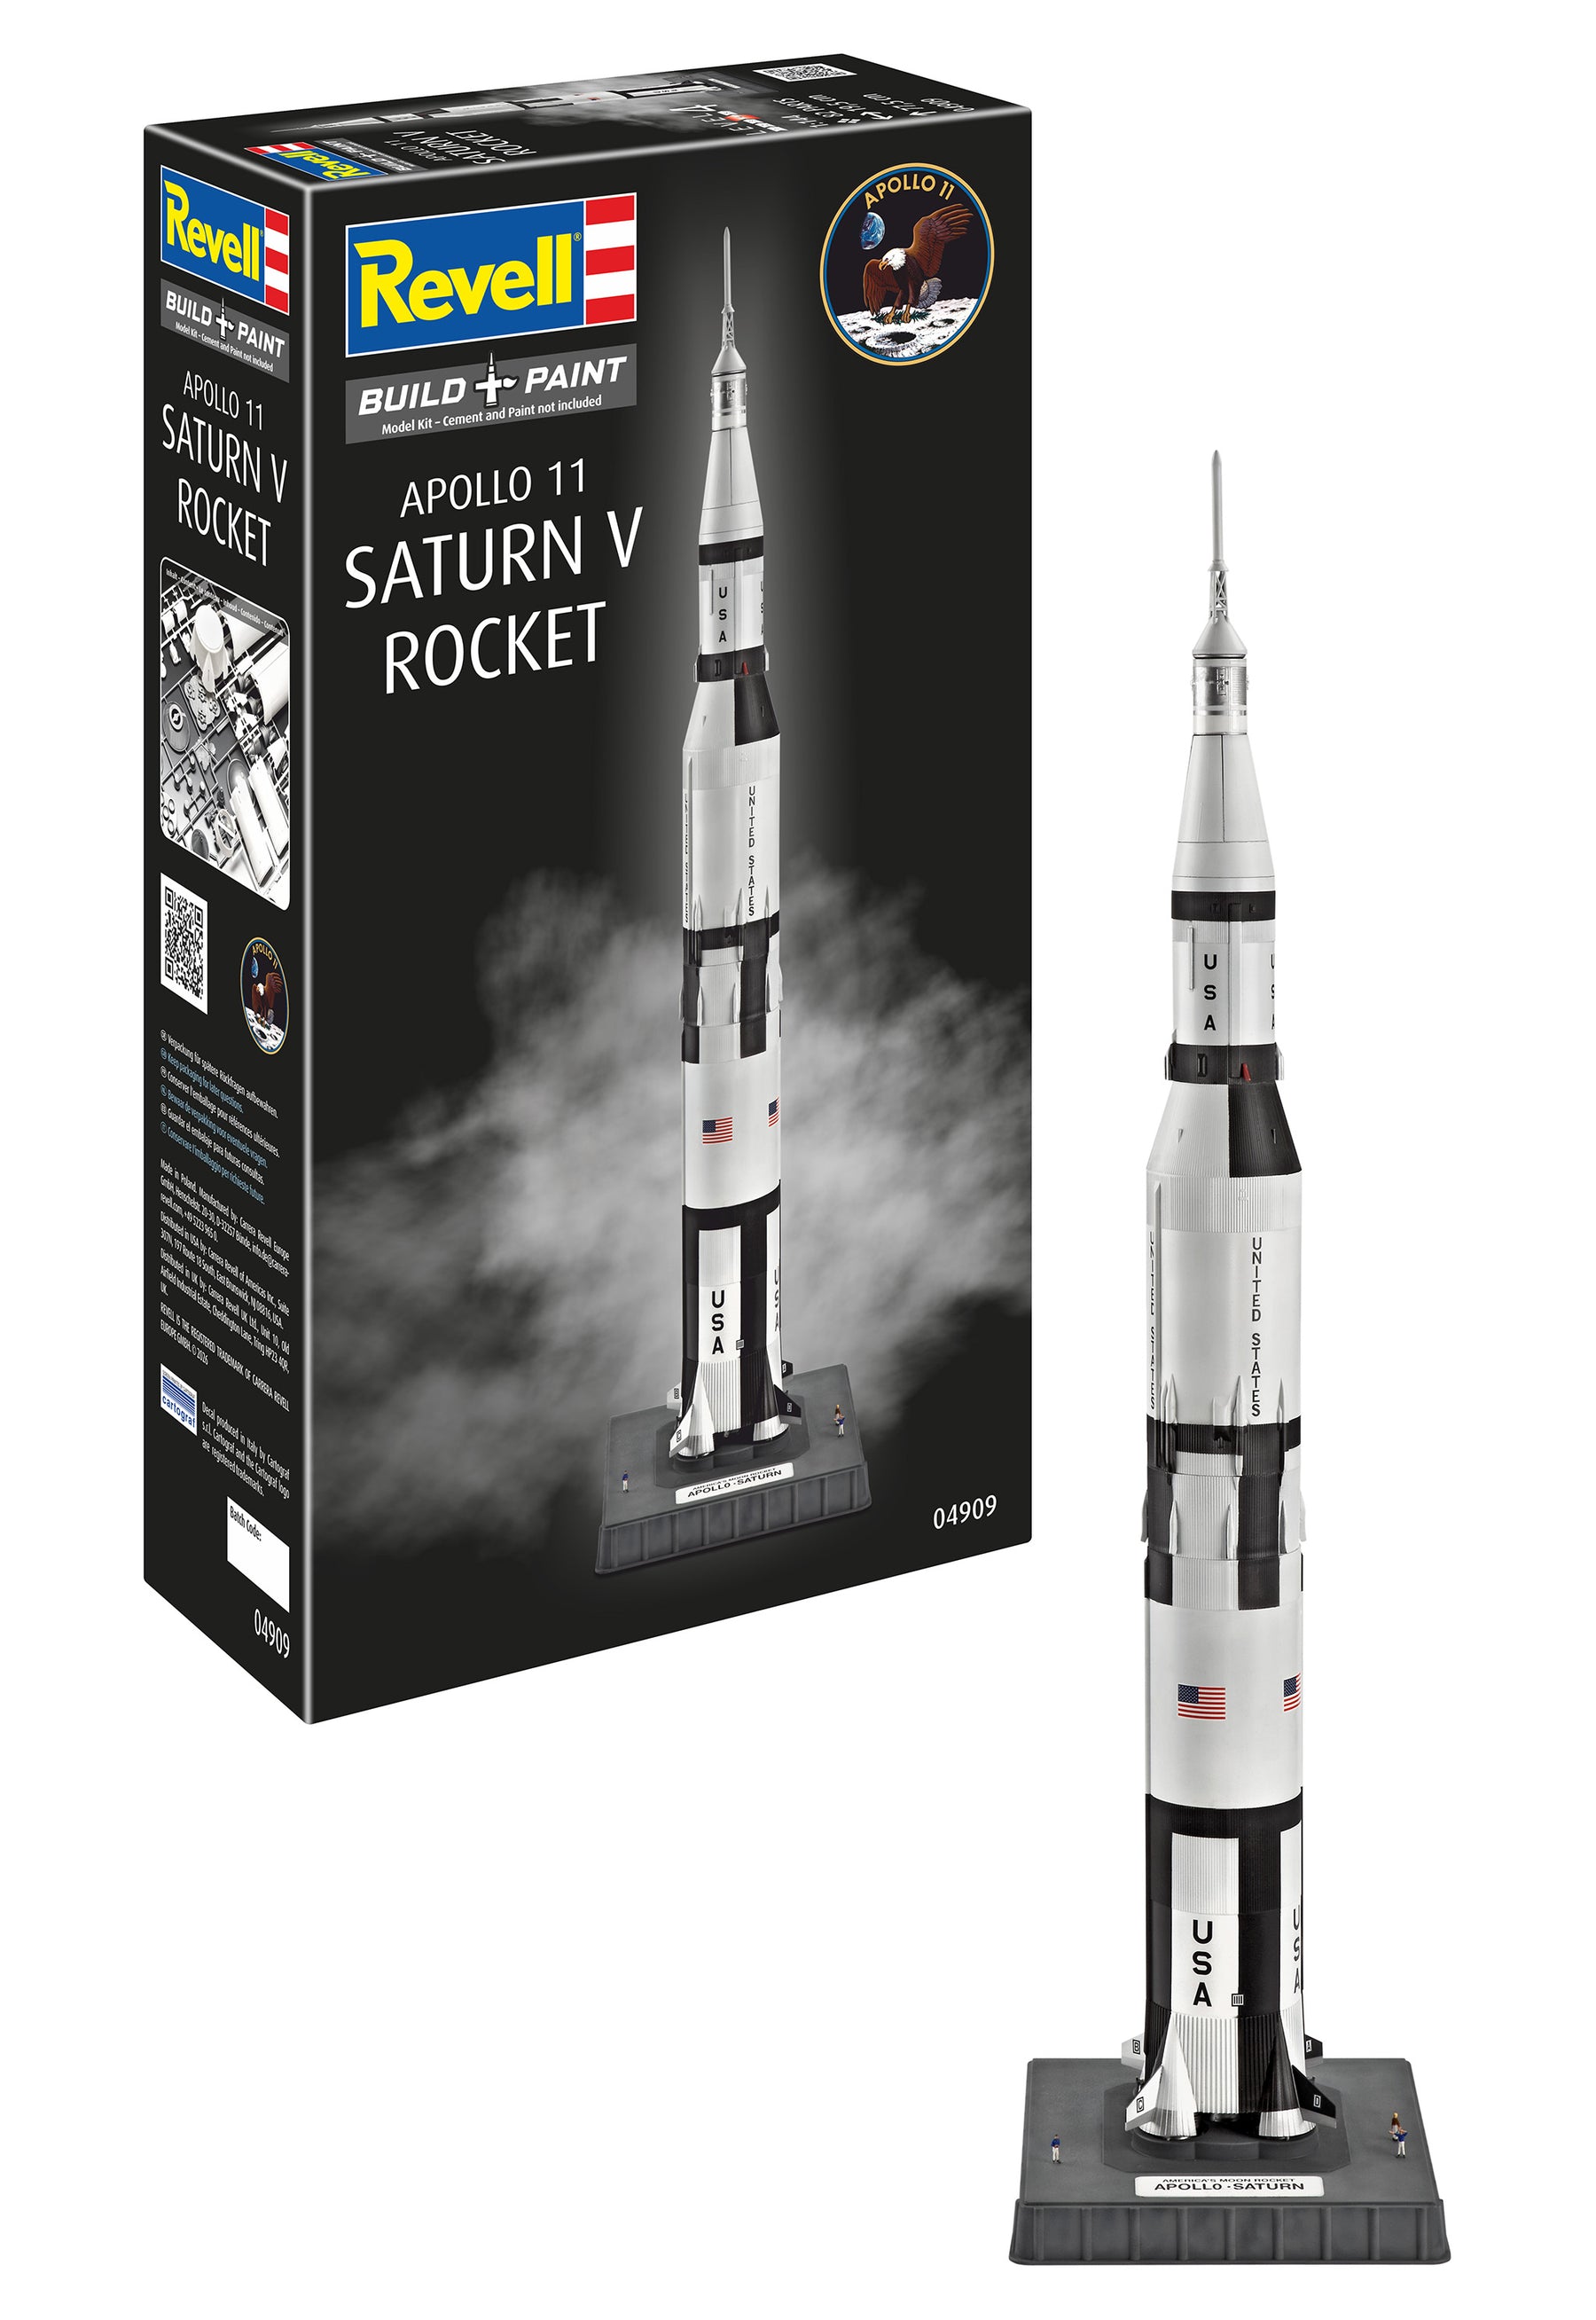
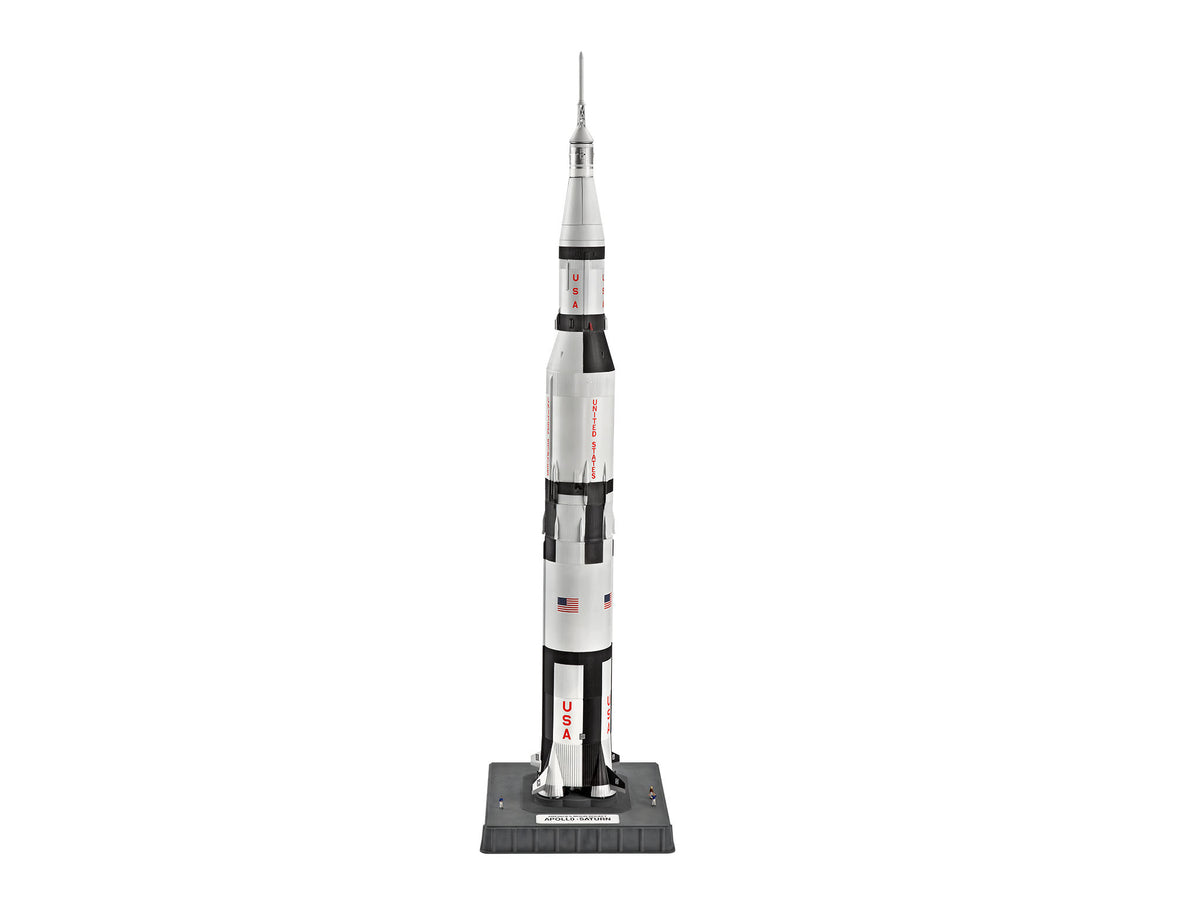
The Saturn V is still considered one of the most powerful and impressive rockets ever to launch successfully. With a real height of over 110 meters, it brought the astronauts of the Apollo missions safely to the Earth's satellite. As a kit, this launch vehicle is a real showpiece. Several separable stages allow you to precisely recreate the phases of the moon flight: from the first stage with the five huge F-1 engines through the intermediate stages to the Apollo command capsule with rescue rocket. Anyone who builds the Saturn V will experience the gigantic dimensions of this once-in-a-century project in a true-to-scale miniature format.
The Apollo lunar module (Lunar Module) is equally fascinating. With its asymmetrical shapes, distinctive landing legs and descent stage reflective foils, it represents a wonderful opportunity for modelers to experiment with different textures and paint techniques. When you assemble the lander, you immediately understand how radically every gram of weight had to be saved to allow Neil Armstrong and Buzz Aldrin to land safely in Mare Tranquillitatis.
The Space Shuttle Era: Reusability in Earth Orbit
The Space Shuttle shaped the image of manned space travel for over three decades. Space shuttles such as the Columbia, Discovery, Atlantis and Endeavor transported heavy satellites, the Hubble space telescope and entire laboratory modules into space. Shuttle kits impress with their striking silhouette: the characteristic delta wing shape, the huge orange outer tank and the two white solid rocket boosters.
As a model builder, you have the choice here: Do you want to show the orbiter individually on the landing approach with the landing gear extended, show the loading bay with the doors open and the robot arm extended in orbit, or show the entire shuttle stack on the launch pad shortly before takeoff? The heat protection tiles on the bottom and the striking white insulation blankets offer fantastic options for washing and subtle accentuation.
The International Space Station ISS: The Global Outpost Project
The ISS is the largest man-made object in Earth orbit and an impressive symbol of international cooperation. A kit of the International Space Station challenges your patience and fine motor skills in a special way: the station grows module by module, from Zarya and Zvezda to the Destiny, Columbus and Kibo laboratories to the impressive grid structure with the huge solar cell surfaces. Thanks to its modular structure, the ISS perfectly reflects the real structure in space and rewards you with a spectacular eye-catcher in your showcase.
The right scale for your space fleet
In model making, scale determines the size, depth of detail and space requirements of your finished model. In the area of space and astronautics you will primarily encounter three established standards, each of which offers specific advantages:
- Scale 1:144: The absolute standard for large launch vehicles and space stations. At this scale, even the gigantic Saturn V with a height of almost 77 centimeters is still extremely manageable and suitable for shelves. The Space Shuttle including its external tank or the ISS can also be beautifully presented next to each other at a scale of 1:144, so that you can directly compare the proportions of different spacecraft.
- Scale 1:72: Ideal for space shuttles, capsules or research aircraft. In 1:72, cockpits, instrument panels, astronaut figures and engine vents have considerable detail. If you value finely crafted hatches, antennas and photorealistic painting in the interior, this scale is the perfect choice.
- Scale 1:96 and 1:48: Often chosen for landers or spacesuits. These larger scales allow for extraordinary plasticity. Every rivet, every supply line and every heat shield bolt can be precisely highlighted here.
Step by step to the perfect space model: tools and techniques
A convincing space model depends on clean assembly, accurate alignment and a harmonious color scheme. Unlike military vehicles, which are often characterized by heavy dirt and rust, spacecraft are characterized by specific surfaces: pristine white insulating paint, reflective heat protection films, matte black tiles and fine traces of soot on engine nozzles.
The right preparation and assembly
Before you start gluing, you should carefully check all components and, if necessary, carry out fit tests. For multi-stage rockets, it is essential that the cylindrical fuselage half-shells meet each other completely flat. For clean cuts, use high-quality craft pliers and smooth the separation points with sandpaper of different grits. To make glued seams on long rocket stages invisible, we recommend using a fine plastic glue with a needle tip, which dissolves and welds the plastic. You can find suitable tools, masking tapes and precision files in our range Accessoriesso that your building project is successful from the start at a professional level.
Systematic color design: glossy white, titanium and heat shields
The coloring determines whether a model looks like a plastic toy or a real space device. White is one of the most demanding colors in model making because it covers poorly on dark surfaces and brush strokes are easily visible. We recommend that you thoroughly degrease components before assembly and prepare them with a neutral, light gray primer.
For painting by hand or by spraying, it is best to use water-based acrylic paints, such as those in our popular range Aqua Color find. These colors have little odor, dry quickly and can be easily applied with a brush or diluted with distilled water for the spray gun. Typical colors for space projects include matt white, satin black for heat protection tiles, gold and silver tones for insulating mats, and iron, titanium and copper for the huge thrusters.
Perfect surfaces thanks to modern spray technology
Conventional brushes often reach their limits, especially with the large, smooth surfaces of launch vehicles and shuttles. The easiest way to achieve an even, streak-free surface is to use a spray gun. The fine mist of paint allows you to apply paper-thin layer after layer without drowning out delicate engravings such as metal joints or tile patterns. Even gentle discoloration on the engine bells - the typical tarnishing of metal under extreme heat - can be masterfully depicted using the spray technique. If you would like to get started with this finishing technique, our area offers you Airbrush From a beginner's set to a professional pistol, you'll find exactly the right equipment for spectacular results.
Apply decals: The key to an authentic look
The labeling is what brings a space model to life: NASA logos (from the classic “Meatball” to the modern “Worm” lettering), American flags, warning notices on engines and survey markings on the rocket stages give the model its character. Cut out the wet slide pictures exactly and soak them briefly in lukewarm water. Apply the decals to a previously glossy painted surface - this way you avoid the dreaded “silvering”, in which trapped micro air bubbles give the carrier film a milky shimmer. With a decal softener, the images adapt to even deep grooves and curved contours like a second skin. A final sealing with clear varnish permanently protects the decals from abrasion and UV radiation.
Plug-in fun for in between: space travel without glue
Are you looking for a relaxing construction project for the weekend or would you like to immerse yourself in the topic of space travel with your children without having to deal with glue and solvents? In addition to classic plastic kits, there are innovative alternatives that make space technology a three-dimensional experience. High-quality plug-in models made from punched foam or cardboard elements offer a surprisingly stable and visually appealing construction result. If this uncomplicated craft fun appeals to you, take a look at our category 3D puzzles. Legendary monuments and spacecraft are created here through precise plugging - ideal for beginners, young astronauts or as a decorative project for the desk.
Understanding skill levels: Find the kit that suits you
To ensure that your construction project is a complete success and that you are neither under nor overwhelmed, it is best to follow our proven skill level system. This classifies kits according to their complexity and the number of parts:
- Level 1 (Easy-Click system / plug-in kits): Perfect for children and absolute model building newbies. The parts are sprayed in multiple colors and can be securely connected by simply plugging them together. No gluing, no painting absolutely necessary – immediate construction success guaranteed.
- Level 2: Simple kits with up to 30 pieces that introduce gluing and basic painting. Excellent for young hobbyists aged around 8 to 10 who want to create their first real plastic model.
- Level 3: The entry into sophisticated model building with up to 100 components. This requires uncomplicated gluing, clean deburring and precise painting. Ideal for beginners and ambitious hobbyists.
- Level 4: For experienced model makers. These kits contain up to 150 or more intricate parts, feature highly detailed cockpits, complex engine systems and require advanced painting and decal techniques.
- Level 5: The premier class for real model building professionals. Kits with hundreds of parts, sophisticated hull constructions and the highest level of detail. Patience, many years of experience and fine craftsmanship are required here - the result is museum-worthy.
Space model building as a cross-generational experience
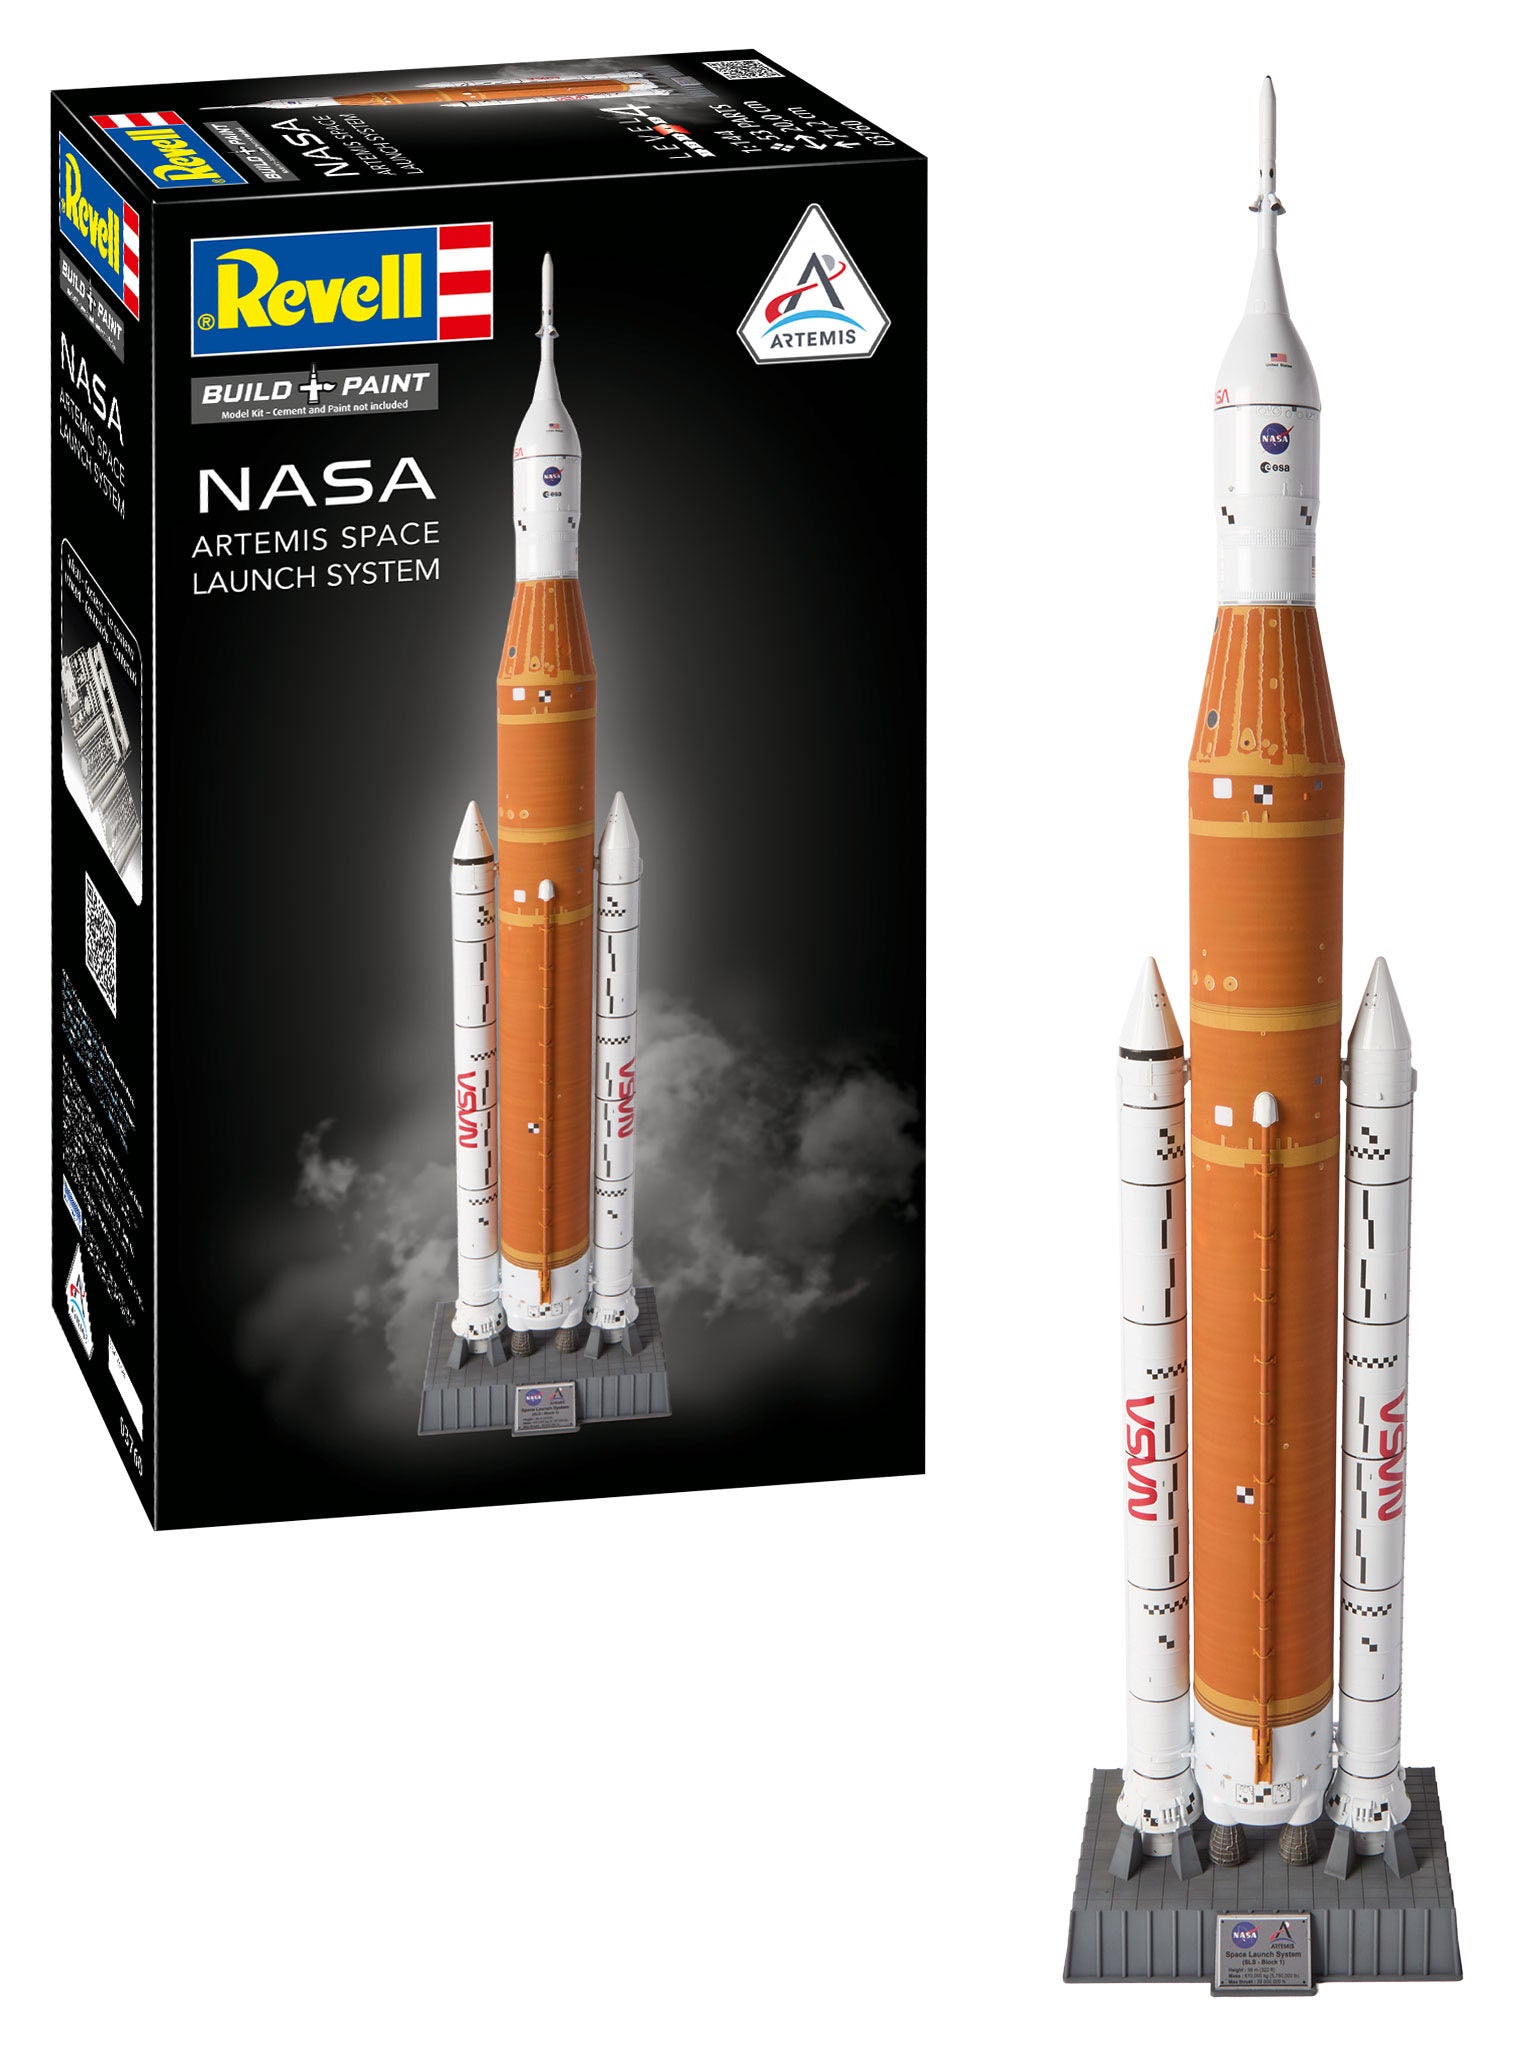
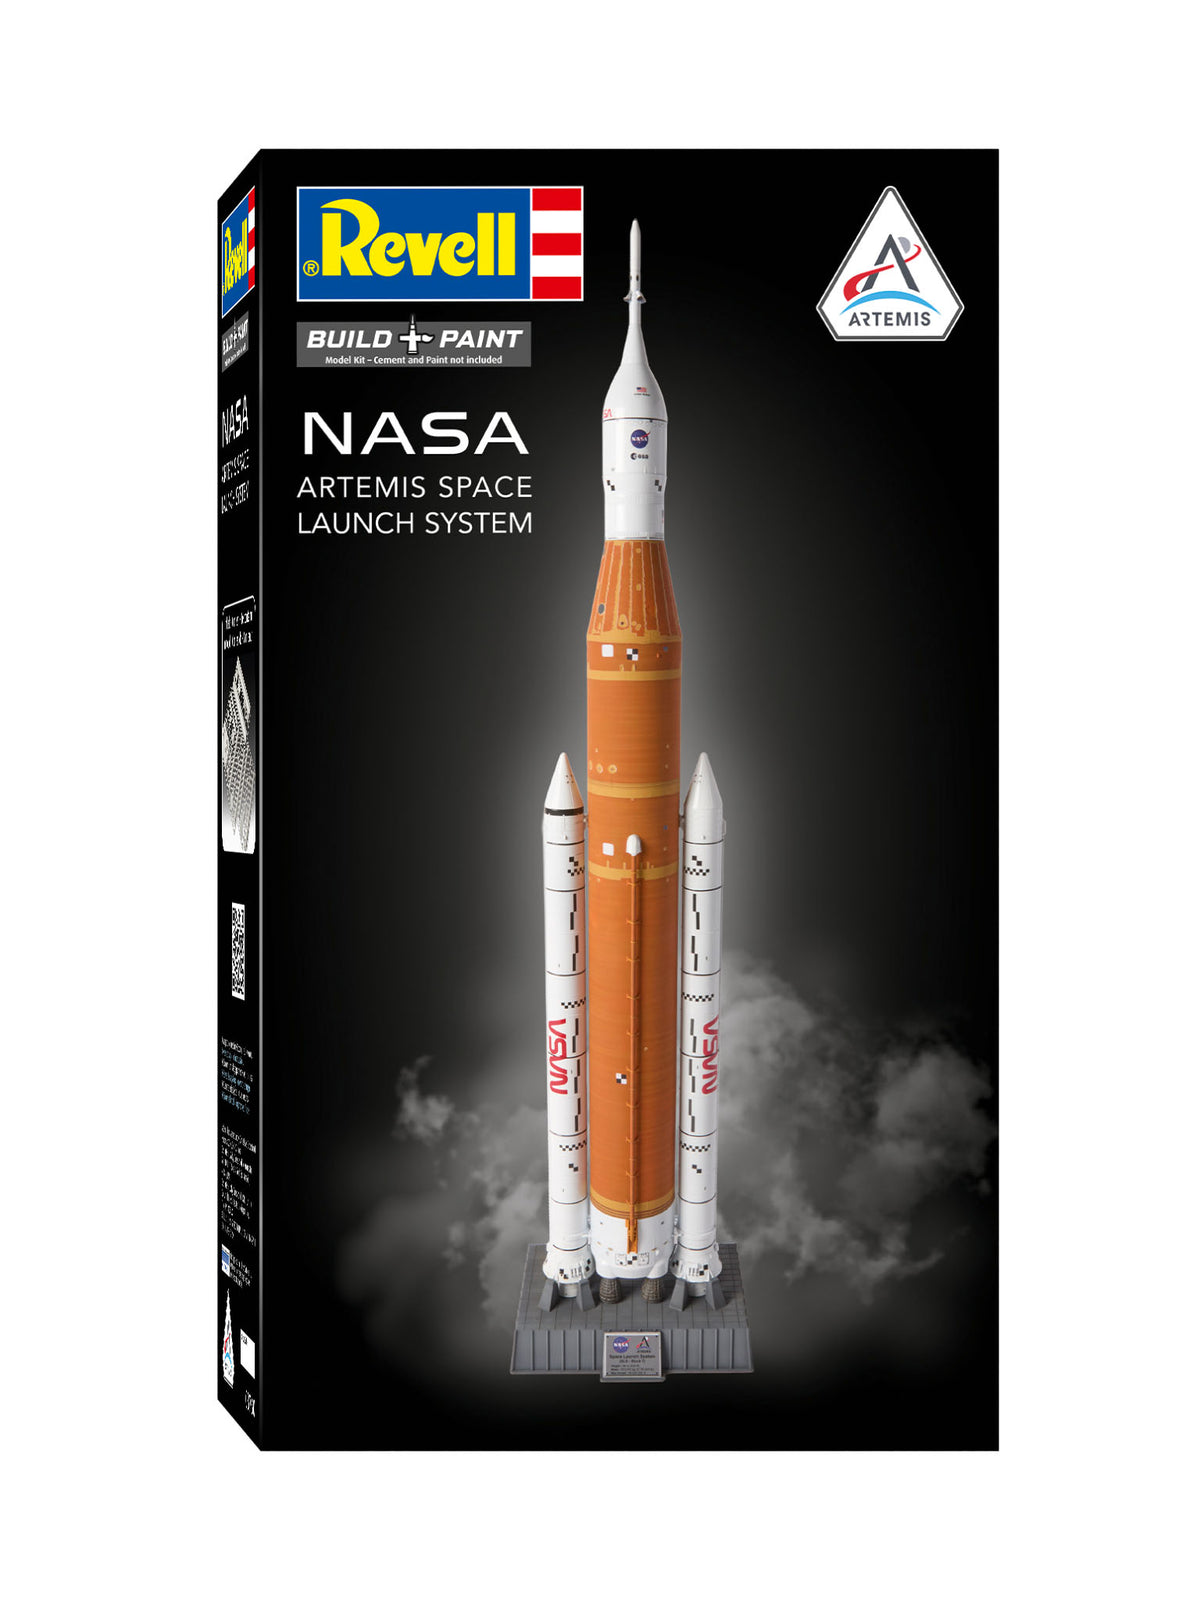
Space and astronautics connect generations like no other topic. Grandparents vividly remember the television images of the first moon landing in 1969, parents grew up with the spectacular launches of the space shuttles, and today's children are fascinated by the modern Mars rovers and the new Artemis moon missions. Building a space model together creates valuable time together away from digital screens.
While you put the stages of a Saturn V together with your child or grandchild, you will teach the basics of physics in a playful way: What is the recoil effect? Why does a rocket need multiple stages? How does weightlessness work in space? In this way, the finished model not only becomes a stylish decoration on the shelf, but also a tangible piece of scientific history that the young hobbyist can look back on with pride.
Tips for the perfect presentation of your models
If you have invested many hours of work, patience and passion into your model, it deserves a presentation that highlights its quality. Here are some tried and tested ideas from our community:
- Diorama construction with lunar surface: A simple wooden base, some plaster or structural paste and gray acrylic paint are enough to create a convincing crater landscape for your Apollo lunar module. Fine sand and matching footprint stamps make the scene appear amazingly lively.
- Dynamic flying poses: Attach your space shuttle or ISS to a subtle acrylic glass rod to simulate the impression of floating in orbit. A deep black painted back wall with tiny white speckles for stars greatly enhances the space effect.
- Launch pad staging: Build a suitable lattice mast or launch platform for your launch vehicle. Together with fine cotton wool, which you shade with orange and gray colors using a spray gun, you can spectacularly capture the huge cloud of smoke and fire at the moment of takeoff.
Start your own mission into space today. Choose your next space kit from our extensive range and build your own monument to space history step by step!