


Why airbrushing makes the crucial difference in model making
Every model maker knows the moment when a painstakingly assembled kit is ready for painting. When applying with a classic brush, despite the greatest care, there is often a risk that fine panel lines will stick together, traces of bristles will remain visible or the pigmentation will appear patchy in places. It is precisely at this point that the spray gun technique develops its full strength. When compressed air hits finely atomized paint, you place microscopically fine layers of paint on the model, leaving even the most delicate rivets, edges and engravings completely untouched.
In addition, the technology allows you creative freedom that is simply unattainable with a brush or spray can. Delicate gradients in camouflage patterns, realistic shading along sheet metal joints, subtle fading caused by sunlight or precise weather effects such as traces of soot and dirt can be achieved by themselves with an experienced hand. The layer thickness remains so low that the scale of your model is maintained exactly. At the same time, the thin layers dry in fractions of a second, which drastically reduces the risk of dust or lint formation during the drying phase.
The anatomy of a spray gun: This is how the system works
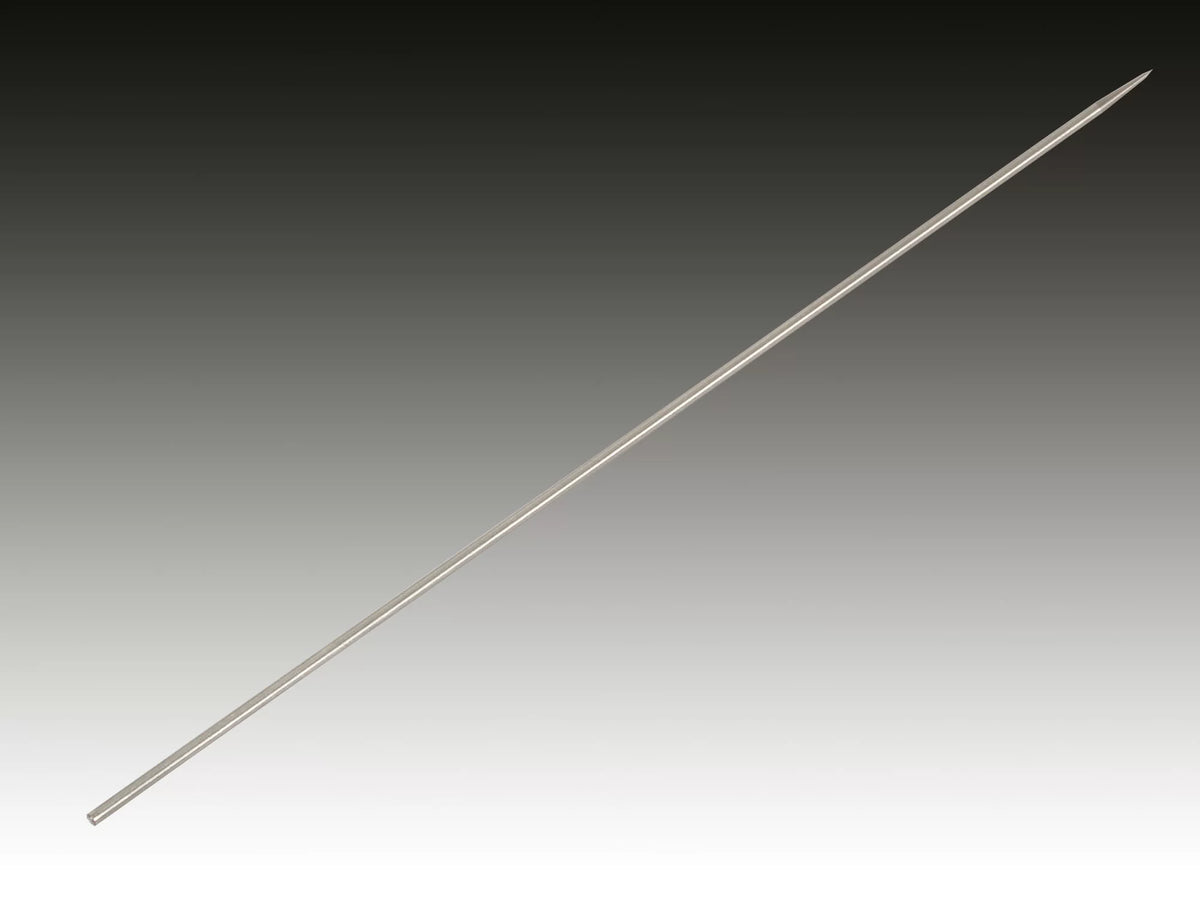
At its core, every sprayer is based on the Venturi principle. A constant stream of air flows past a tiny nozzle opening, creates a negative pressure there and carries the liquid paint mixture with it. The needle inside controls how much paint is released. The further the needle retracts, the larger the gap between the needle tip and the nozzle wall becomes and the more paint particles are carried away and atomized by the air flow.
For you as the user, this means: You control the amount of paint and the beam width directly via the gun's mechanics. Subtleties such as the interaction between needle geometry, nozzle diameter and air cap design determine how finely the spray pattern is resolved. While inexpensive standard solutions often produce larger droplets, high-quality spray guns are characterized by uniform misting, with no annoying spray mist (overspray) fraying at the edges.
Single-action or double-action: which control is right for you?
When you look into purchasing a spray gun, you will inevitably come across the two basic functions. Both systems have their right to exist in model making and serve different handling and control requirements.
Single-Action: Easy to use for primers and large areas
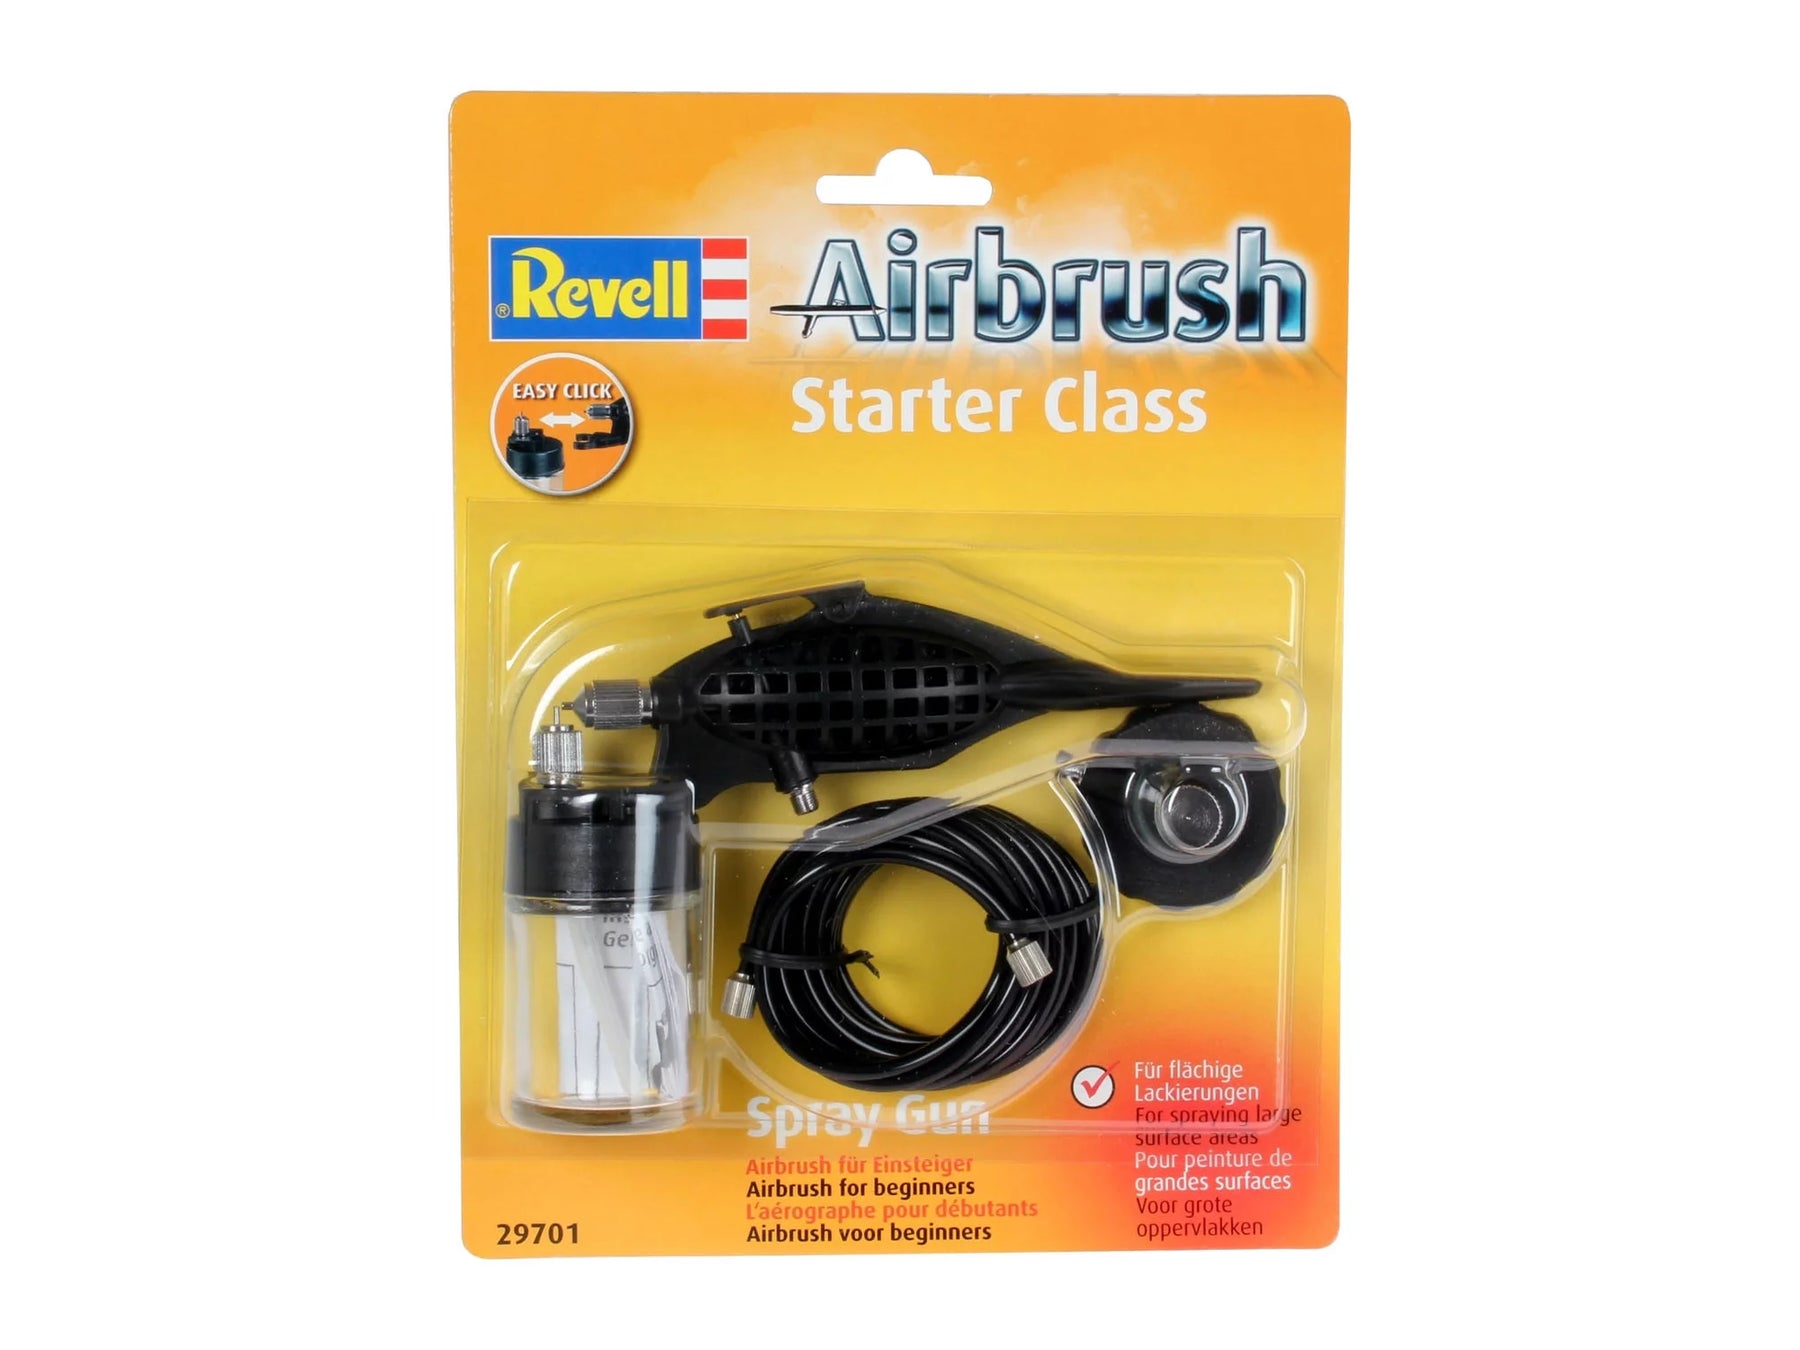
With a single-action pistol, you push the control lever down, which releases air and paint at the same time. You can regulate the amount of paint that comes out in advance using an adjusting screw at the end of the gun body or directly on the needle. This makes the system extremely reliable and uncomplicated: you only have to concentrate on the distance to the model and your hand movement while spraying. This principle is ideal for large-area primers, painting car bodies or applying monochrome base coats to ship hulls. If you are looking for an uncomplicated solution to get you started, you will find something more suitable in our selection Airbrush spray guns solid instruments for precisely these purposes.
Double-Action: Maximum flexibility for fine details and freehand camouflage
The double-action pistol (or double-action pistol) is considered the pinnacle of model making. Here you control two functions independently of each other with a single finger: By pressing down on the control lever you open the air valve, while by simultaneously pulling back the lever you move the needle backwards and continuously dose the amount of paint. This dynamic control allows you to go from a hair-thin line to a wider fan mid-stroke.
Double-Action is indispensable if you want to freehand spray complex camouflage patterns, create shadows in cockpits or work out subtle color gradients on armor and figures. Handling requires a bit of muscle memory and practice at first, but rewards you with unlimited precision with every brush stroke of air and paint.
Flow system versus suction system: How does the paint get into the airflow?
Another important differentiator is the way the paint is delivered to the nozzle:
- Flow system (Gravity Feed): The paint cup sits on top of the gun. Gravity allows the paint to flow directly into the nozzle channel. The advantage: You need significantly less working pressure (1.0 to 1.5 bar is often enough), and even the smallest amounts of drops can be processed completely. Ideal for detailed work and fine nuances.
- Suction system (Suction / Bottom Feed): The container is located below or on the side of the gun. The compressed air flowing through creates a vacuum that sucks the paint upwards through a riser pipe. This requires a little more pressure (usually from 1.8 to 2.2 bar). The big benefit lies in the color volume: you can plug in large glasses and coat huge areas in one go without refilling.
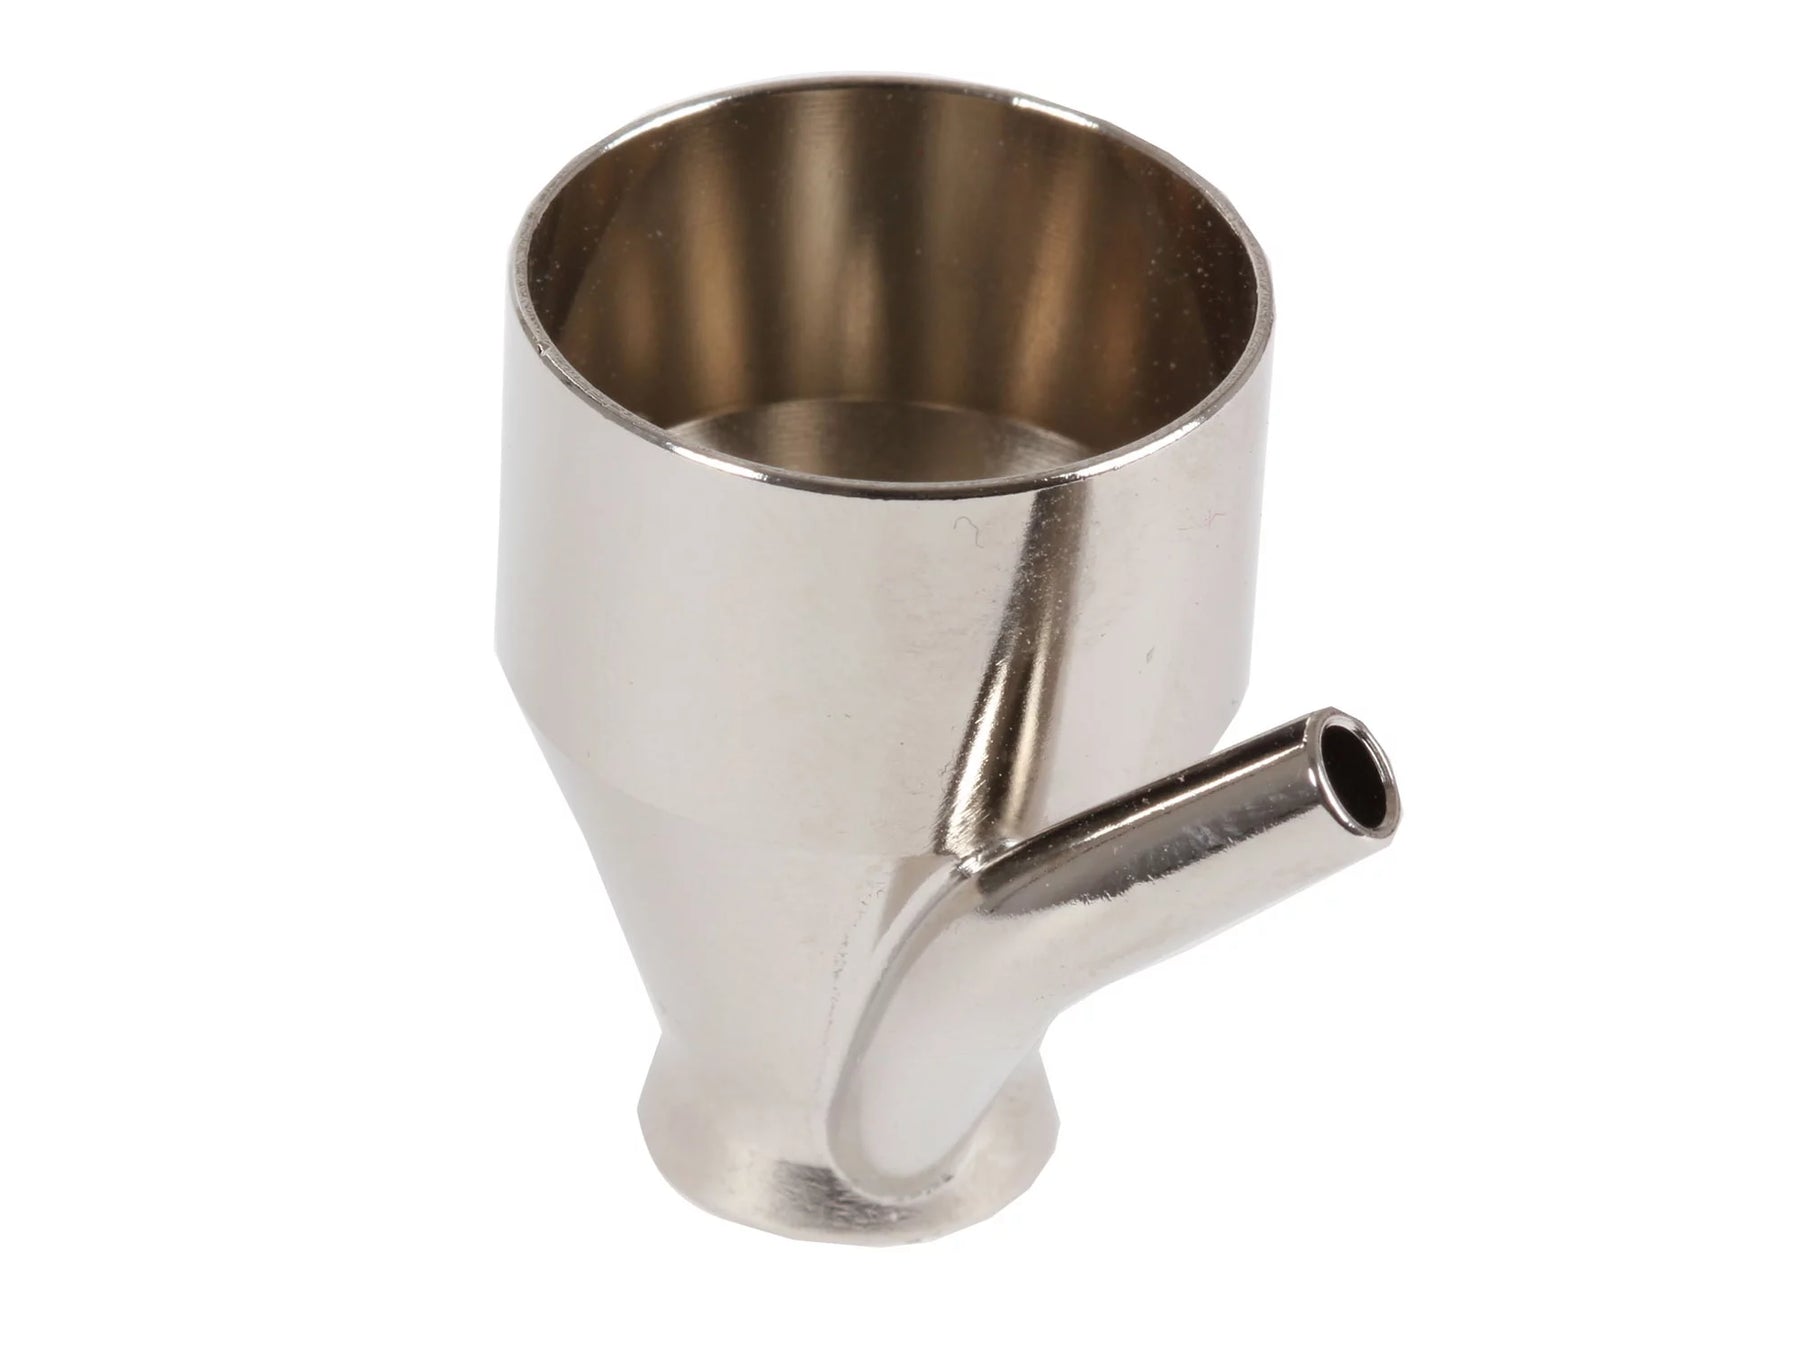
- Side feed system (Side Feed): Paint cups or glasses are attached to the side. This design often offers the advantage that you can rotate the cup - perfect if you want to paint models from unusual angles or upside down.
Compressed air and compressors: the beating heart of your workshop
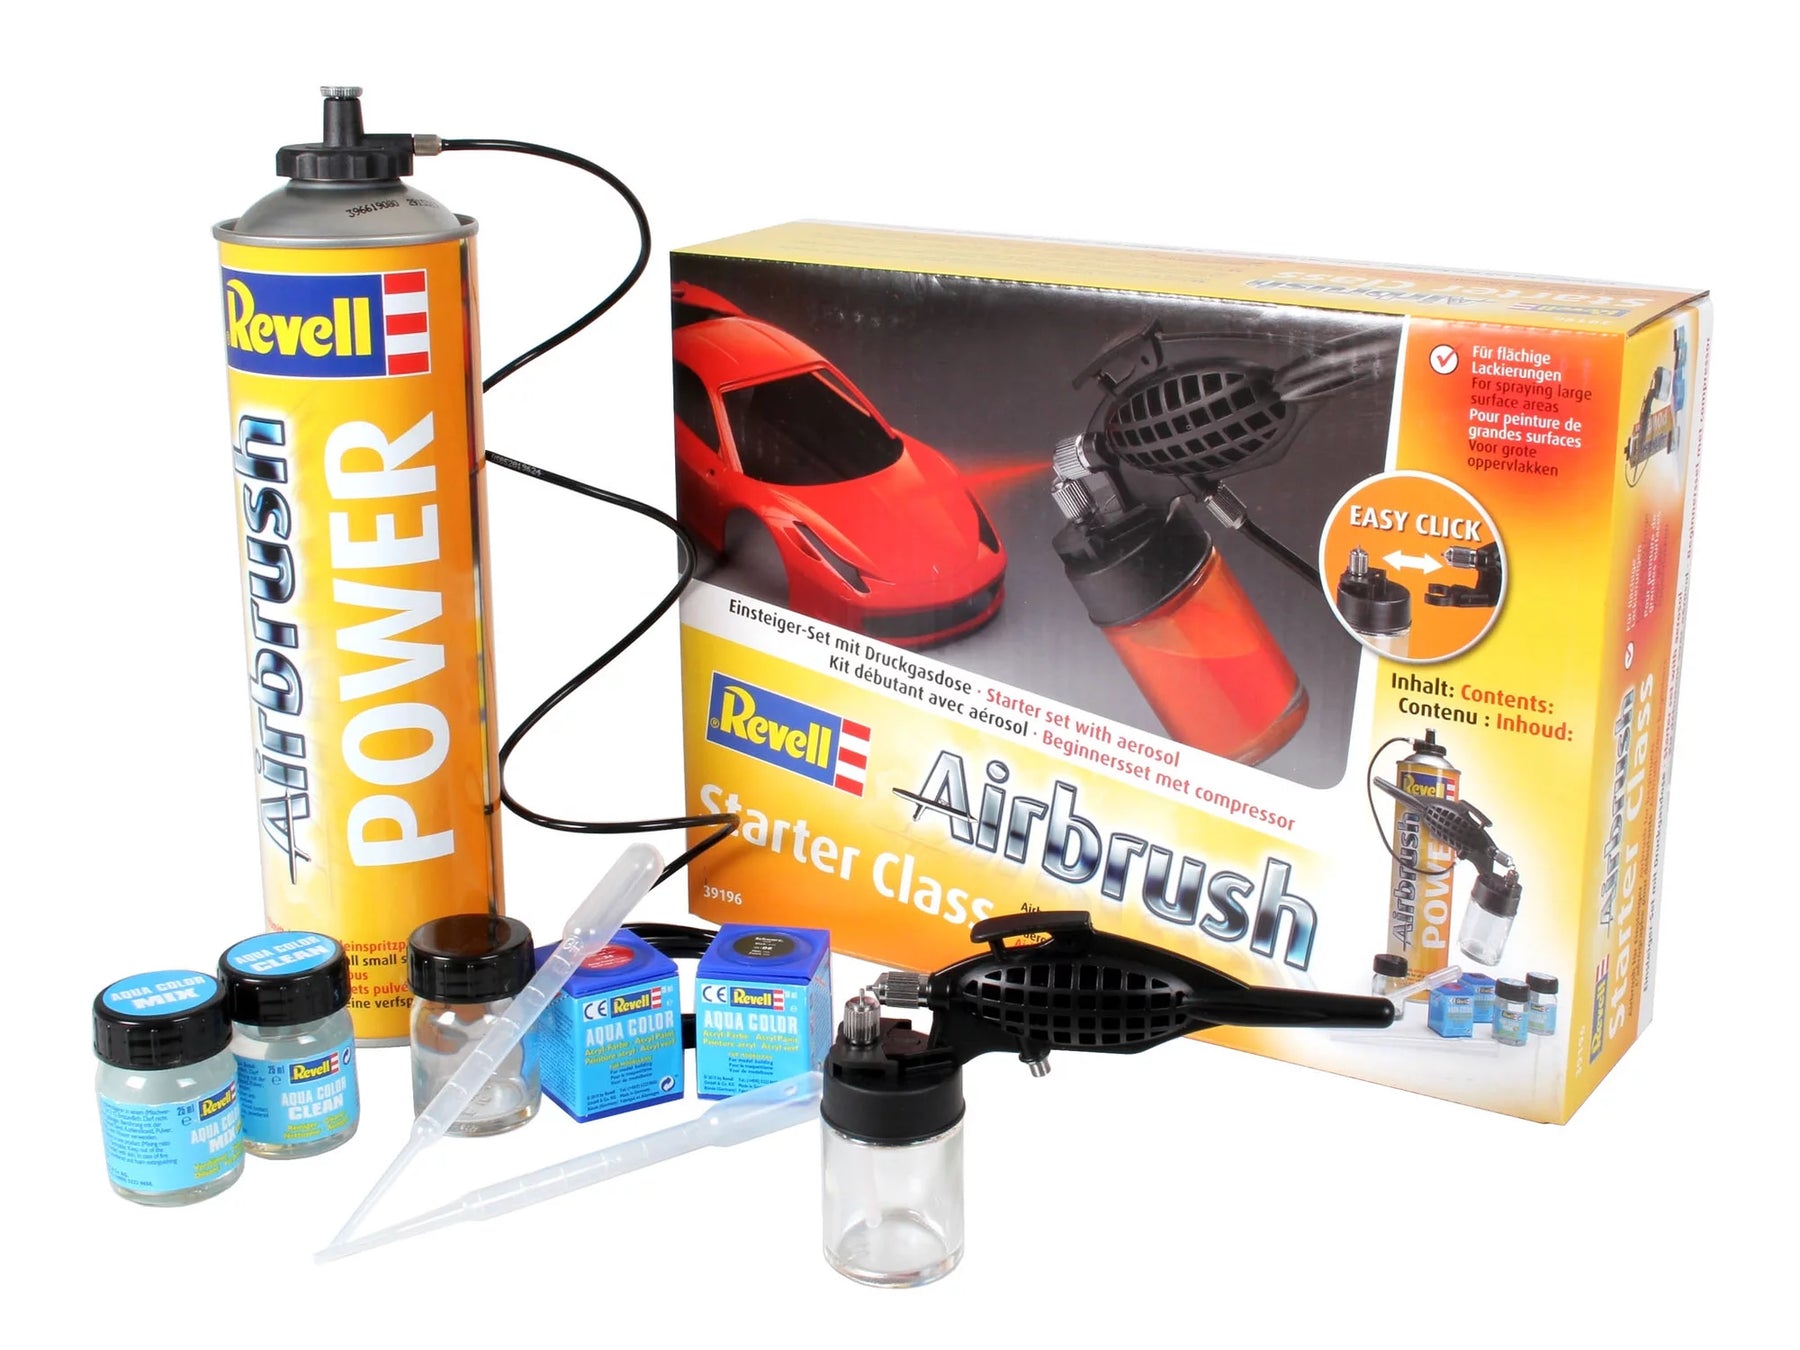
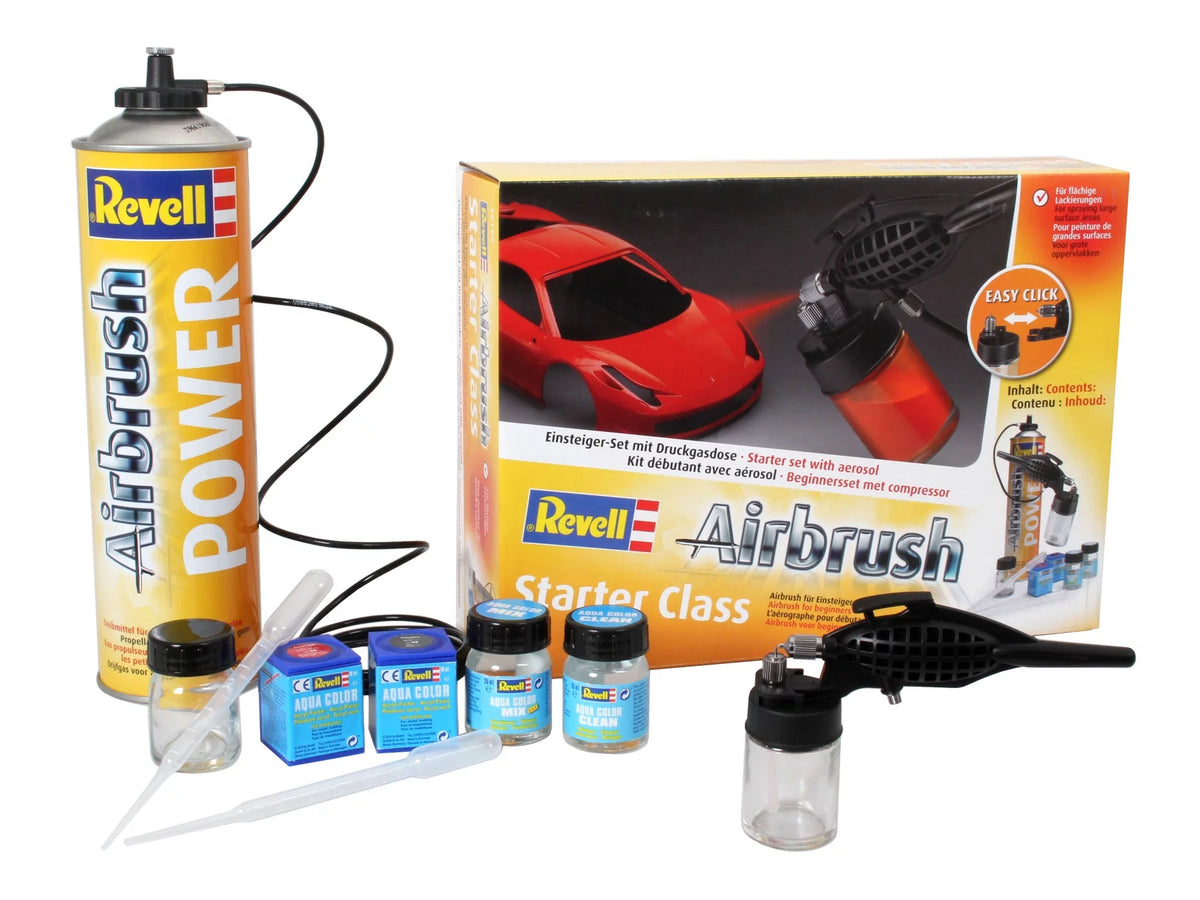
The best spray gun will not deliver convincing results if the compressed air source is unreliable. In the past, beginners liked to use compressed gas cans. However, these have serious disadvantages: If the can is removed for a longer period of time, the can cools down significantly, the pressure suddenly drops and the gun begins to spit. For consistent results, there is no way around a continuous compressed air system.
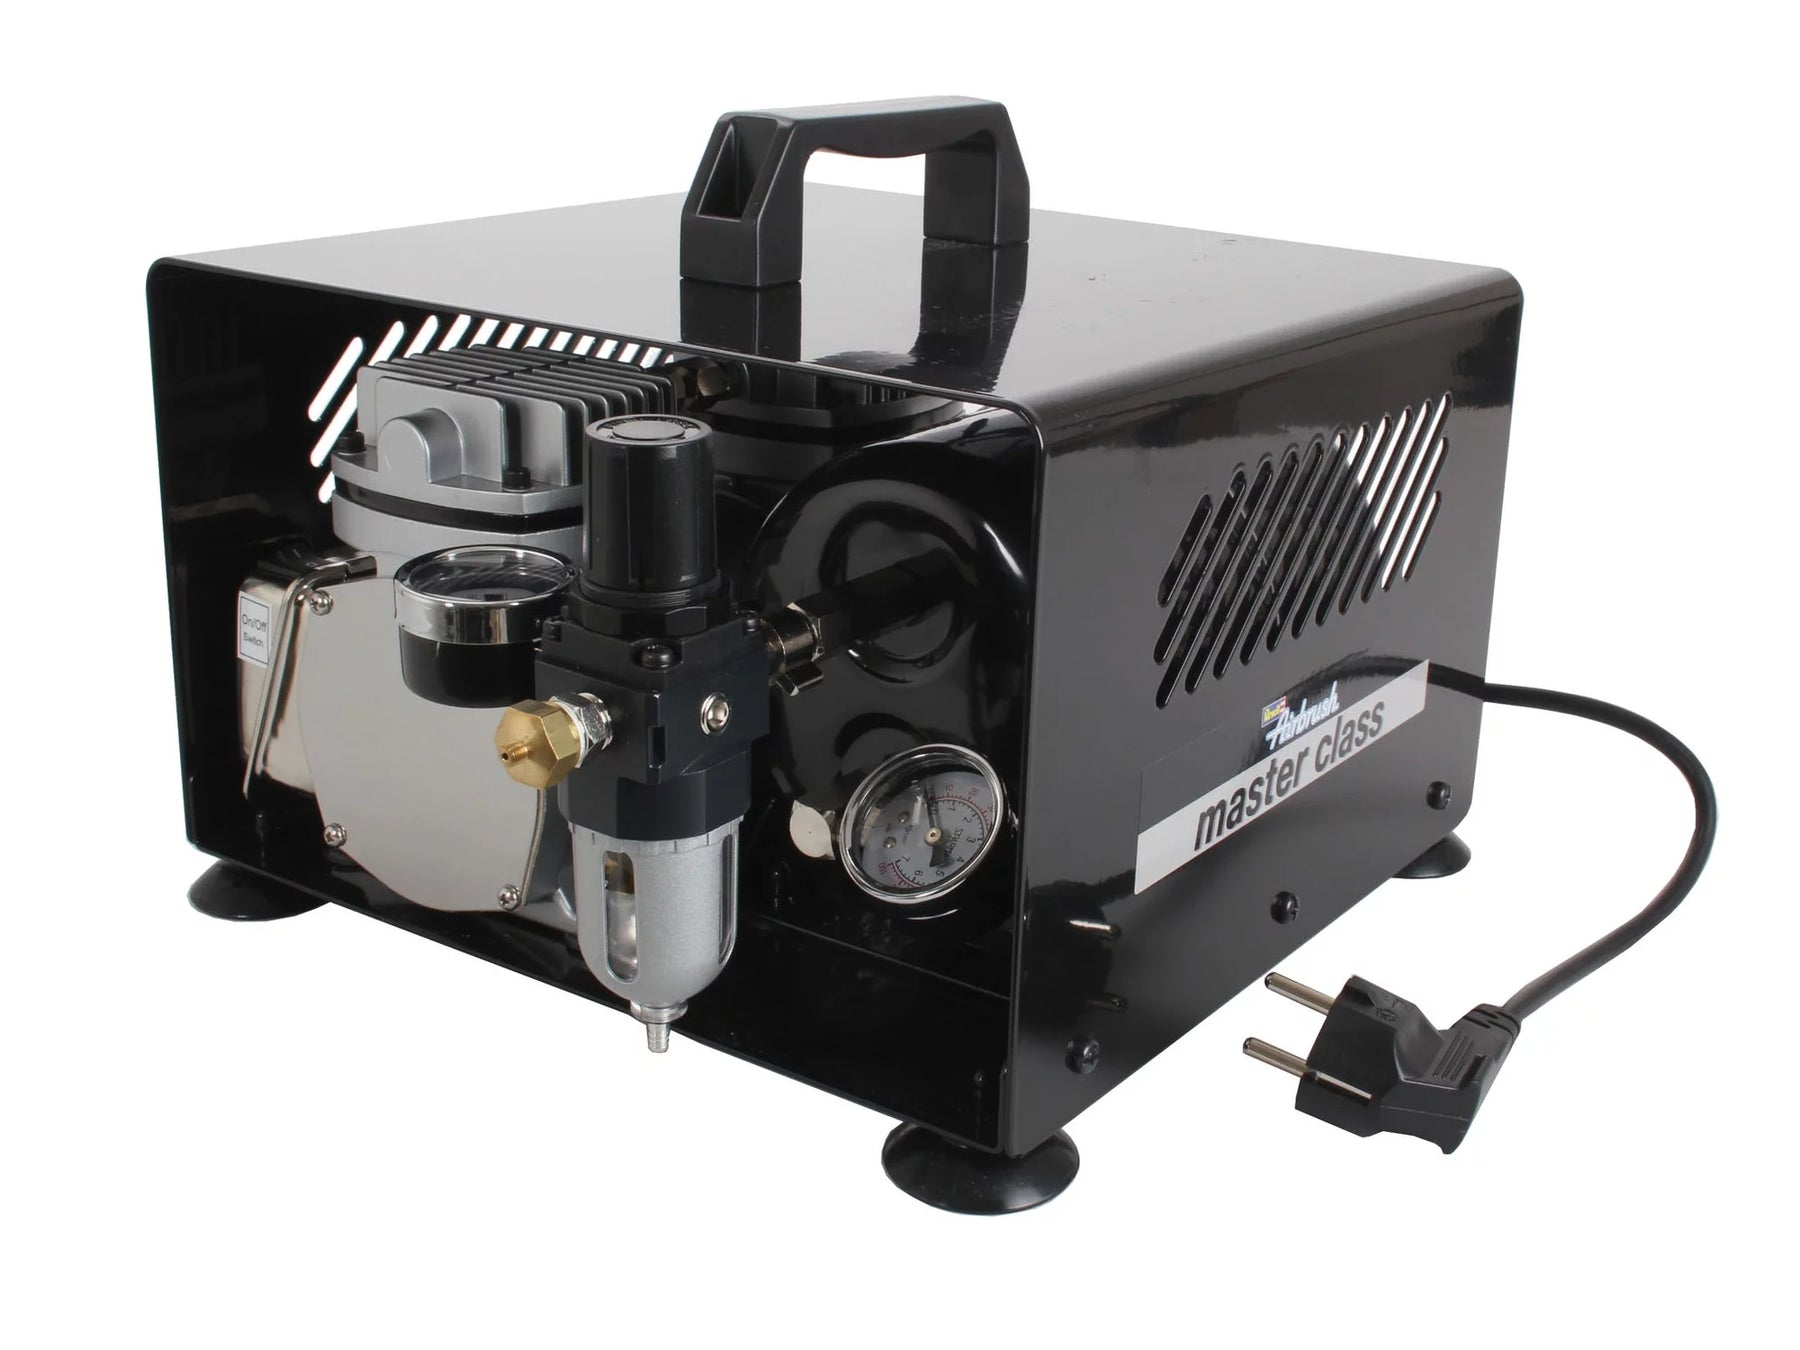
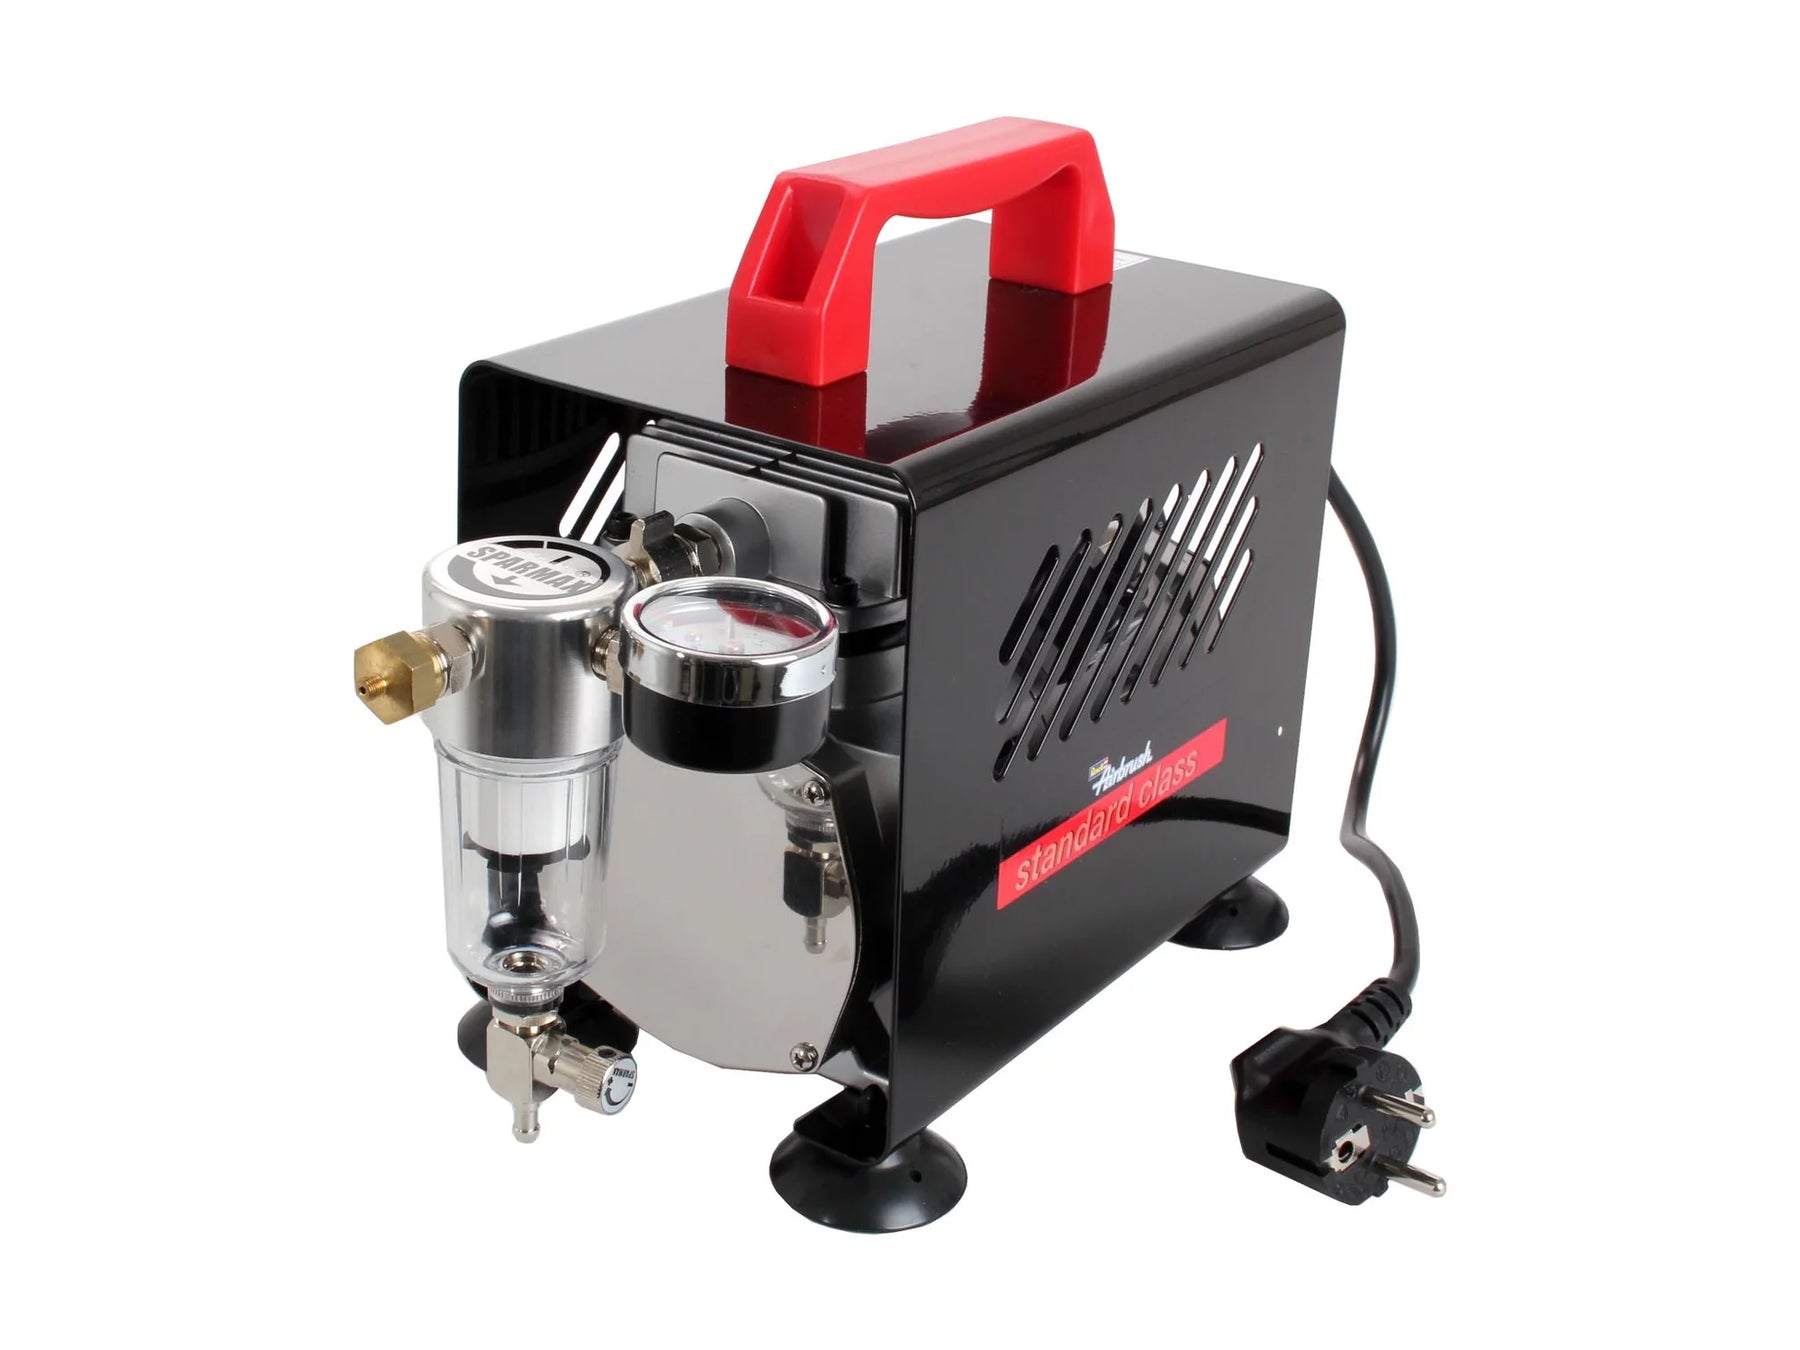
Modern piston compressors are oil-free, low-maintenance and extremely quiet, so you can easily work in the living area without disturbing roommates or neighbors. When choosing your unit, pay attention to the following features:
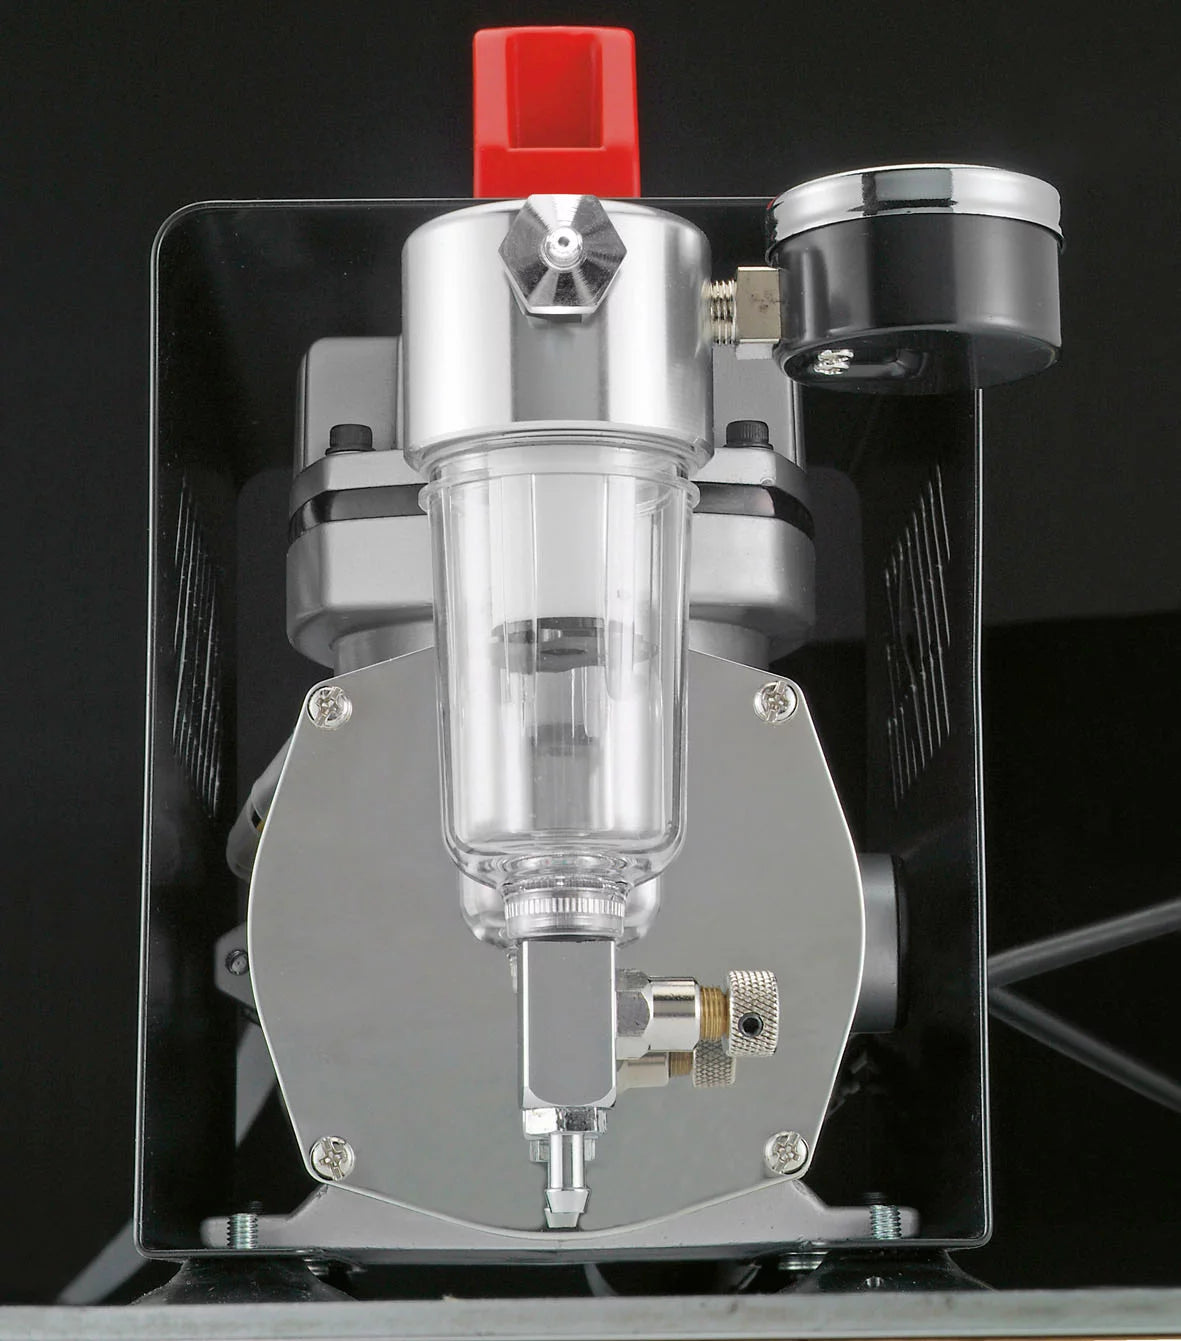
- Pressure reducer with pressure gauge: It allows you to precisely adjust the working pressure in fine steps to match the viscosity of your colors.
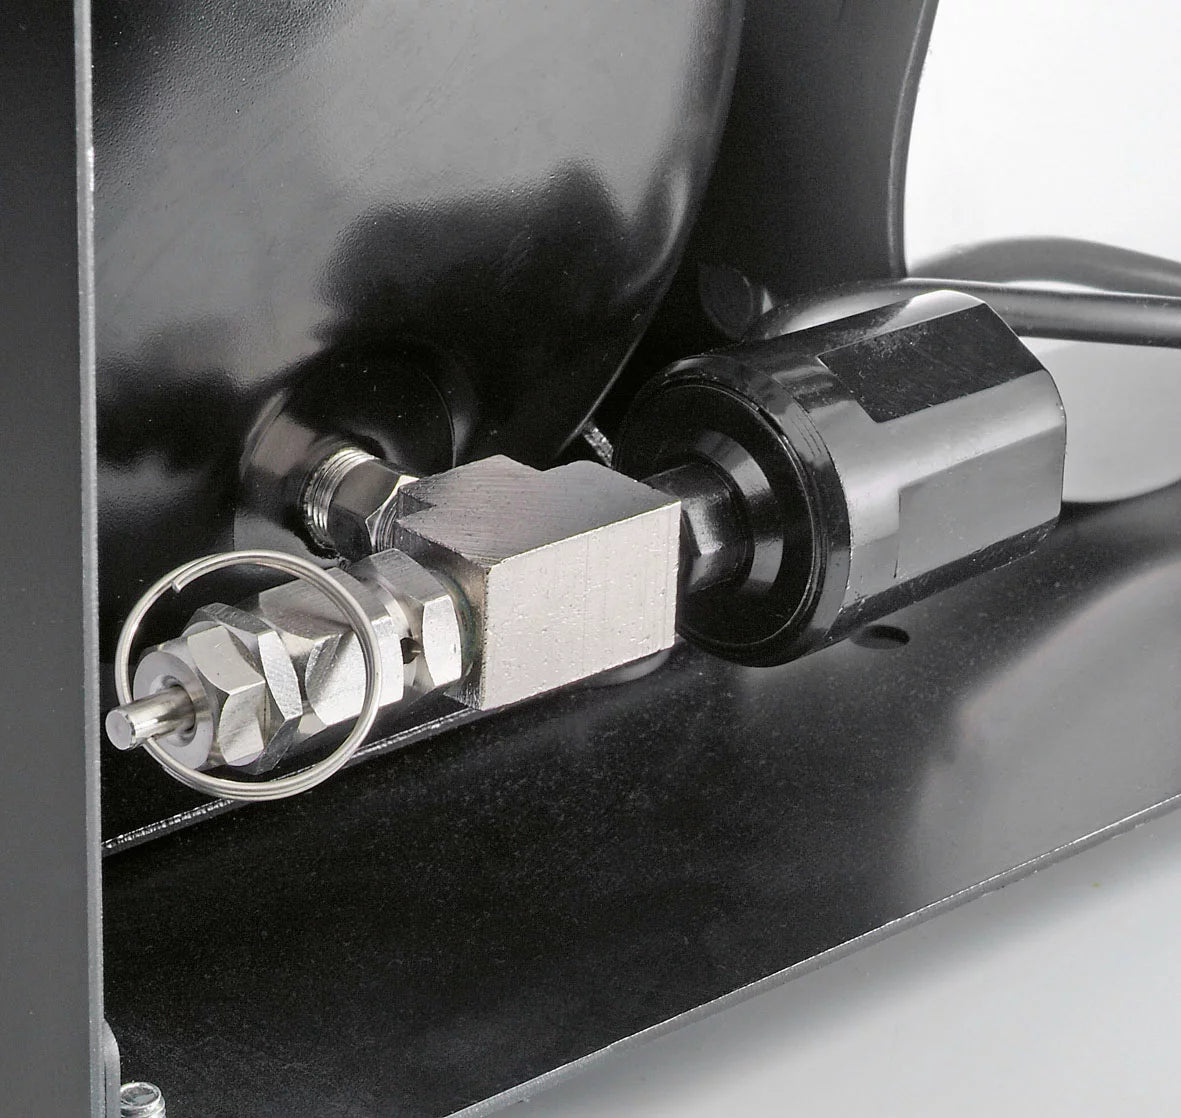
- Water separator: When air is compressed, condensation occurs. An integrated water separator reliably filters out droplets before they reach the hose and cause stains on your model.
- Air tank (pressure vessel): Compressors with tanks store compressed air. The motor switches off as soon as the boiler pressure is reached and you work from the tank with absolutely no pulsation. This protects the device and your nerves.
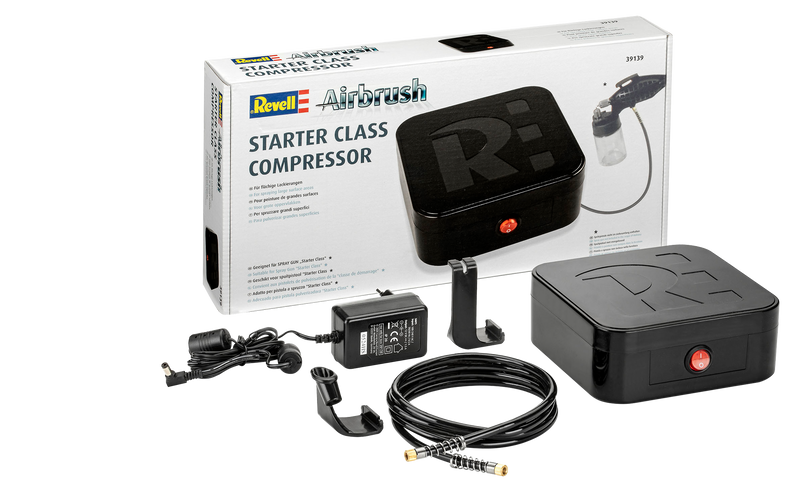
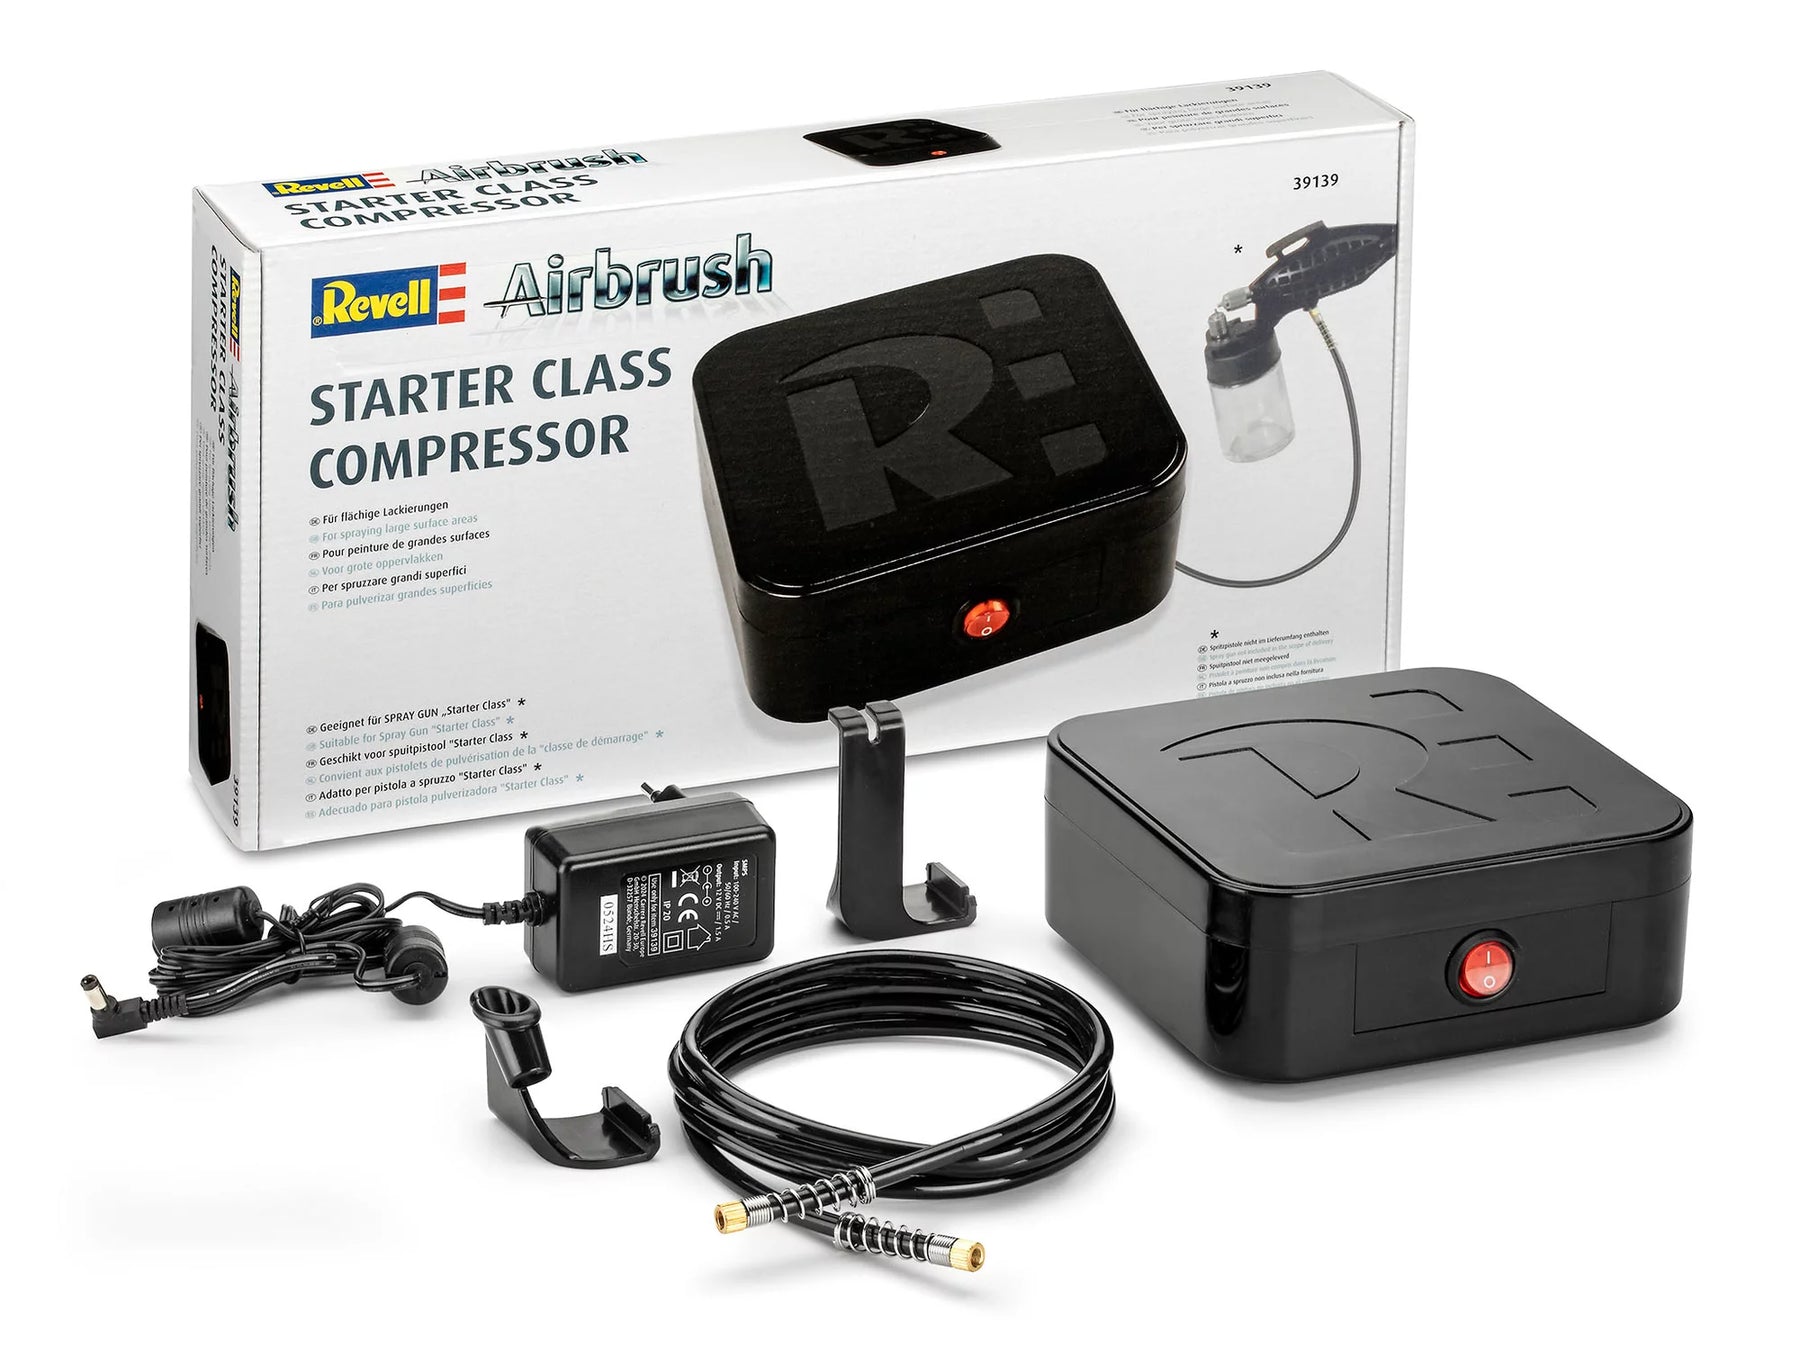
If you value a constant supply of compressed air that will serve you faithfully for many years, take a look at our high-performance ones Airbrush compressors in more detail. They form the solid foundation of every professional painting station.
Colors, thinning and consistency: The secret to the perfect spray pattern
Our workshop practice shows us again and again: More than eighty percent of all problems when spraying - such as clogged nozzles, rough surfaces or spitting needles - can be traced back to the wrong paint viscosity. Basically, almost all colors can be used in plastic model making, as long as they are adjusted to the correct consistency.
A proven rule of thumb for the right flowability is: Consistency of low-fat milk. If you let a drop of the mixture run down the inside wall of your mixing cup, it should leave a semi-transparent veil without immediately breaking off or sticking like thick syrup.
Water-based acrylic paints vs. solvent-based paints
Water-based acrylic paints (such as Revell Aqua Color) are extremely popular: they have little odor, dry quickly and are easy to handle. However, they tend to dry quickly on the warm tip of the needle (tip dry). A small amount of drying retarder or special thinner helps here, which keeps the paint flowing smoothly.
Enamel paints (Enamels) or solvent-based acrylic paints (Lacquers), on the other hand, score points with extreme adhesion, a particularly fine spray pattern and a very resistant surface. Due to the fumes, you should always ensure adequate ventilation and wear a respirator with an activated carbon filter when processing these products.
Step by step to a flawless result: the right technique
Good spraying is not a coincidence, but the result of a clean routine. Follow this process to avoid frustration right from the start:
- Prepare model: Before priming, wash plastic parts in lukewarm soapy water to remove any release agent residue. After drying, carefully remove dust.
- Start the spray gun correctly: First give air, then pull the lever back. Never start spraying directly on the model! Place the jet next to the workpiece, move your hand evenly over the component and only finish applying the paint when you have left the component again. Finally, take your finger off the air. The formula is: Air on – color on – color off – air off.
- Working distance and angle: Always hold the gun at a right angle (approx. 90 degrees) to the surface. A distance of 10 to 15 centimeters is ideal for surfaces; for fine detailed work, go to 2 to 5 centimeters and reduce the air pressure at the same time.
- Several thin layers: Never try to apply an opaque coat of paint in a single coat. Start with a so-called “mist coat” (a very thin, slightly sticky layer), let it dry briefly and then apply one or two even “wet coats”.
Buying advice: Which setup suits your ambitions?
Before you decide on equipment, you should analyze your personal preferences and projects. Beginners who initially want to occasionally prime kits or create simple camouflage schemes will need a different set than tabletop painters who shade the smallest 28mm miniatures.
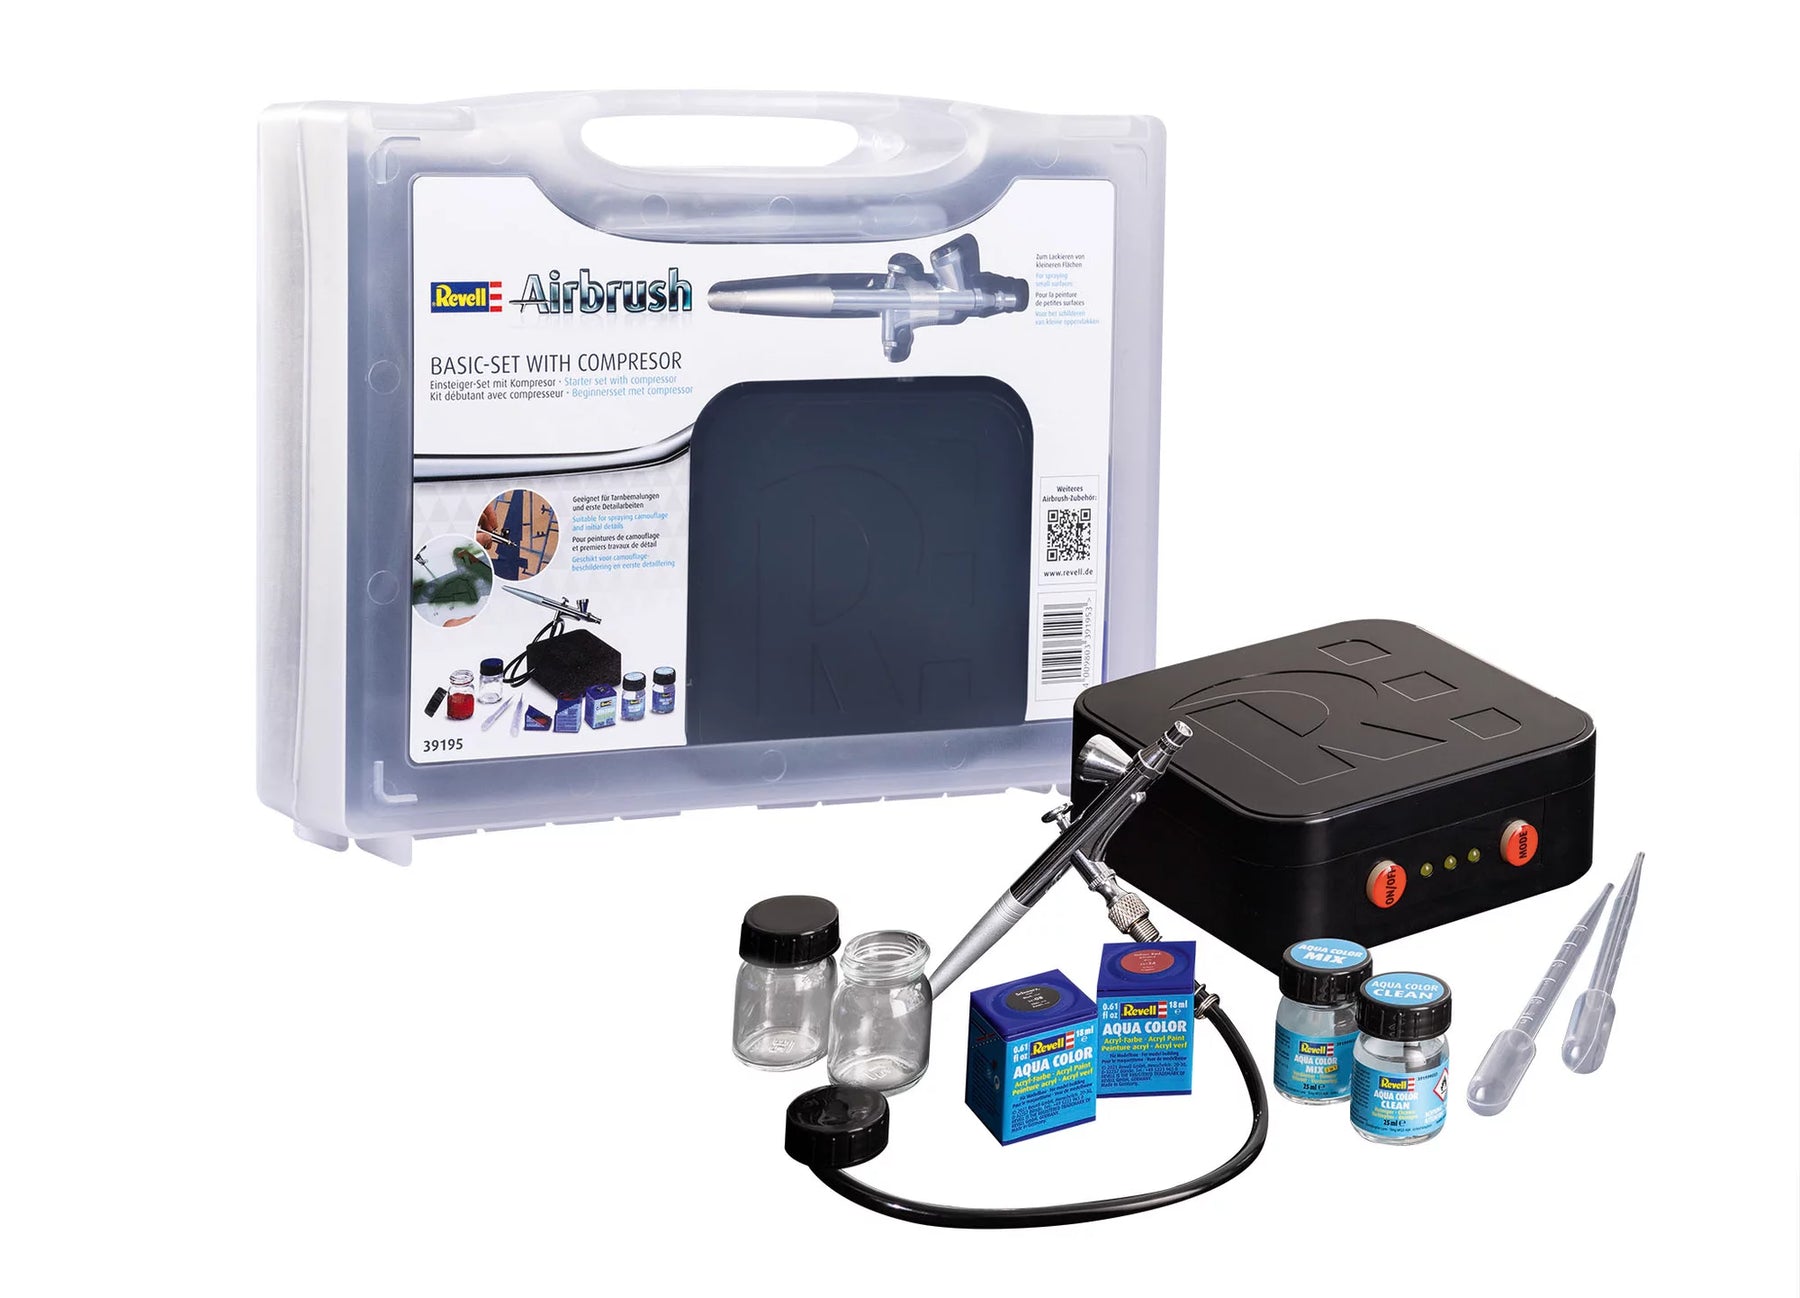
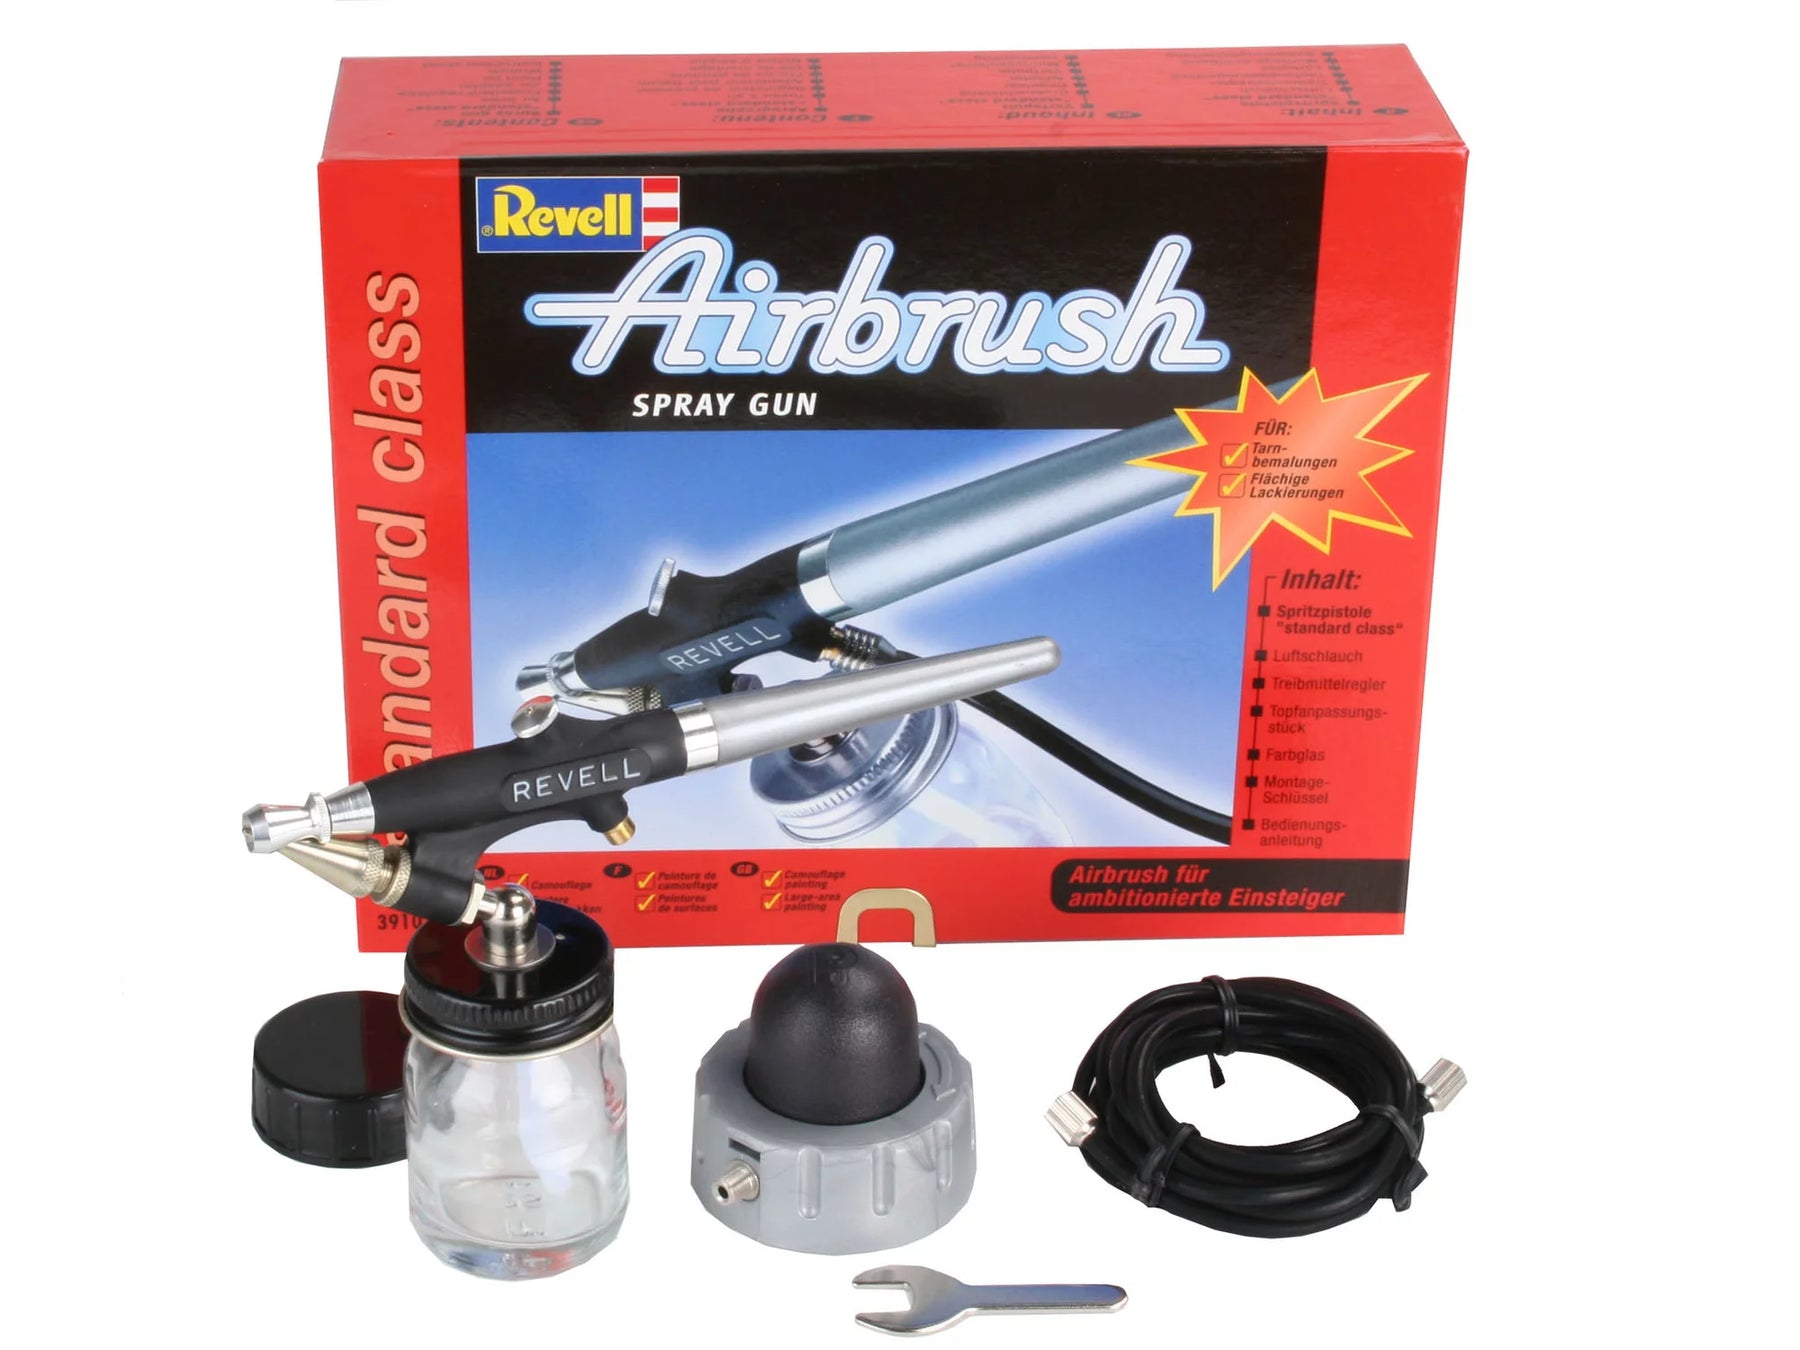
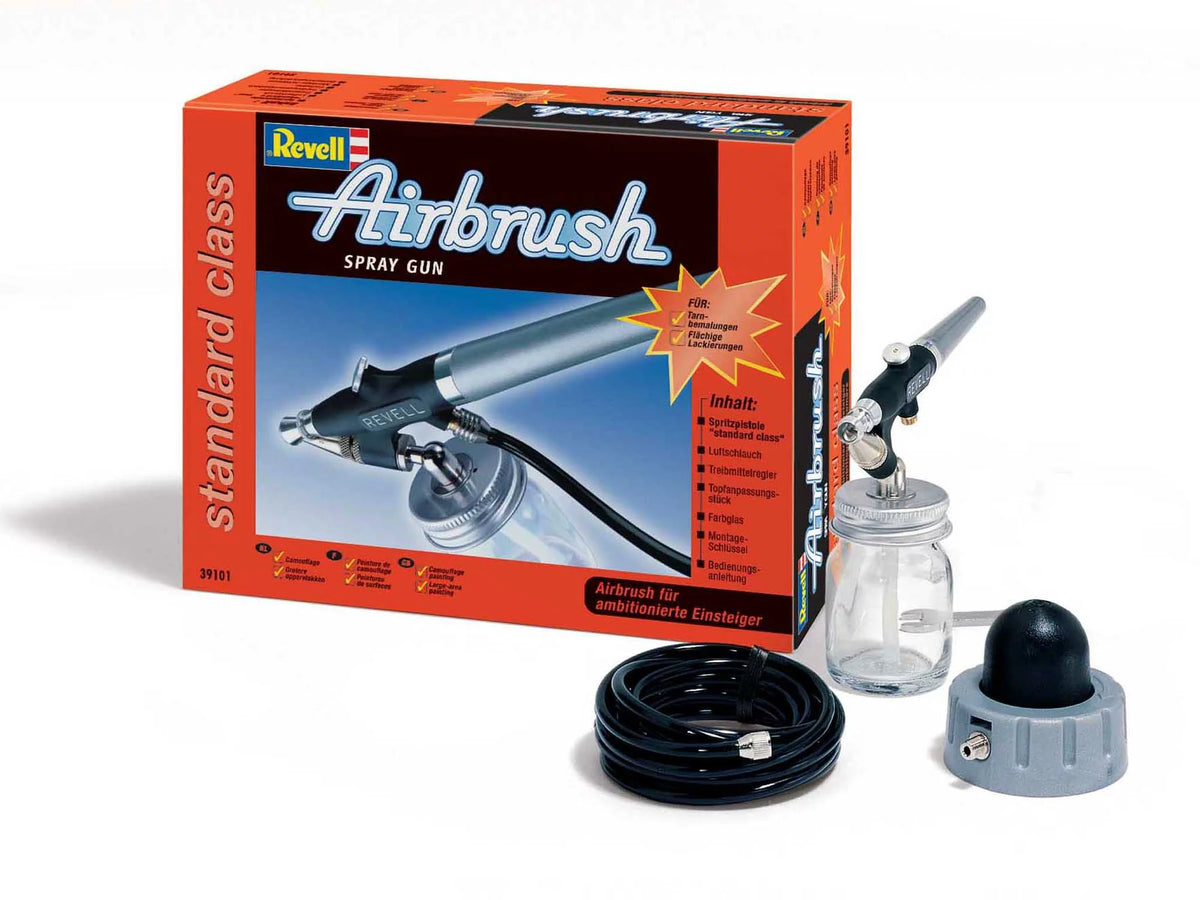
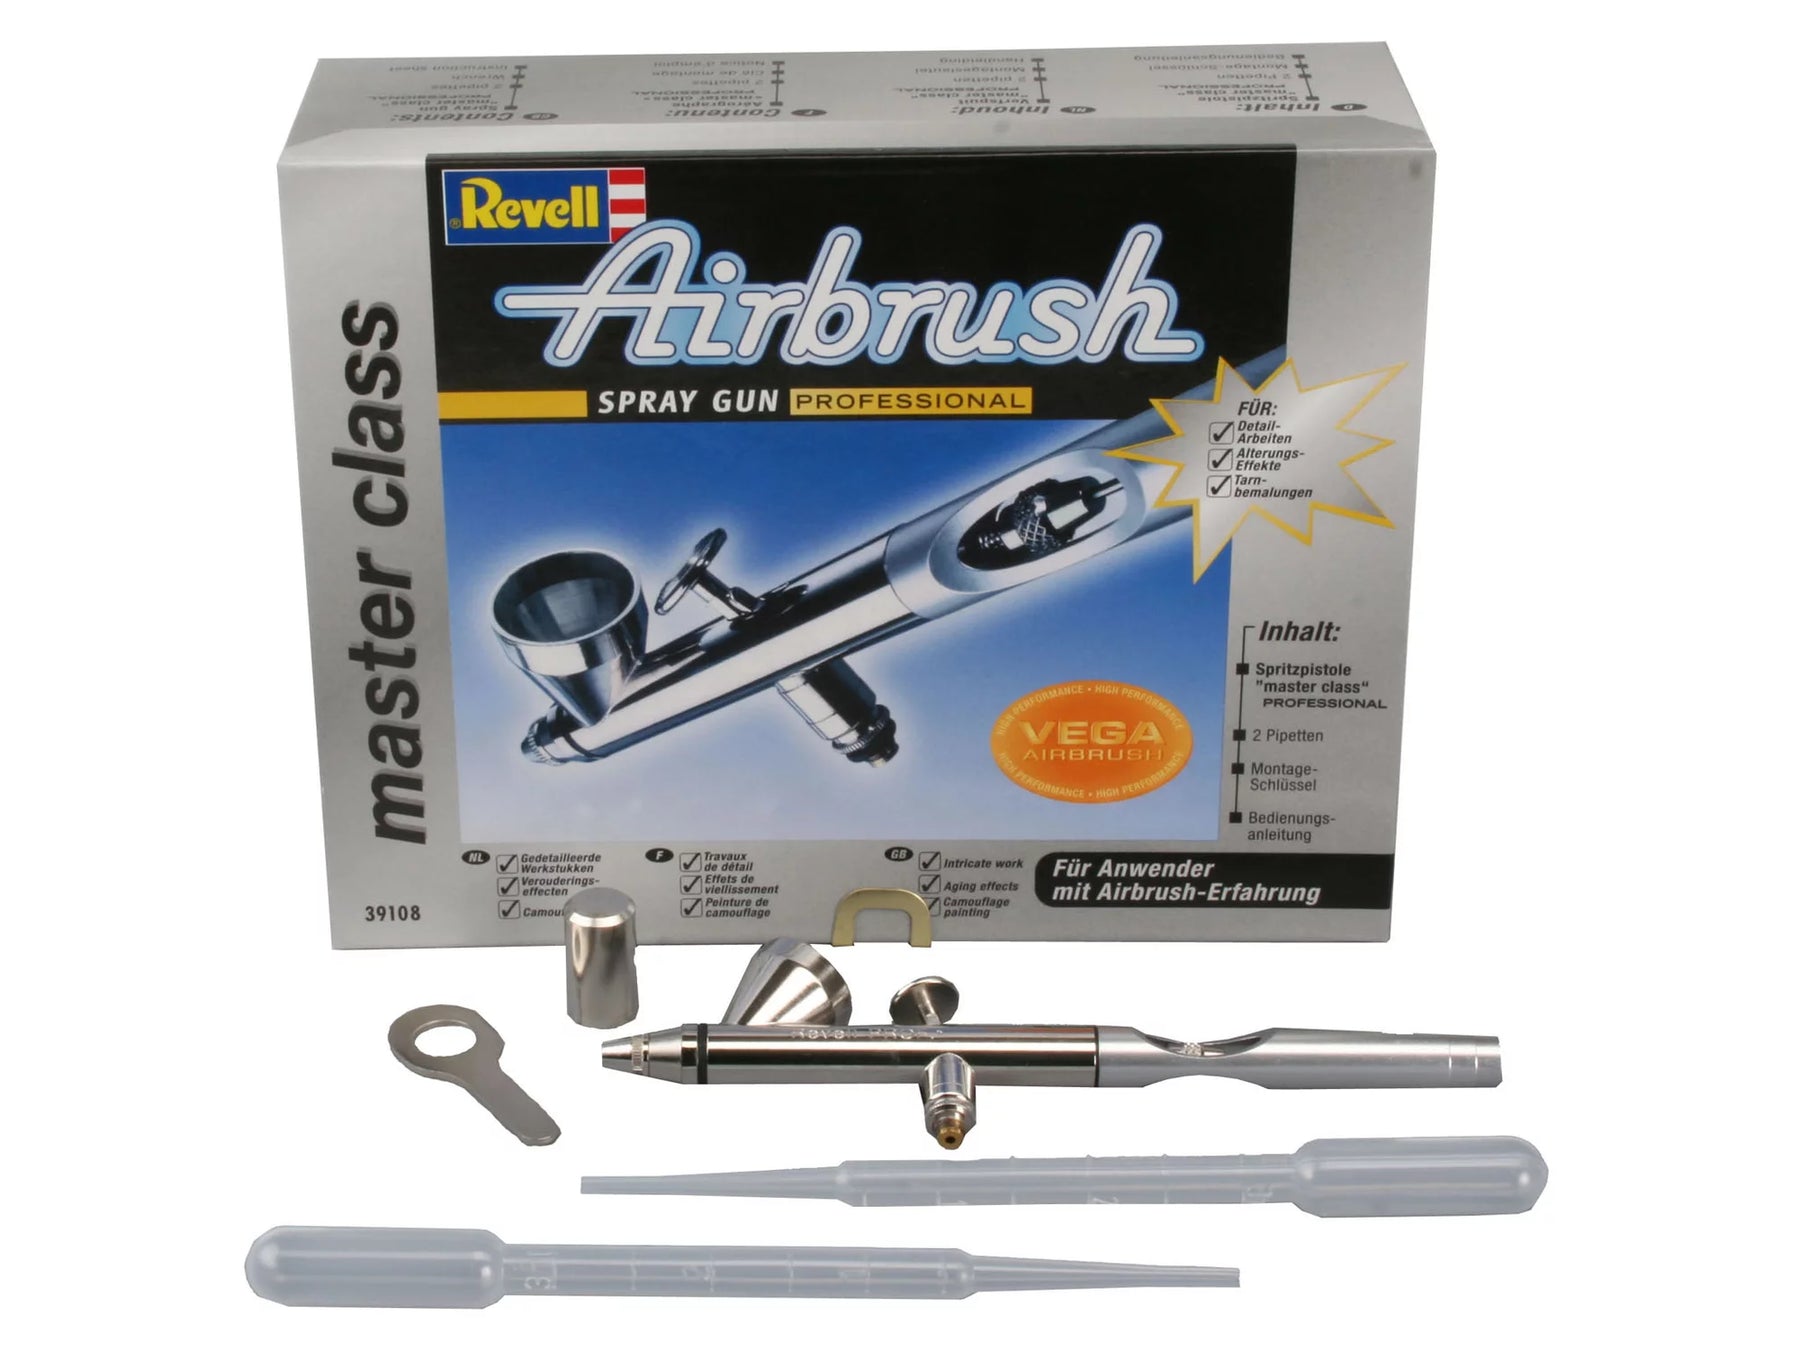
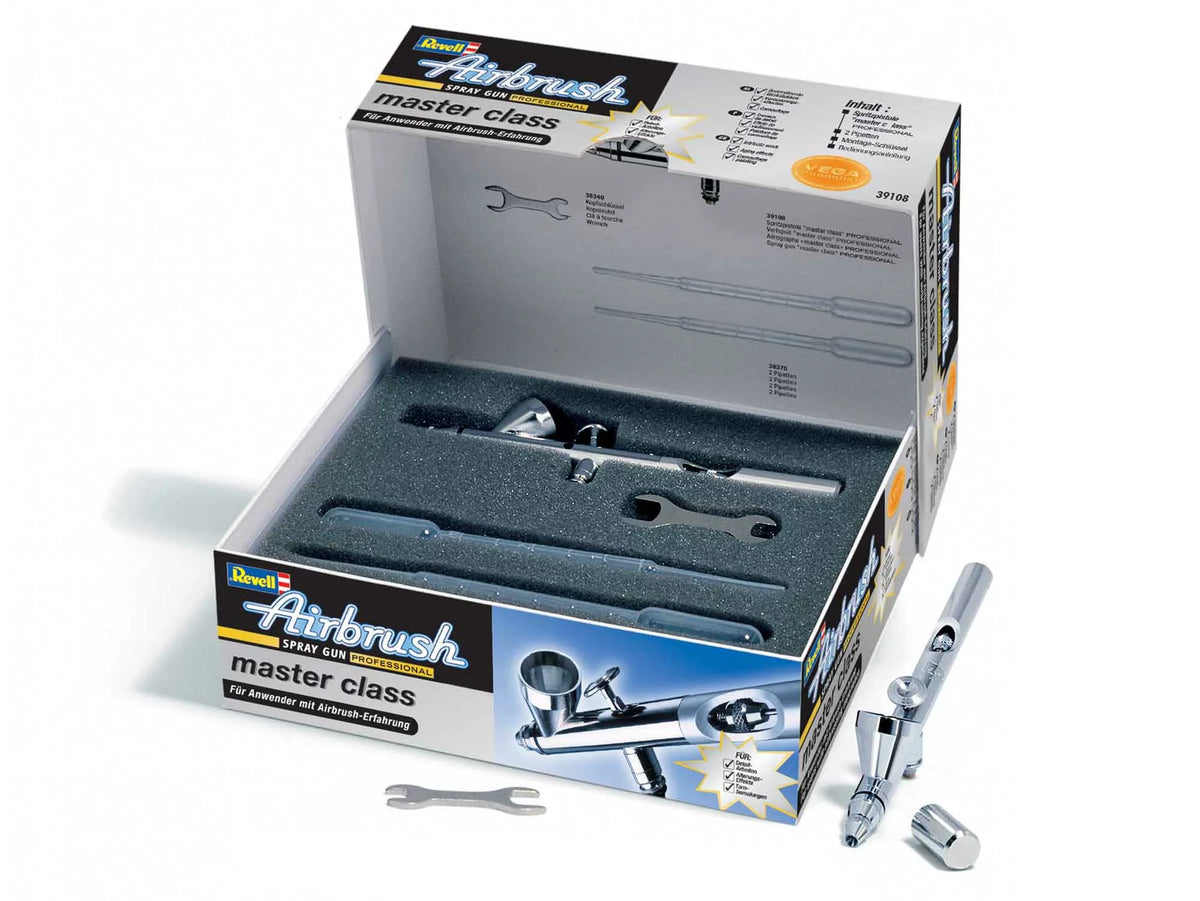
To get started, we recommend a well-thought-out basic system that coordinates all the essential components. A solid pistol body like that 371019090 Airbrush Body Standard Class 39101 gives you robust mechanics with which you can easily create primers, base coats and shades without getting lost in complex adjustments.
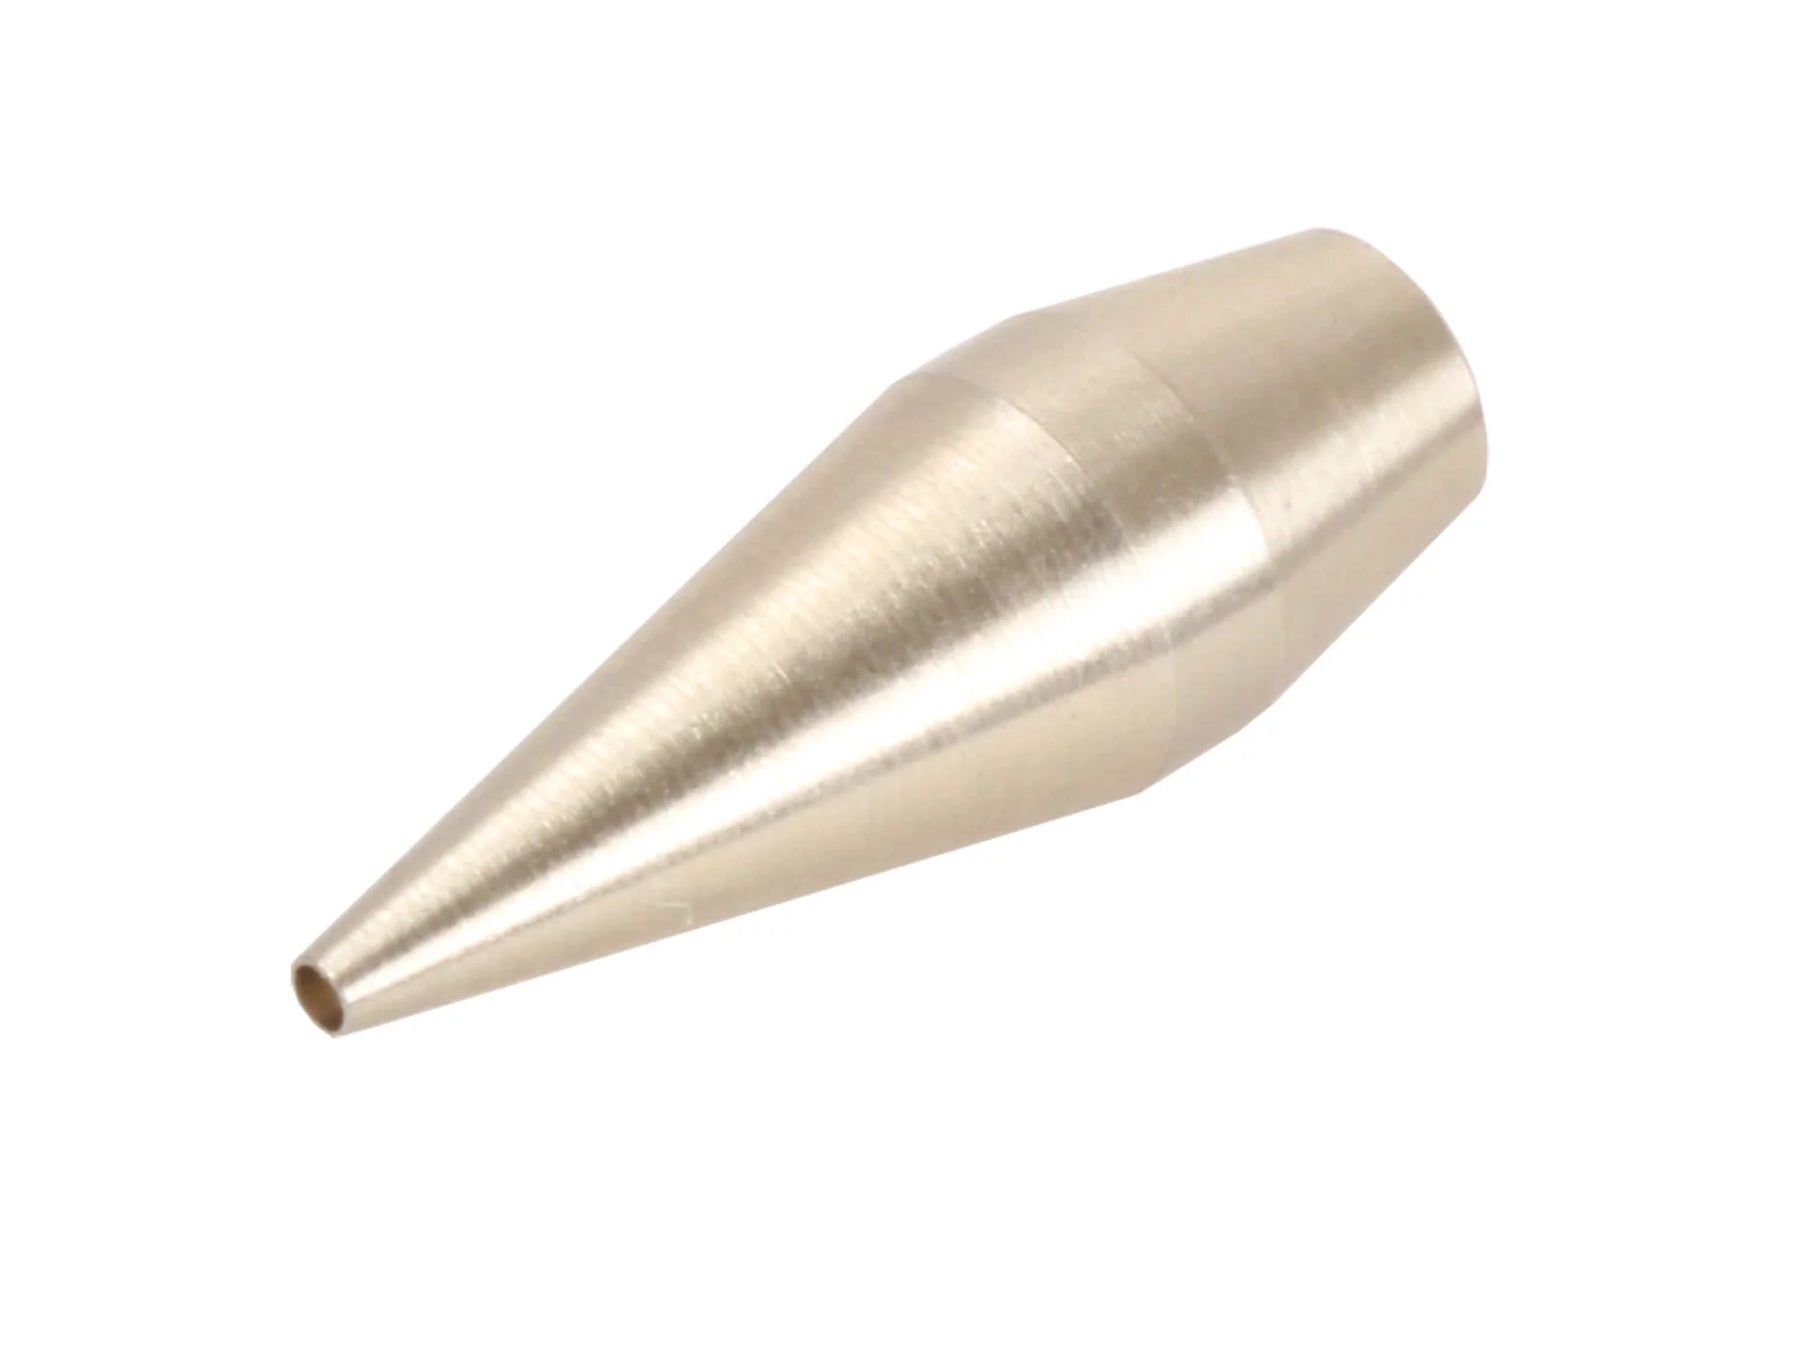
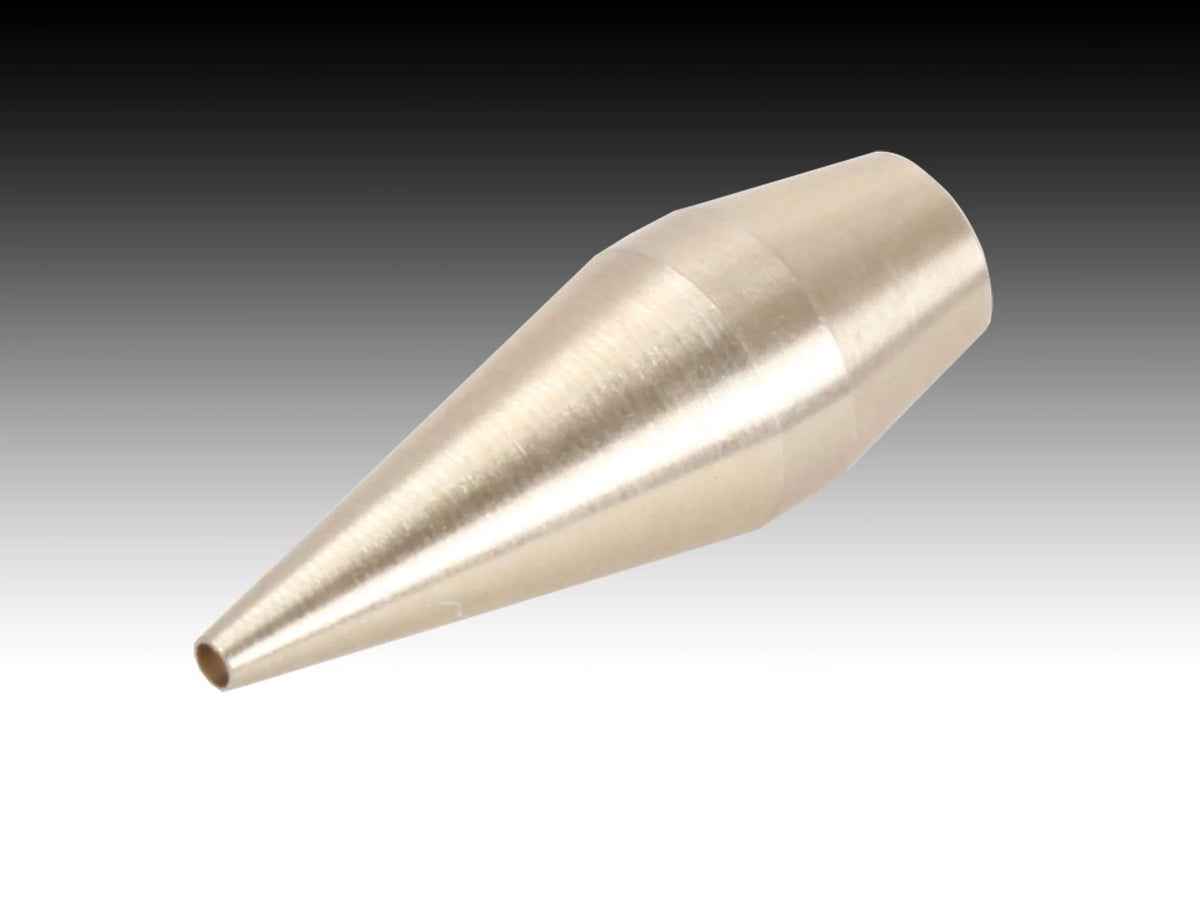
If you want maximum detail, you need needle sizes between 0.2 mm and 0.3 mm to draw razor-sharp lines. However, anyone who paints ship models in a scale of 1:350, large bombers in 1:32 or RC bodies benefits from nozzles from 0.5 mm and generously sized flow or suction cups to avoid paint mist.
Cleaning, care and preservation of the value of your equipment
How you look after your tools determines whether your equipment will function like new for decades or fail after three uses. Dried paint residues in the nozzle channel or a sticky needle mechanism lead to irregular spraying, bubbling in the paint pot or blocked needles.
The intermediate cleaning when changing colors
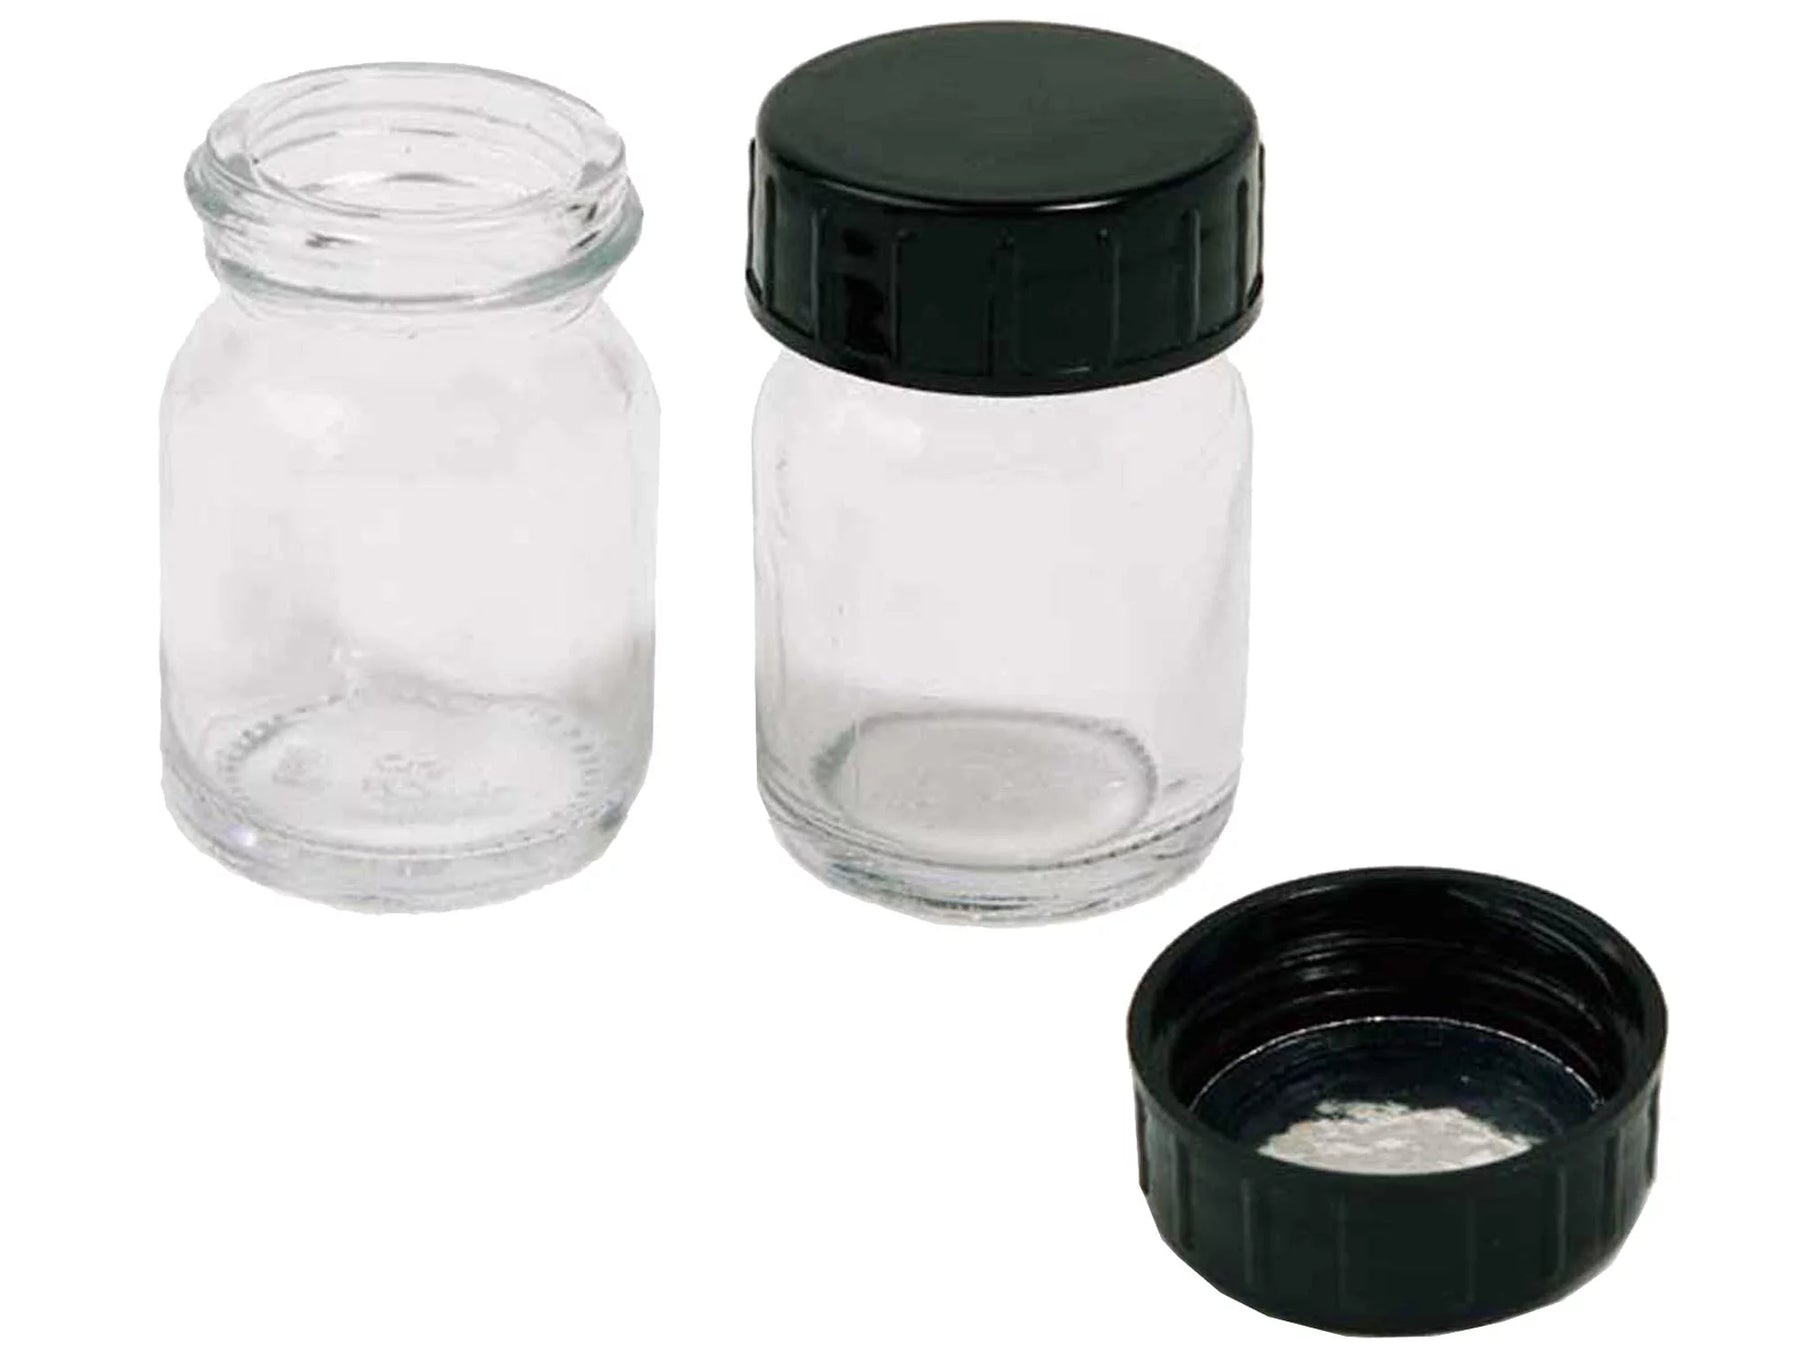
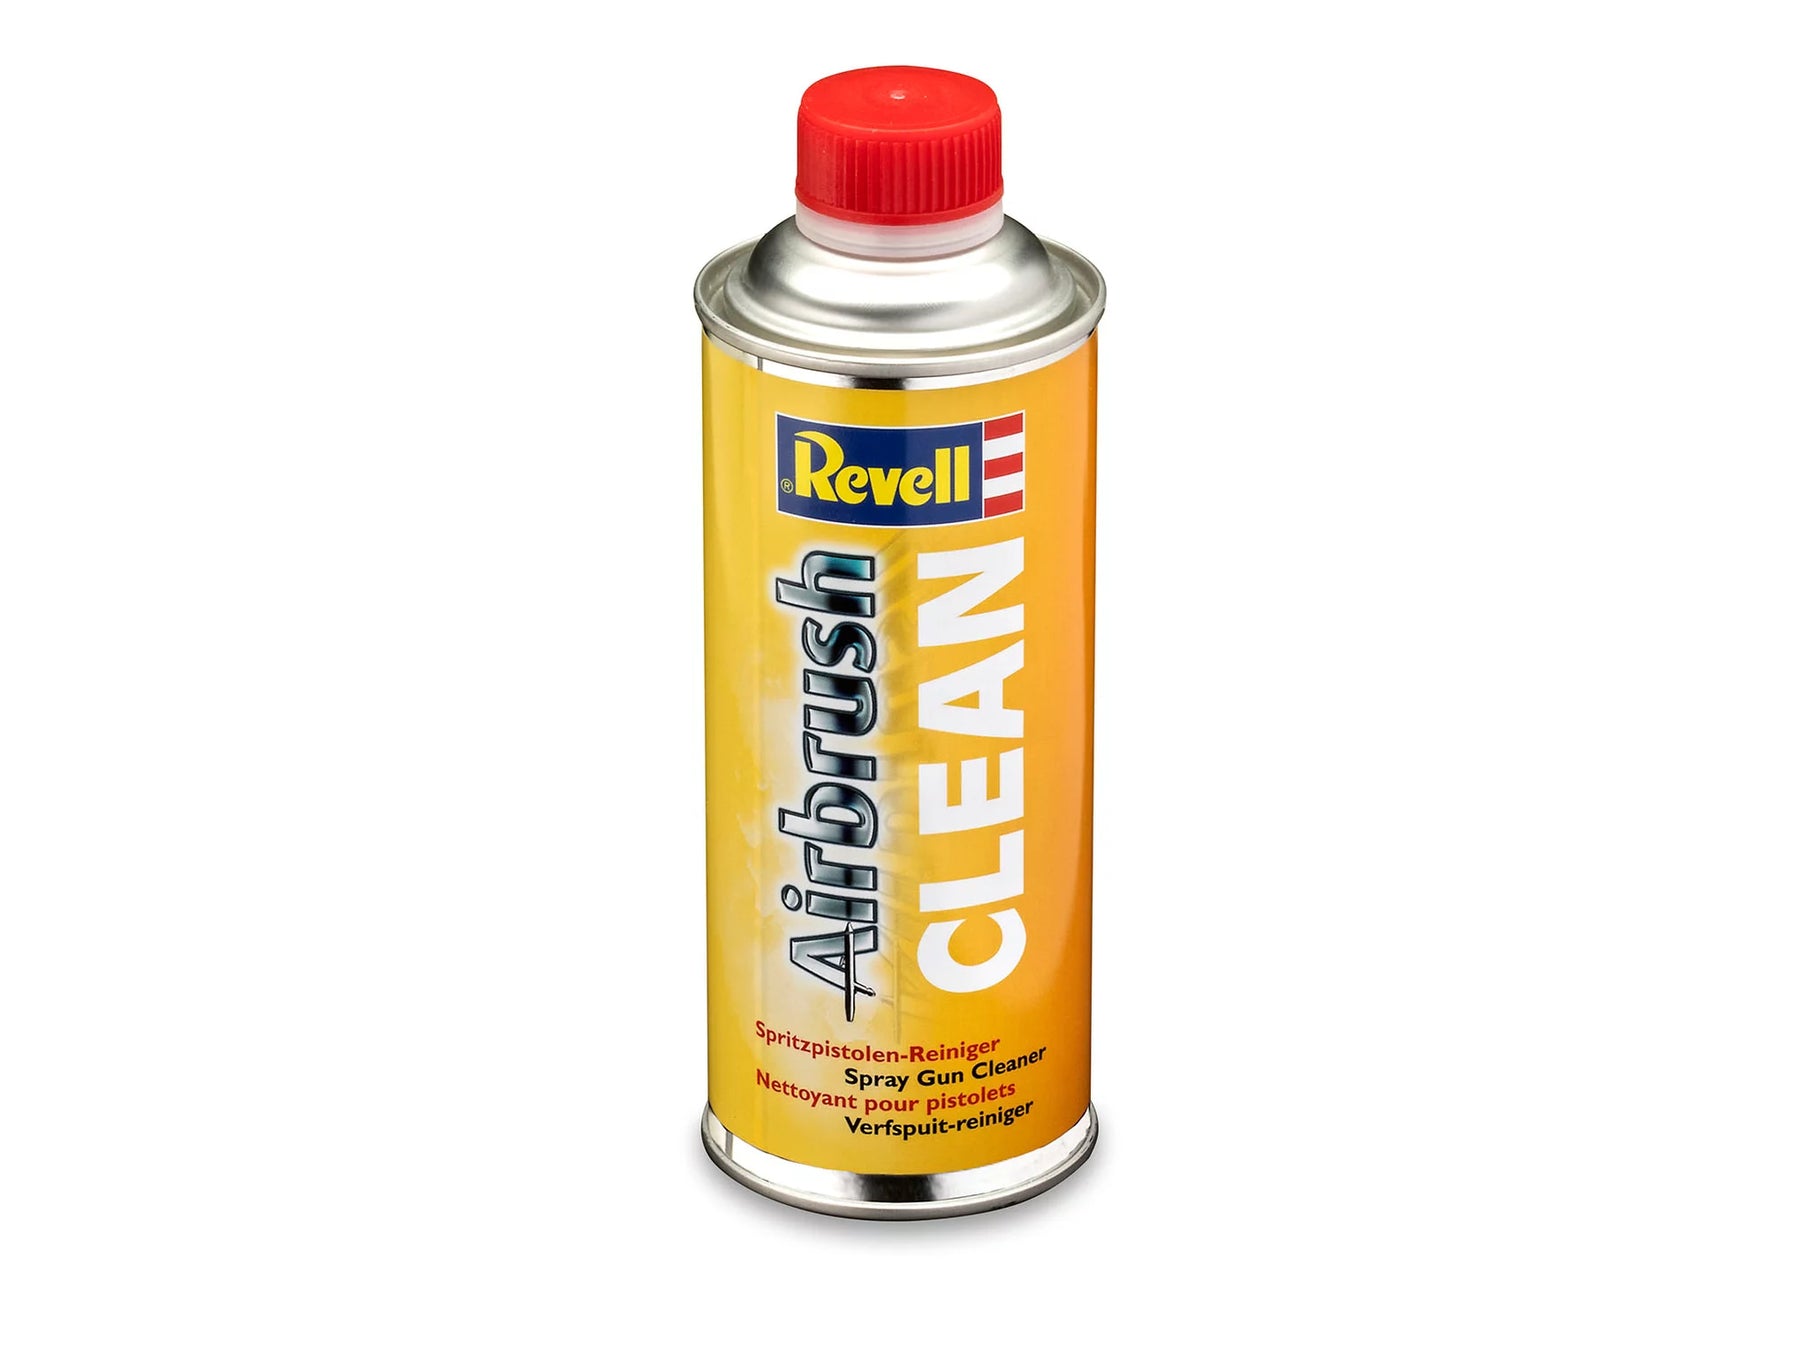
If you have to change the color within a project, a simple interim cleaning is usually sufficient. Spray out any remaining paint completely, wipe the cup with a cloth or brush and fill with a suitable cleaner. Carefully hold the nozzle cap closed with a lint-free cloth and briefly press the lever: The air is directed back into the cup ("backflow" or bubbling), which flushes out the paint channels. Then spray the cleaner into a cleaning glass until it comes out completely clear.
The thorough final cleaning after work
After your paint session is over, you should pay a little more attention to the gun:
- Unscrew the handle and loosen the needle tension nut.
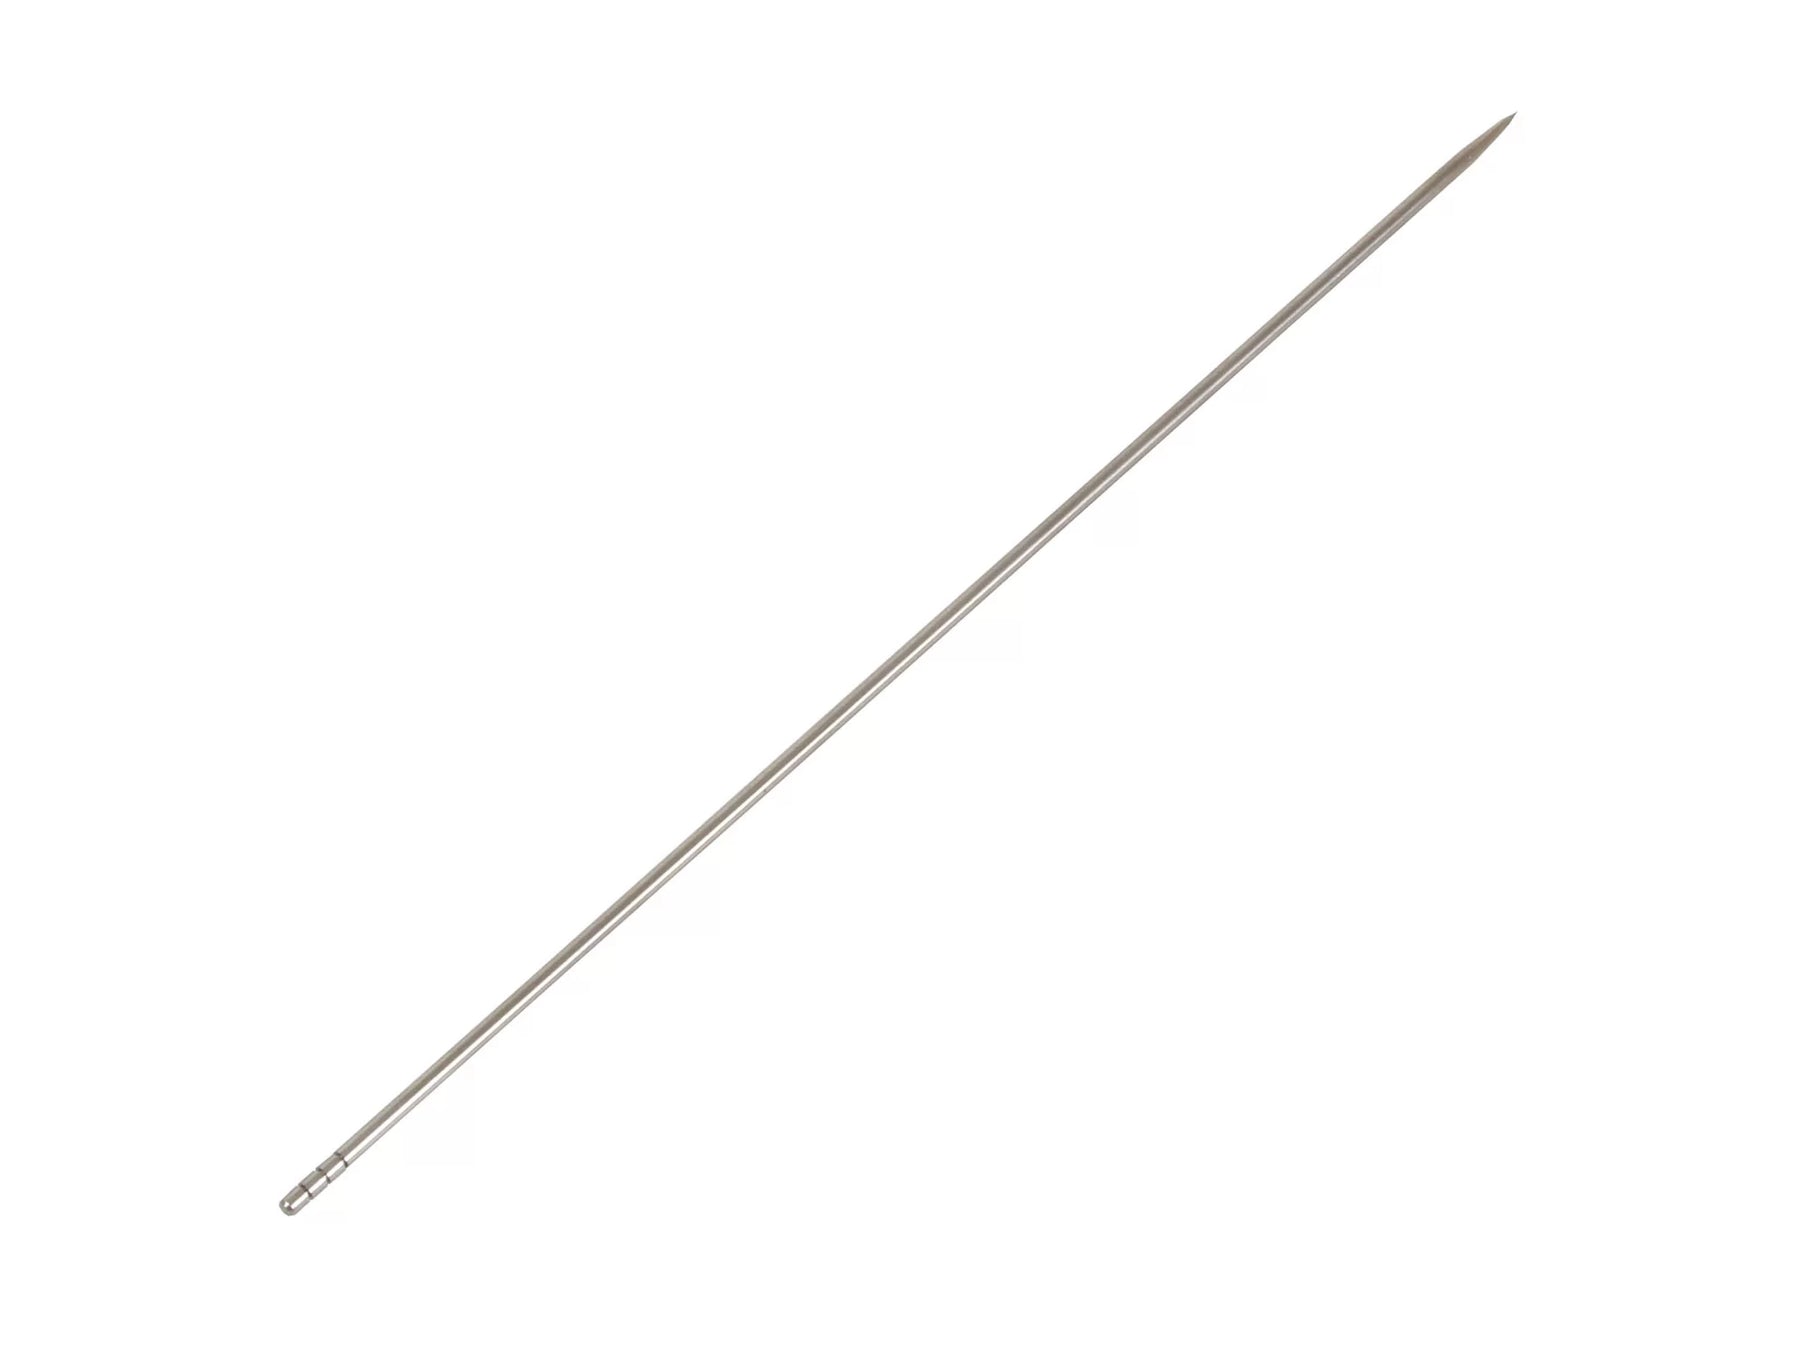
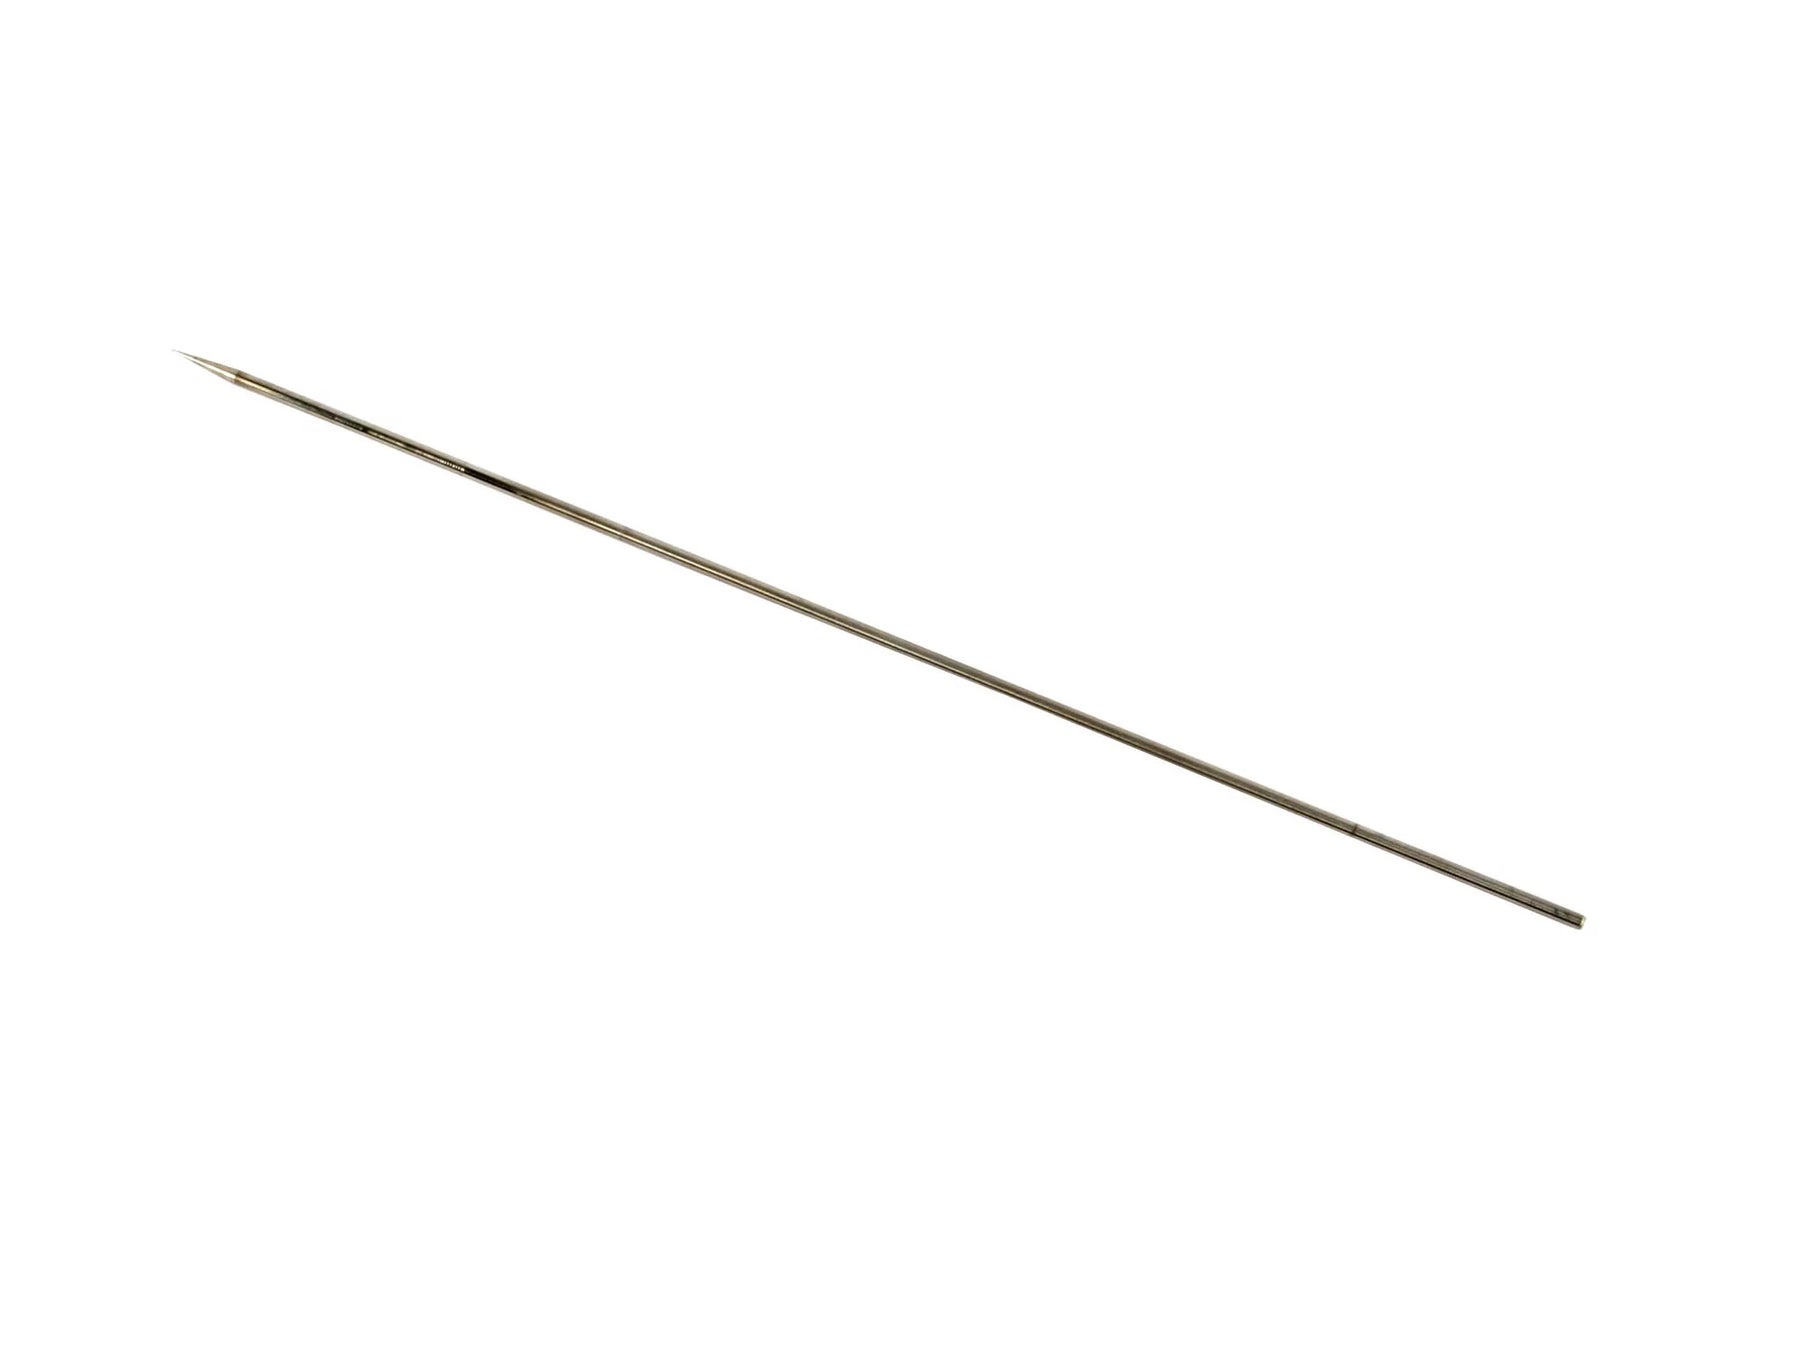
- Pull the needle carefully forward (if the gun type allows it) to prevent paint residues on the needle body from being drawn into the seal package in the rear part of the housing.
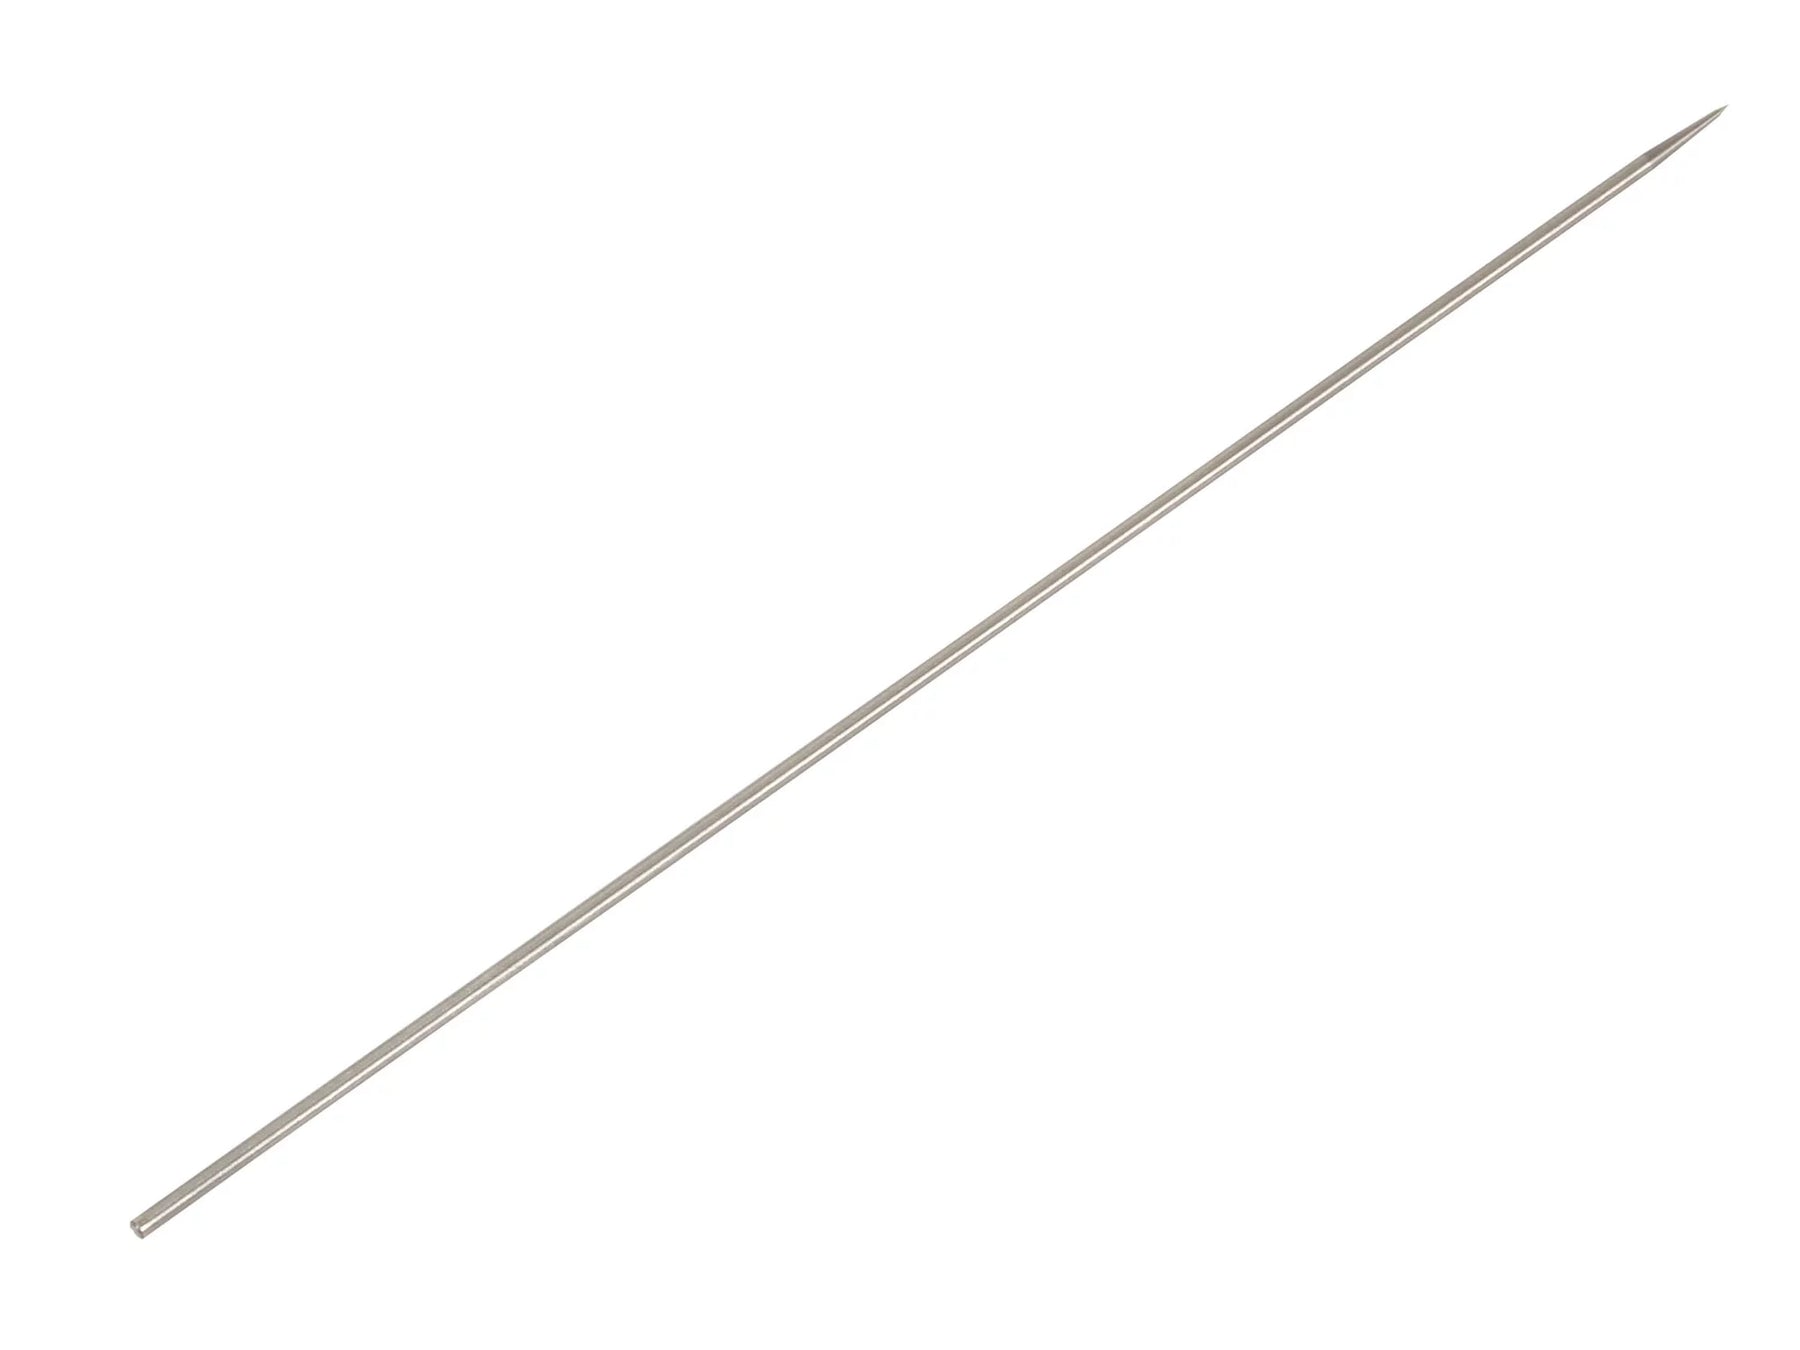
- Clean the needle from back to front with a cloth moistened with cleaner to avoid bending the fine needle tip.
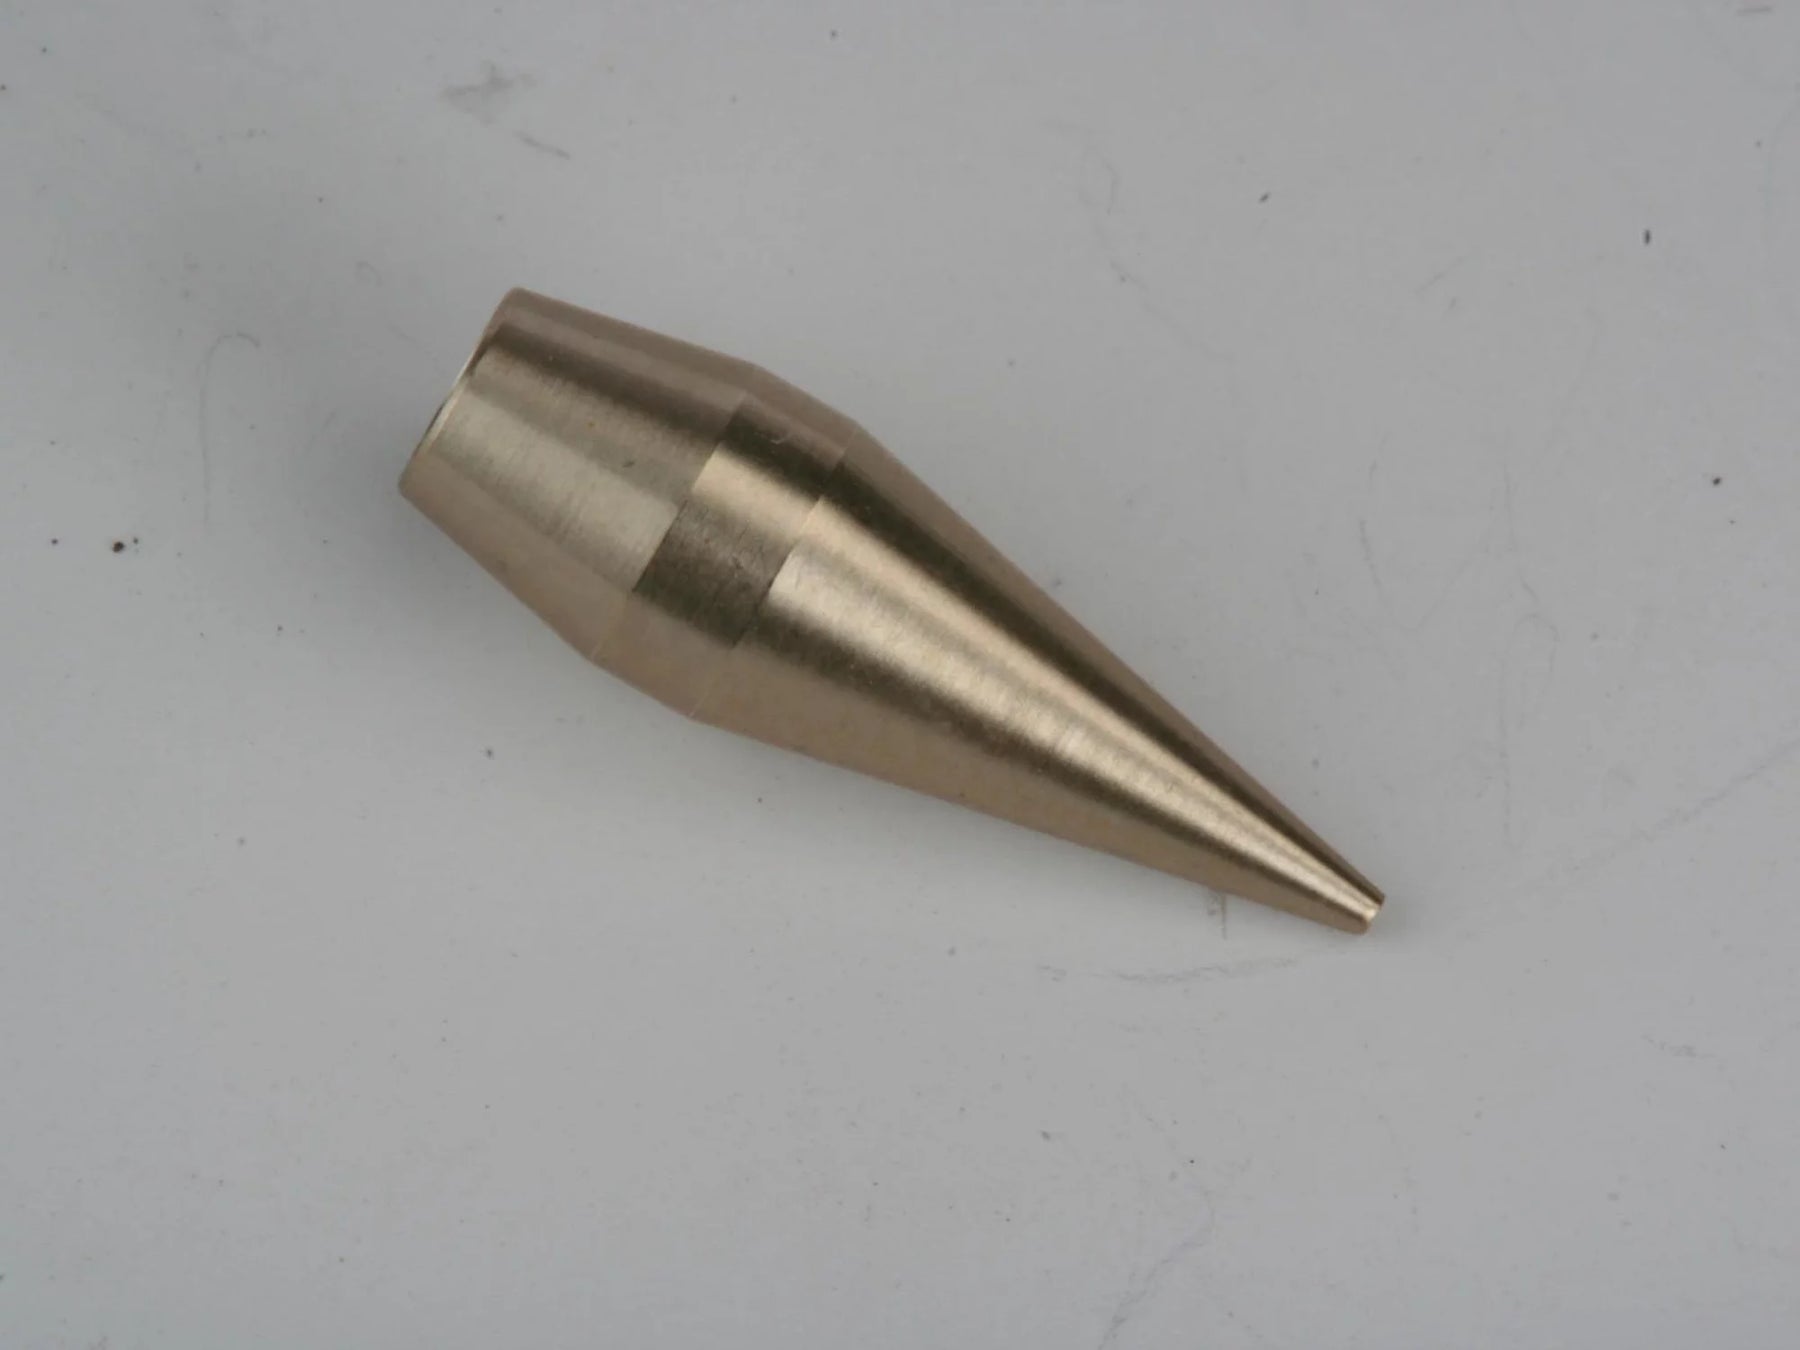
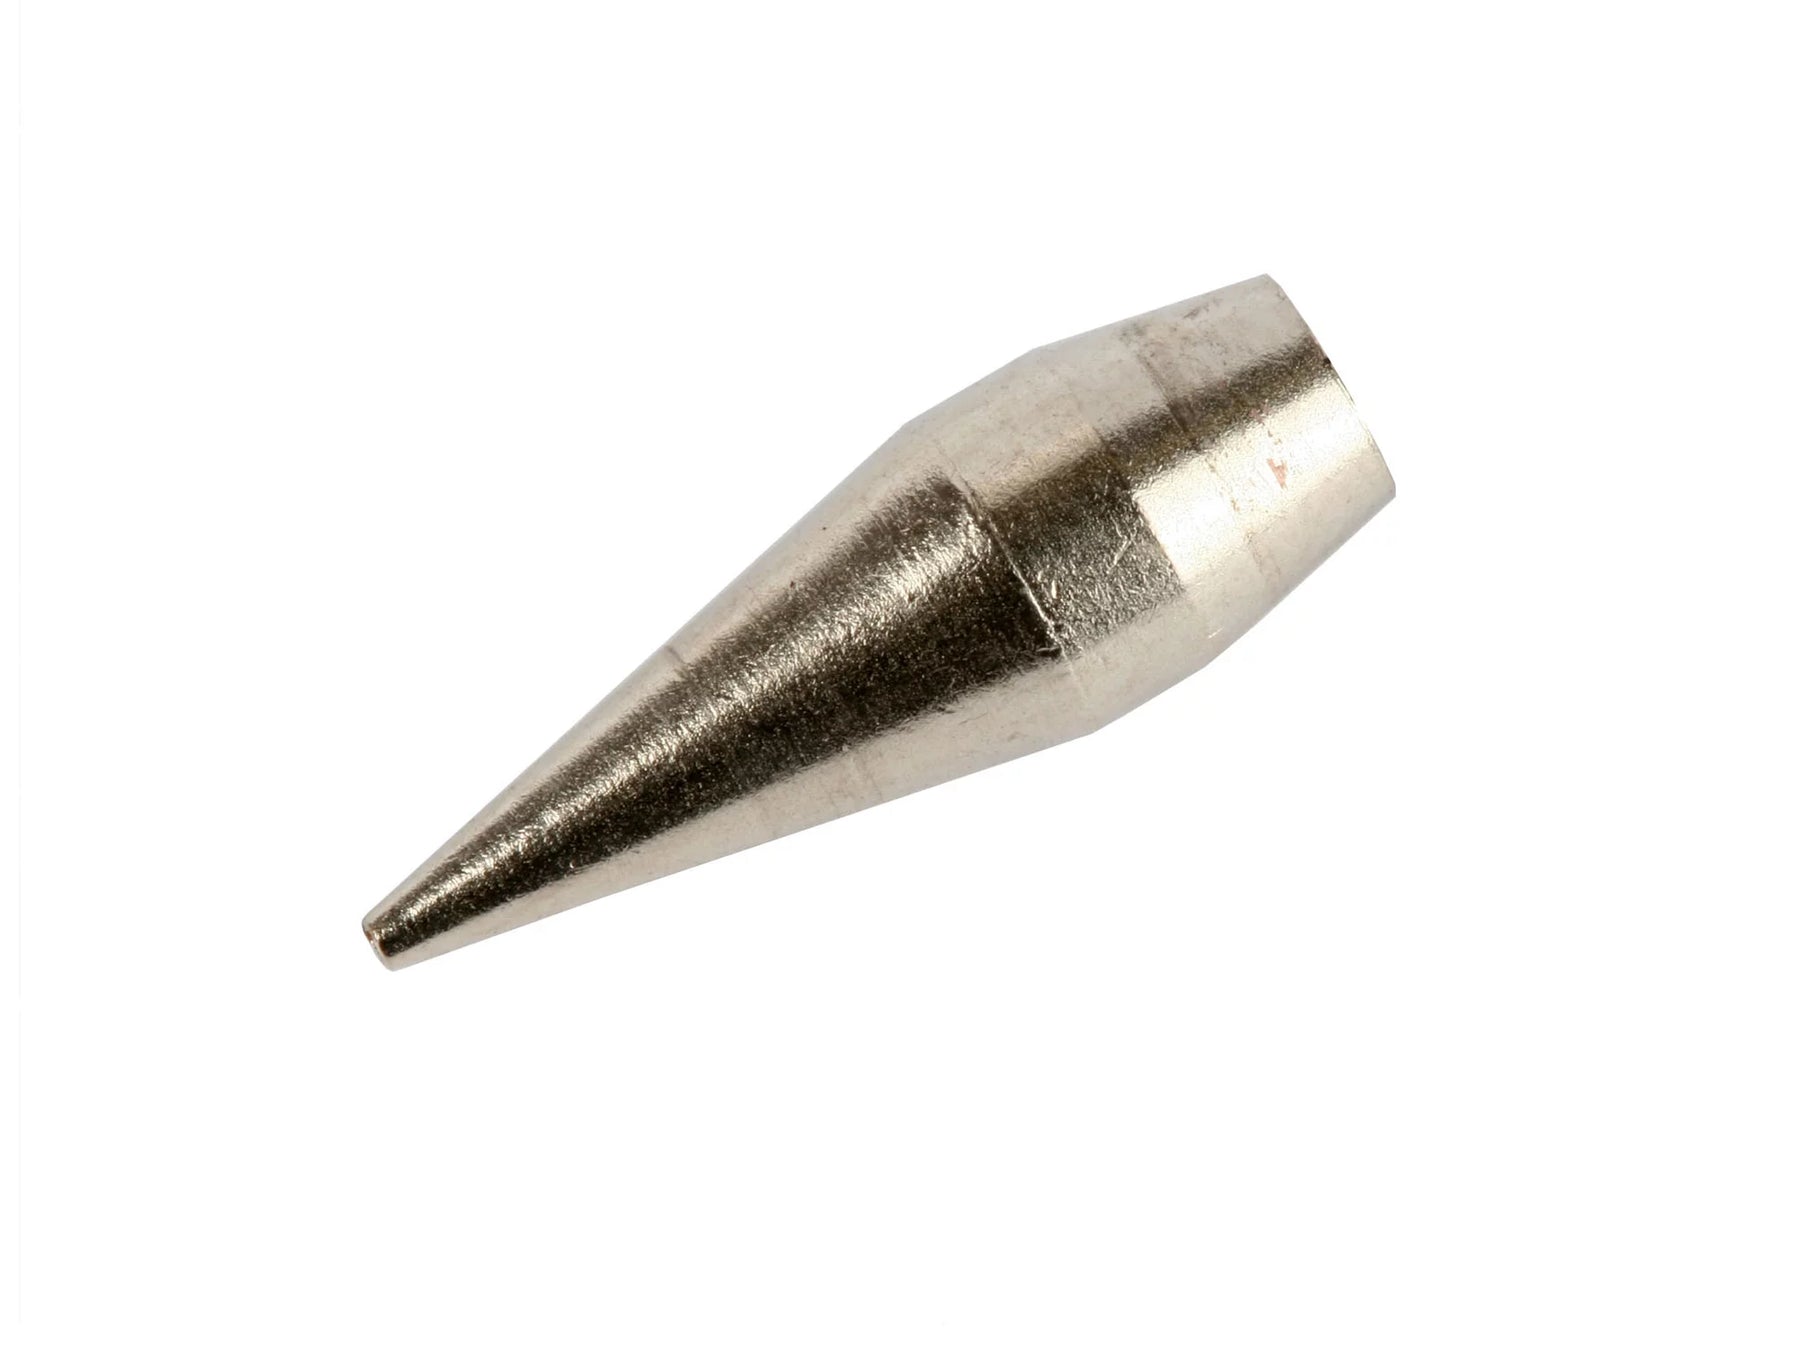
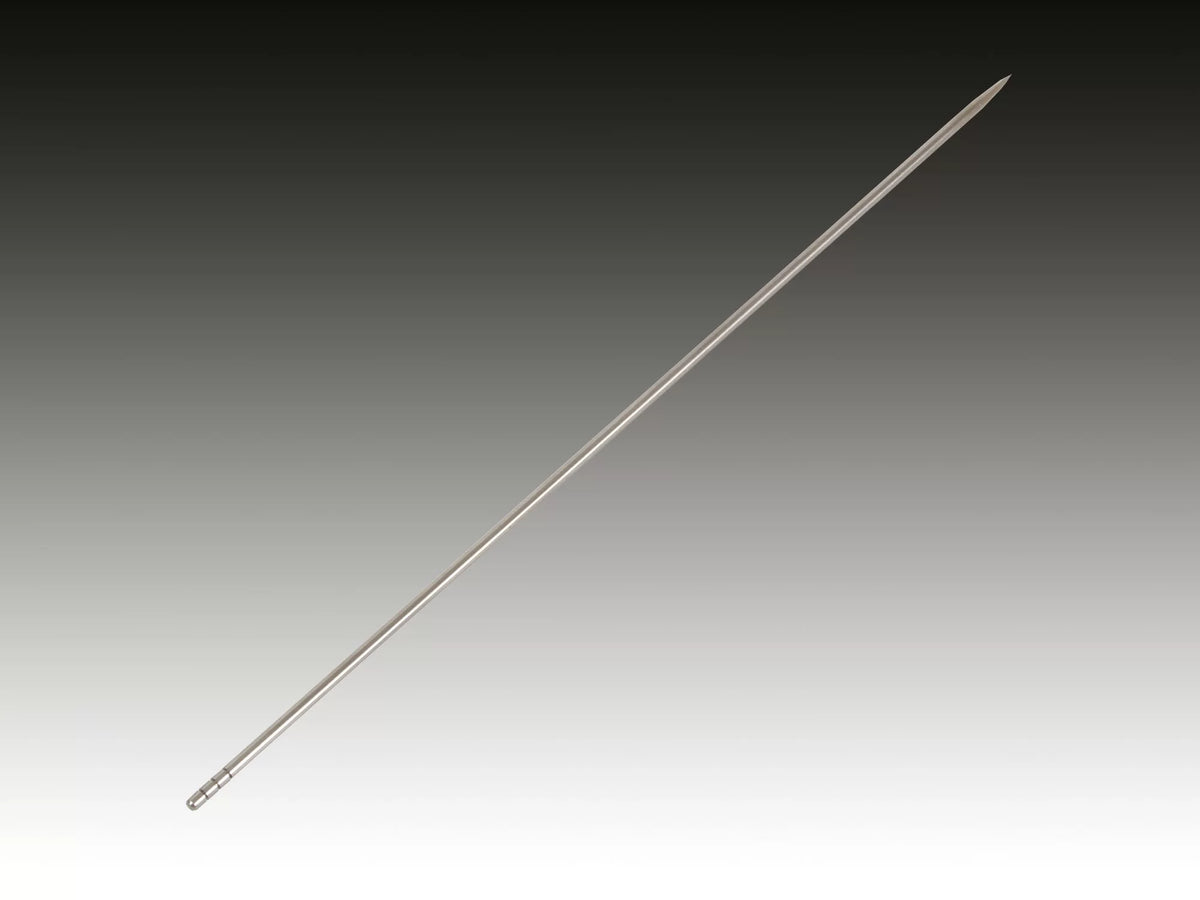
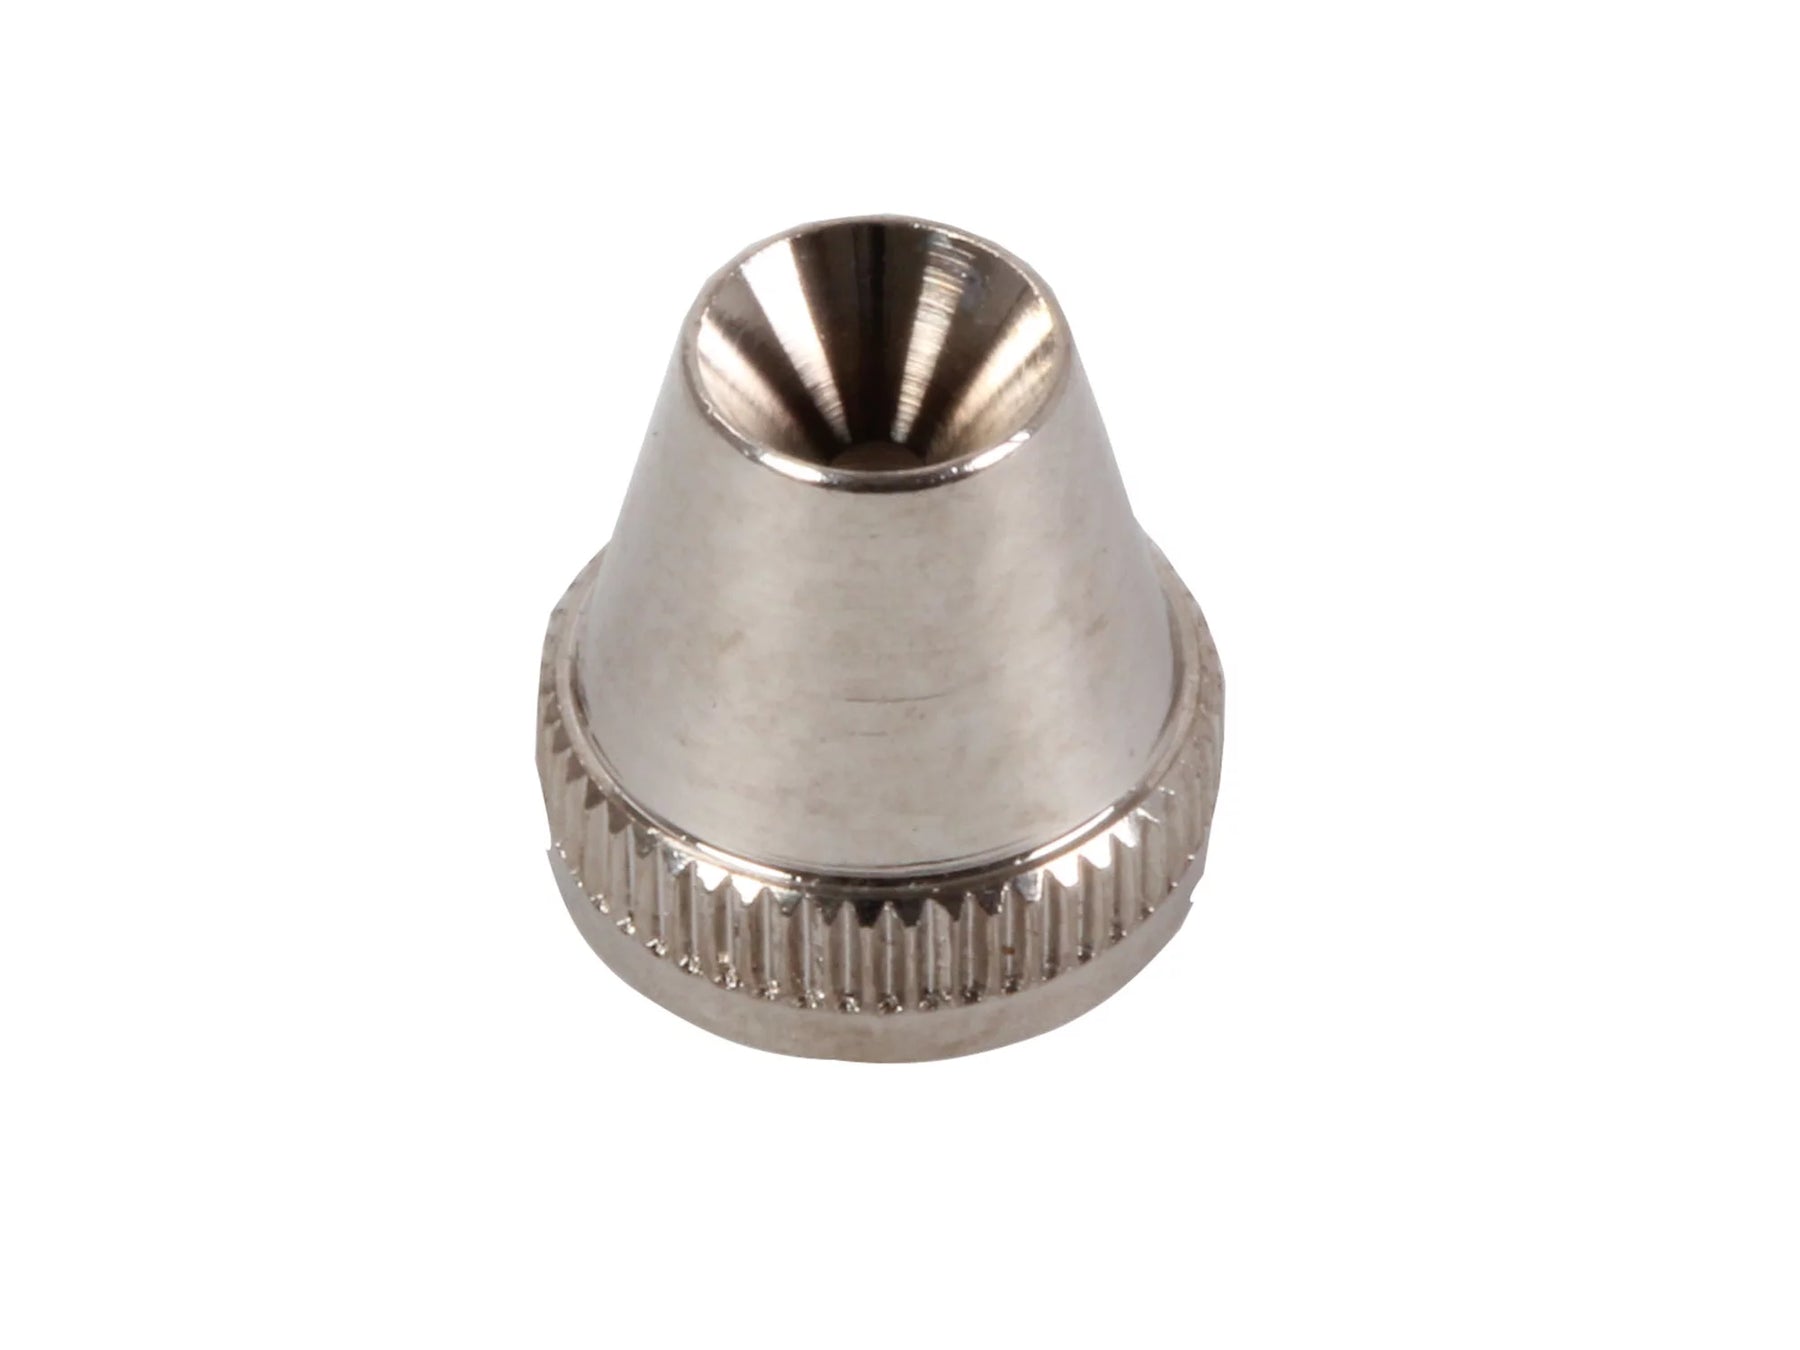
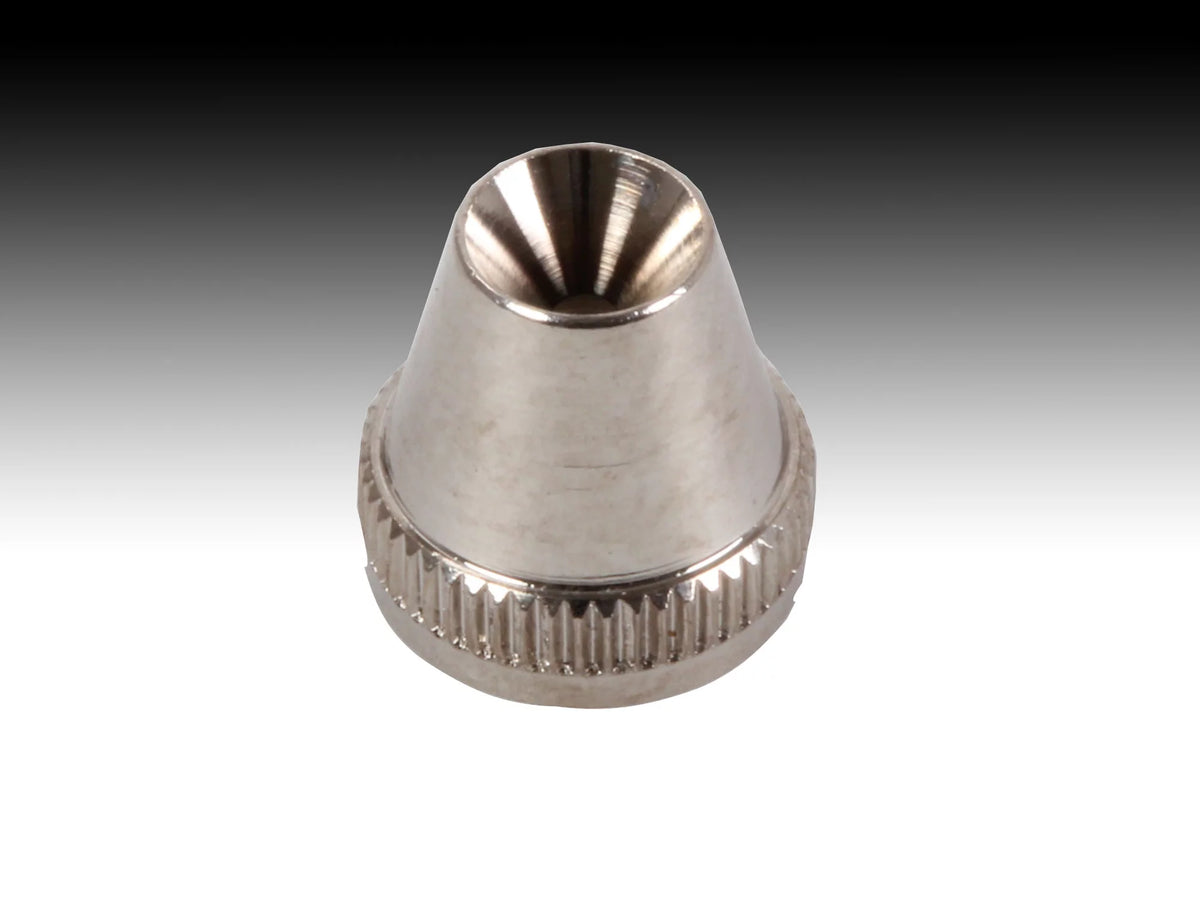
- Carefully unscrew the nozzle cap and nozzle and clean them with a special cleaning needle or fine nozzle brushes.
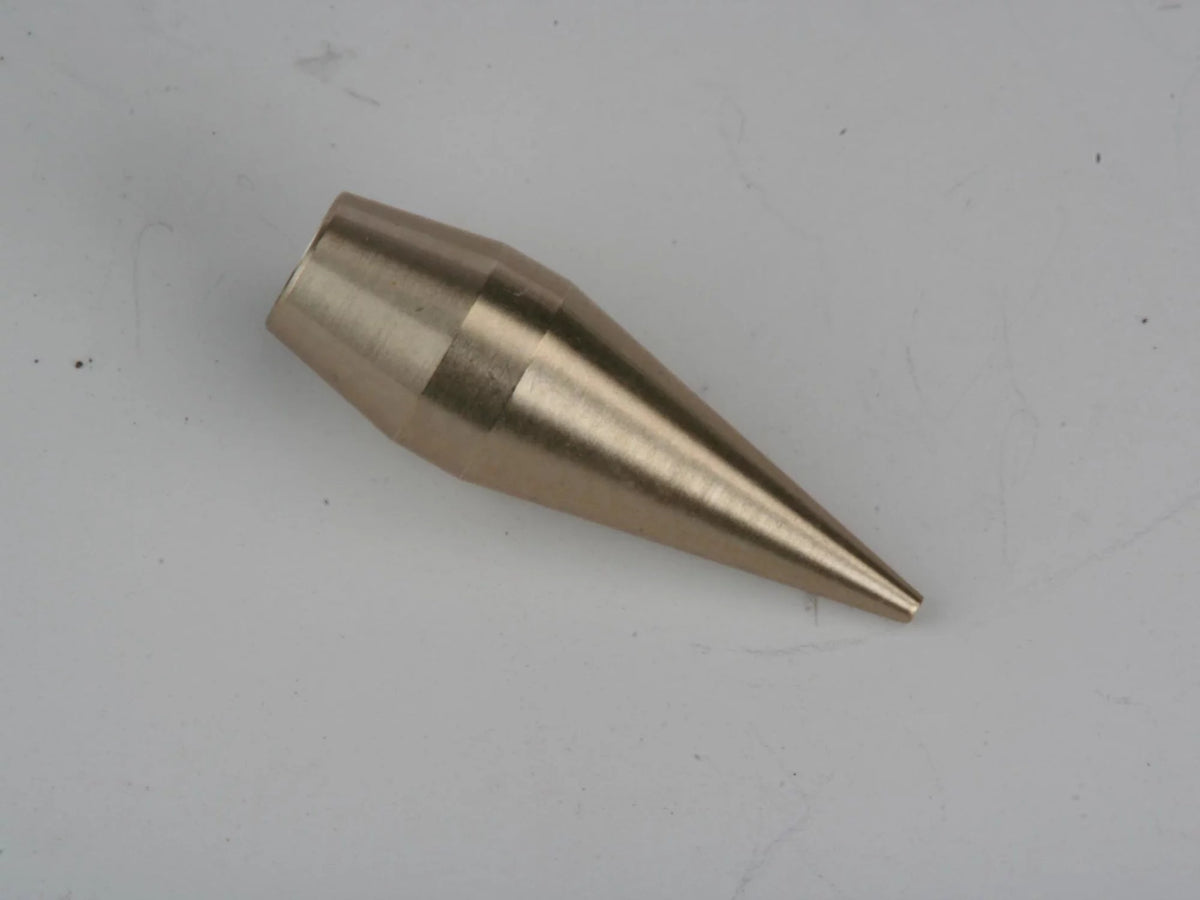
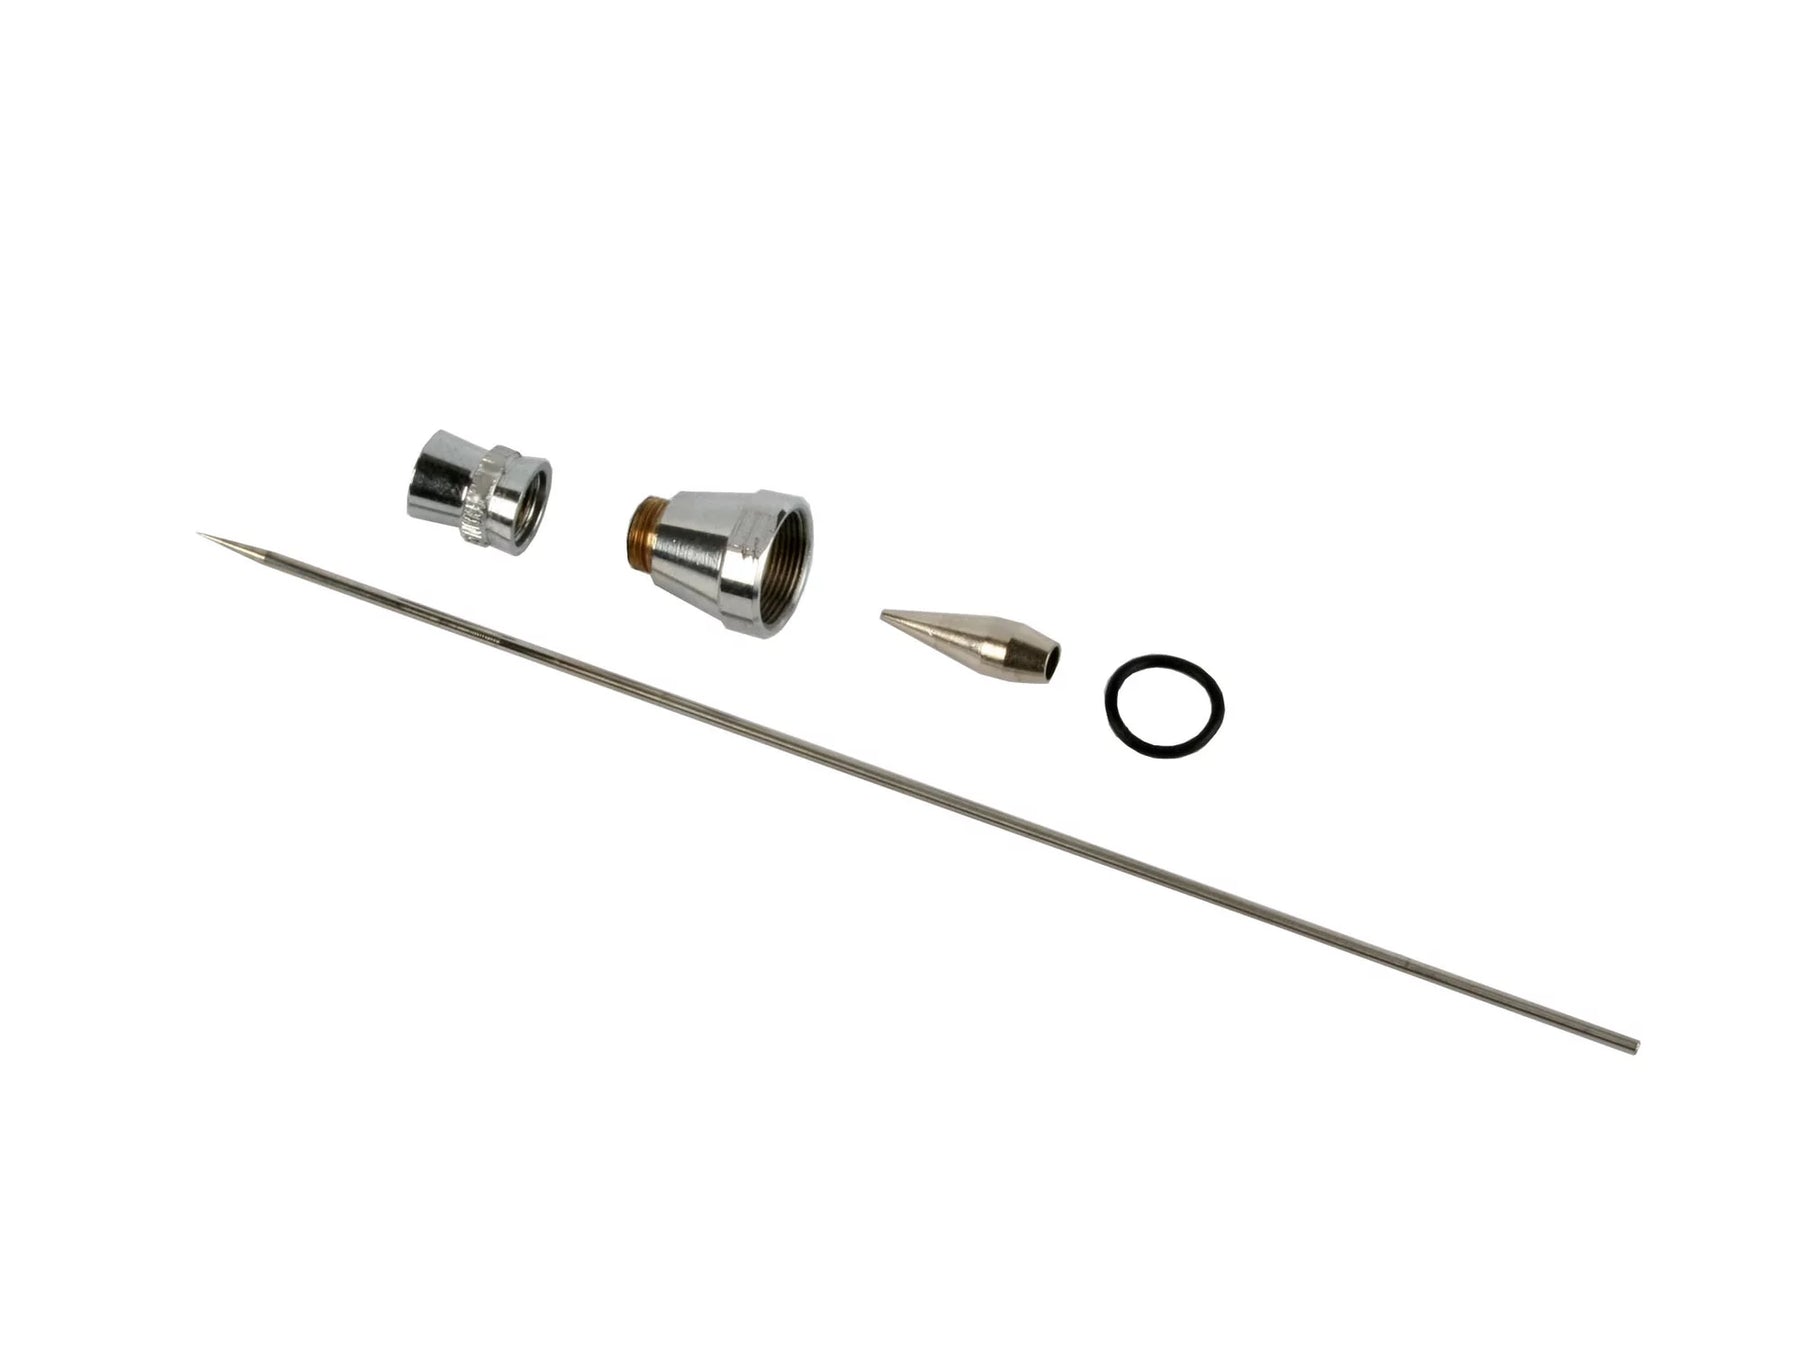
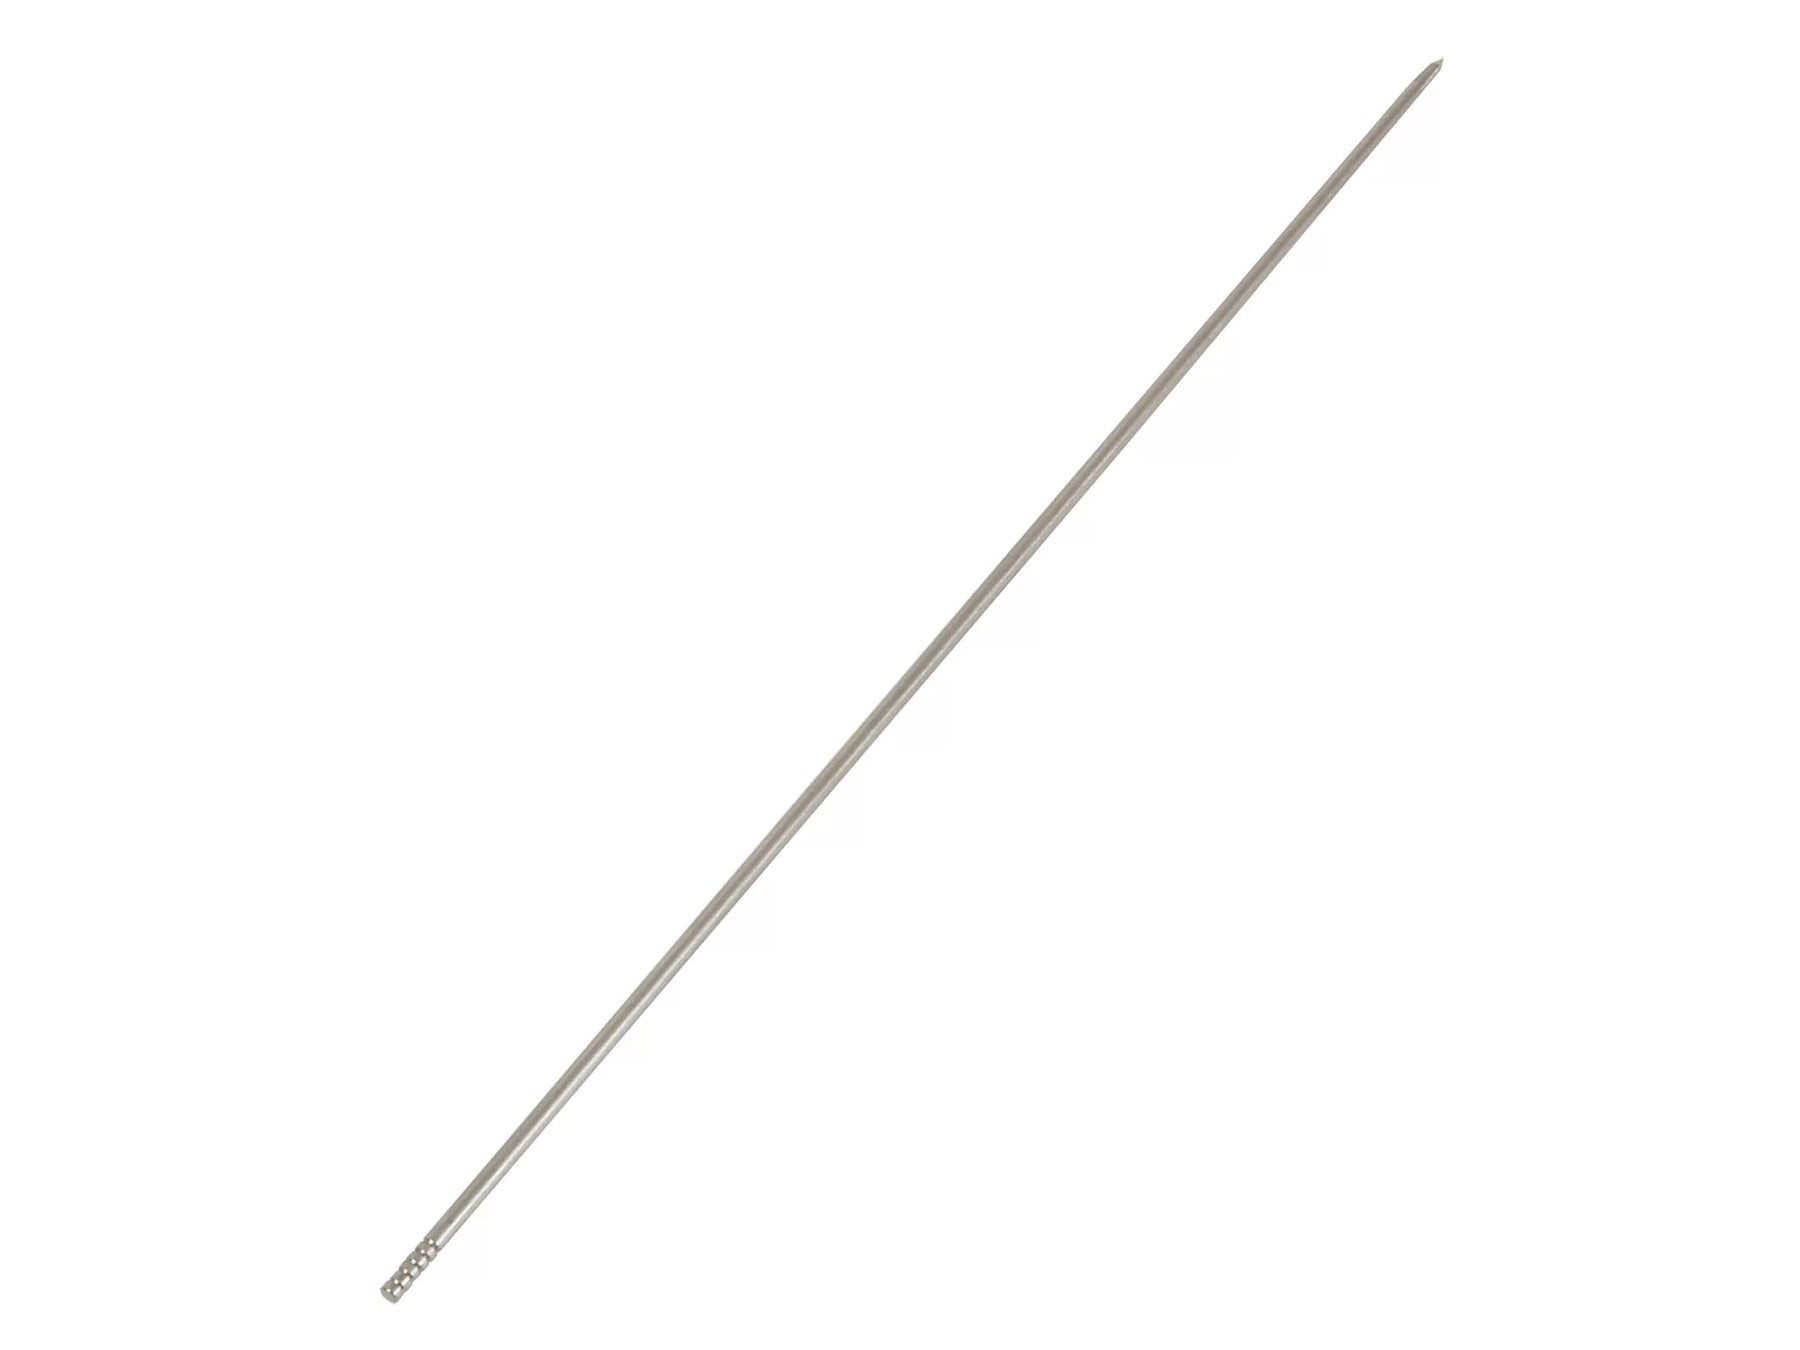
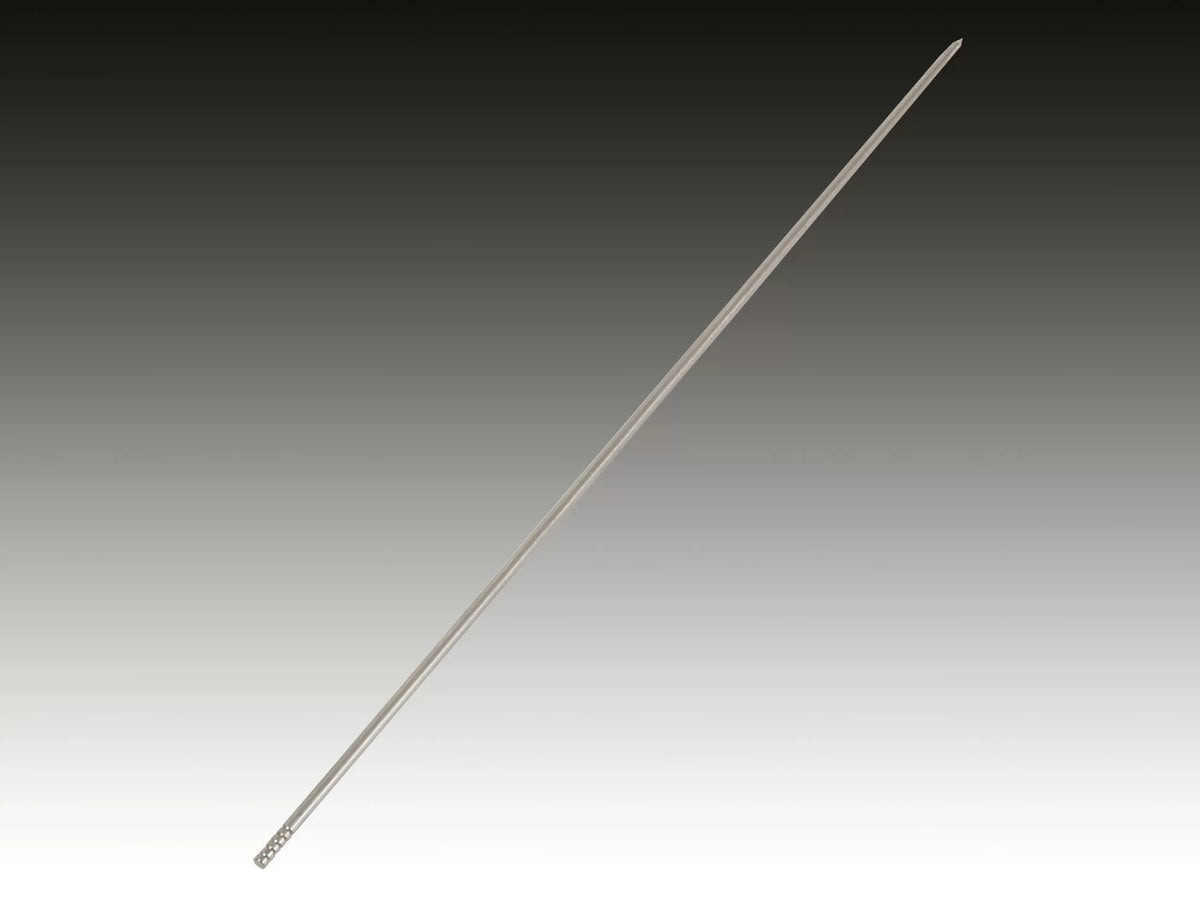
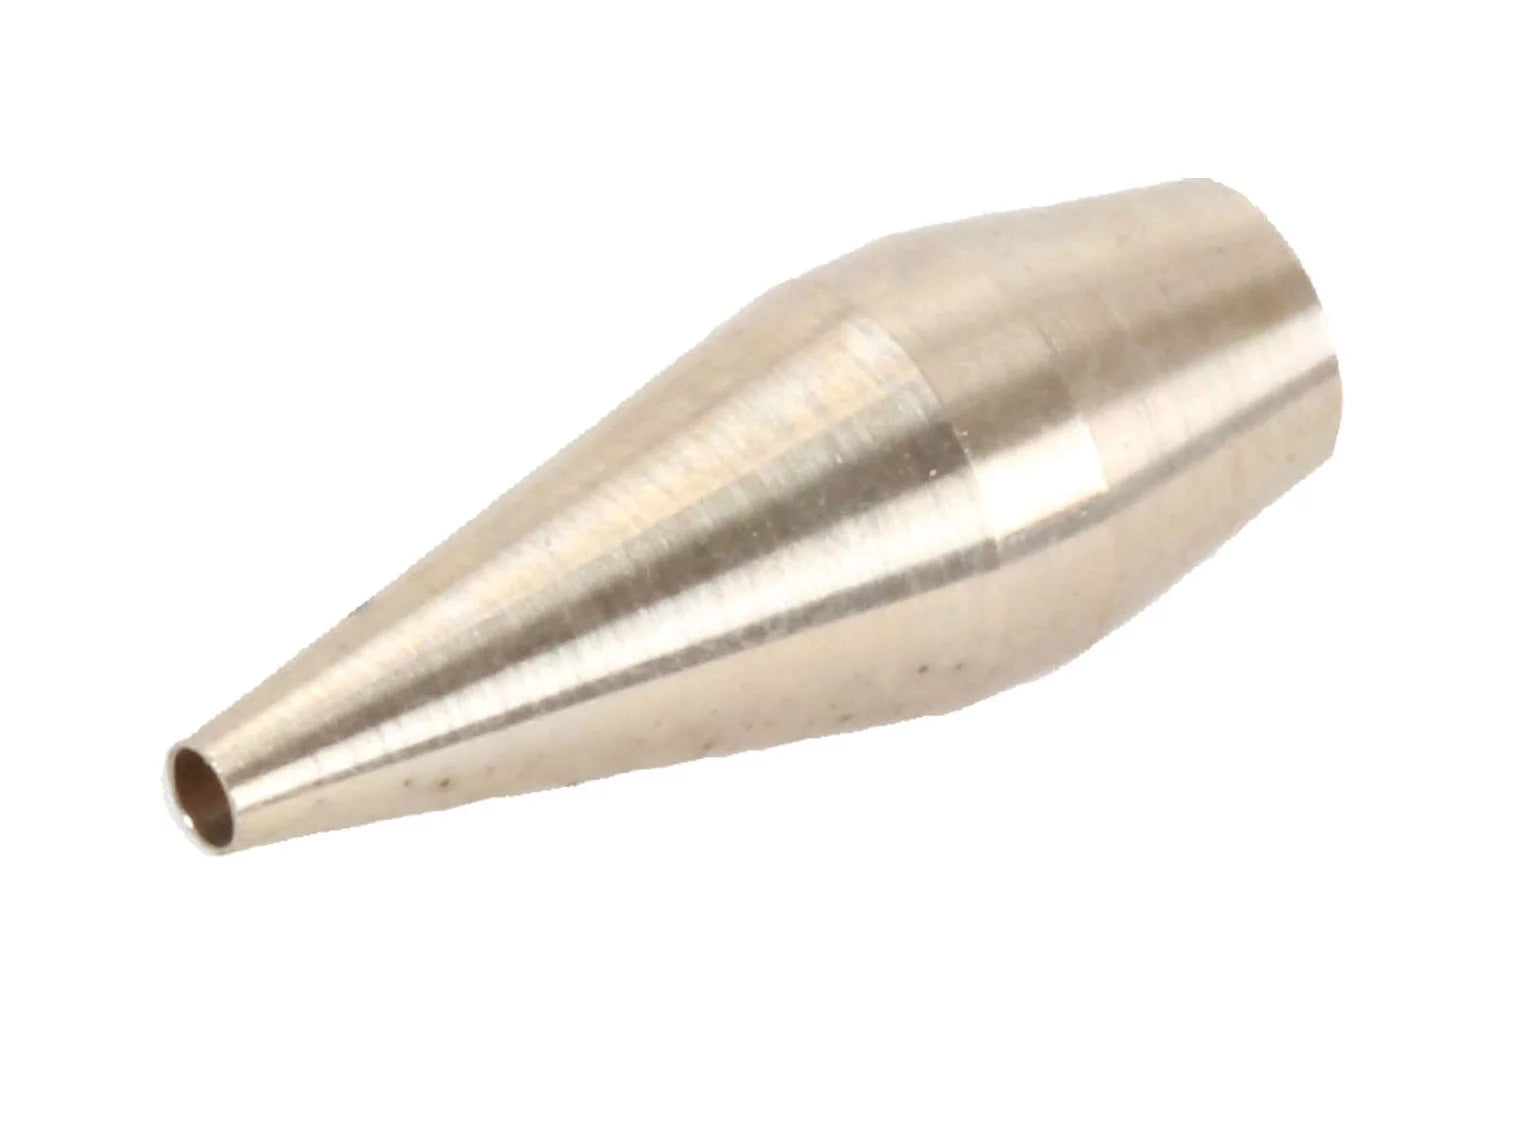
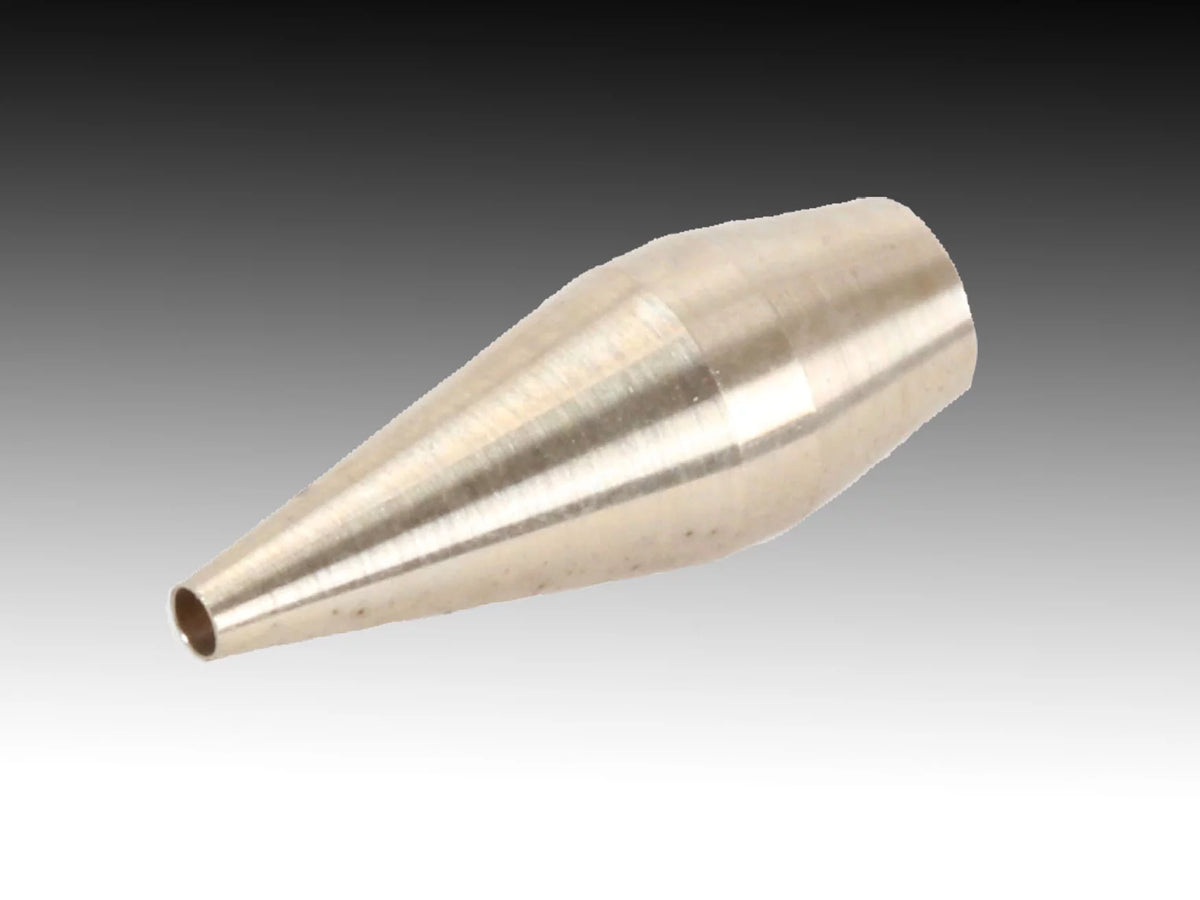
You can find suitable tools, practical cleaning containers and other equipment in our area Airbrush accessories. If, despite all your caution, a needle is bent or a tiny Teflon seal is worn out, you can use the right ones Airbrush Spare Parts replace any element in no time and extend the life of your device almost indefinitely.
Typical sources of errors and how to fix them immediately
Even advanced users occasionally make application errors. With the following solutions you can solve typical spraying problems in no time:
The gun “spits” or sprays intermittently:
The cause is often a loose nozzle, a dirty needle channel or dried paint on the needle tip. Clean the needle tip with a little thinner and check that the nozzle is seated correctly. Sometimes the system also draws in incorrect air due to a worn nozzle seal.
Color beads up on the surface (orange peel or spider legs):
If paint runs across the model in thin streaks ("spidering"), you were either too close to the object, sprayed with too high a pressure, or diluted the paint too much. Reduce the pressure on the pressure gauge and maintain a greater distance. If, on the other hand, a rough, dry structure forms (orange peel), the paint has already dried in flight: reduce the spray distance, reduce the pressure or add a little thinner.
It's bubbling in the paint cup:
The atomizer air escapes through the paint channel back into the cup. This happens if the nozzle cap is clogged, the nozzle has a fine hairline crack or is not screwed in tightly enough.
Safety and ergonomics in the workplace
Never forget health protection when painting. Even when working with water-based acrylic paints, fine droplets (aerosols) are created that can reach the lungs. A compact extraction system with an extendable exhaust hose extracts paint mist directly at the point of origin and binds particles in replaceable filter mats. Combined with a suitable particle or half mask, you create a safe environment in which you can concentrate on your hobby for hours without annoying smells.
Take the time to set up your workstation ergonomically: A rotating painting platform protects you from having to touch freshly sprayed parts with your fingers, while a sturdy gun holder on the edge of the table prevents expensive tools from accidentally falling to the floor. With the right setup, nothing stands in the way of masterful painting at the highest level.