






Fascination with warbirds: Why aircraft from the Second World War inspire model makers
If you are interested in historical plastic model making, there is hardly any way around the legendary machines from 1939 to 1945. The era of the Second World War marked the most dramatic technological leap in the history of aviation: within a few years, aircraft construction developed from harnessed biplanes to aerodynamically sophisticated all-metal fighters with piston engines and finally to the first operational jet aircraft. These rapid innovations created aircraft icons that continue to fascinate today with their striking silhouettes, technical sophistication and dramatic operational stories.
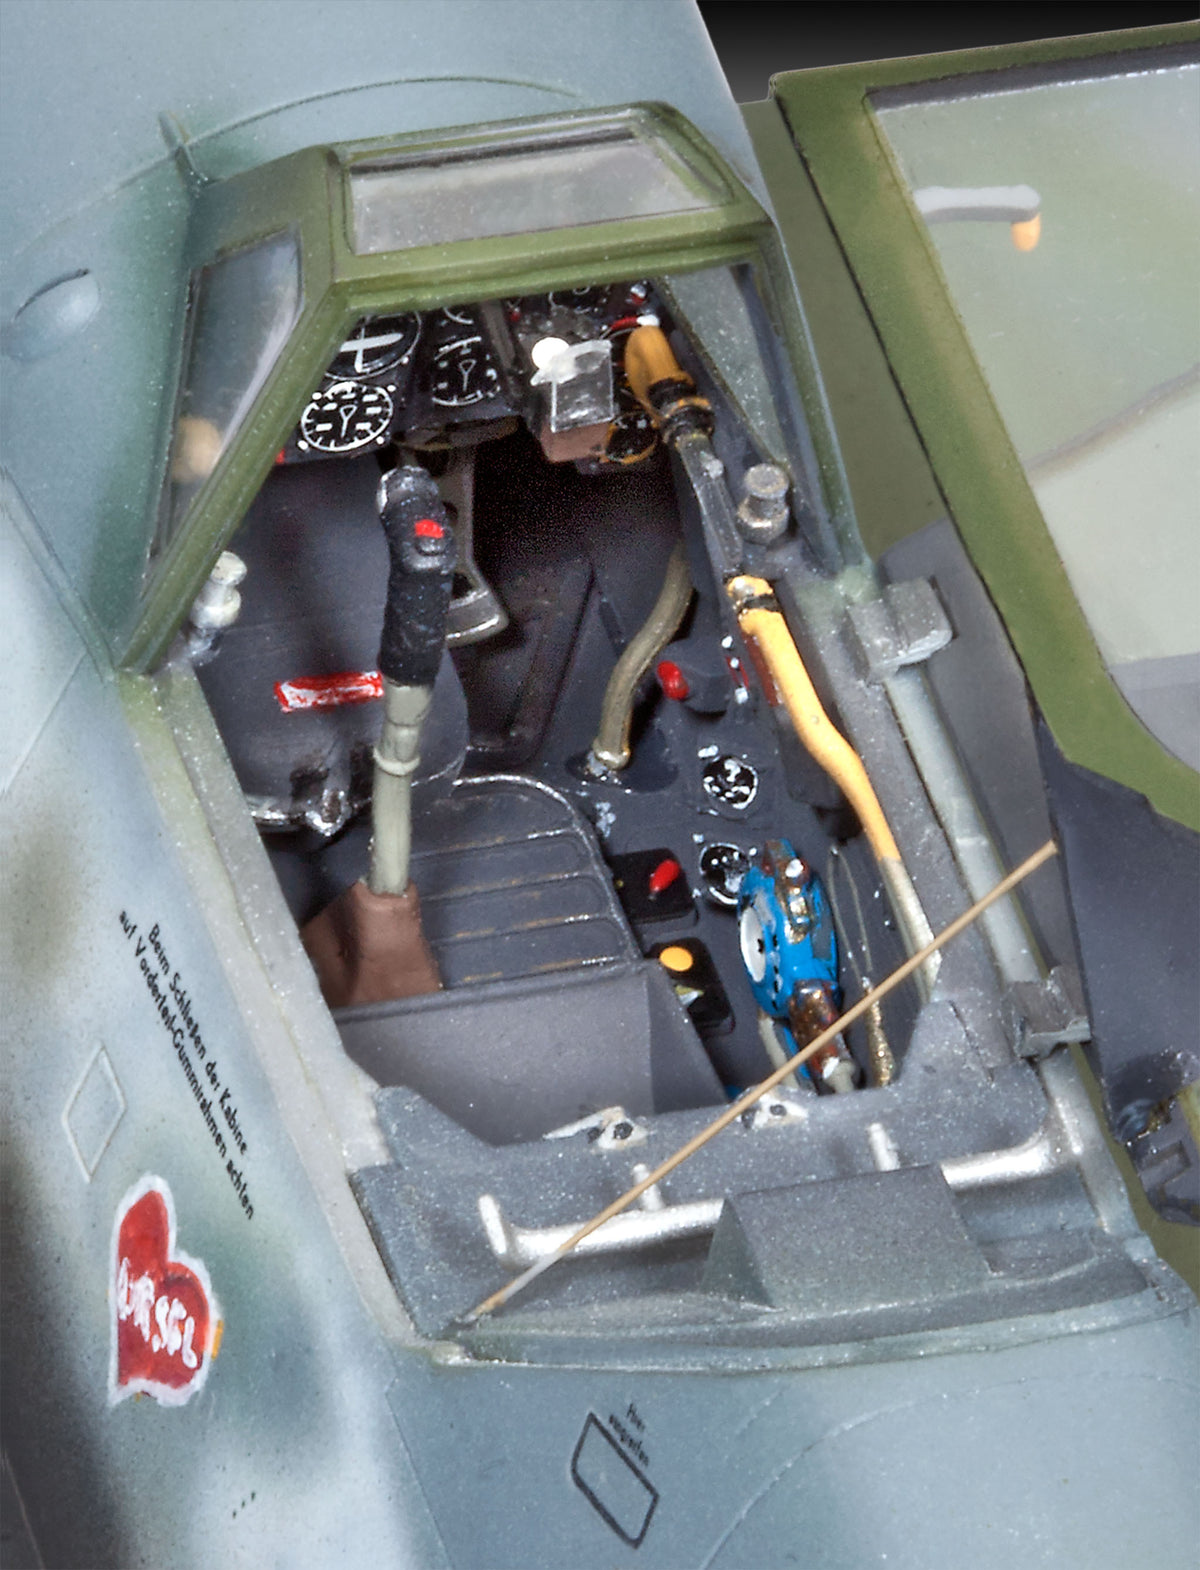
As a model builder, you hold a piece of contemporary history in your hands with every kit. It's not just about putting plastic parts together - you're reconstructing historical technology down to the smallest detail. From the riveted wing sheet metal to the delicate radial and V-engines to the fully equipped cockpit with tiny instrument displays, you can experience first-hand how the engineers of the time pushed aerodynamic boundaries. Whether you are planning a diorama of a field repair, want to equip a display case with famous interceptors or simply enjoy precise craftsmanship: aircraft from the Second World War offer you an almost inexhaustible variety of shapes, camouflages and historical models.
The most famous aircraft types: fighters, bombers and aviation milestones
Our range includes kits from all relevant warring parties and aircraft classes. Each type of construction places its own unique demands on your building skills and ultimately rewards you with a unique collectible.
Legendary fighter planes: speed, maneuverability and striking design
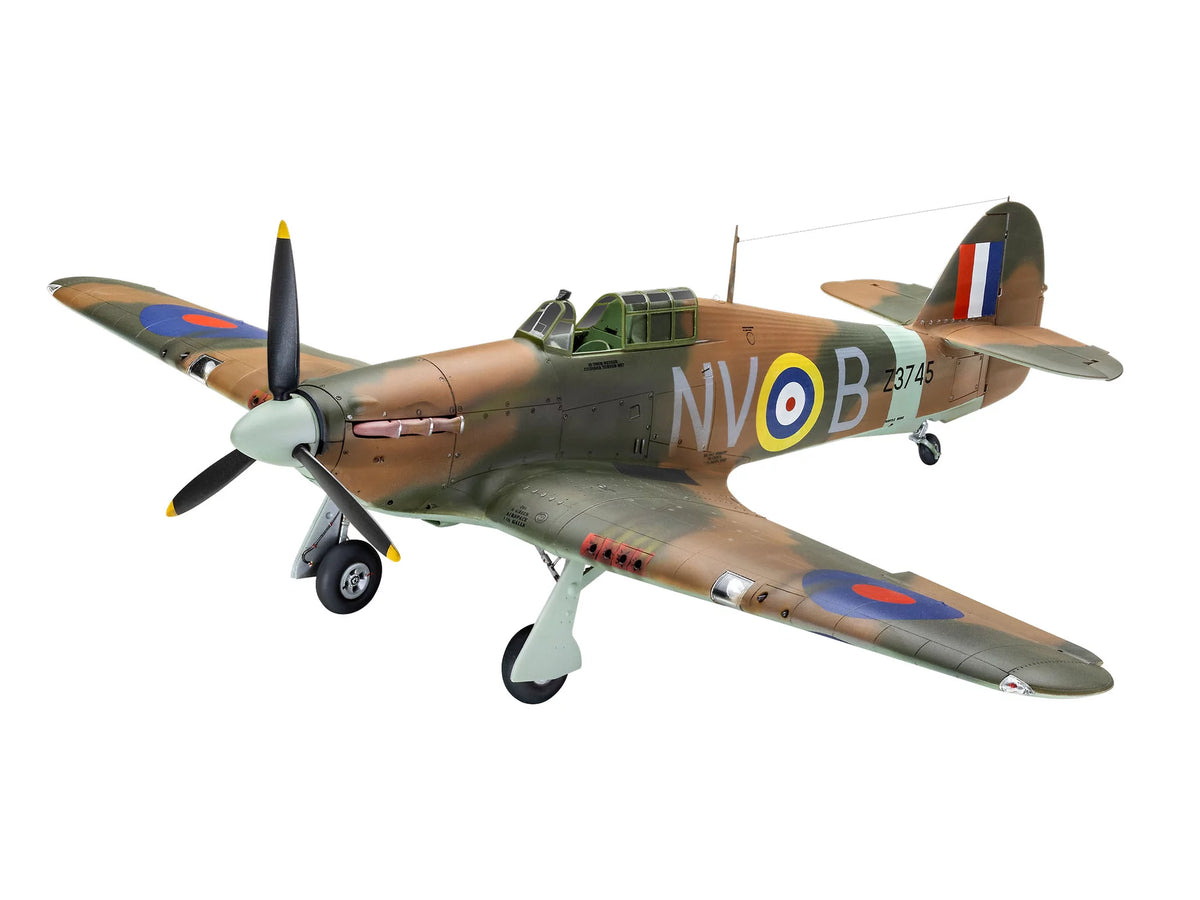
The so-called warbirds among fighter aircraft are among the most popular objects in plastic model making. They are characterized by elegant lines, powerful engines and aerodynamic perfection. The most well-known representatives that you can recreate in detail with us include:
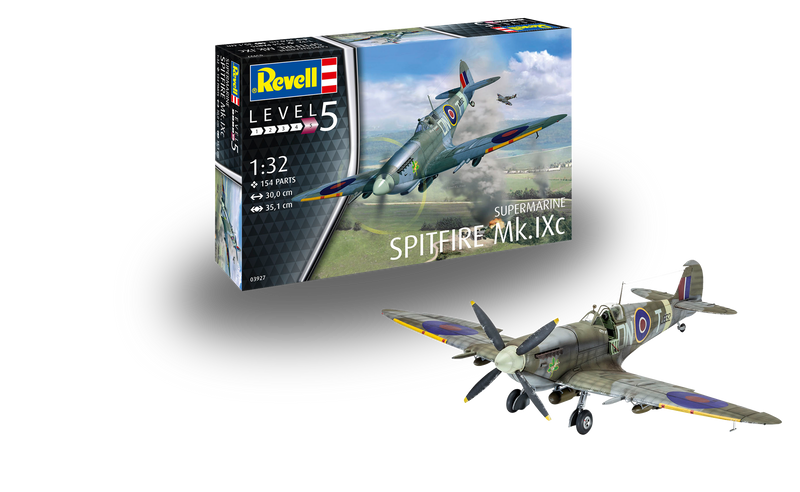
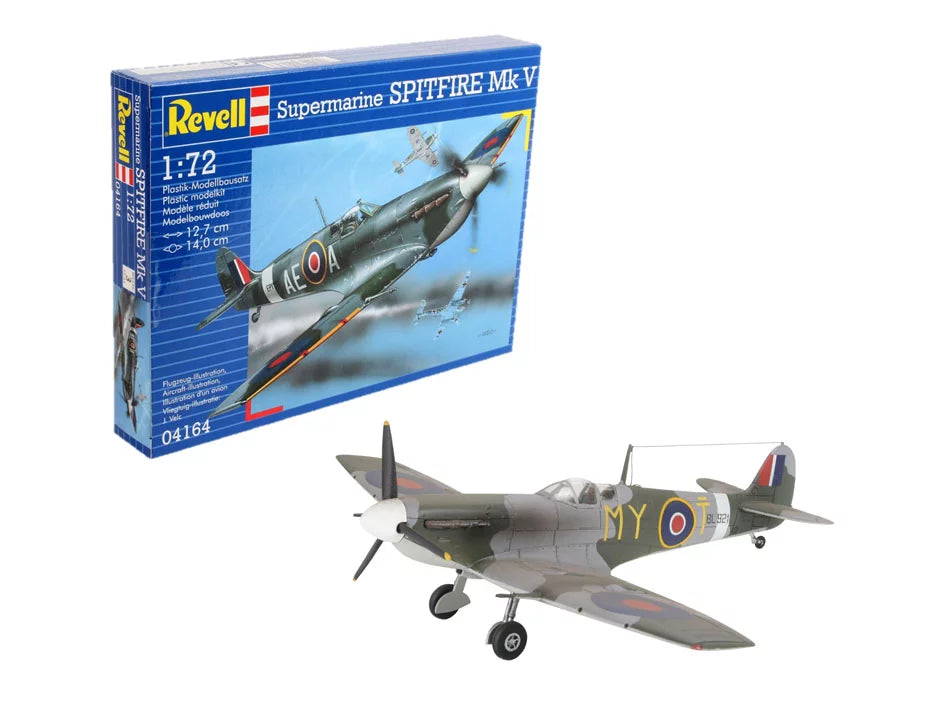
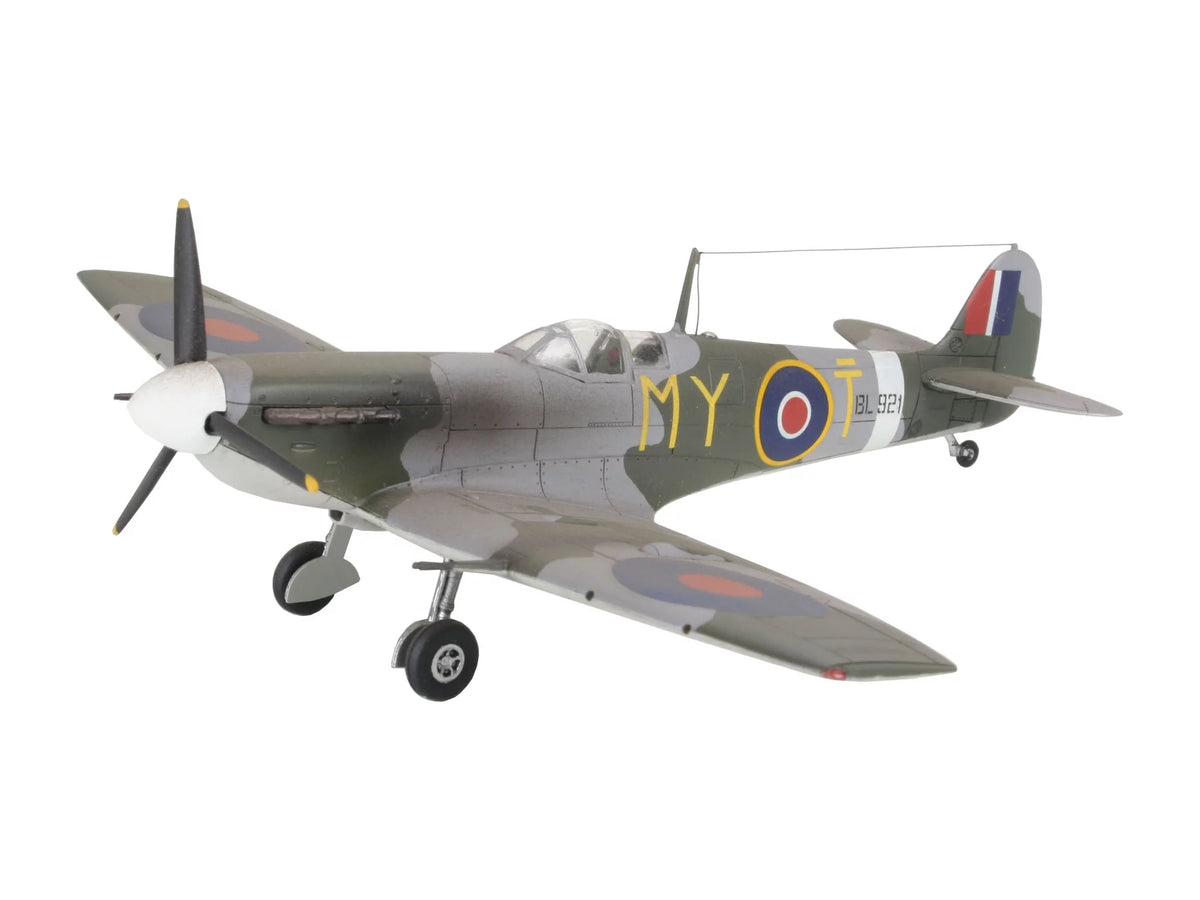
- Supermarine Spitfire: The Royal Air Force icon famous for its elliptical wings and distinctive Rolls-Royce Merlin engine. An absolute must for every model building table, available in numerous configurations from the early Mk.I to the late Griffon variants.
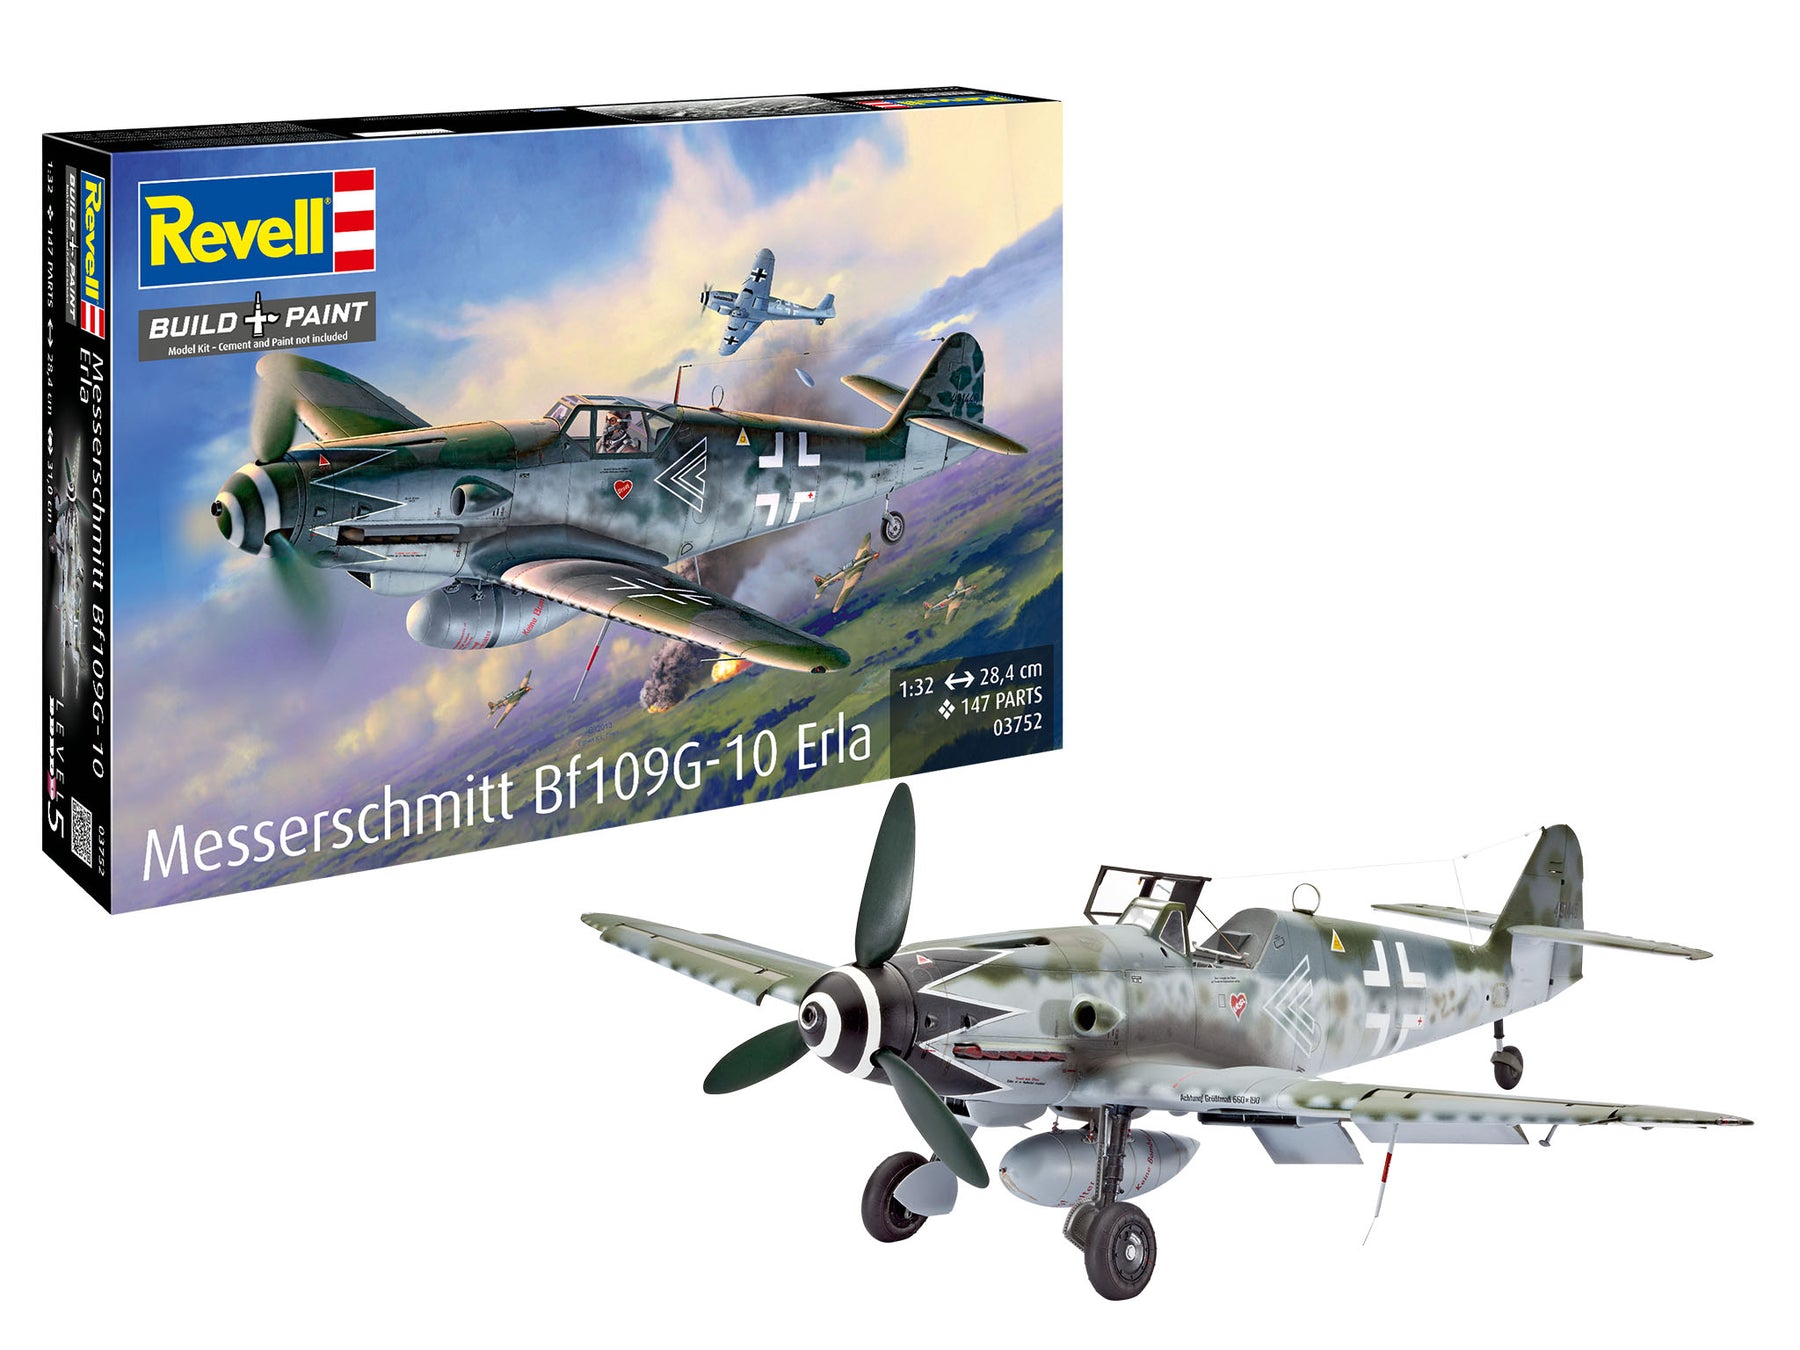
- Messerschmitt Bf 109: The German Air Force's standard fighter aircraft accompanied the entire conflict. Slim, compact and with a characteristic square canopy, the Bf 109 offers endless variants - from the legendary E variant (“Emil”) to the late G series (“Gustav”).
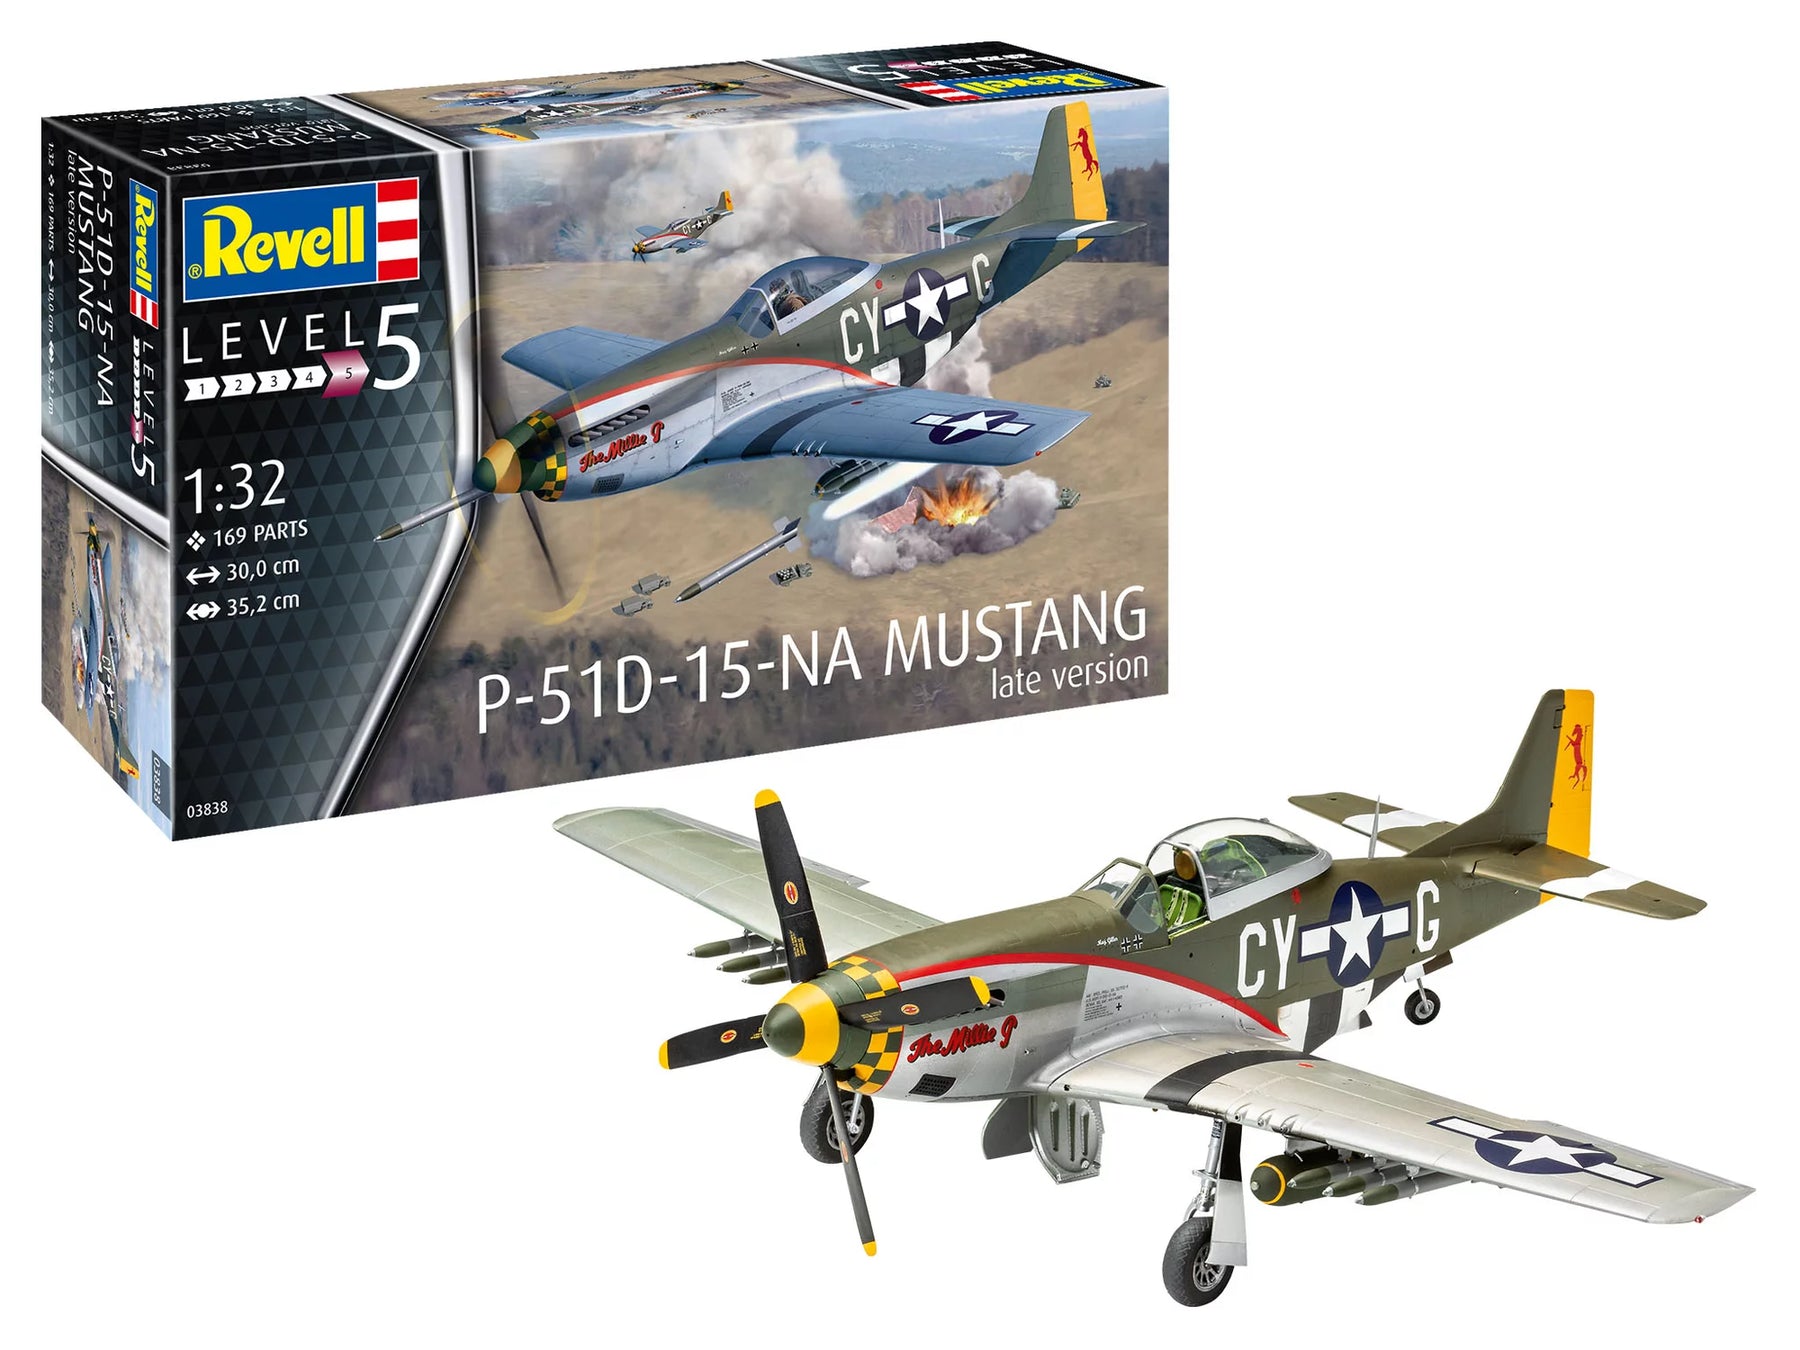
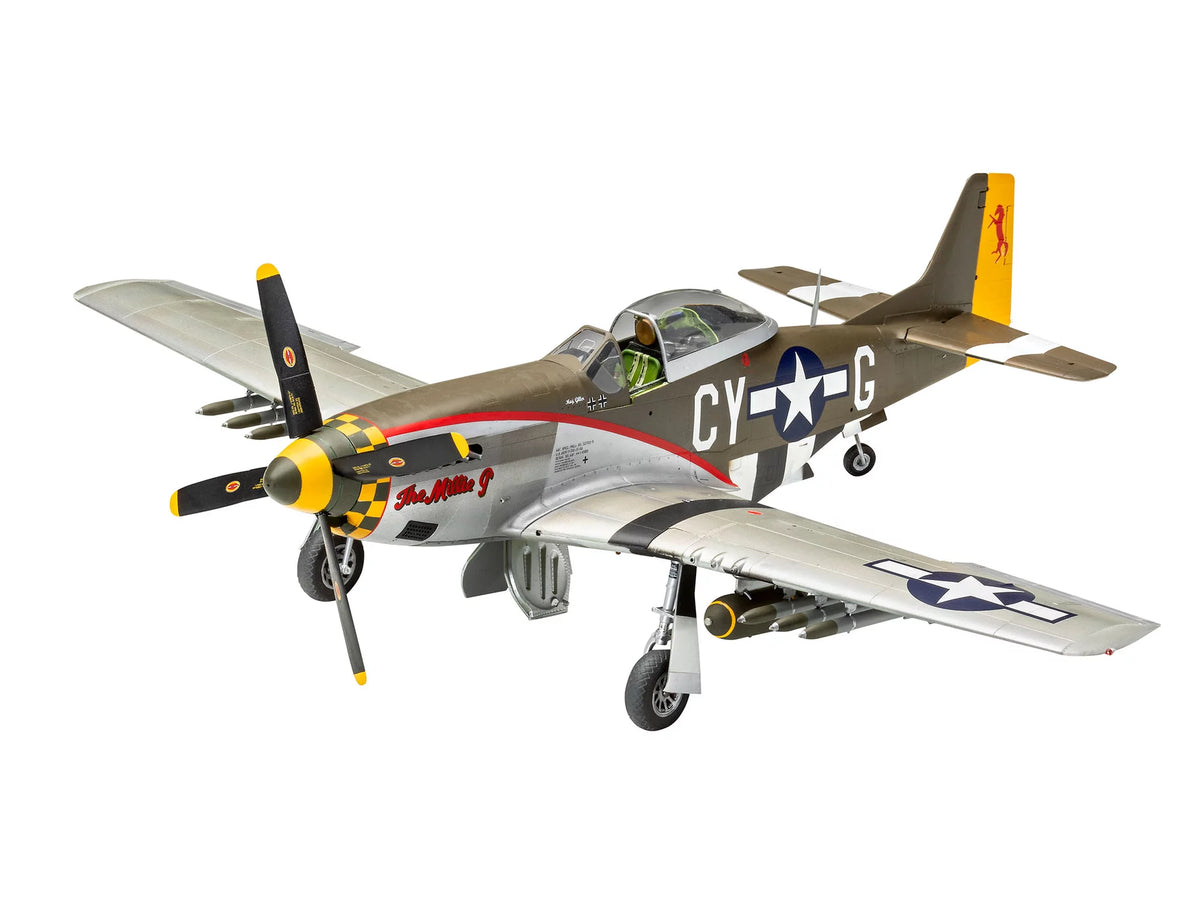
- North American P-51 Mustang: The long-range escort fighter with a teardrop canopy and laminar wing shaped the air battles over Europe and the Pacific. Especially the late versions with a shiny natural metal finish will challenge your painting skills.
- Focke-Wulf Fw 190: The robust “strangler” with a powerful BMW double radial engine was considered a feared all-rounder. Its wide undercarriage track and beefy nose make it immediately recognizable on the model shelf.
- Mitsubishi A6M Zero: The legendary Japanese carrier aircraft impressed with its extreme maneuverability and lightweight construction in the Pacific War.
Heavy bombers and multi-role fighter aircraft
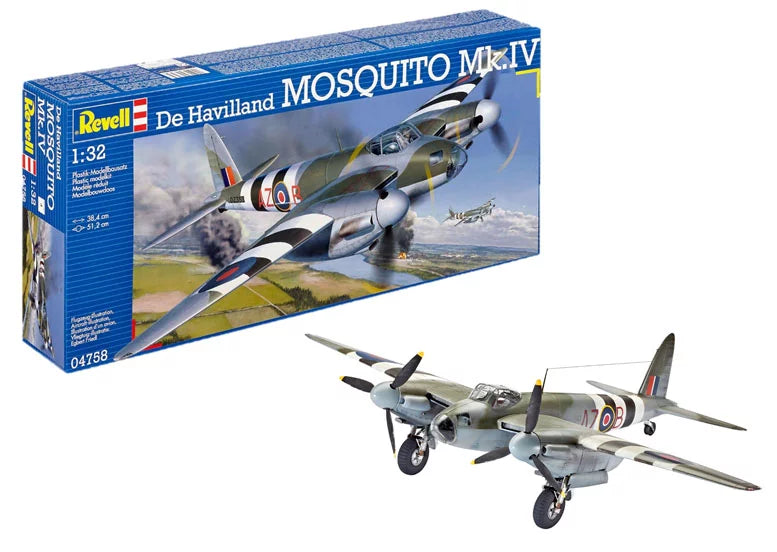
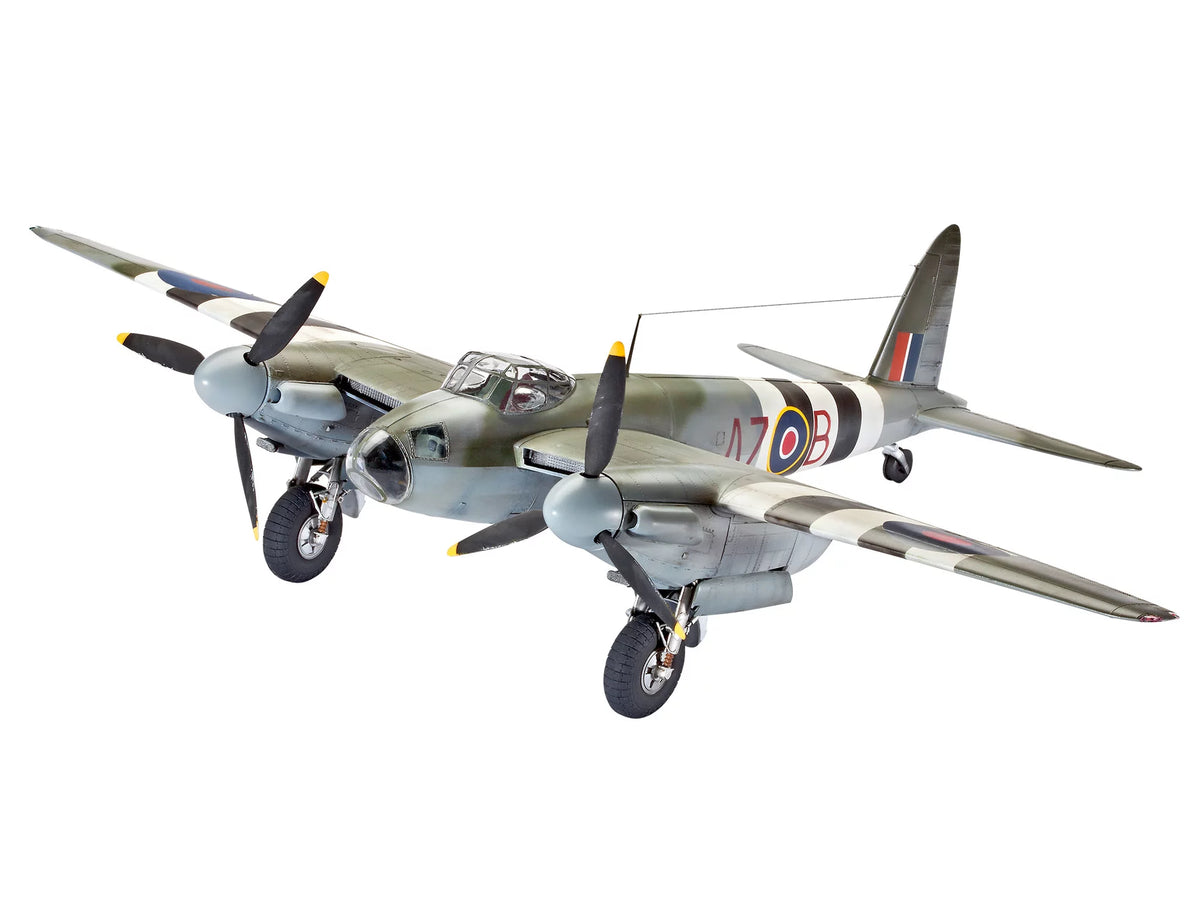
If you prefer monumental projects with impressive wingspans, four-engine bombers and twin-engine destroyers are your first choice. Machines like the US Boeing B-17 Flying Fortress impress with a variety of machine gun turrets, open bomb bays and detailed interiors. On the British side, the Avro Lancaster stands for massive bomb loads and night operations. Twin-engine classics such as the versatile Junkers Ju 88 or the De Havilland Mosquito – the “Wooden Wonder” made almost entirely of wood – also offer you fascinating construction steps in which you can mask cockpit glazing and assemble complex landing gear mechanisms.
Pioneers of the jet age: The first jet fighters
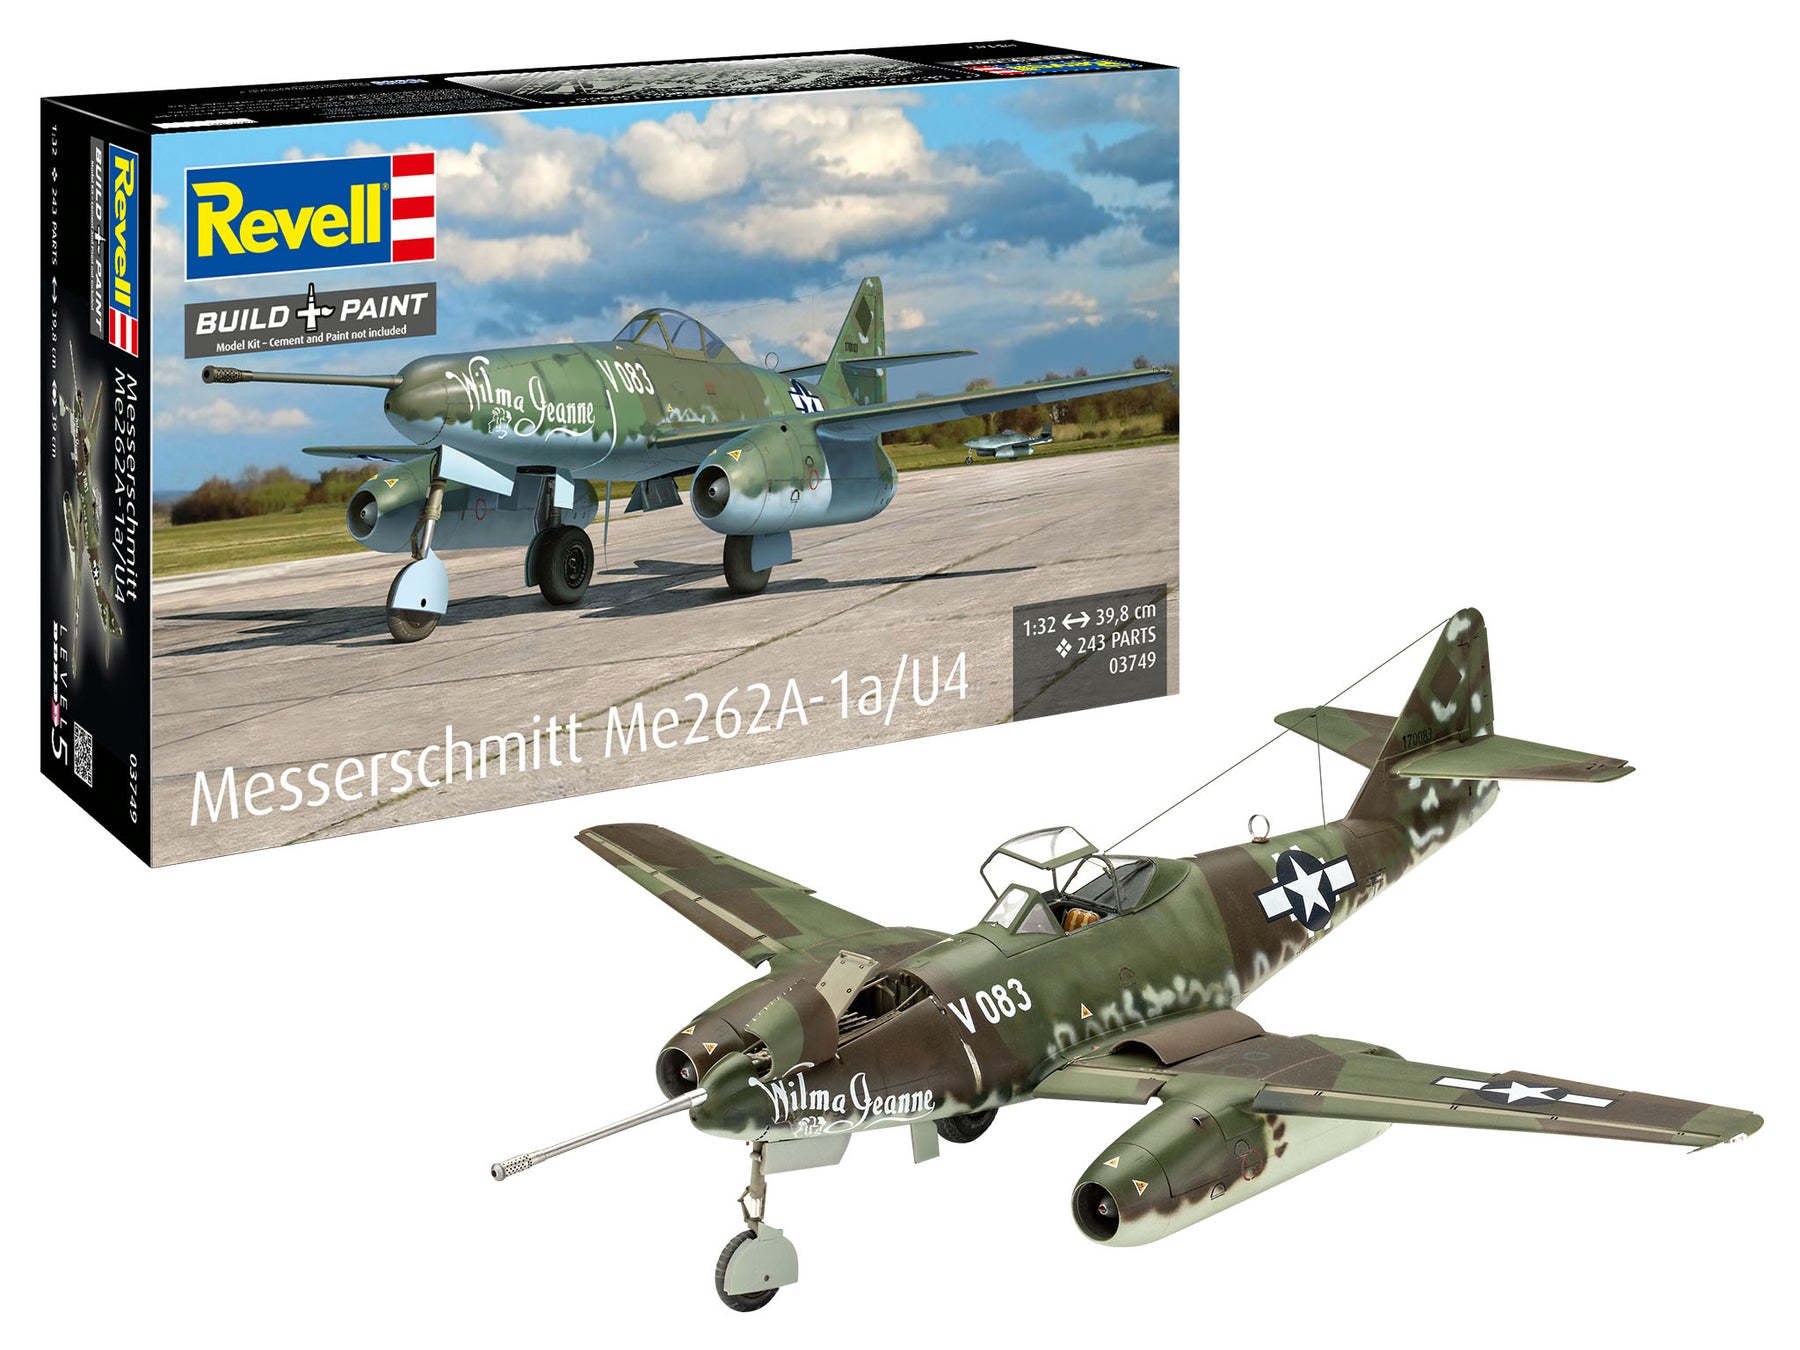
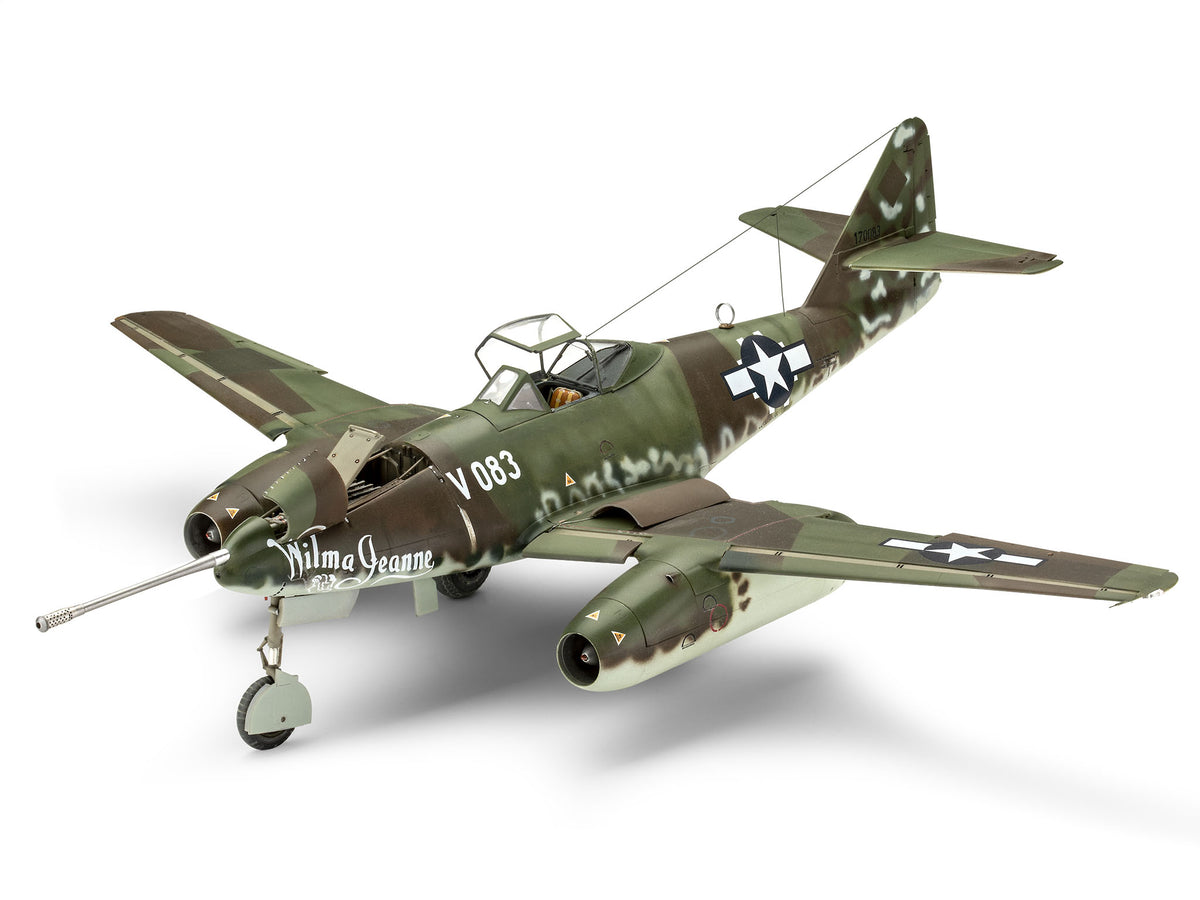
Towards the end of the conflict, the jet engine era began. Kits for the Messerschmitt Me 262 Schwalbe or the British Gloster Meteor give you a look at pioneering swept wings, engine nacelles and revolutionary fuselage shapes. These models build a fascinating bridge between classic piston engine aviation and the modern jet age.
The right scale for your project: 1:72, 1:48 or 1:32?
Before you decide on a kit, you should be clear about the appropriate scale. It not only determines the future size of the finished machine, but also the level of detail, the construction time and the space required in your showcase.
Scale 1:72 – The handy classic for collectors and diorama builders
The 1:72 scale is the most common standard in aircraft model construction worldwide. A single-engine fighter like the Spitfire has a wingspan of around 13 to 15 centimeters, while a four-engine bomber measures a good 40 to 45 centimeters. This scale is great for you if you want to build an extensive collection without requiring a huge footprint. In addition, models in a scale of 1:72 can be perfectly combined with figures and vehicles to create atmospheric airfield dioramas.
Scale 1:48 – The golden mean between depth of detail and handiness
The 1:48 scale has become the absolute favorite of many ambitious model builders in recent years. Here, single-engine warbirds reach a wingspan of around 20 to 25 centimeters. This space allows the mold makers to depict the finest details: cockpit fittings are clearly visible, landing gear bays have realistic cable routing, and maintenance hatches, engines and weapons bays can often be shown open. The model is large enough for complex aging techniques, but remains manageable enough for standard shelves.
Scale 1:32 – Maximum detailing for real eye-catchers
Do you want to create a true showpiece where every rivet, every control cable and every spark plug of the engine is reproduced exactly? Then the large scale 1:32 is your stage. These kits are aimed primarily at experienced model builders who want to invest a lot of time in a single large project. Here you can install movable control surfaces, realistic harnesses made from etched parts and fully visible engine compartments. The finished model takes up appropriate space, but is guaranteed to attract everyone's attention.
Choosing the right skill level: Which kit suits your skills?
So that your crafting experience is pure joy from the very first minute and there is no frustration due to being overwhelmed, our model kits are divided into clear levels of difficulty (skill levels). We recommend that you honestly assess your previous knowledge:
- Level 2: Ideal for beginners and younger model builders. These kits consist of a manageable number of parts (usually up to around 30 parts), are easy to put together and only require basic gluing and painting techniques. Perfect for getting to know a new hobby.
- Level 3: The entry into classic plastic model making. Up to 100 precisely manufactured parts challenge your skills in gluing and painting. Here you will already find moving propellers, detailed landing gear and the first authentic decals.
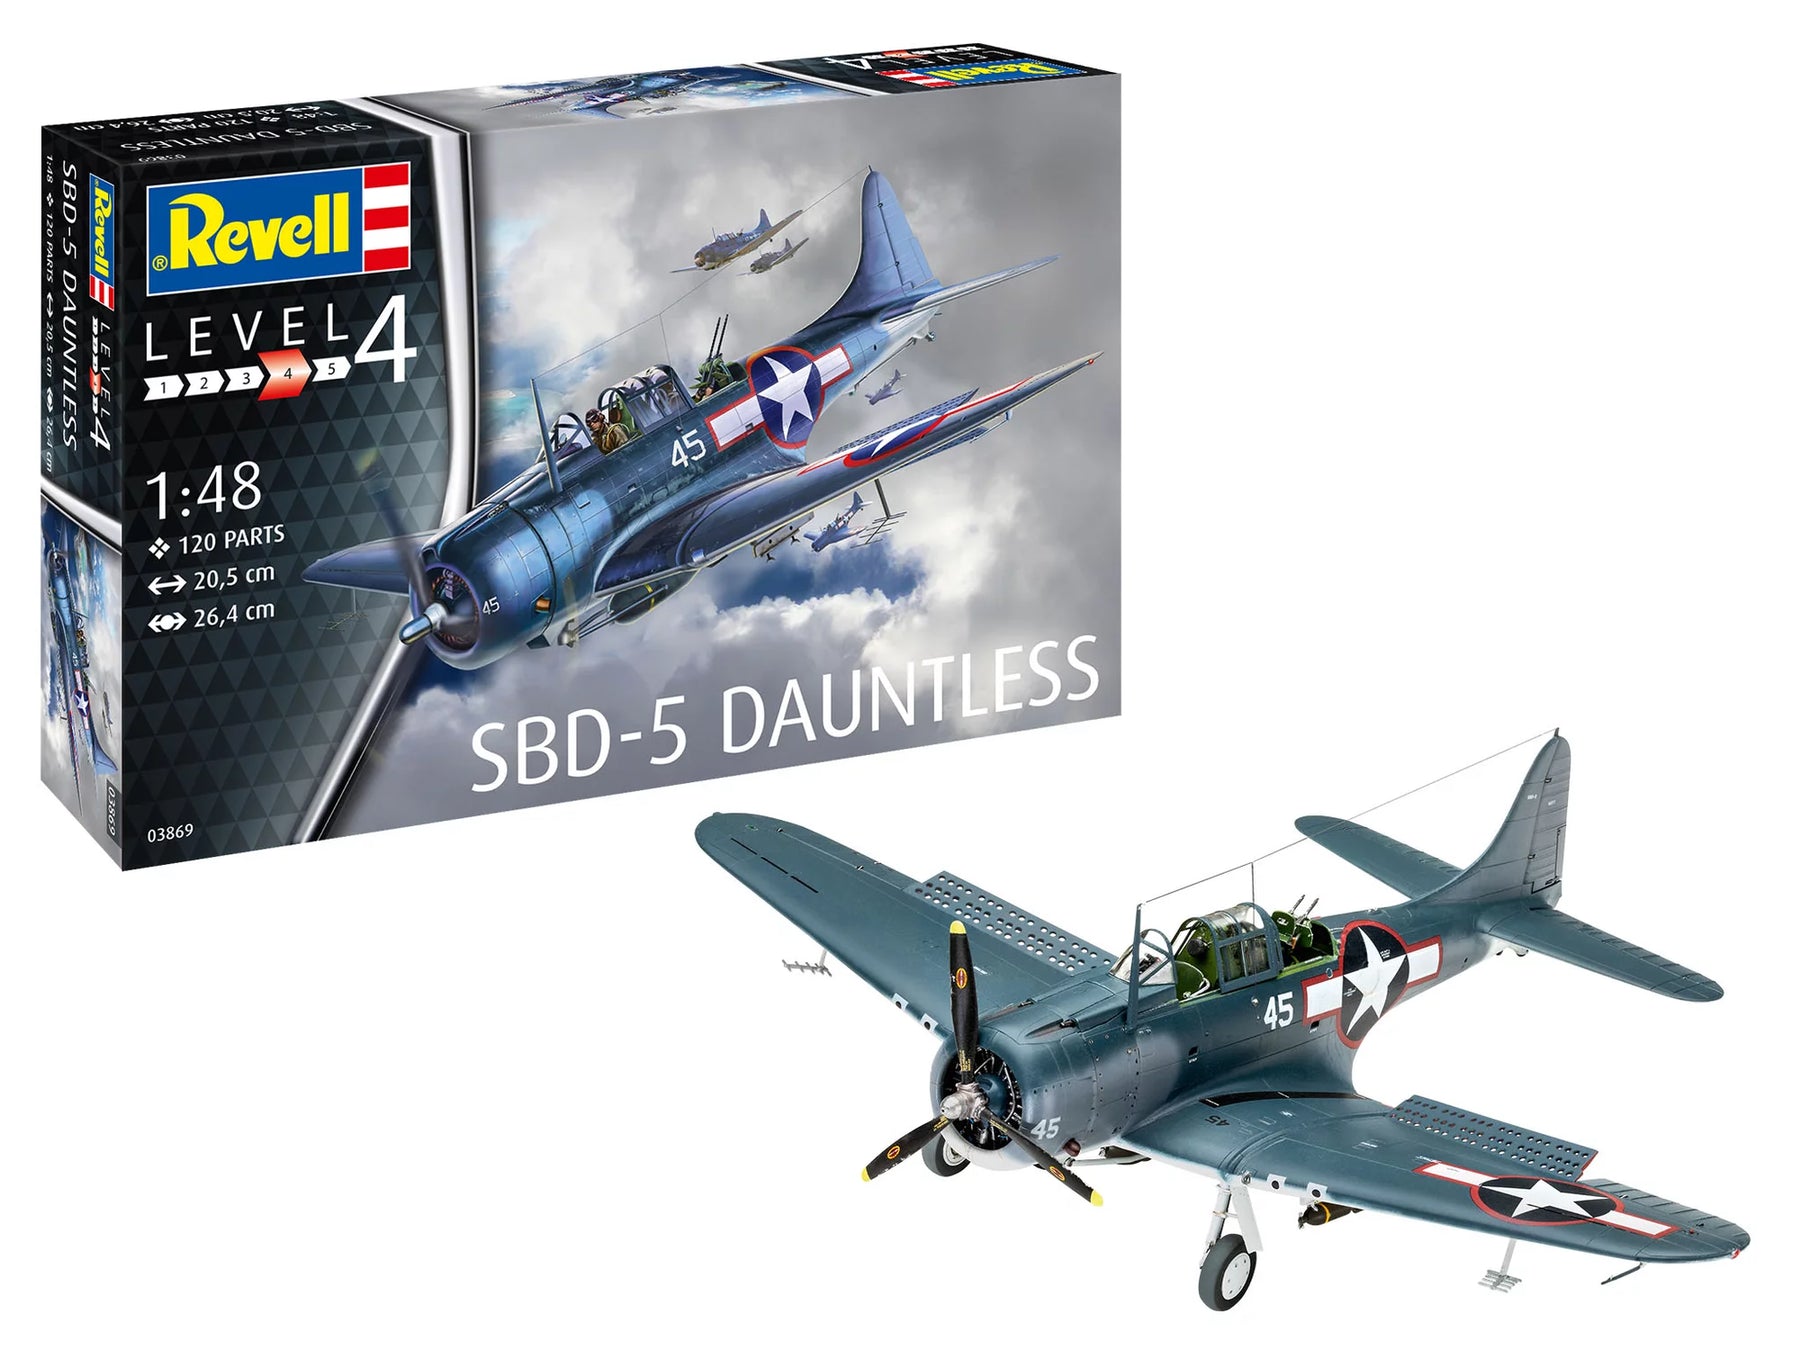
- Level 4: For experienced hobbyists. Kits with up to 150 parts that require a steady hand, patience and in-depth knowledge of using various brushes, tweezers and paints. Multi-part cockpits and complex camouflage coatings are standard here.
- Level 5: The premier class for real professionals. Well over 150 to several hundred individual parts, delicate photo-etched parts and highly complex assemblies require maximum precision, experience in accuracy of fit and sophisticated painting techniques.
Tools and preparation: The basis for your perfect aircraft model
An outstanding model making result begins long before the paint is applied - it comes from the clean preparation of the individual parts. In order to remove cast burrs without leaving any residue, separate delicate antennas without damage and mount transparent pulpits with crystal clarity, you need the right tools. With sharp side cutters you can precisely cut components from the casting without crushing the plastic. A scalpel or hobby knife and sandpaper of various grits (from 600 to 2000) smooth out seams so that the fuselage halves and wings will later mesh seamlessly.
Liquid plastic adhesive with a needle cannula ensures long-lasting connections, which dissolves the surfaces in a controlled manner and welds them cleanly. Always have masking tape available in widths of 1 to 6 millimeters to mask canopies. You can find fine assembly accessories such as tweezers, files and retaining clips in our category for Accessorieswith which you can optimally equip your workbench.
Painting and camouflage schemes: From brush technology to the perfect spray gun
It's the paint job that brings your model to life. World War II aircraft feature a fascinating range of camouflage schemes: from the British Dark Earth/Dark Green to the German spot camouflages (wave patterns and meander patterns) to the Pacific Navy Blue or the whitewashed winter paint schemes of the Eastern Front.
To get started, a set of high-quality round and flat brushes in combination with water-thinnable acrylic paints is often sufficient. Always apply the paint in several thin layers instead of choosing a thick coat - this way, fine engravings and metal joints remain clearly visible. However, if you want to achieve soft edges, flawless color gradients and realistic camouflage spots without visible brush strokes, there is no way around spraying. In our professional department Airbrushdevices you will find the right equipment for millimeter-precise paint applications.
Especially if you're new to this technology, it's worth taking a look at our coordinated ones Airbrush complete sets. They include a gun, hose and quiet compressor in one convenient package, so you can get started straight away without having to worry about adapters, pressure regulators or connections.
Weathering and aging: This is how you turn plastic into a battle-tested original
A brand-new high-gloss paint job rarely looks realistic on a historic fighter aircraft. The original machines were exposed to harsh weather conditions, dirt roads, engine heat and gun fumes. With targeted aging techniques (so-called weathering) you can give your model depth and character:
- Glossy varnish as a basis: After the base coat, apply a coat of clear gloss varnish. It seals the color and prevents the dreaded “silvering” of the decals.
- Applying the decals: Apply national emblems, squadron identifications and maintenance instructions (stencils) using plasticizer so that they fit perfectly into engravings and rows of rivets.
- Washing (Panelline Wash): Apply heavily diluted enamel or oil paints in dark brown or anthracite to the metal joints. Wipe off excess paint with a lint-free cloth across the direction of the joint. This causes joints to appear three-dimensional.
- Chipping (paint chips): In stressed areas such as entry edges, wing roots or engine hoods, you can use a fine sponge or brush to dab small chips of aluminum paint to show exposed metal.
- Traces of soot and dirt: Use color pigments or heavily diluted black/brown paint with the airbrush to recreate exhaust plumes behind the exhaust pipes and smoke trails on board cannons.
- Matte finish: A final coat of matt varnish protects any aging effects and gives the aircraft its realistic, military look.
Historical context: naval aviators and the war on the world's oceans
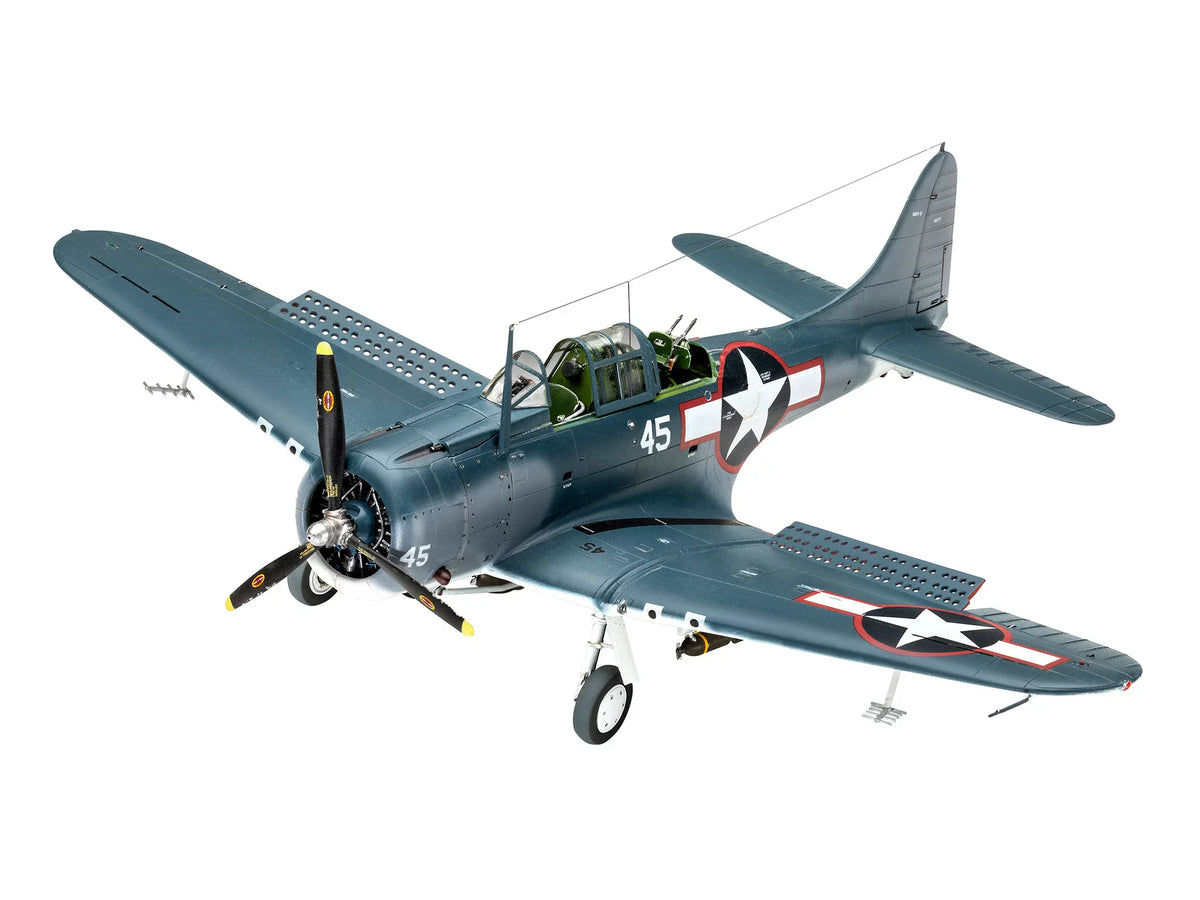
Airplanes did not operate in isolation in the skies during World War II. Especially in the Pacific and on the North Atlantic convoy routes, aircraft carriers and their on-board squadrons decided the outcome of huge naval battles. Machines like the Douglas SBD Dauntless, Grumman F6F Hellcat and Fairey Swordfish wrote maritime history. If you want to recreate historical scenarios such as the Battle of Midway or protecting Allied convoys, your aircraft models can be perfectly combined with scale cruisers, destroyers and aircraft carriers from our section Ships Ships combine. The joint construction of carrier aircraft and their floating bases offers you fascinating opportunities for impressive display dioramas.
Step by step to successful construction: Our expert tips
To ensure that your next World War II aircraft project goes smoothly, we have summarized some tried-and-tested advice for your craft session:
Study the construction instructions carefully beforehand. Mark painting instructions for small parts such as seats, control sticks and cockpit walls before gluing the fuselage - afterwards you will often no longer be able to reach these areas with the brush. Before gluing, check each component for accuracy (dry fitting) to avoid unpleasant surprises during curing. Never use superglue on transparent parts, as its fumes will irreversibly turn the plastic milky; Instead, use special transparent part glue or white glue. Take your time, let the layers of glue and paint dry completely and enjoy every step from the first assembly to the final assembly.