


Complete model building sets to get you started straight away
What is important with Revell starter kits for the perfect start
Choosing your first model lays the foundation for your long-term fun with crafting. Even though Revell relieves you of a lot of the work with its complete sets, there are a few factors you should consider when choosing your first kit:
- Difficulty level (Revell Level): Determines the number of components and the complexity of the construction instructions.
- Thematic world: Your personal fascination with the original vehicle or aircraft is your greatest motivation.
- Scale: Defines the size of the finished model and how delicate the individual components are.
- Completeness: Check whether the kit contains the base colors that are most important to you for the main paint job.
The right level of difficulty for your first steps
Revell structures its range into clear levels of difficulty (levels 1 to 5). Levels 2 and 3 are generally recommended for starter kits. A Level 2 kit usually consists of up to 30 individual parts. These models can be assembled very quickly and are ideal if you are working with plastic glue and brushes for the very first time. You see results quickly and avoid frustration.
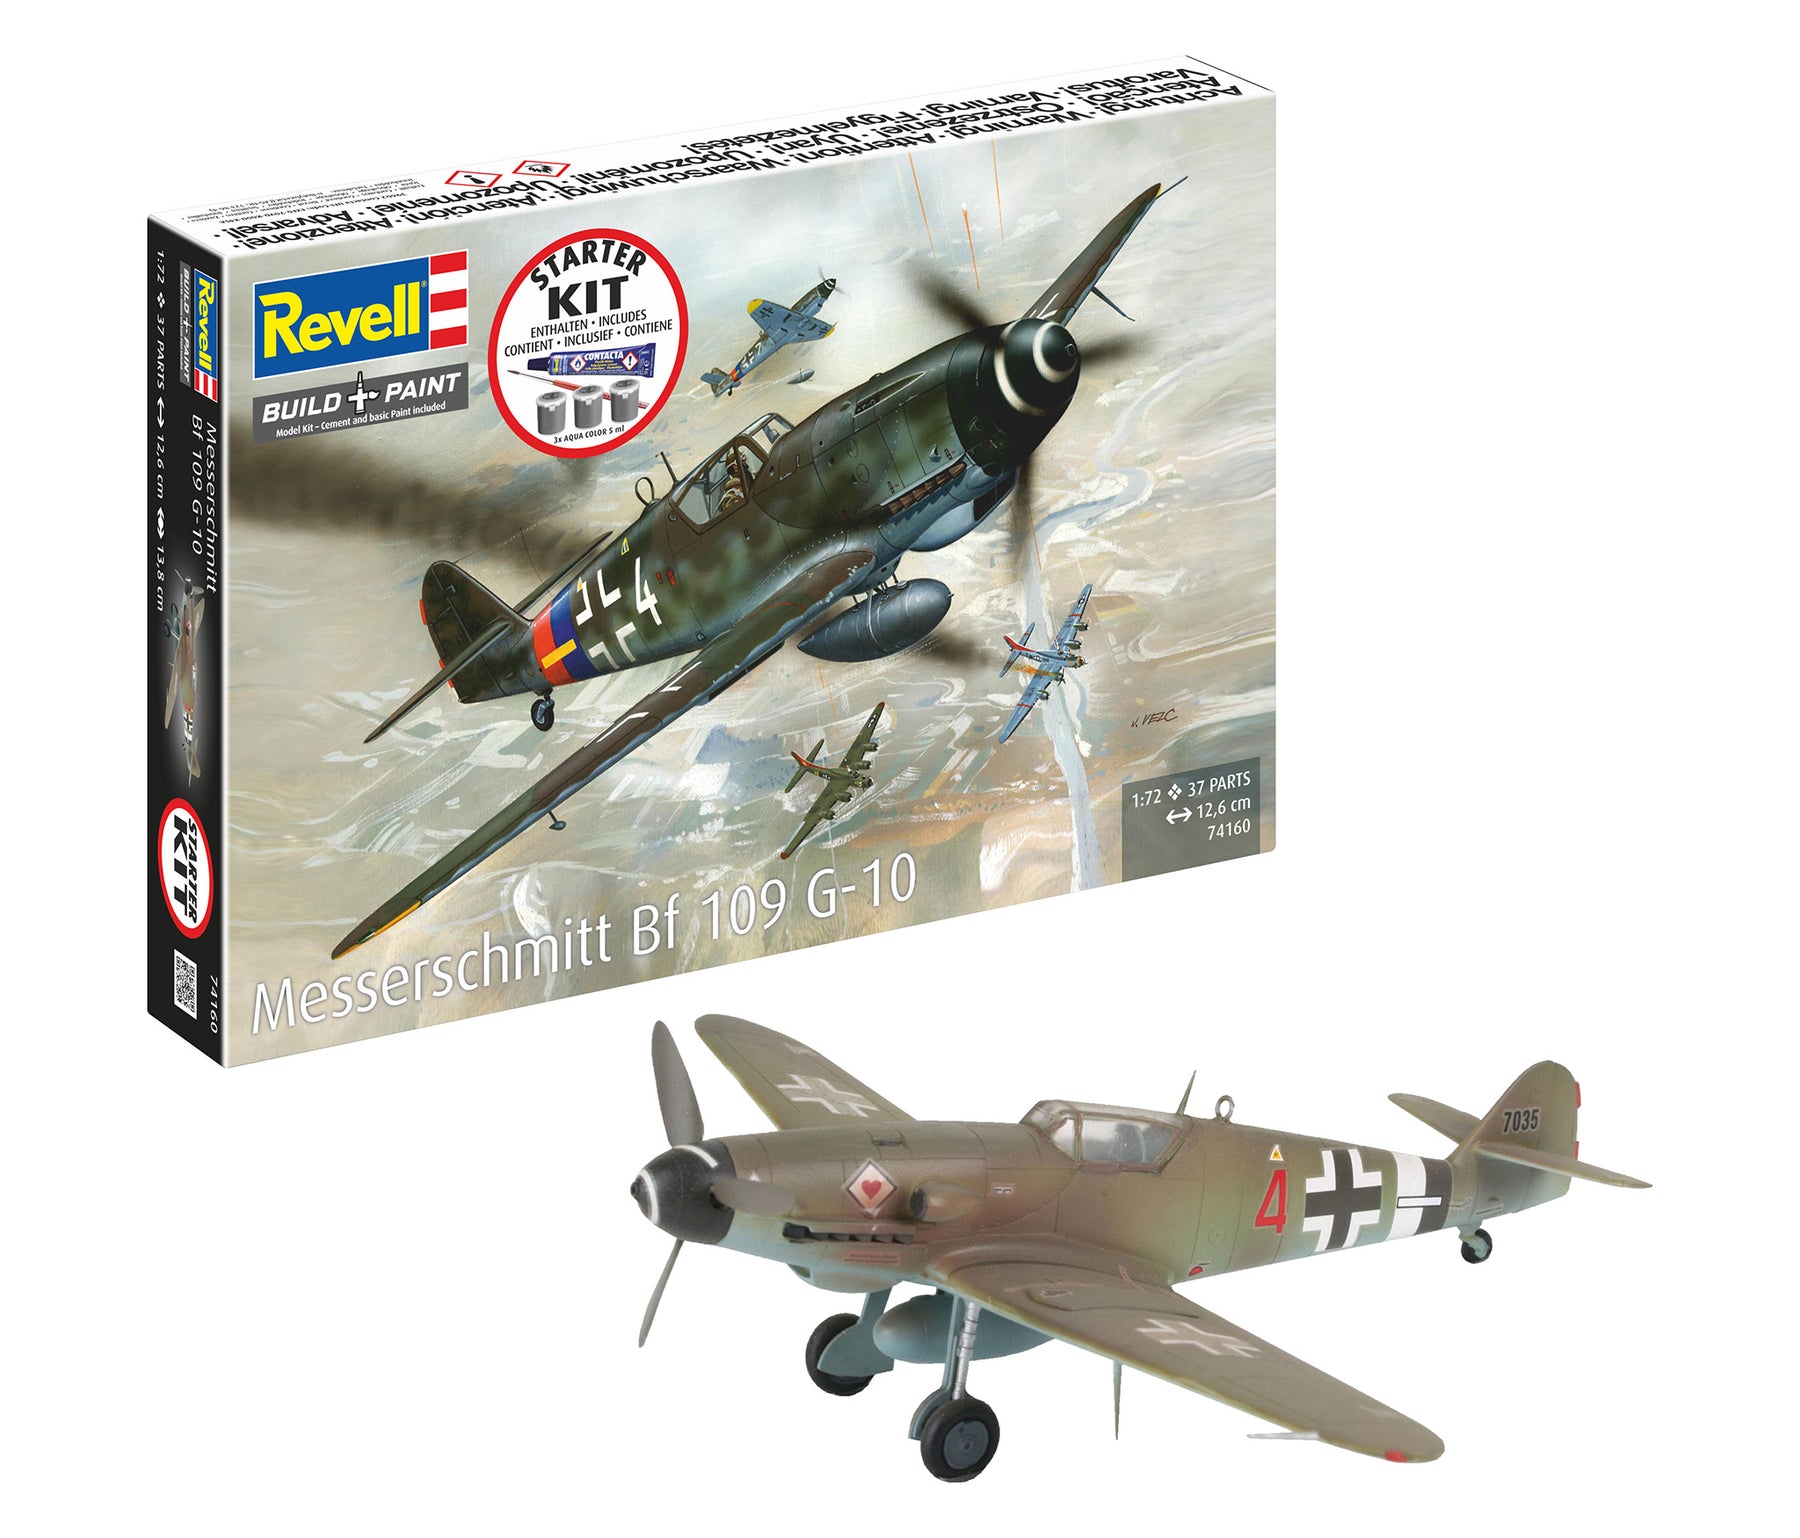
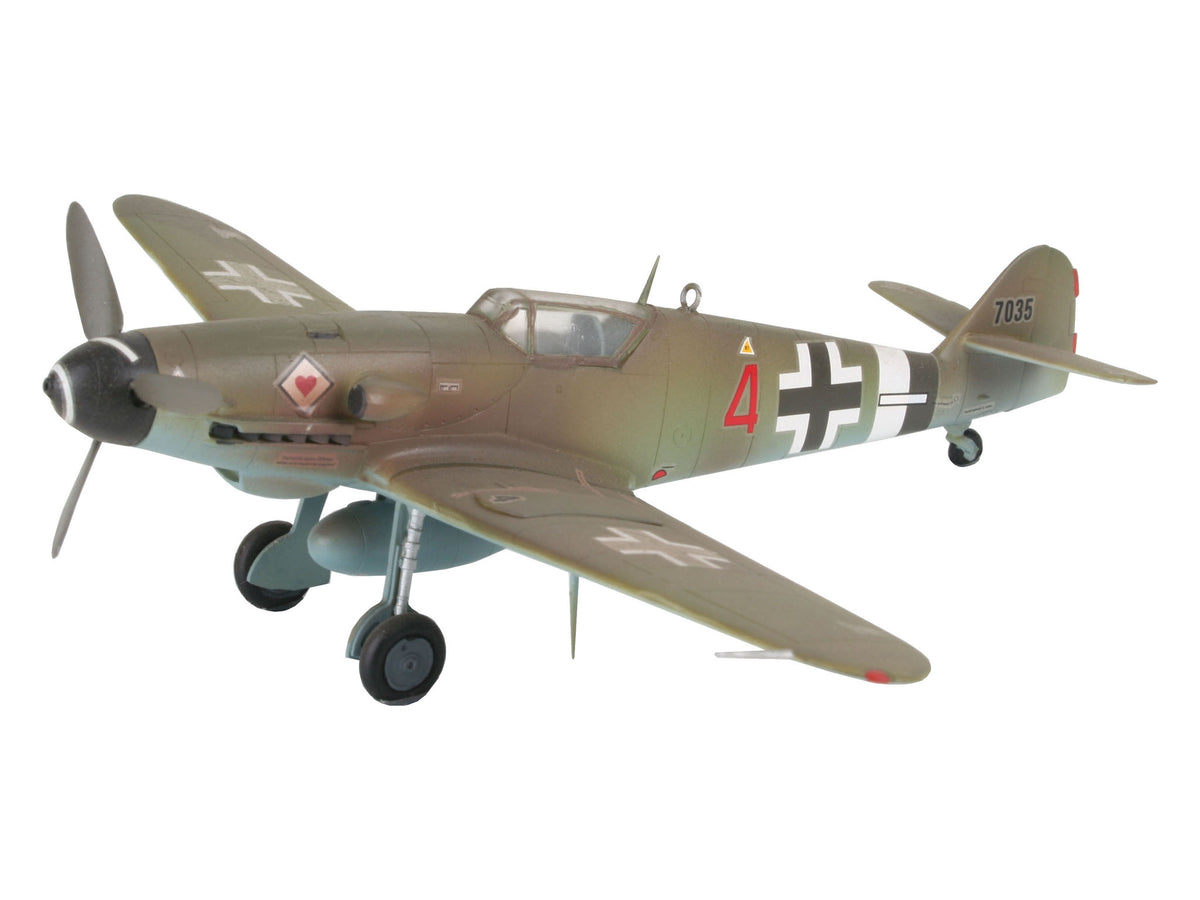
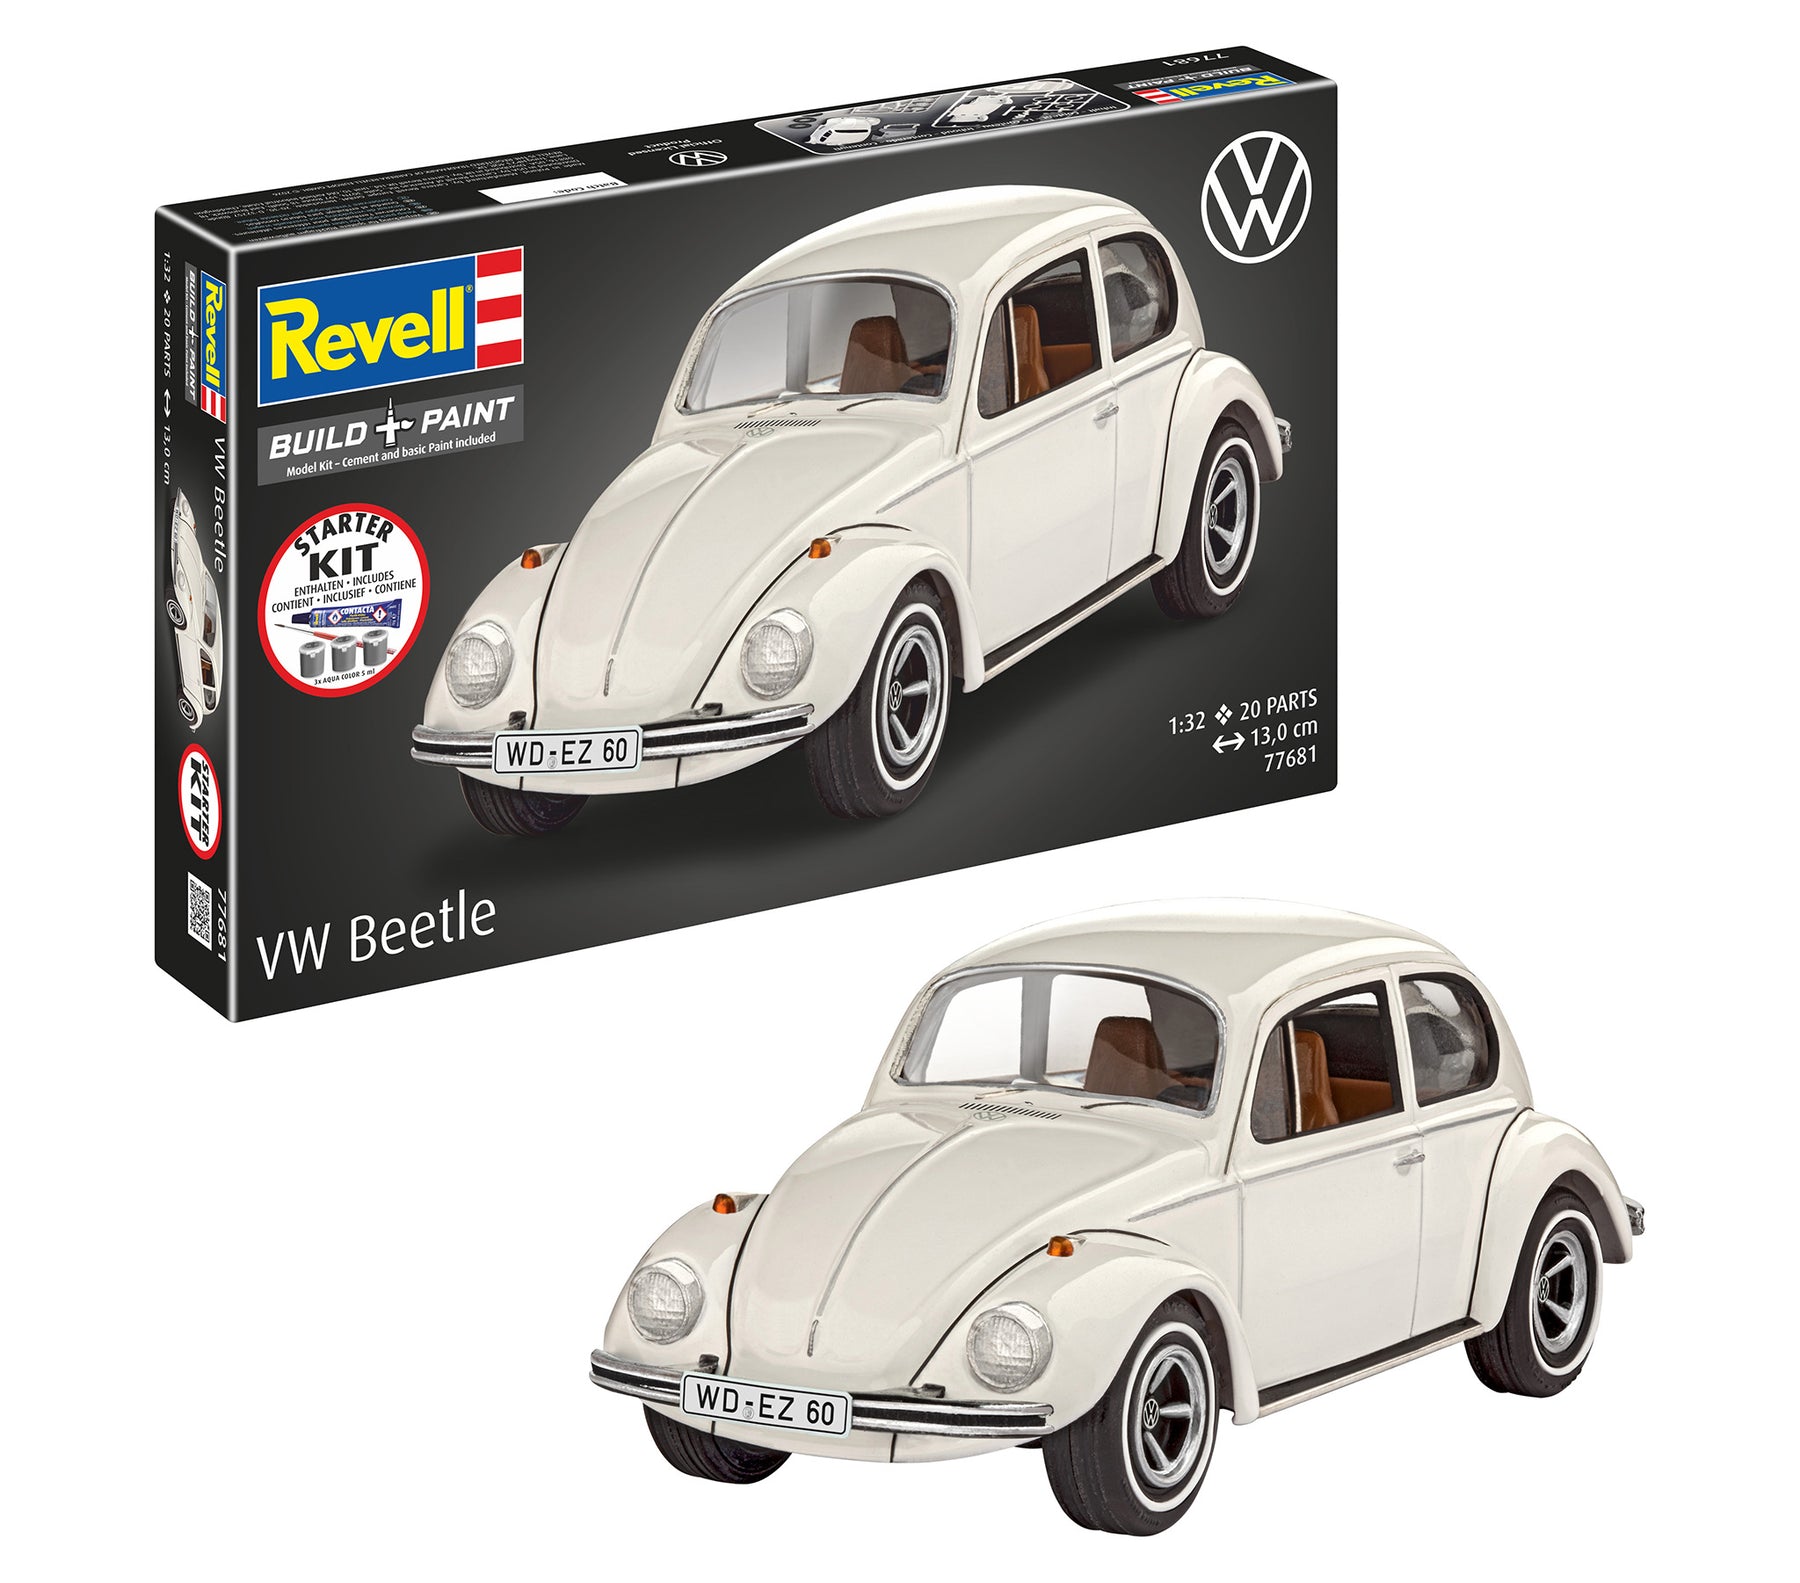
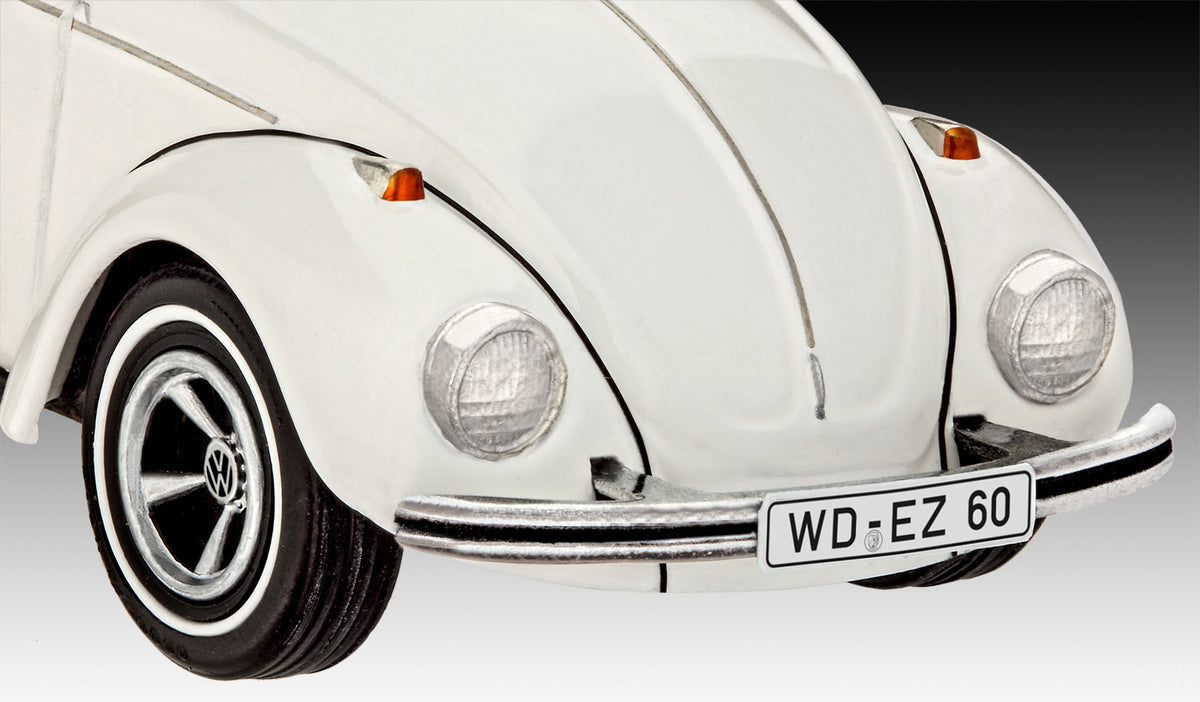
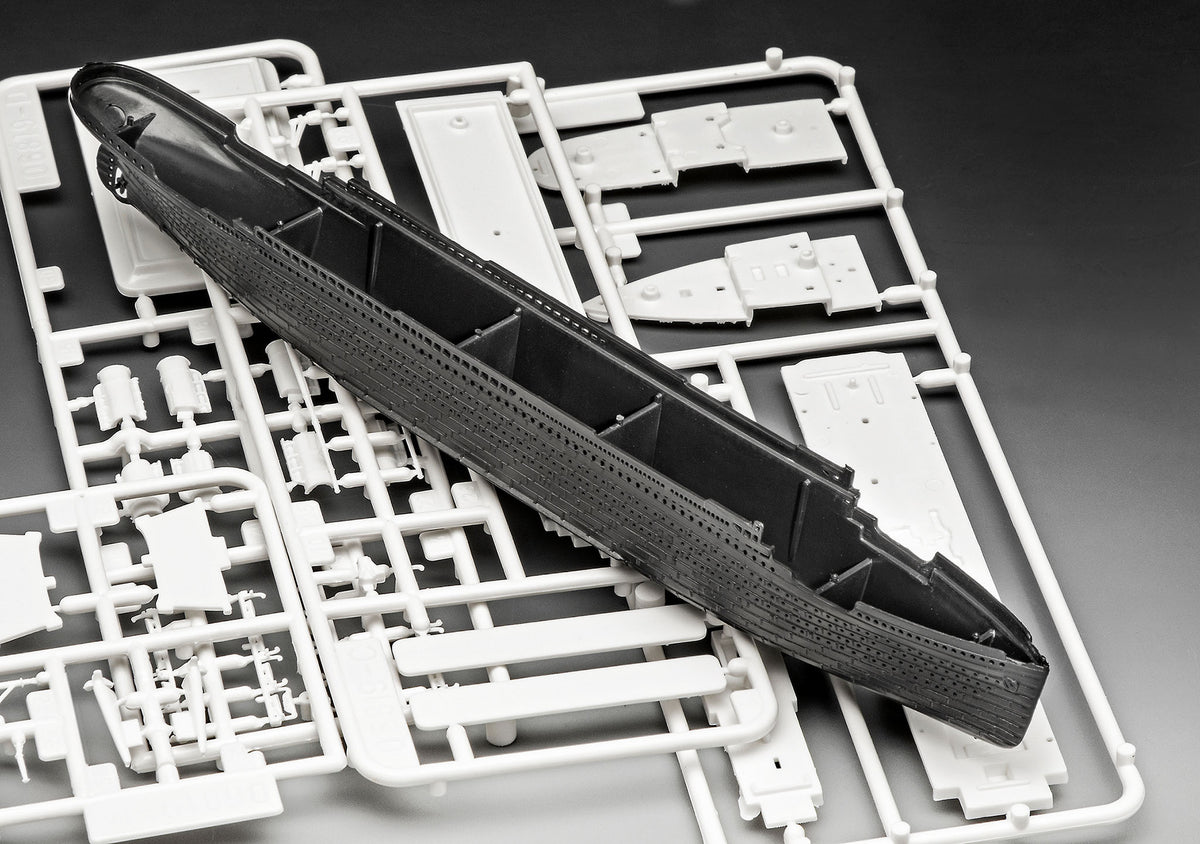
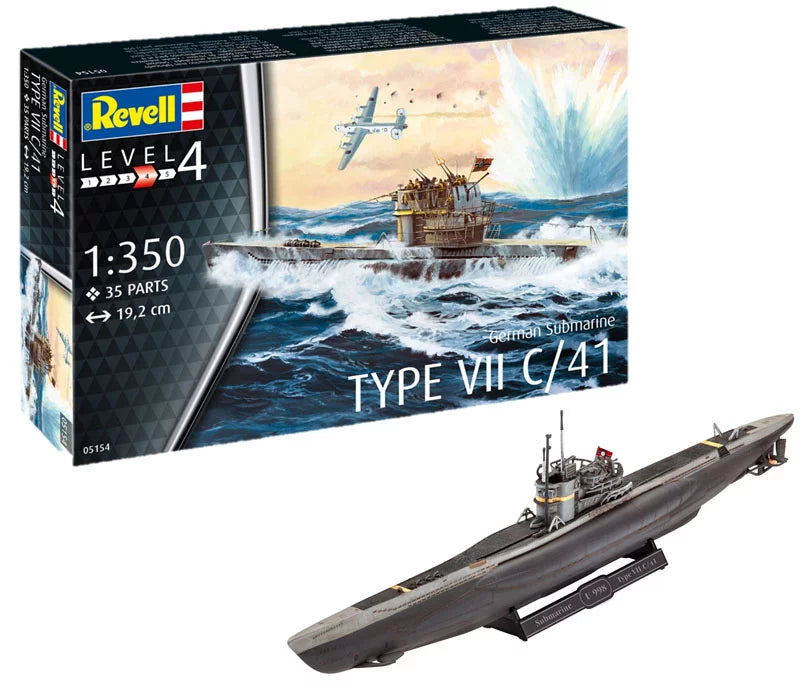
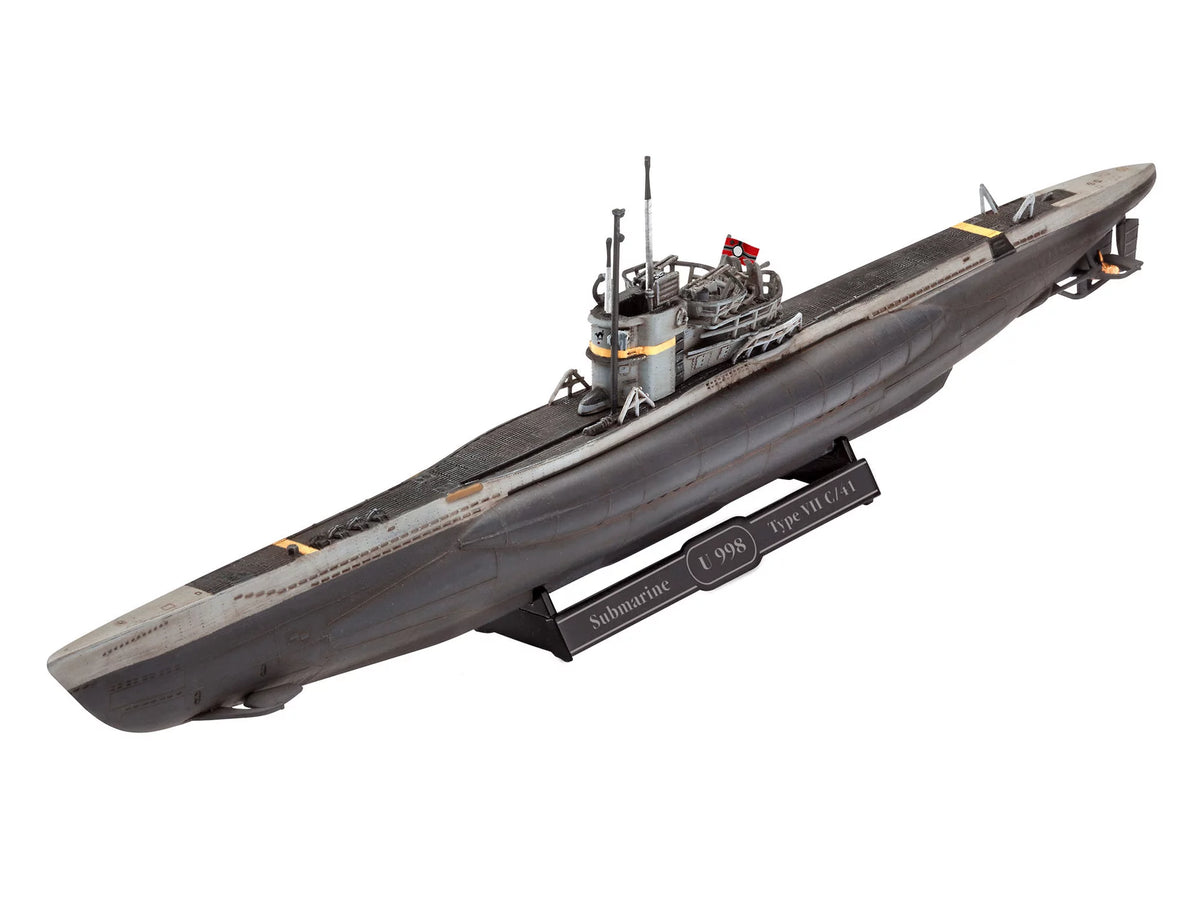
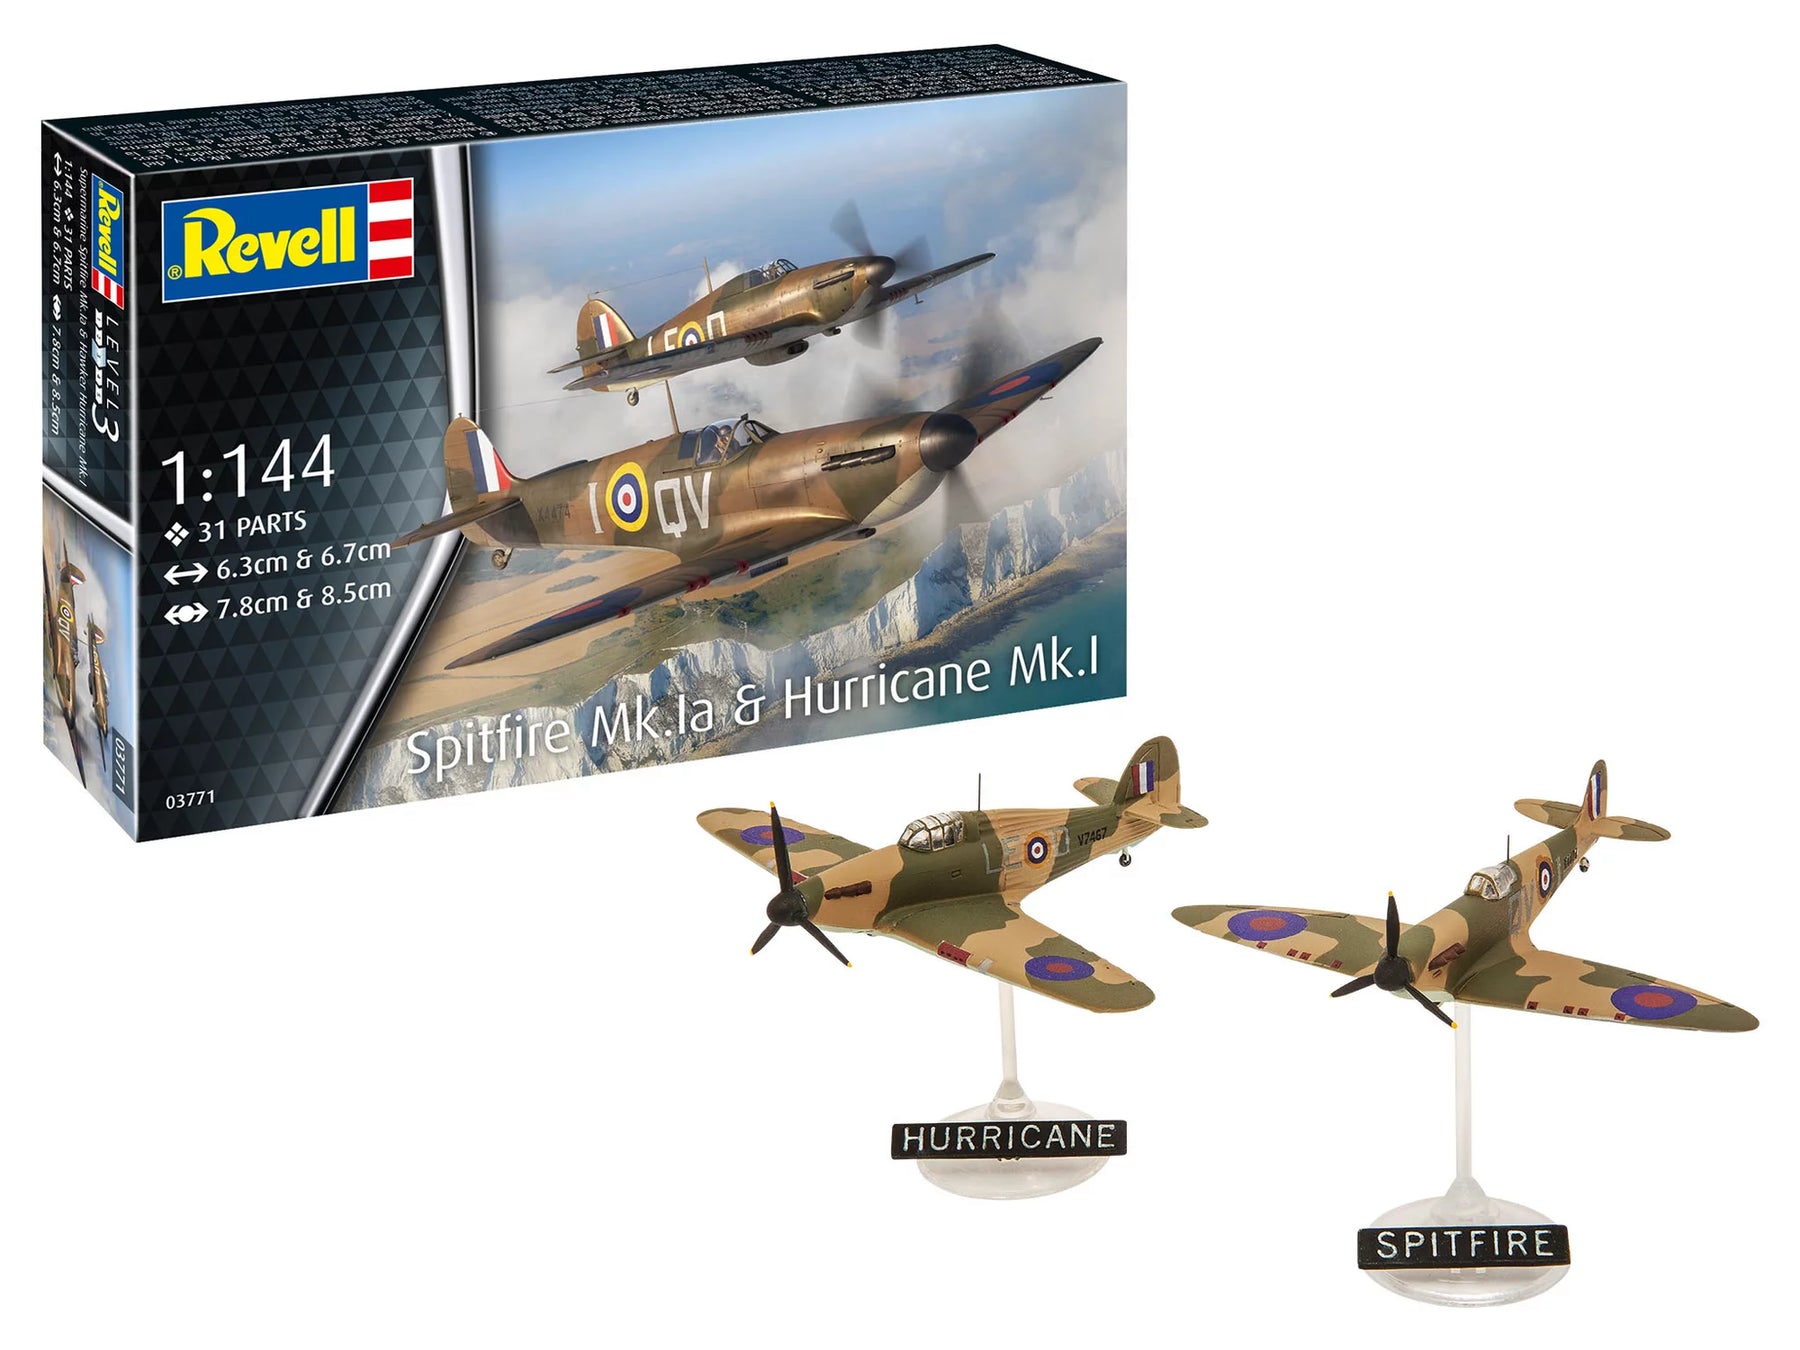
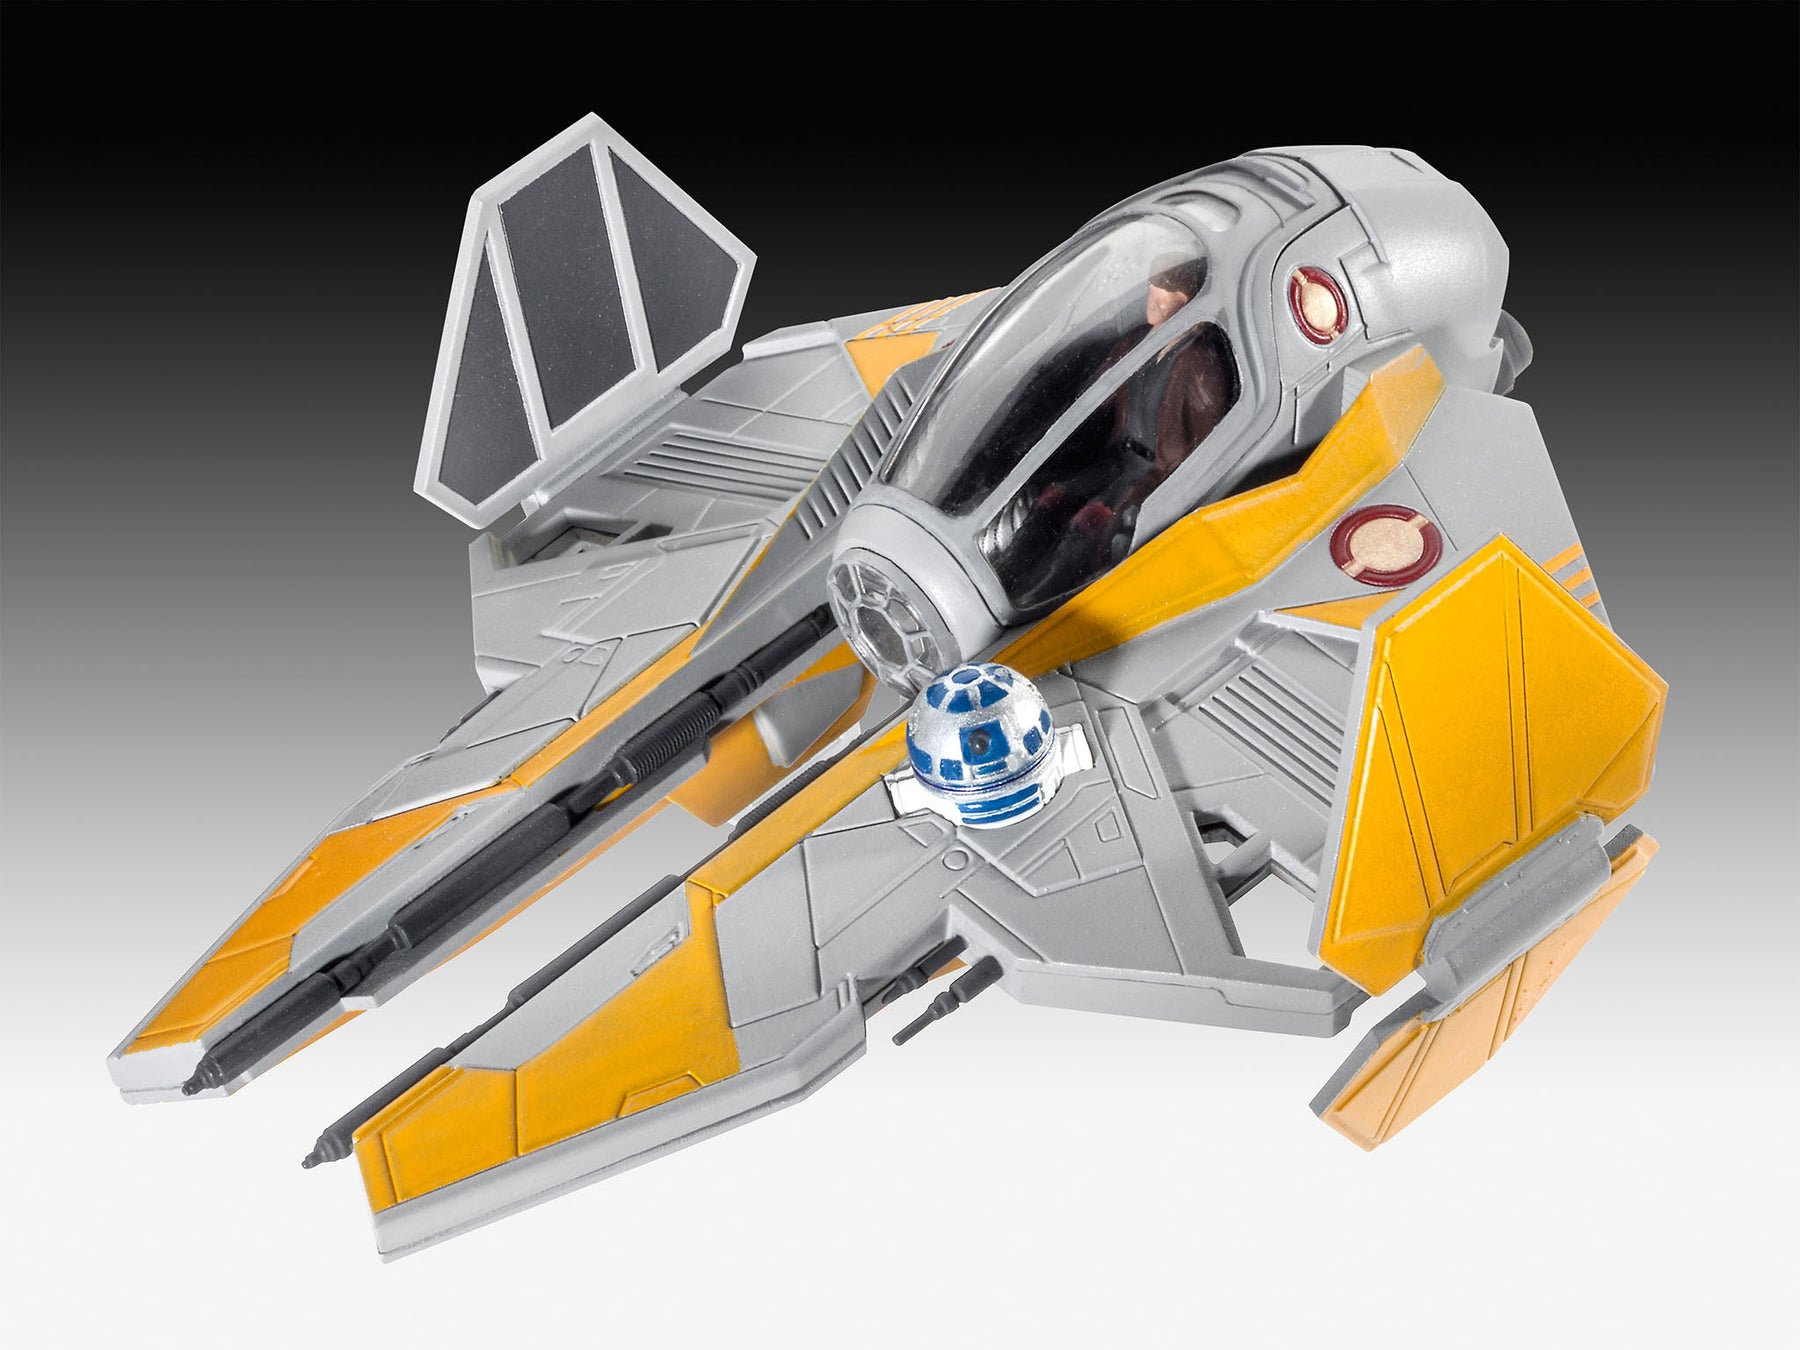
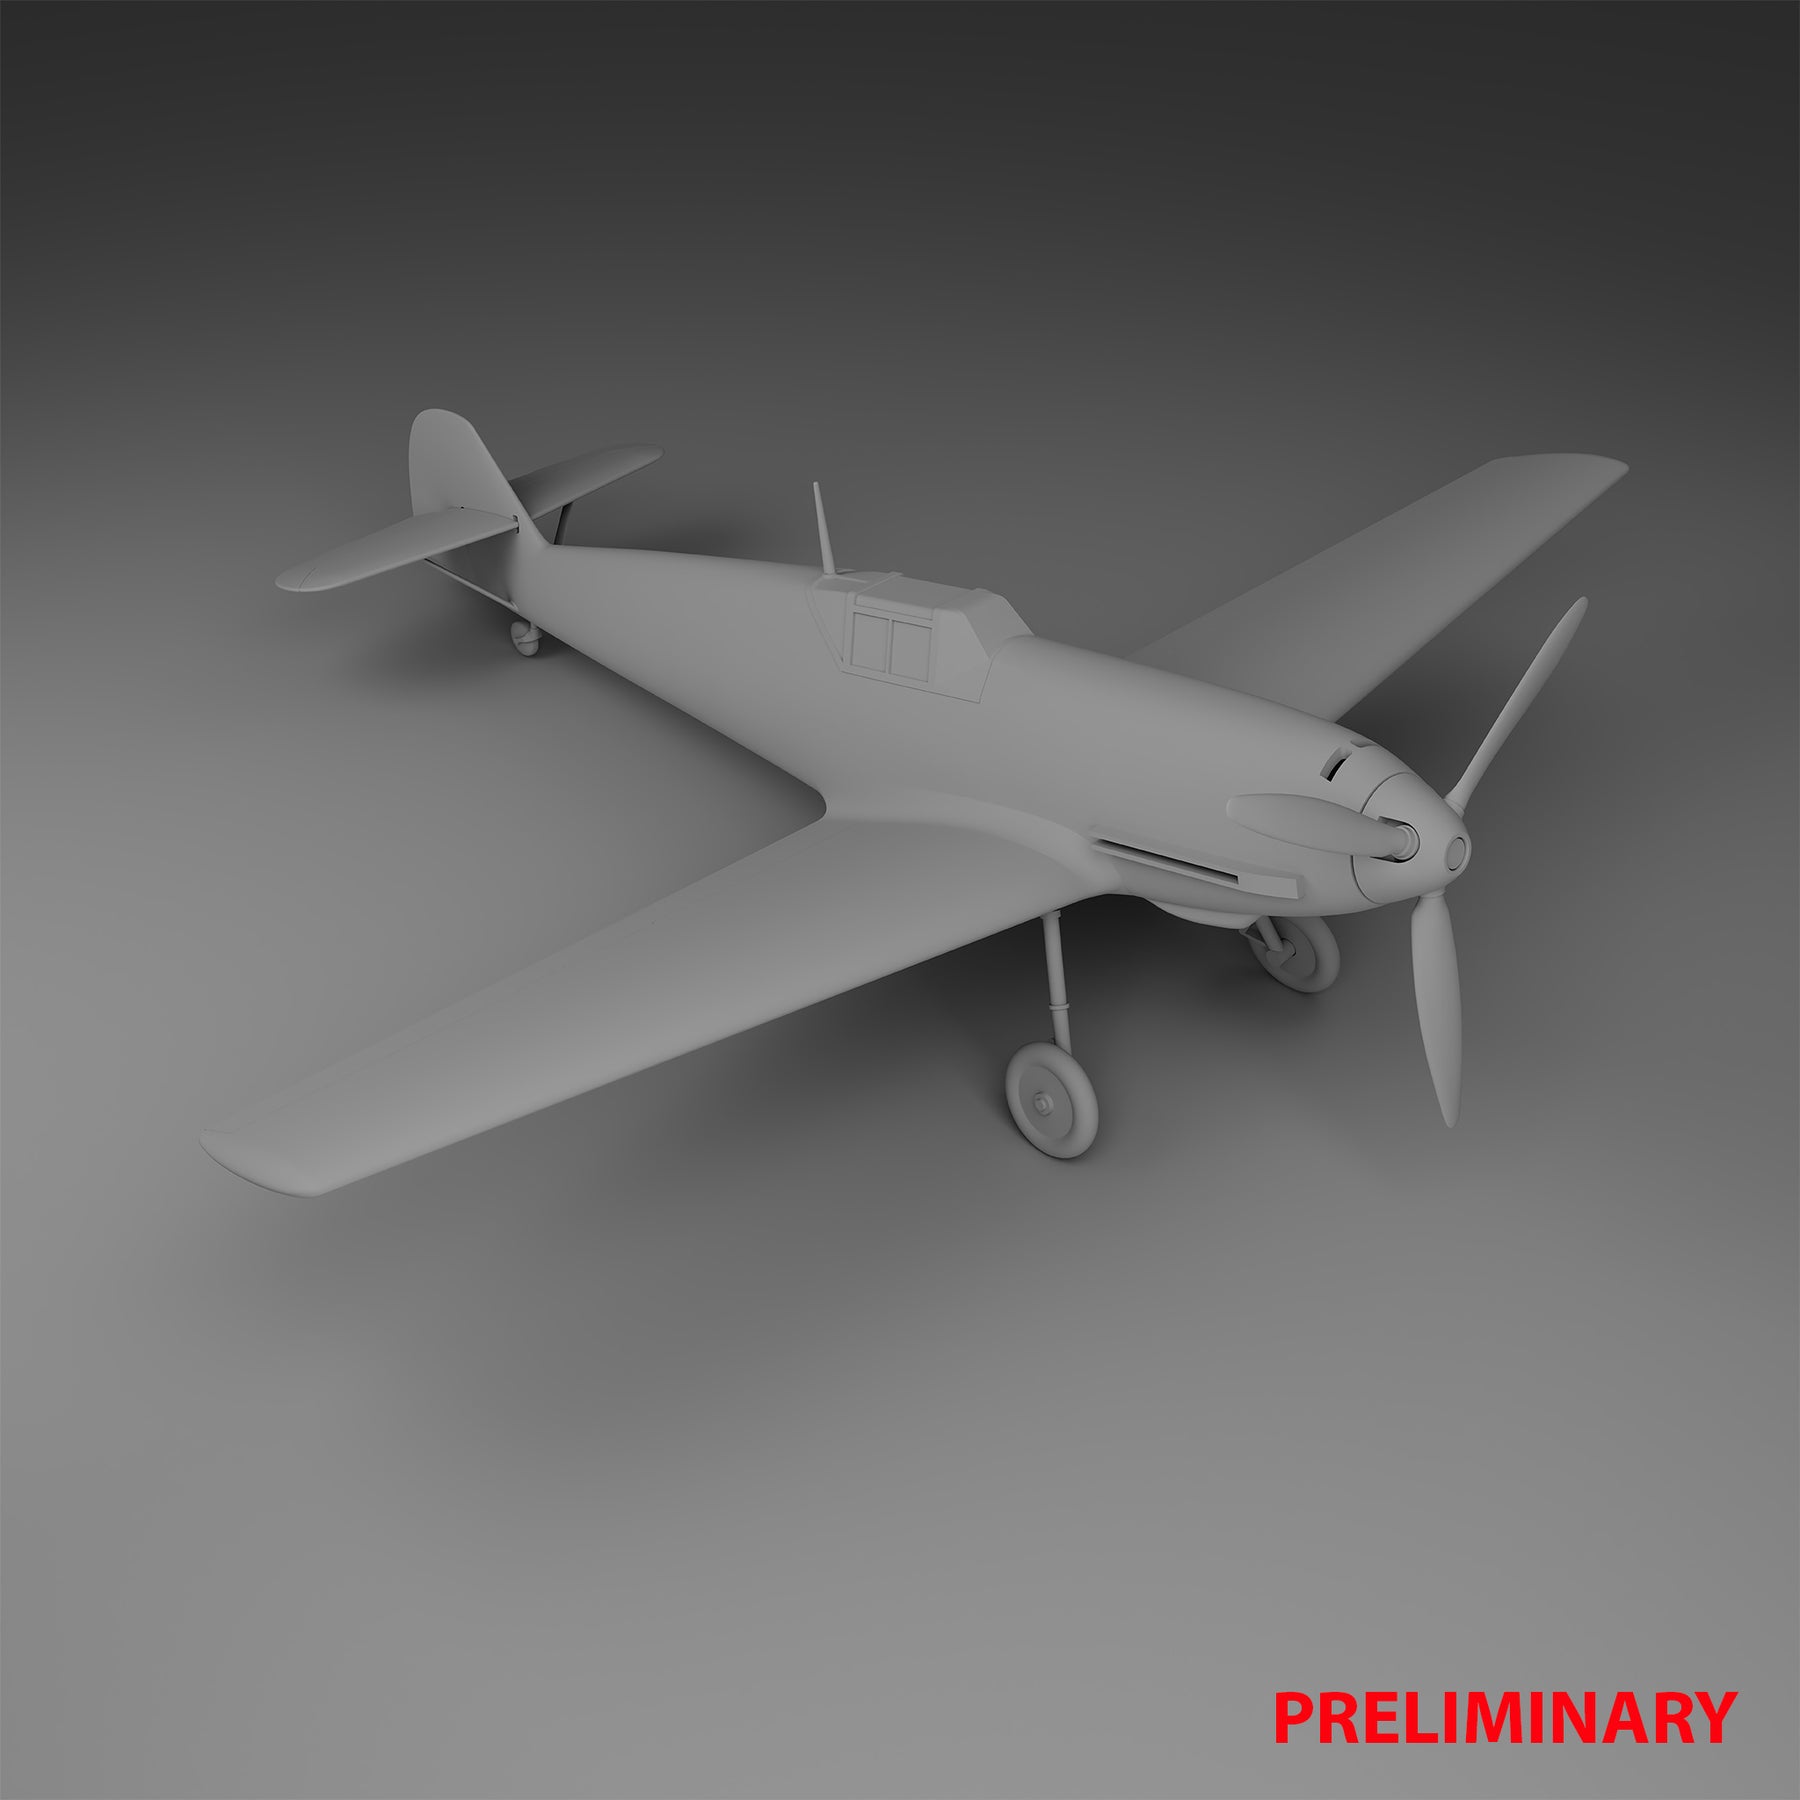
If you have a little more confidence, Level 3 models are ideal. Kits like this Starter kit Messerschmitt Bf-109, that Starter Kit German Submarine Type VII C/41 or the iconic one VW Beetle consist of up to 100 parts. Here you will learn to work more precisely, study construction plans more closely and implement more detailed paintings. Always choose the level that suits your patience and steady hand. It is always better to cleanly complete a simpler model than to lose interest in a project that is too complex.
Choose the appropriate theme world
Model building requires attention and time. Your motivation remains highest when you create a model that inspires you in reality. Fortunately, Revell covers almost every era and technology sector with its starter kits.
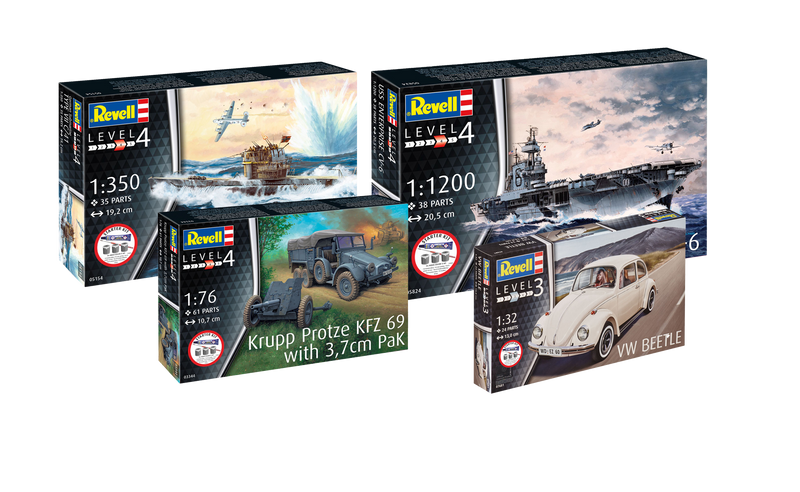
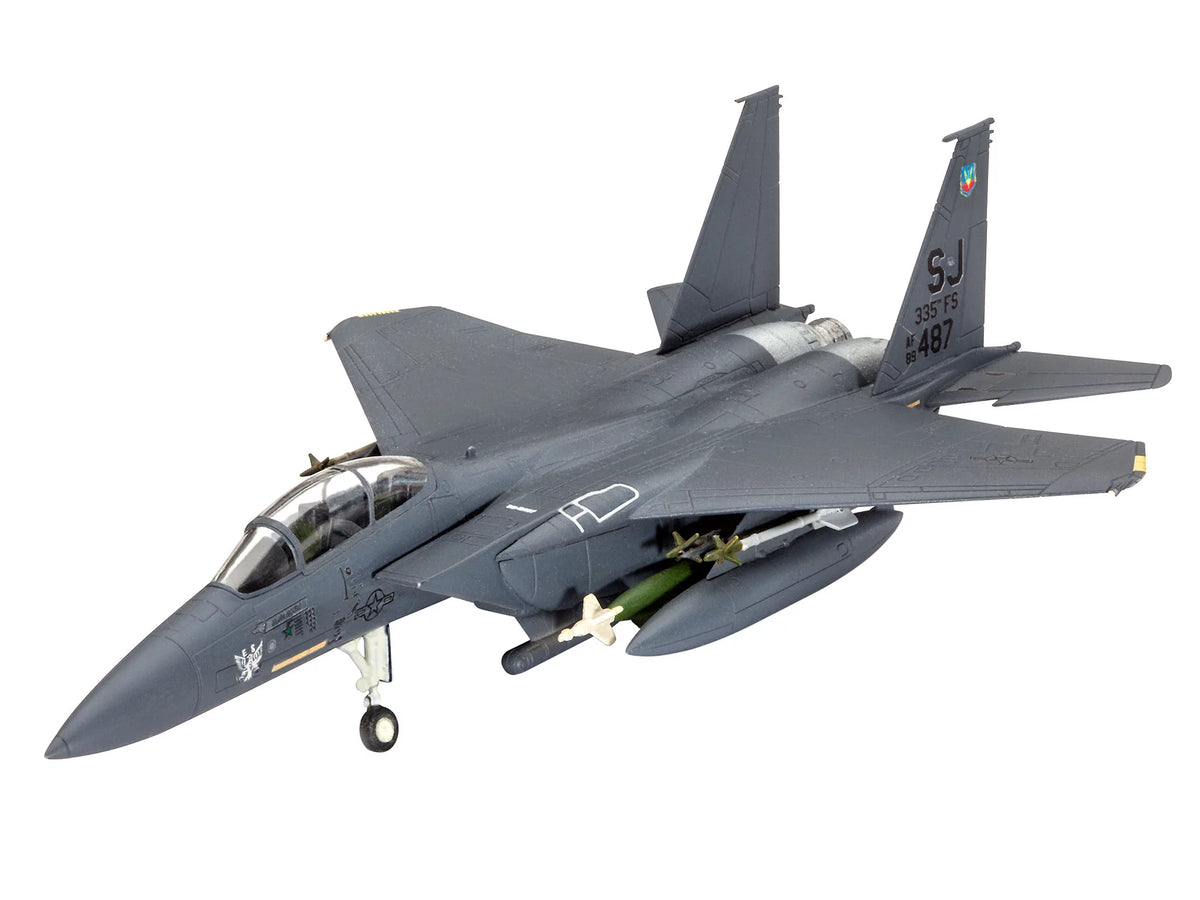
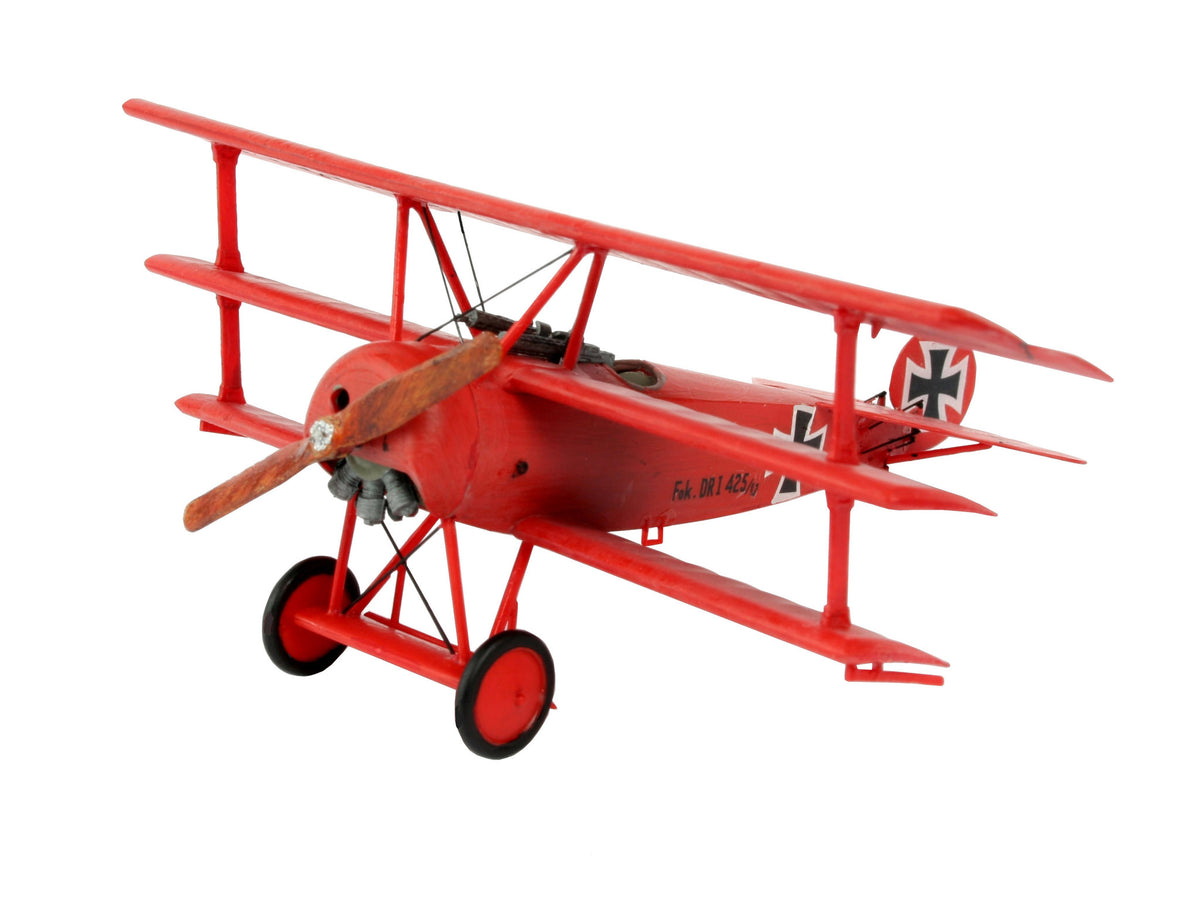
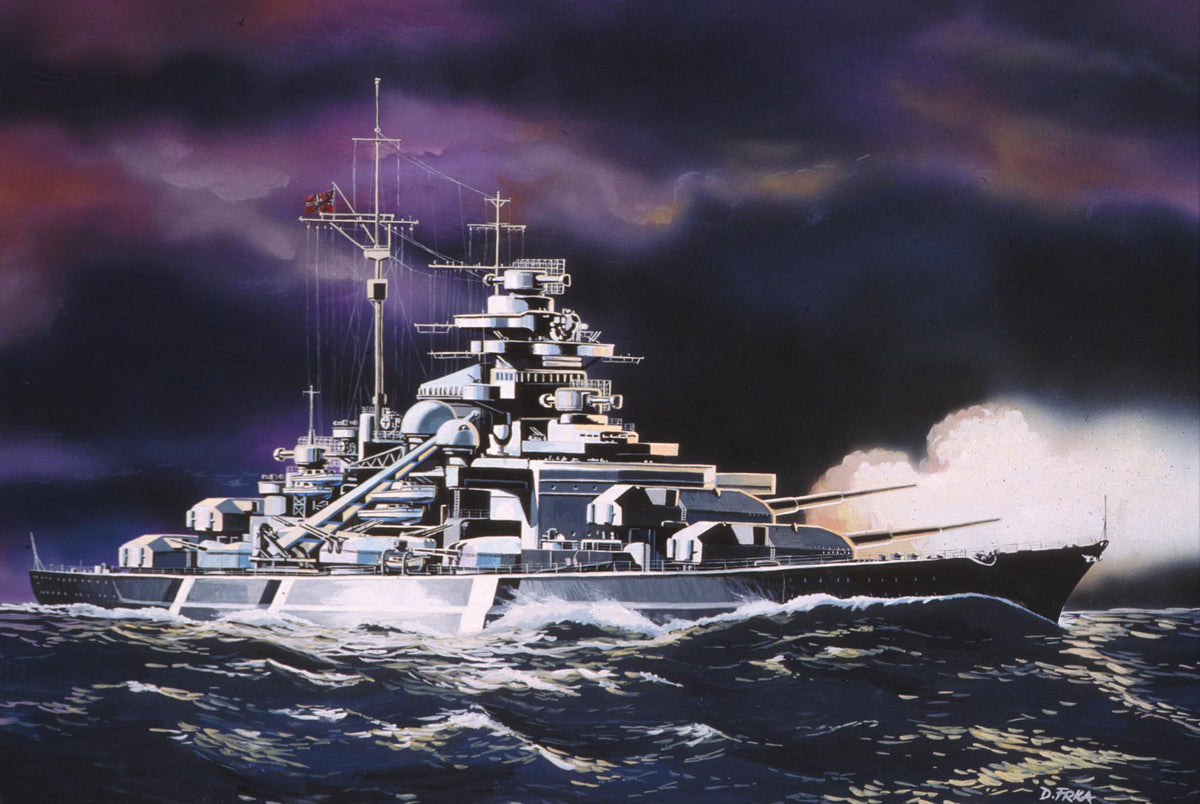
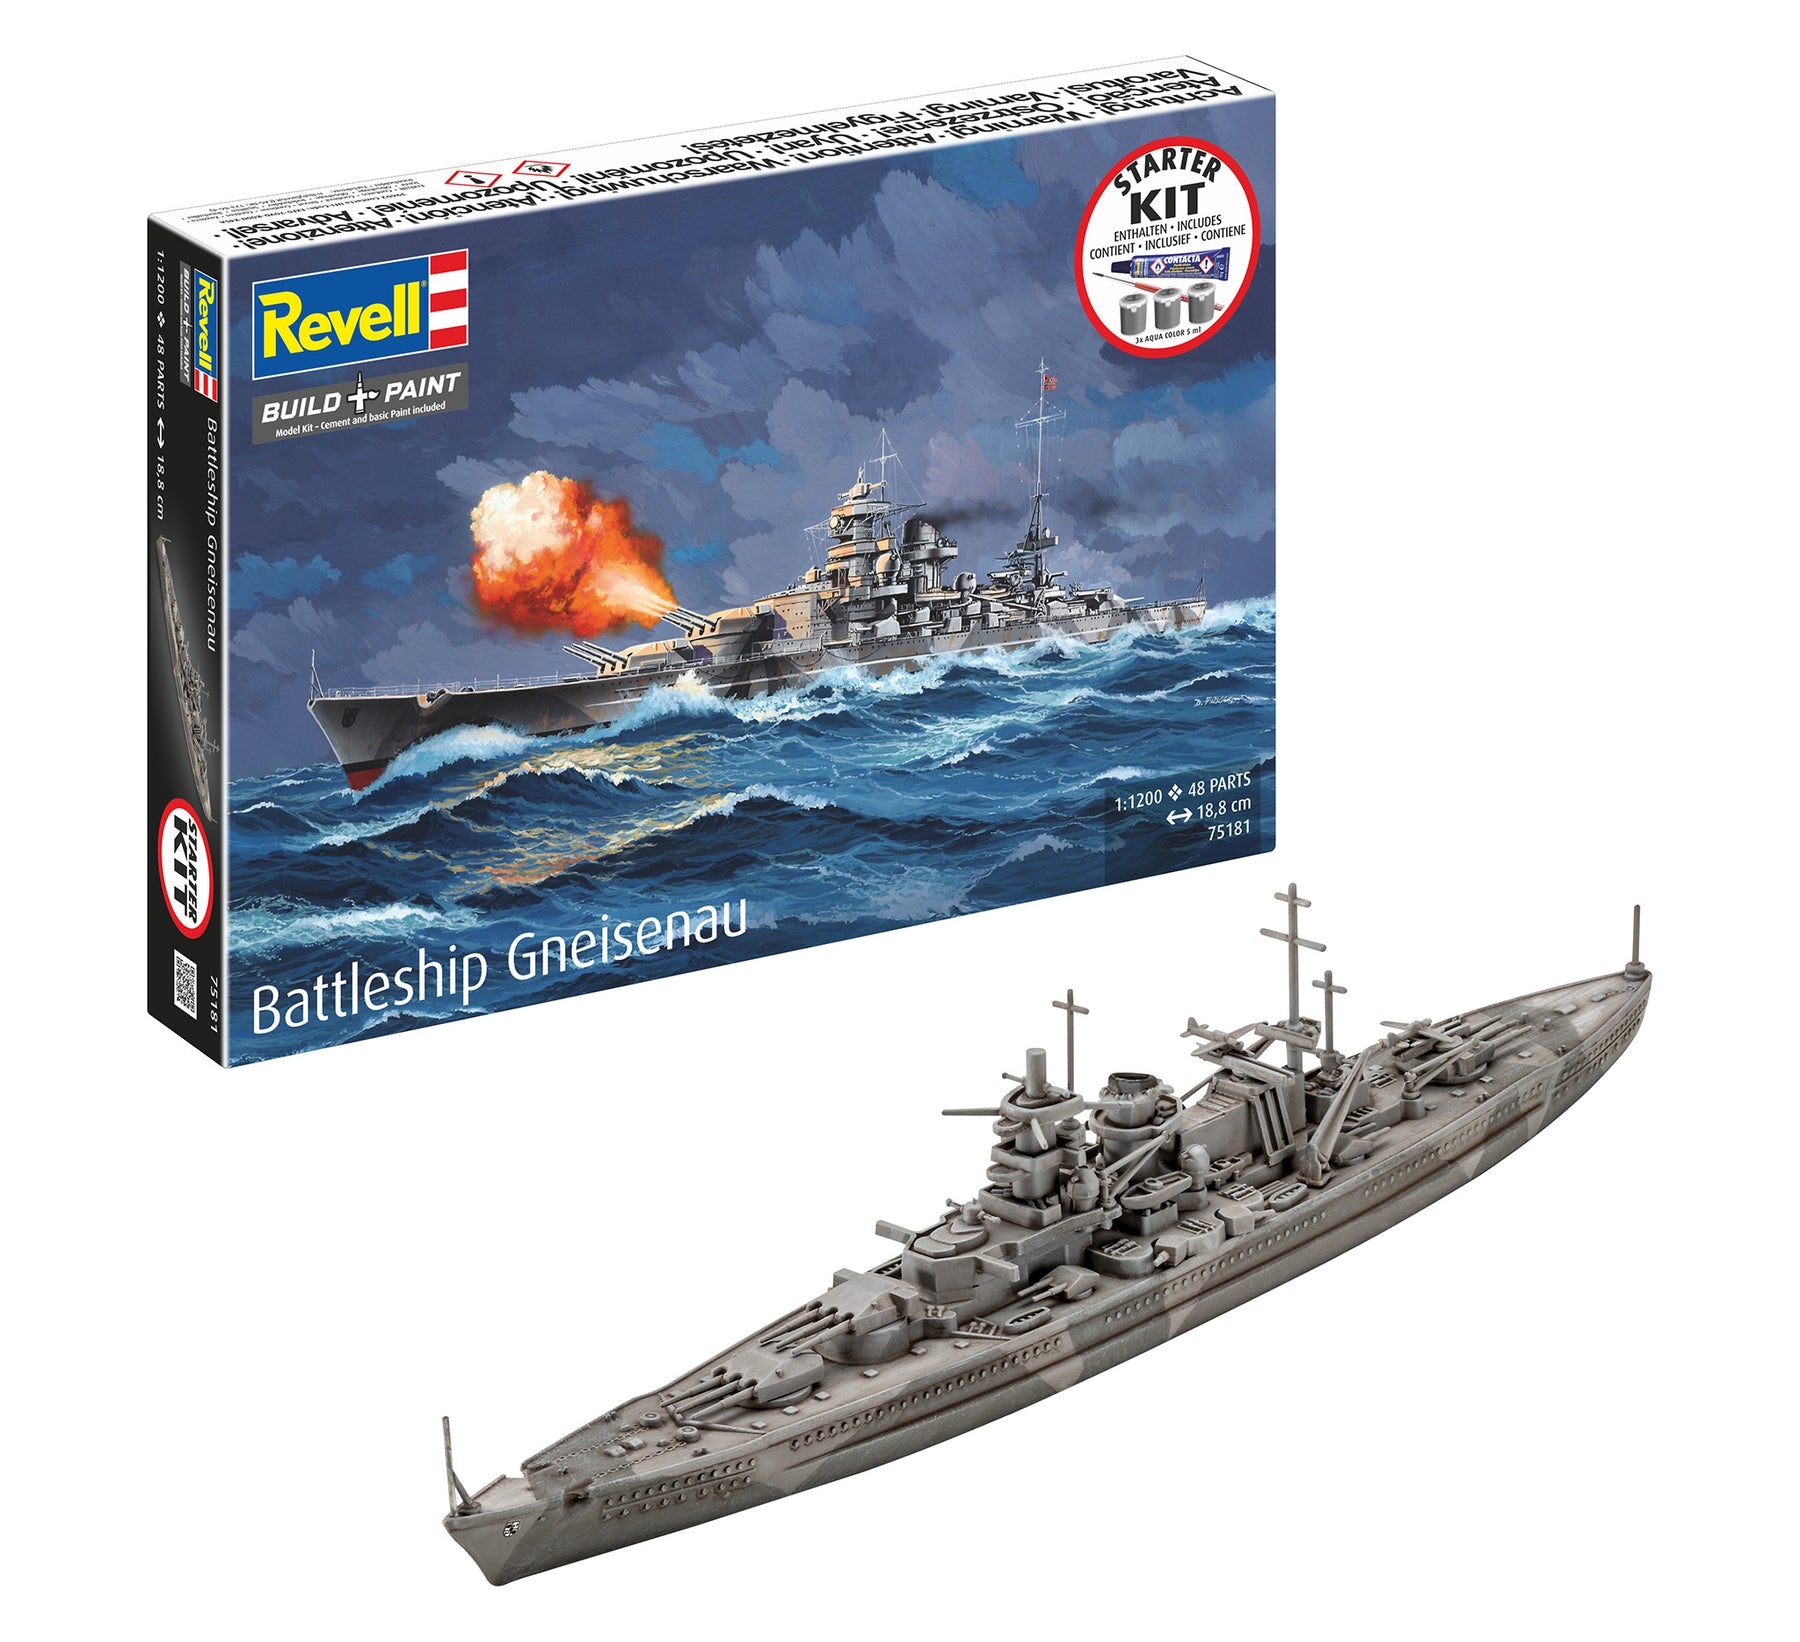
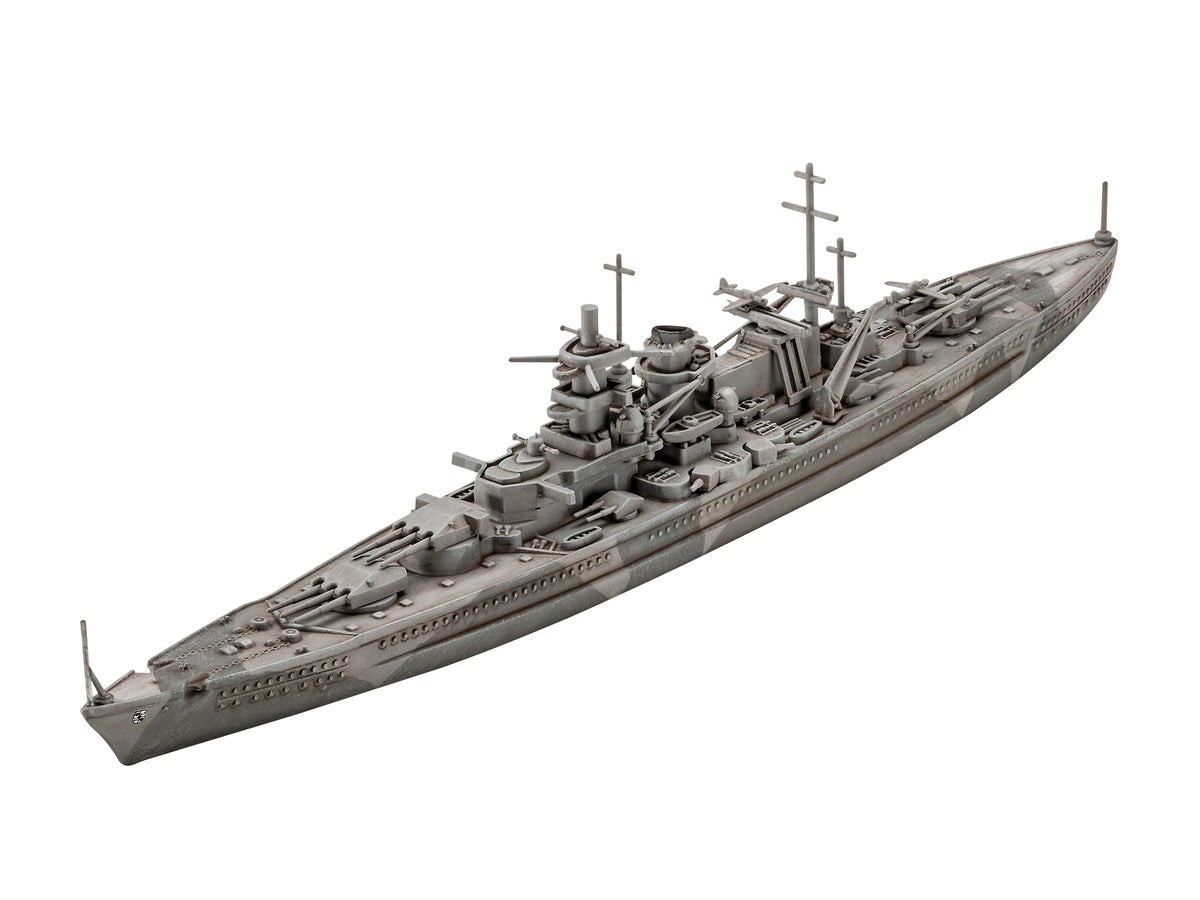
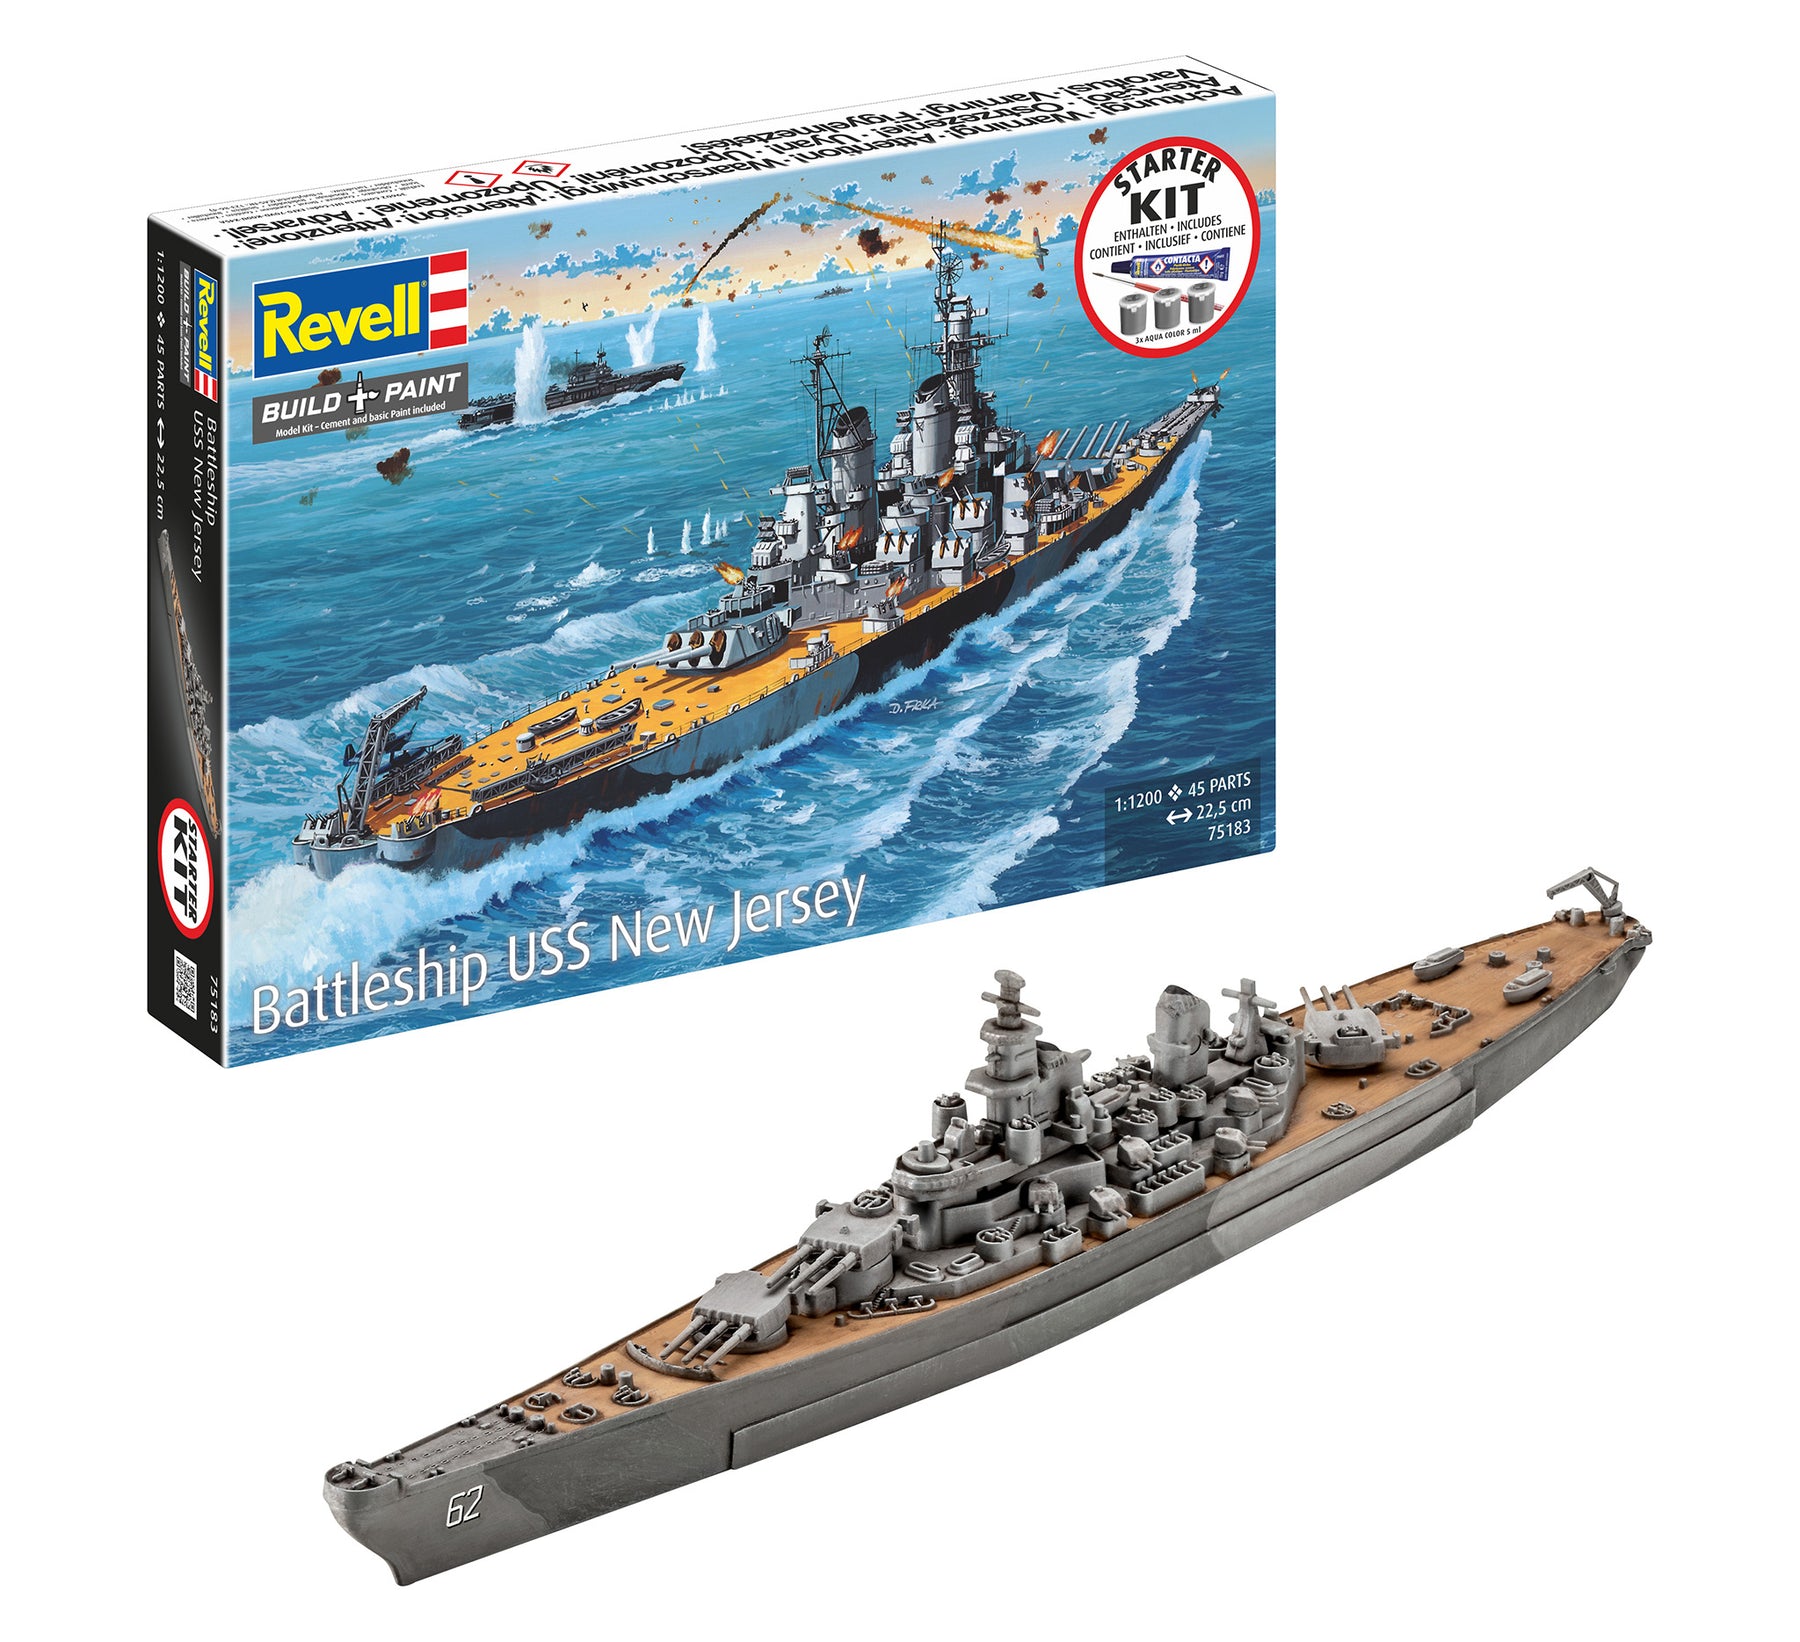
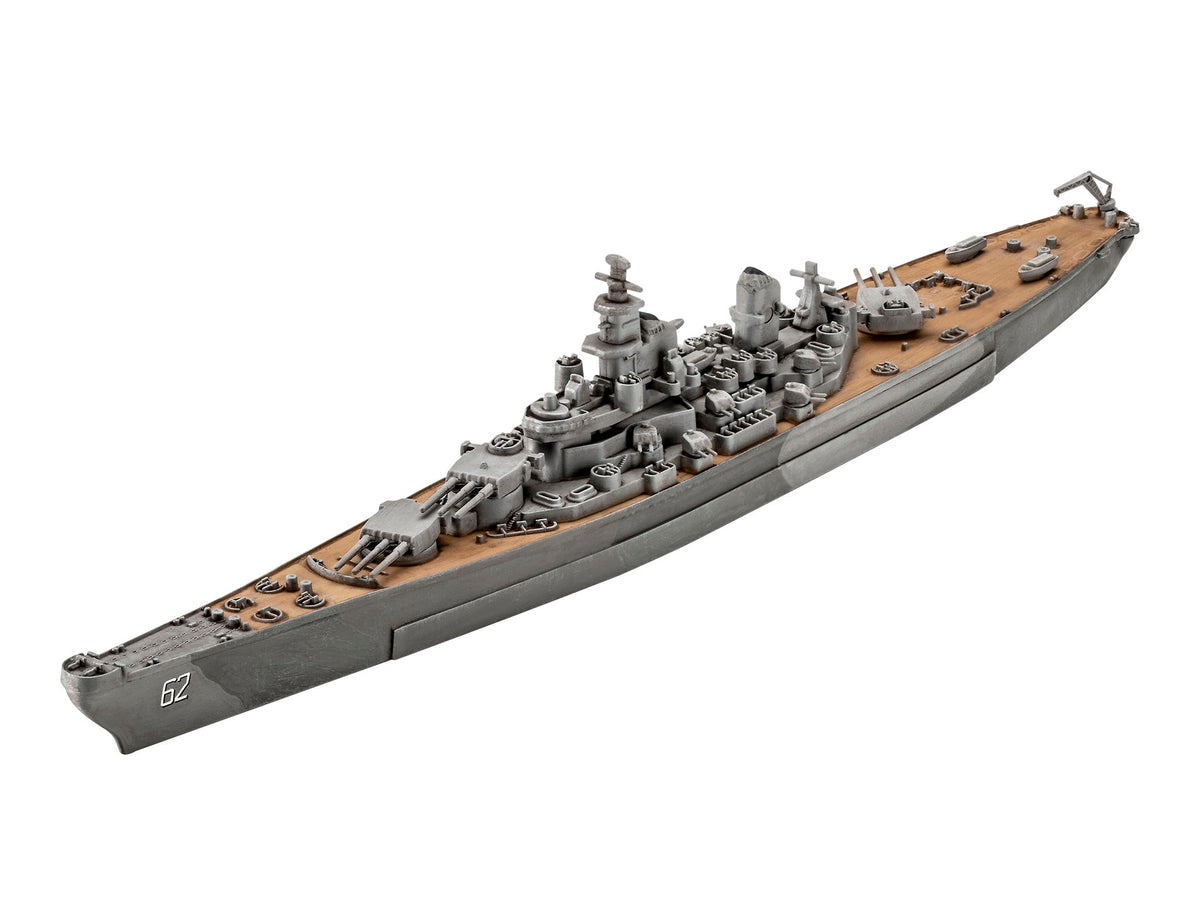
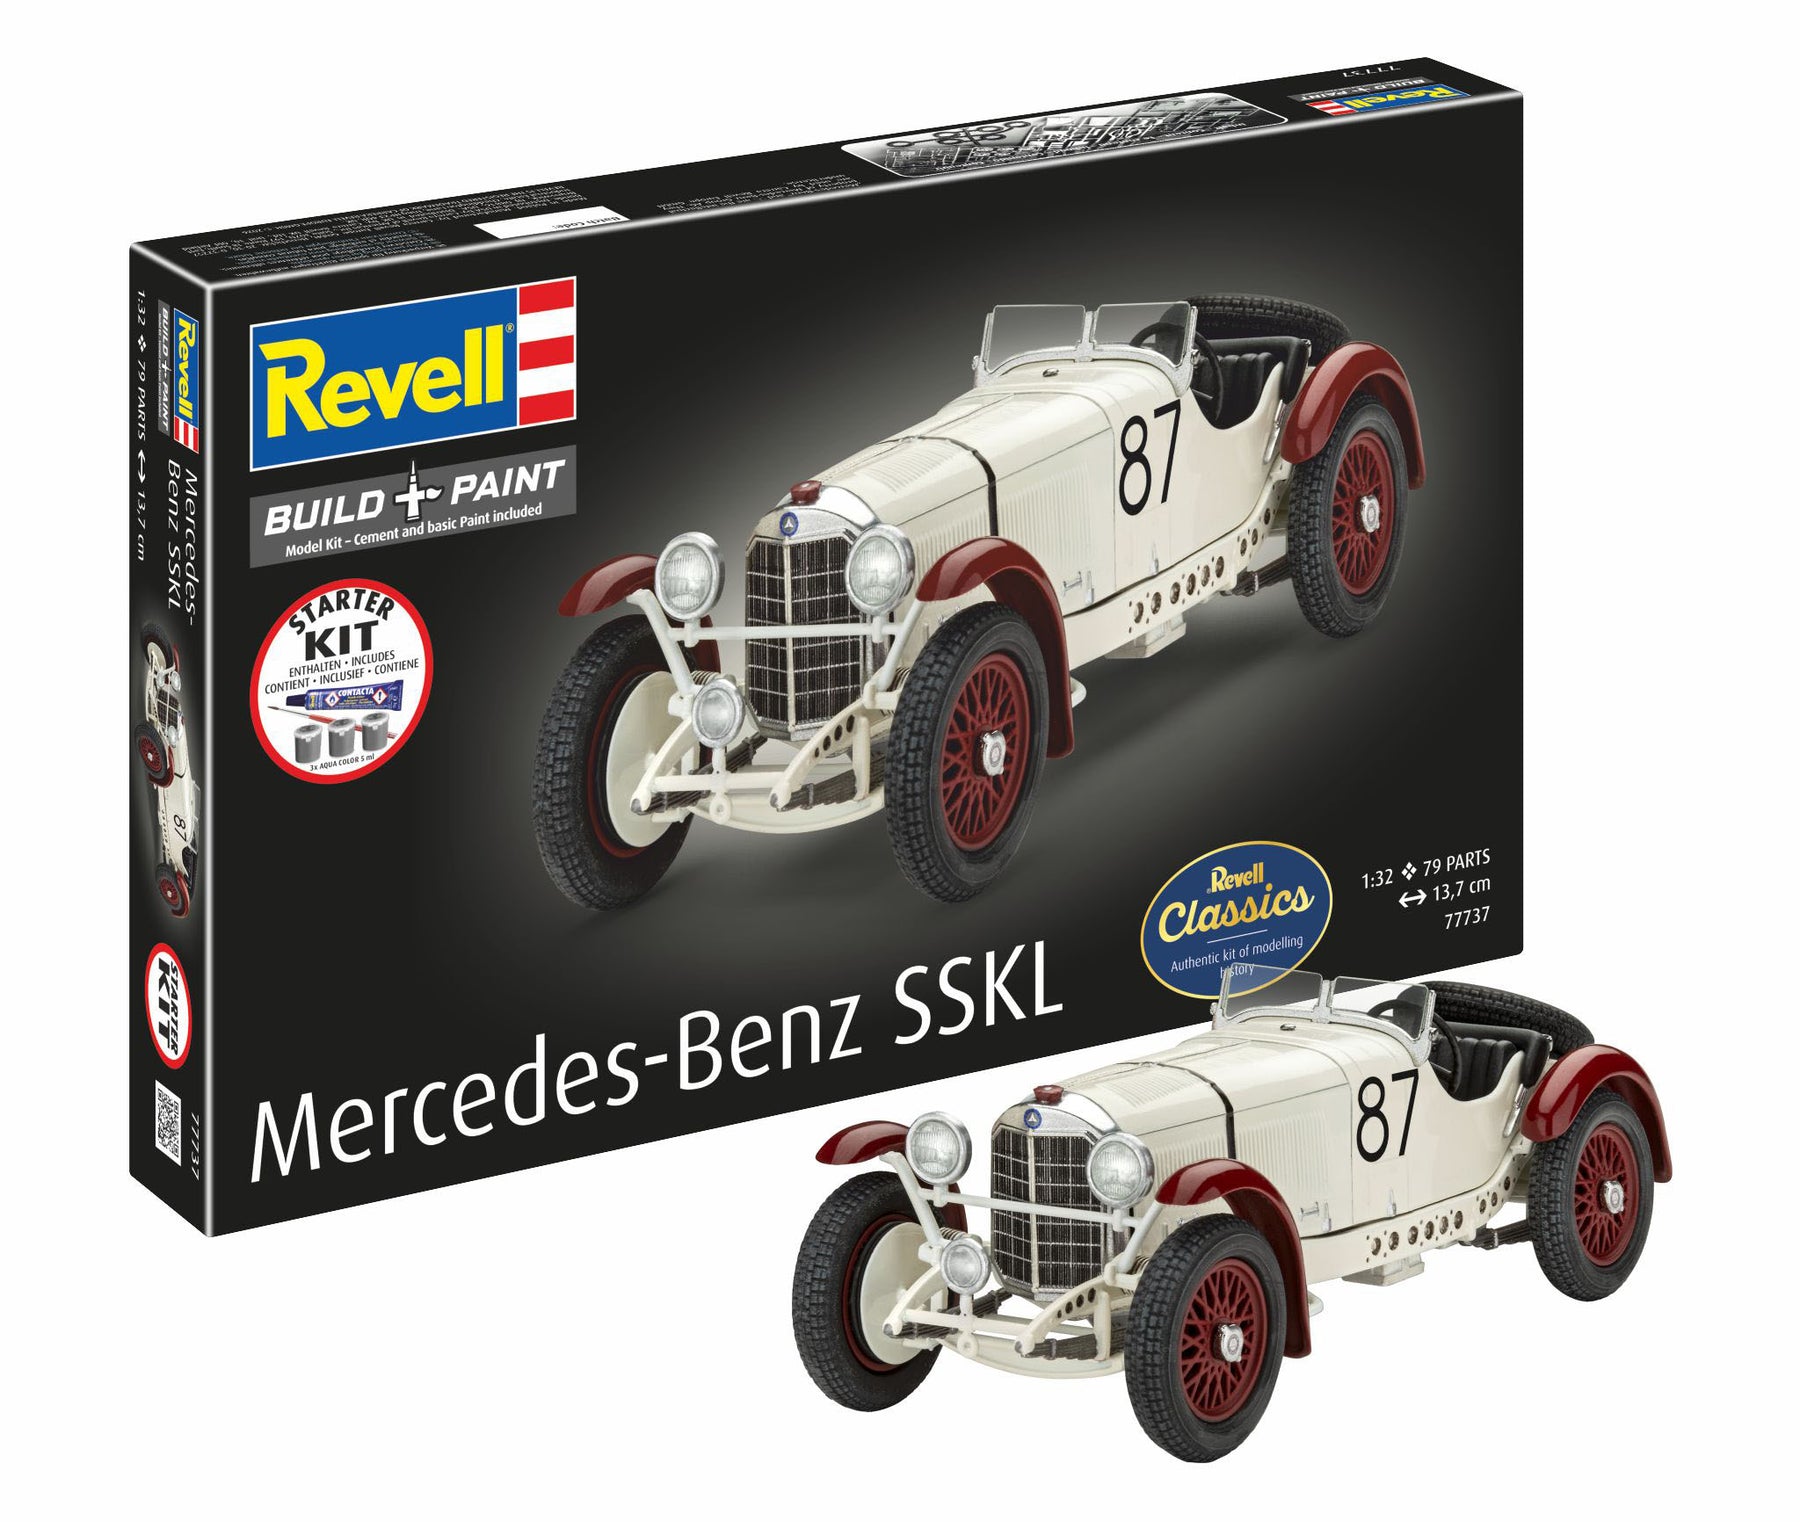
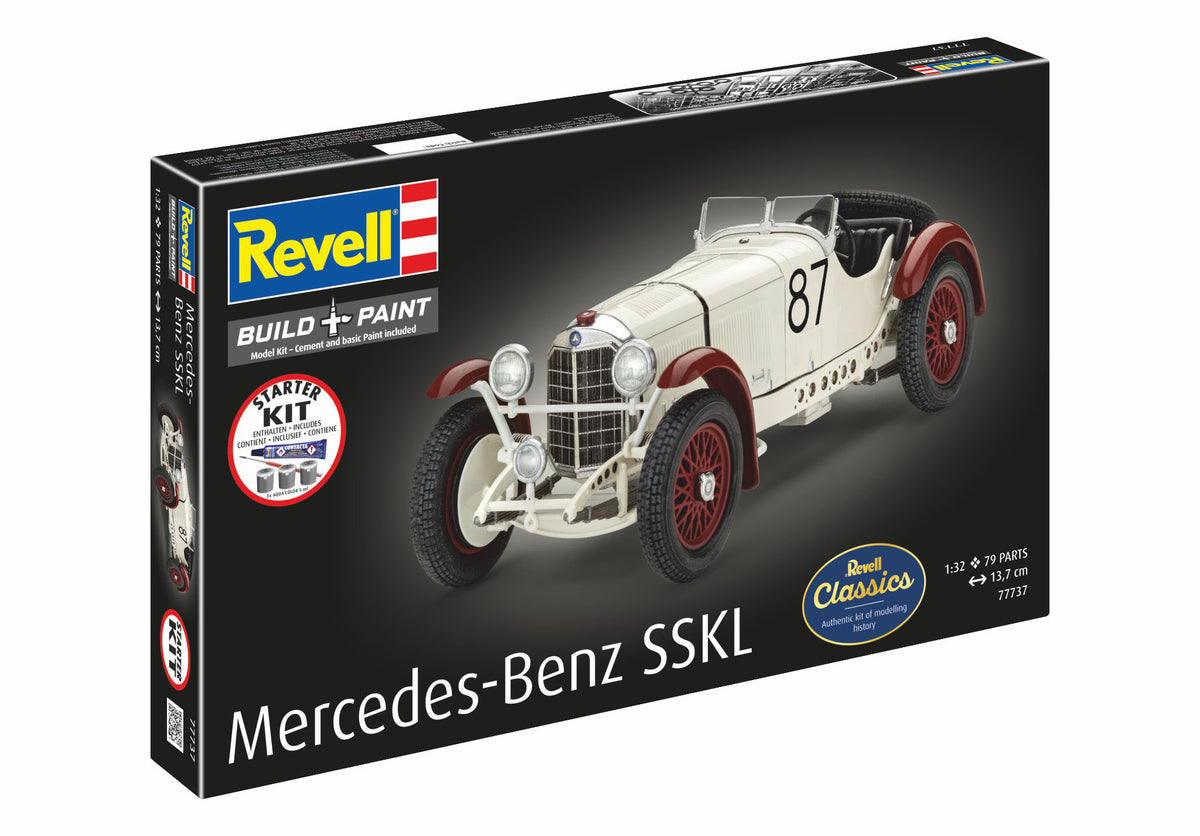
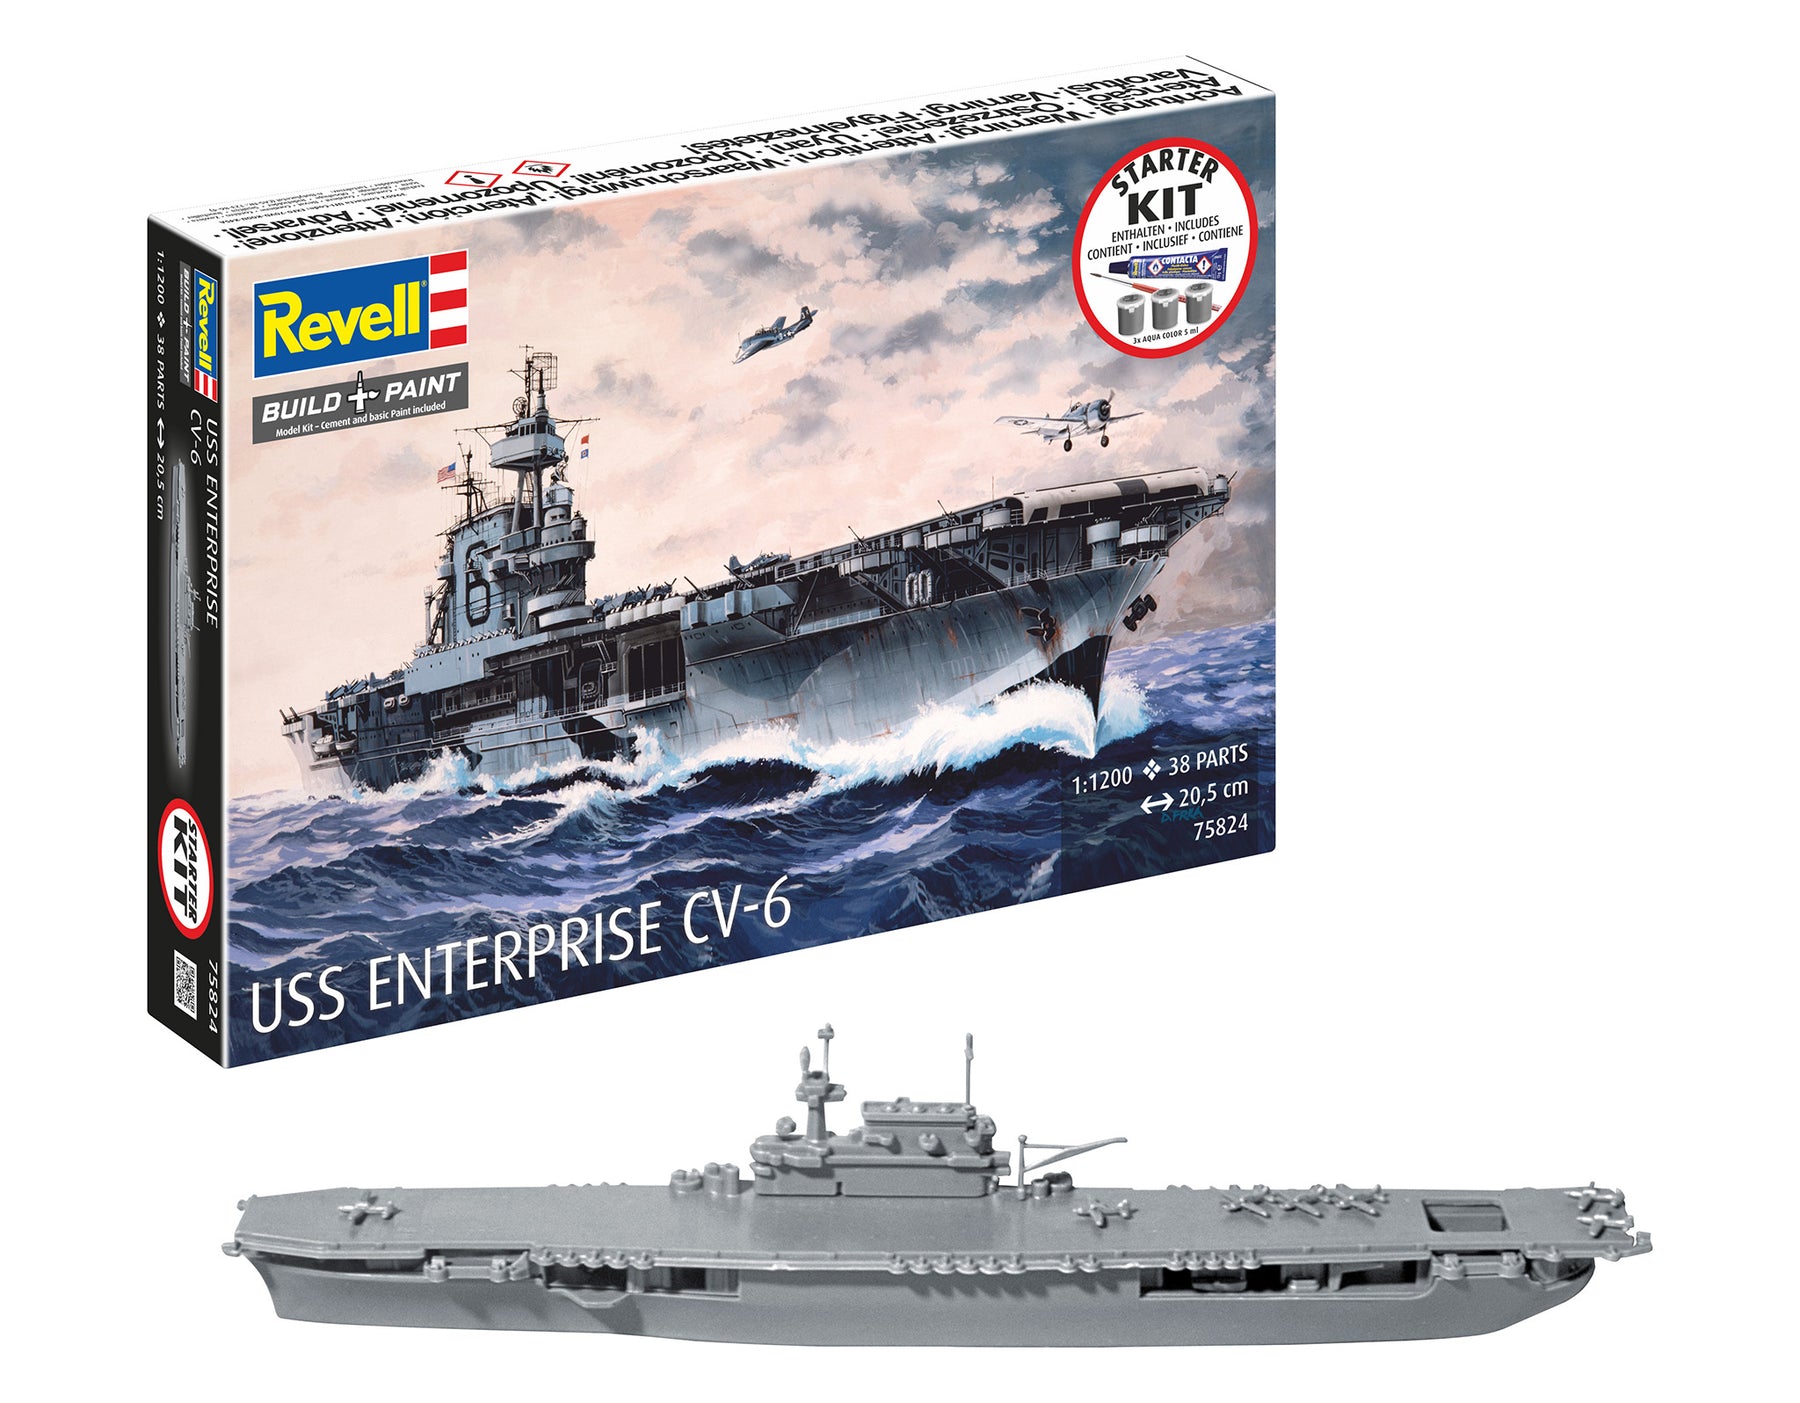
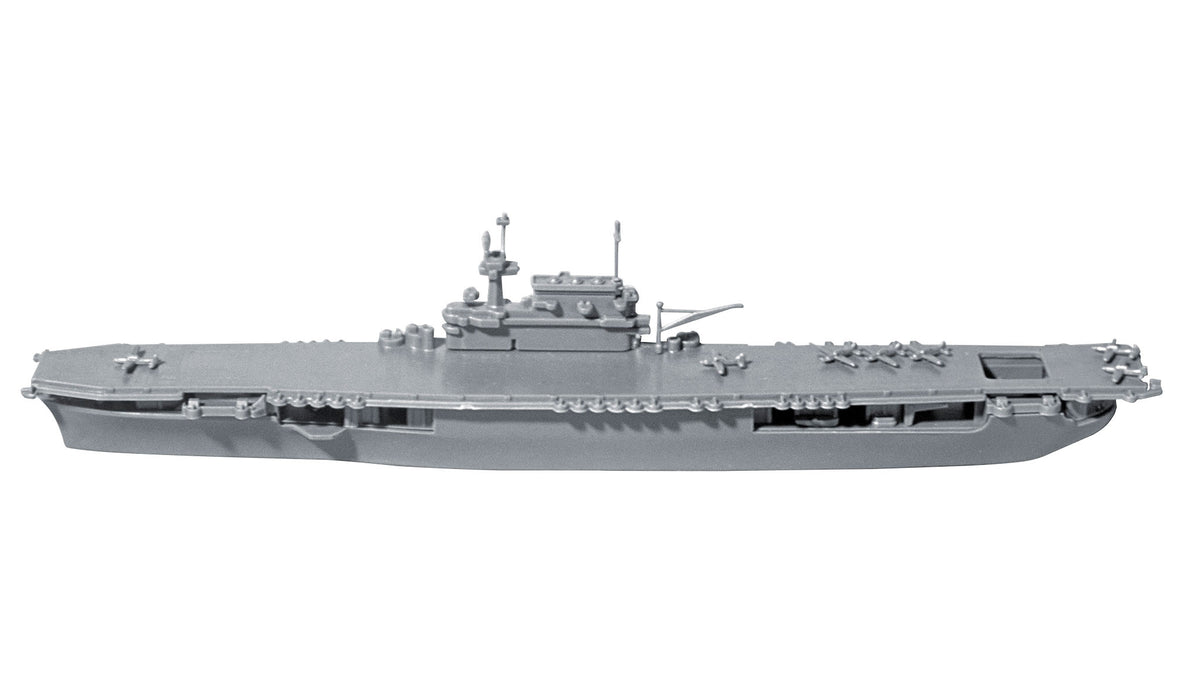
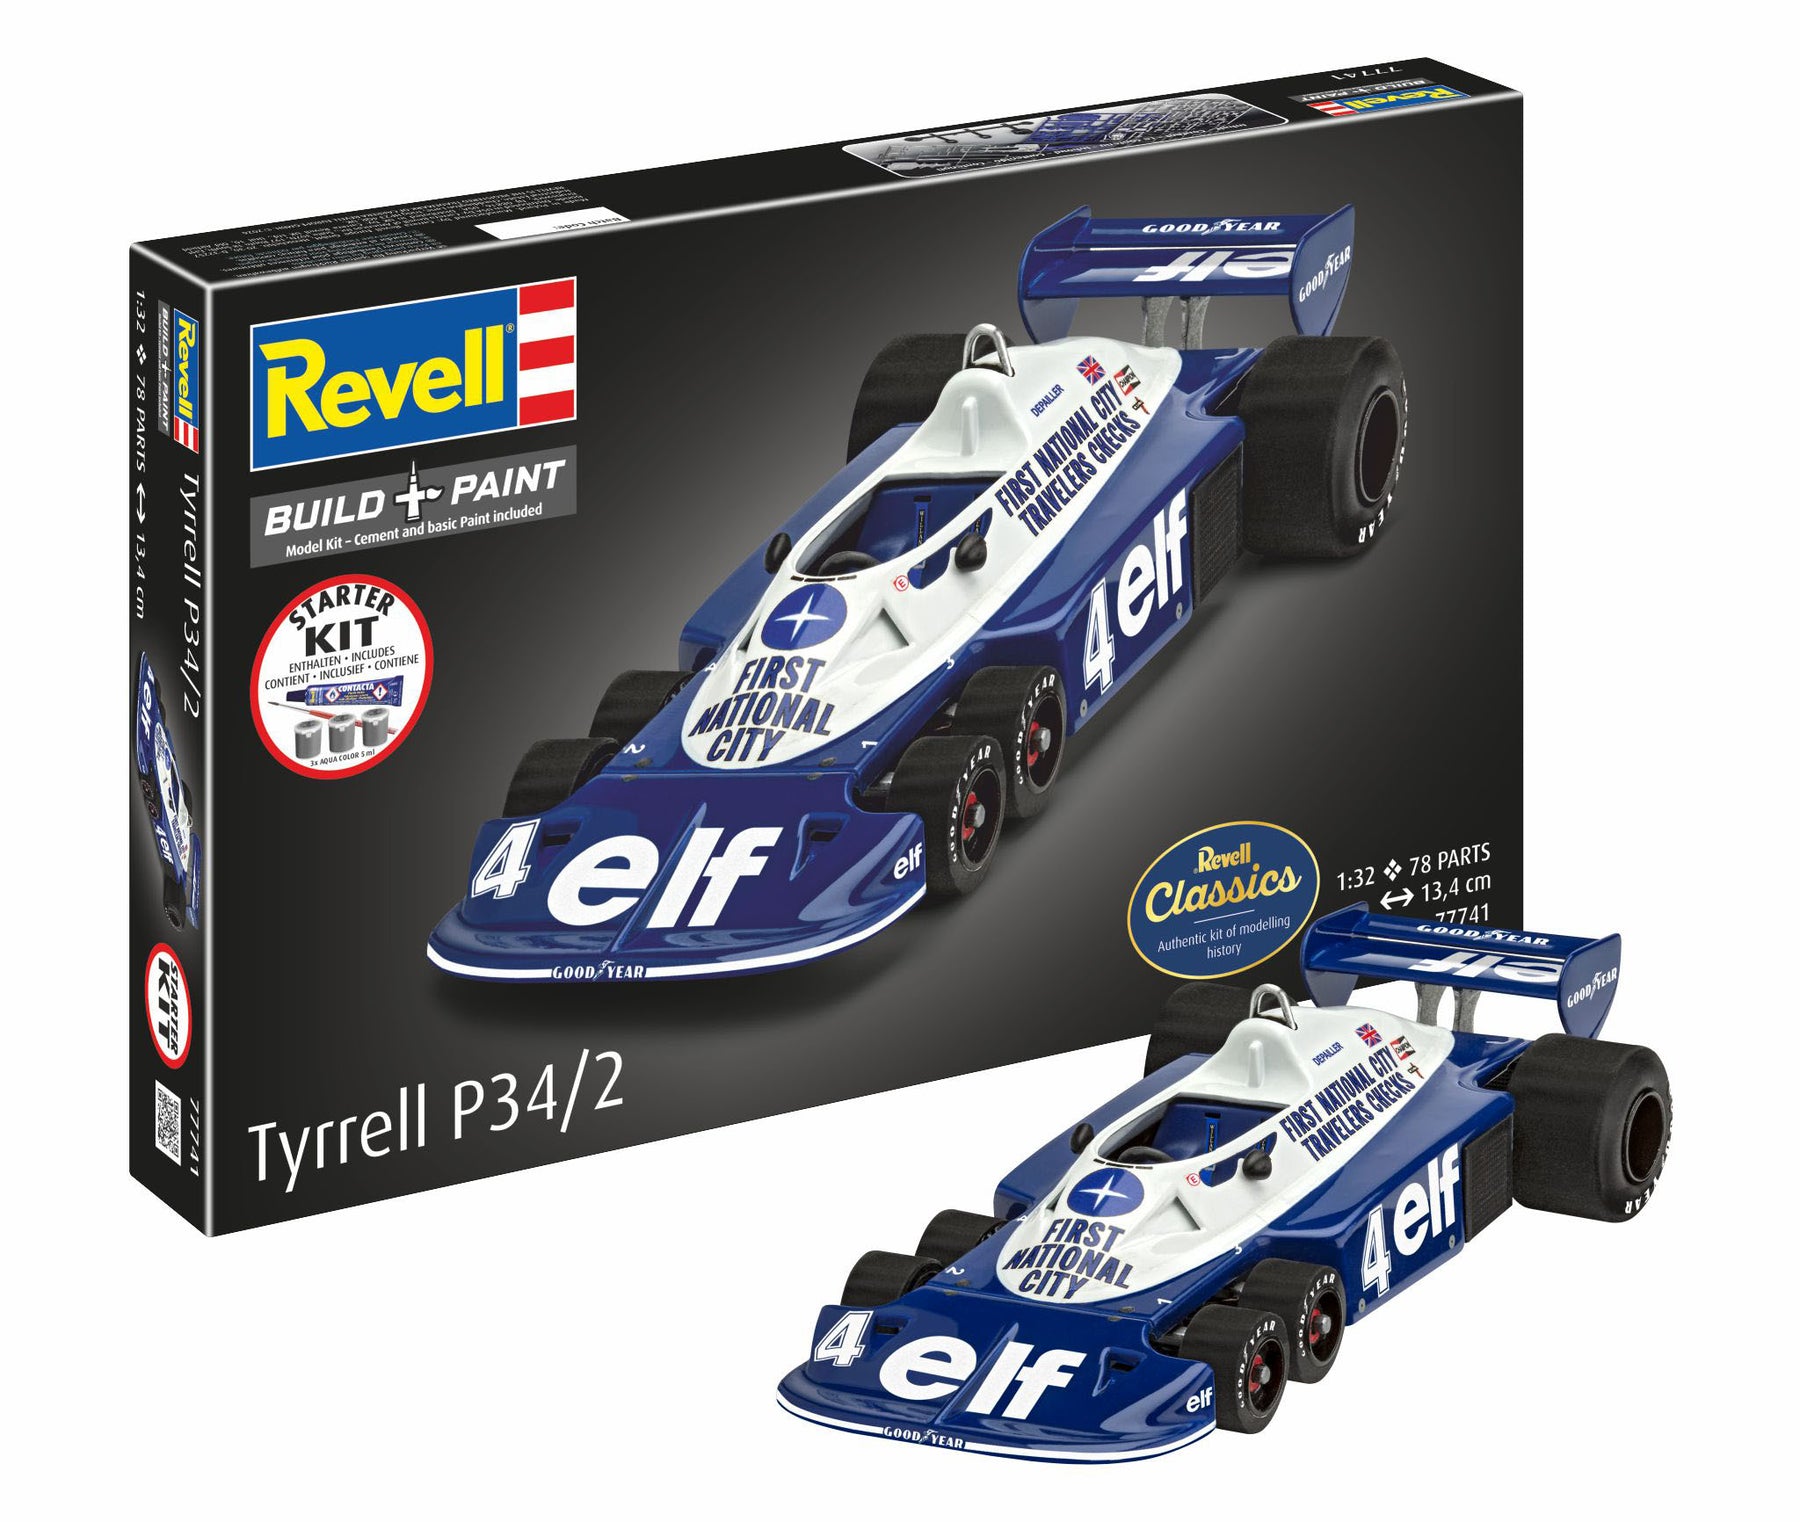
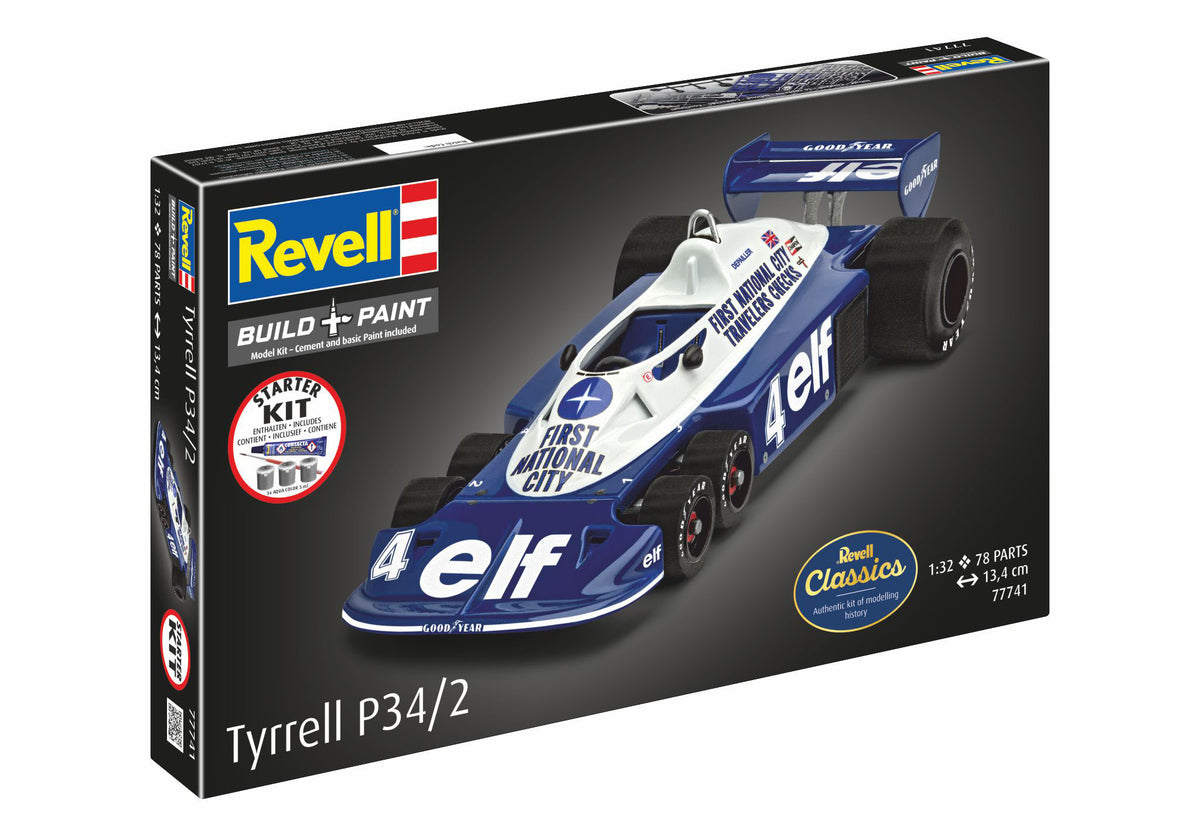
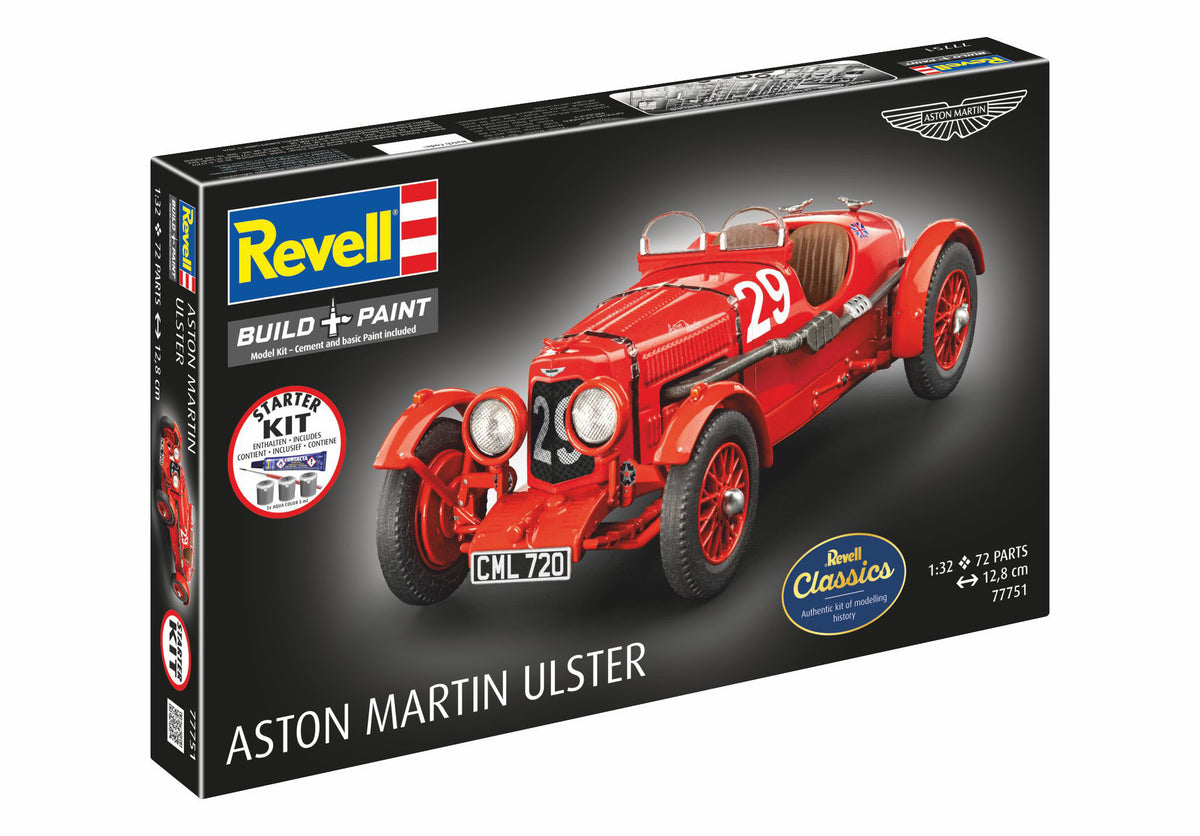
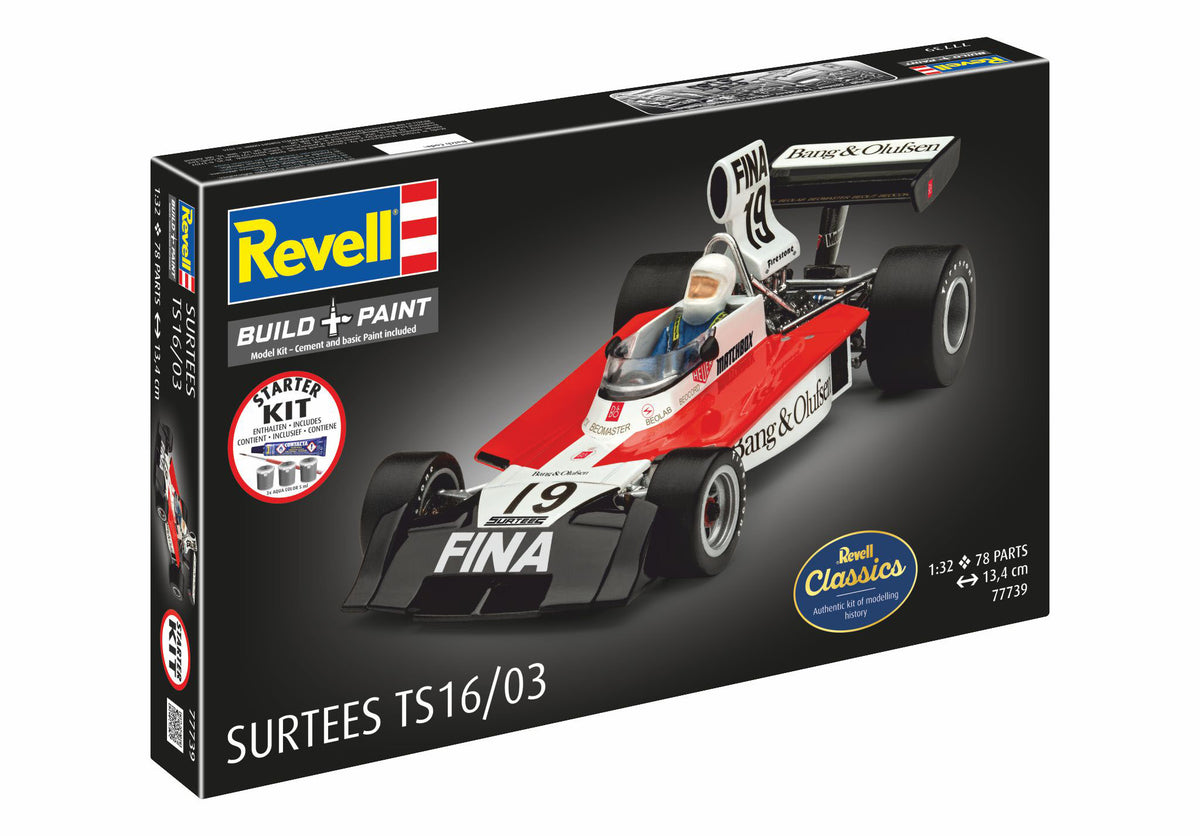
Are you interested in history? Then there are aviation classics like that Starter kit Fokker DR.1 Triplane or the double set Starter Kit Messerschmitt Bf109E & Ju87B Stuka excellent decisions. If your heart beats more for modern military technology, this is an option Starter Kit F-15E Strike Eagle & bombs on. Automobile fans and motorsport enthusiasts also come with models like this Starter kit Mercedes-Benz SSKL, dem Starter kit Tyrrell P34/2 6-wheeler or that Starter Kit Surtees TS16/03 fully at their expense. For ship lovers, majestic boats like this are great Starter Kit Battleship USS New Jersey or the USS Enterprise CV-6 absolute highlights. Choose the topic that fascinates you the most.
Correctly assess scale and space requirements
The scale on the Revell packaging indicates how much the original has been reduced in size for the model. For example, a scale of 1:72 means that the original is 72 times larger than your model. This has a direct impact on the space you need for your collection, but also on the construction process itself.
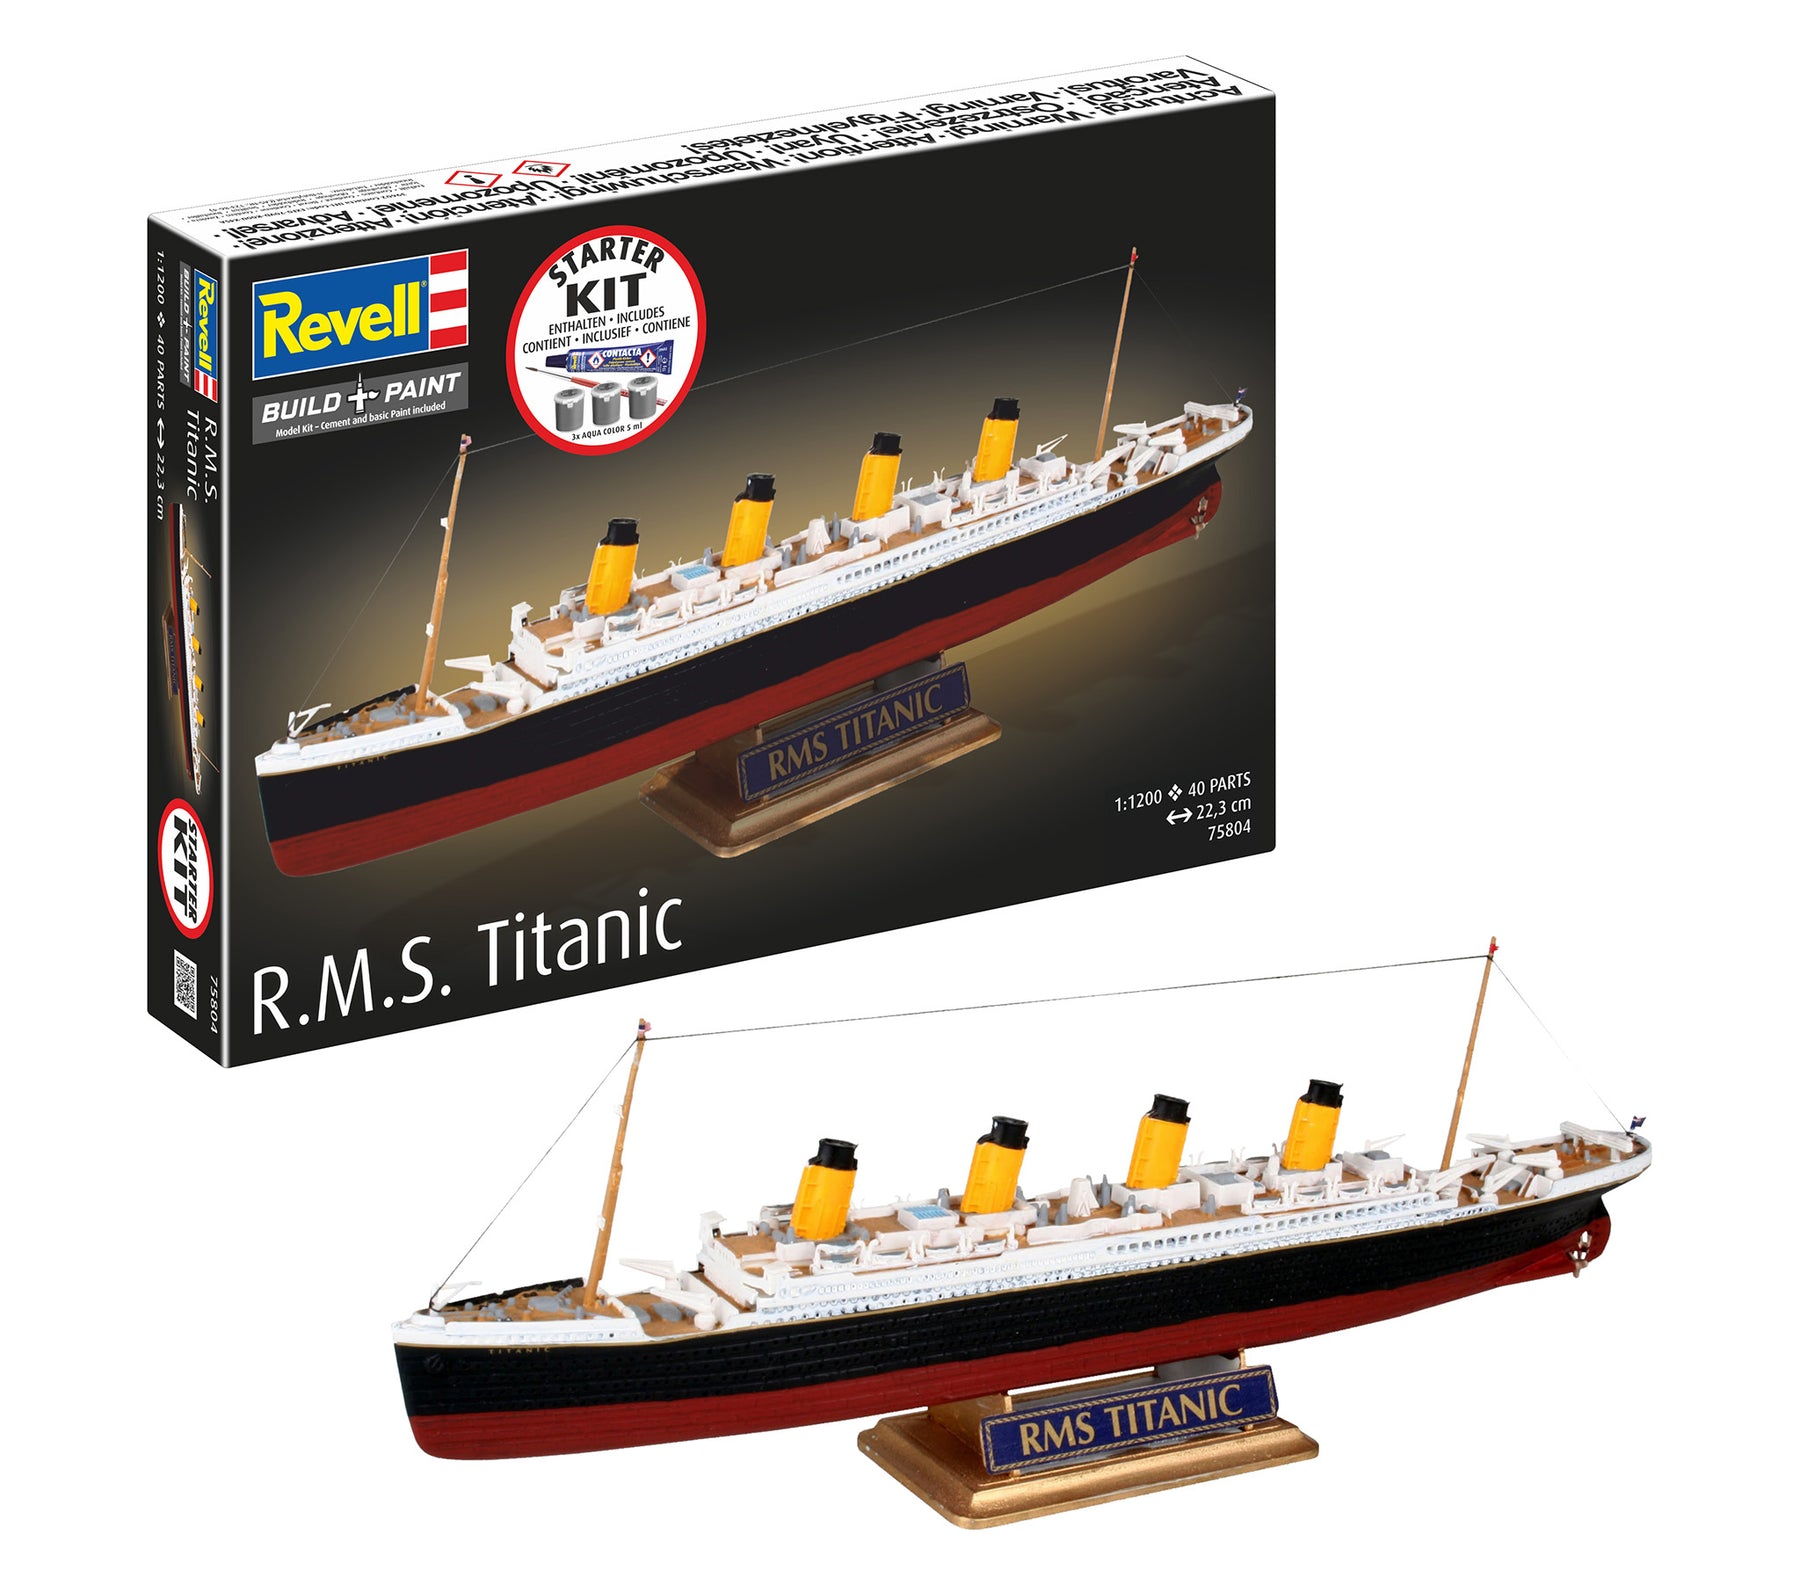
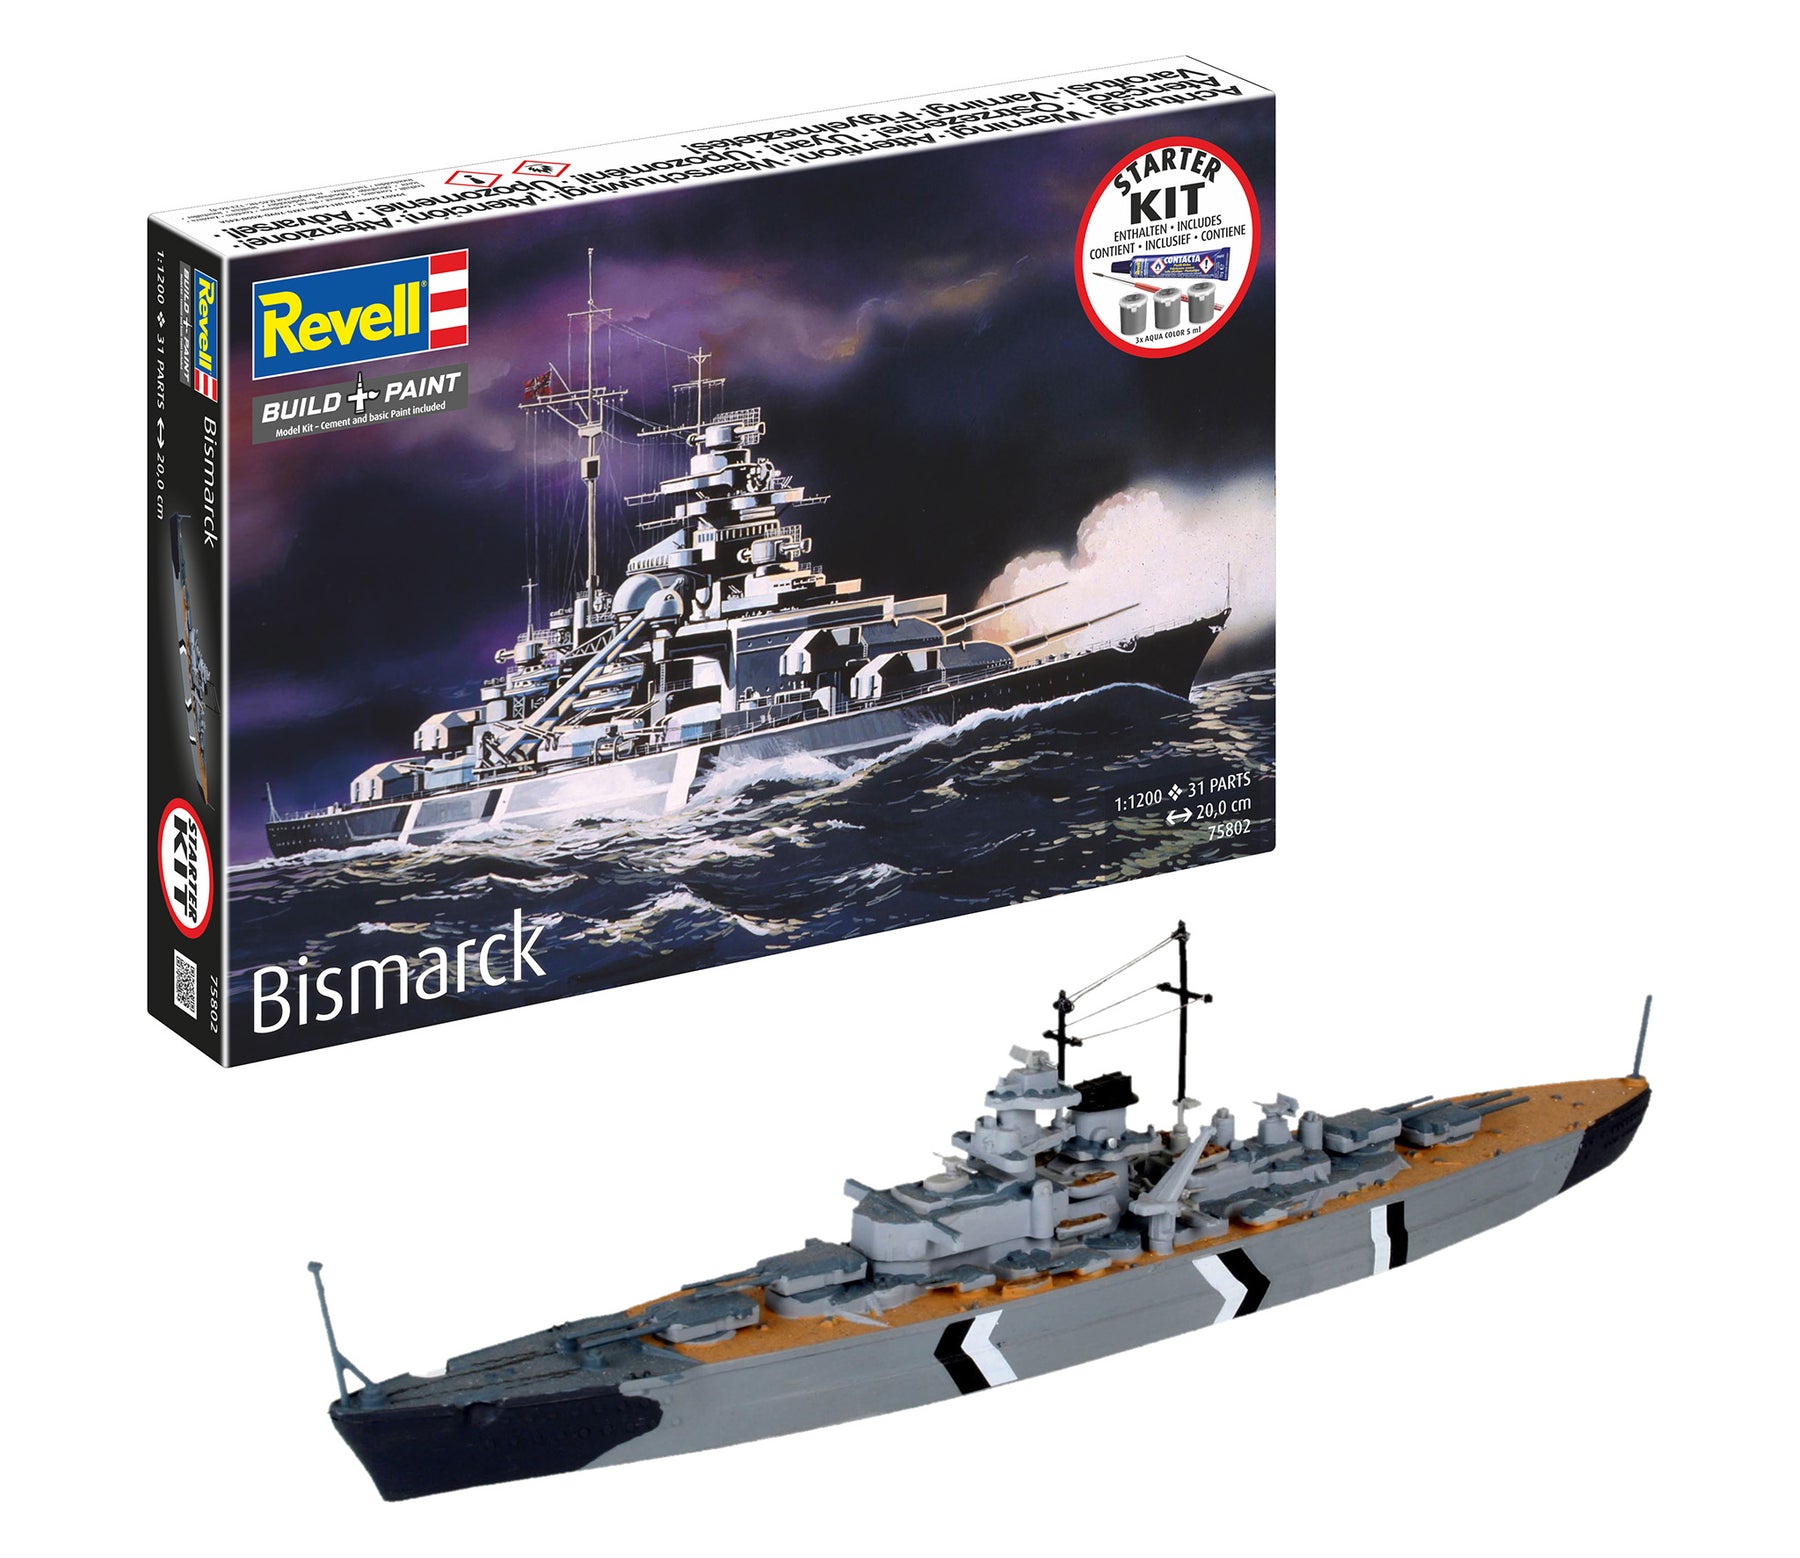
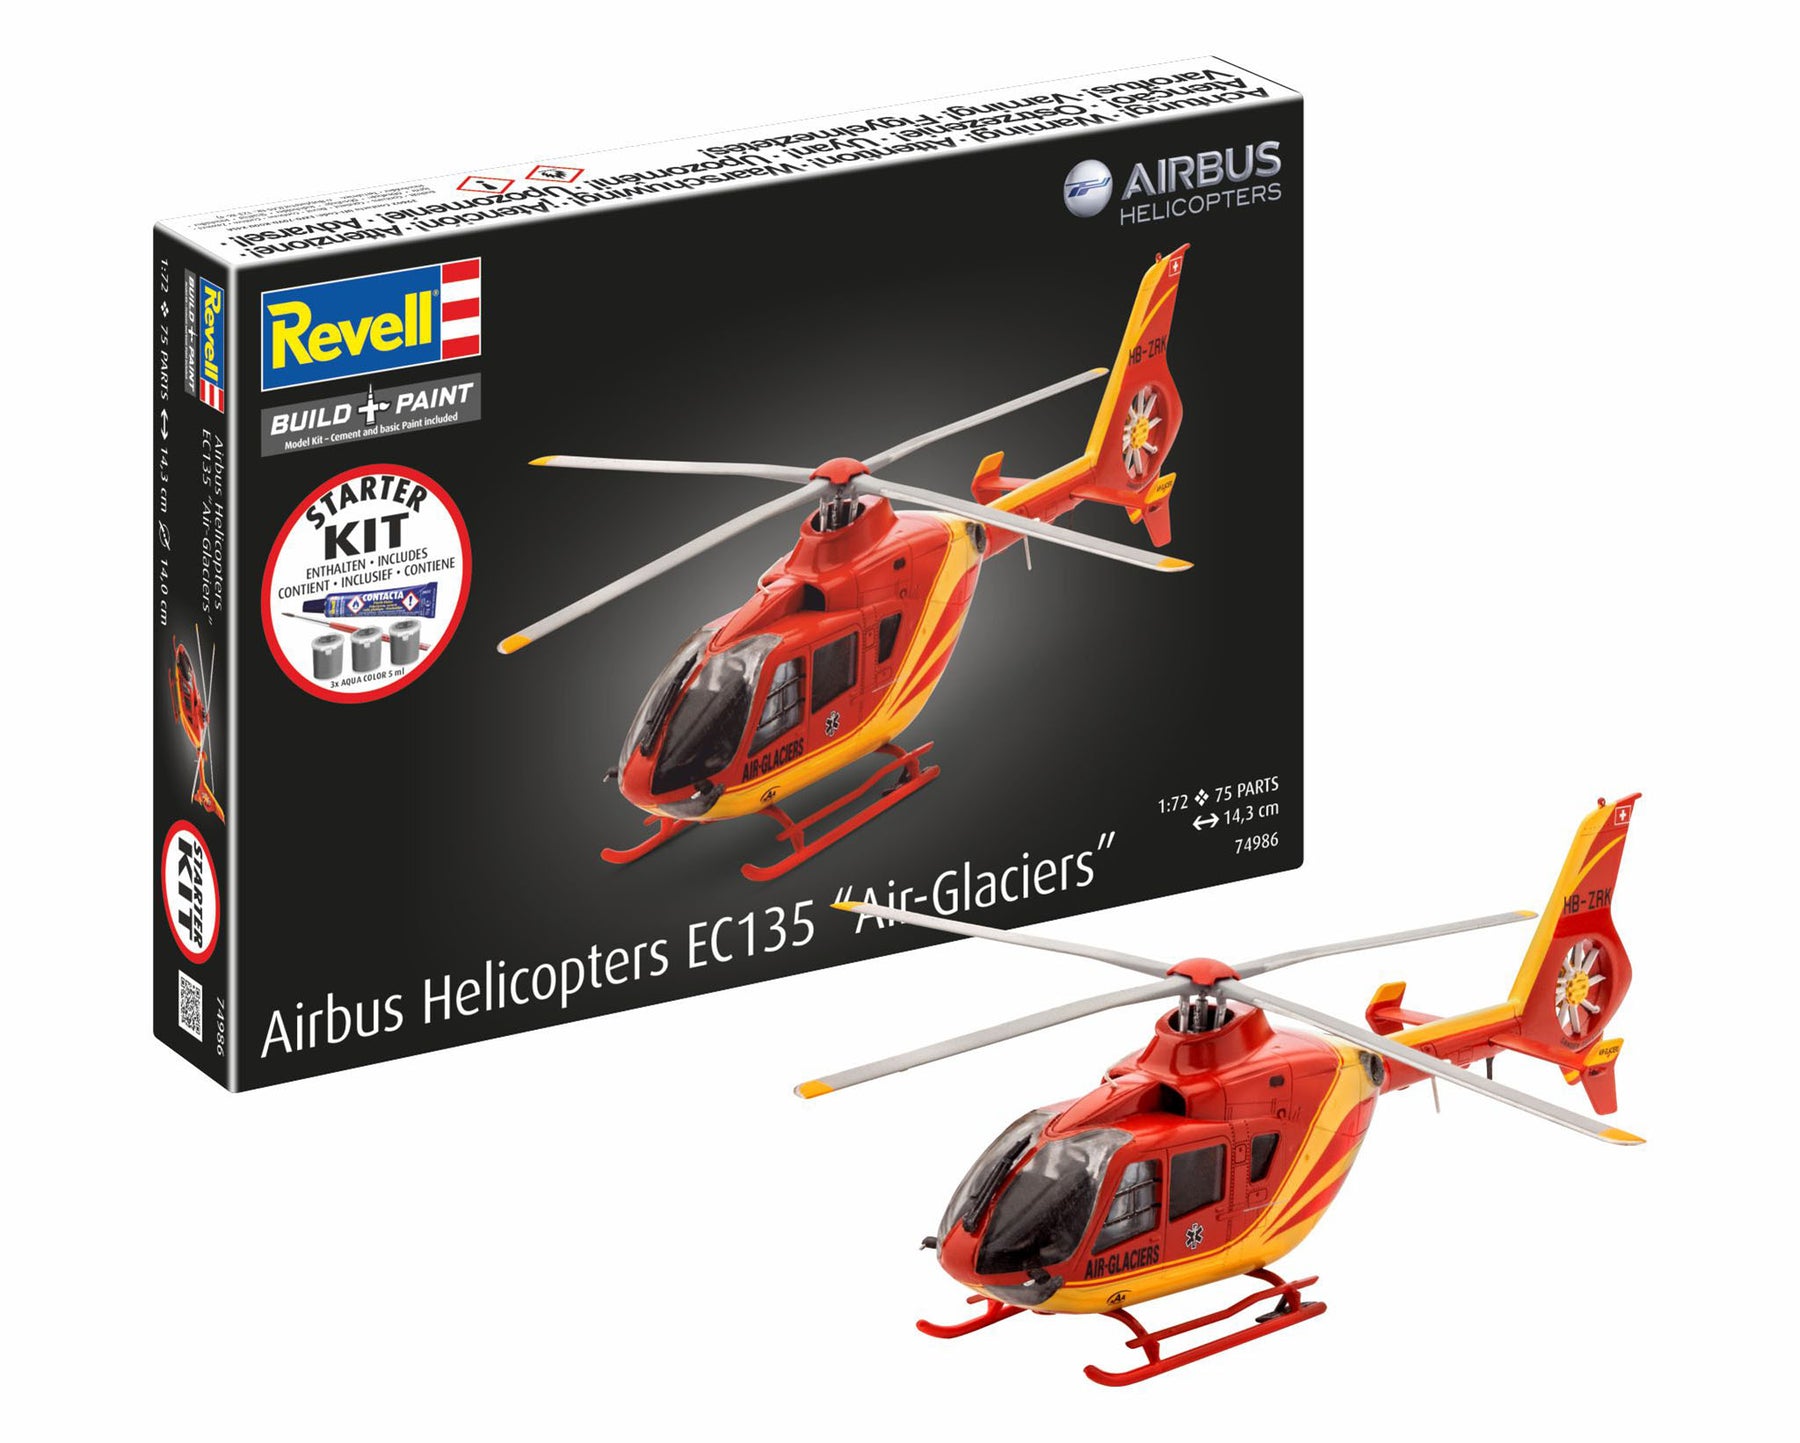
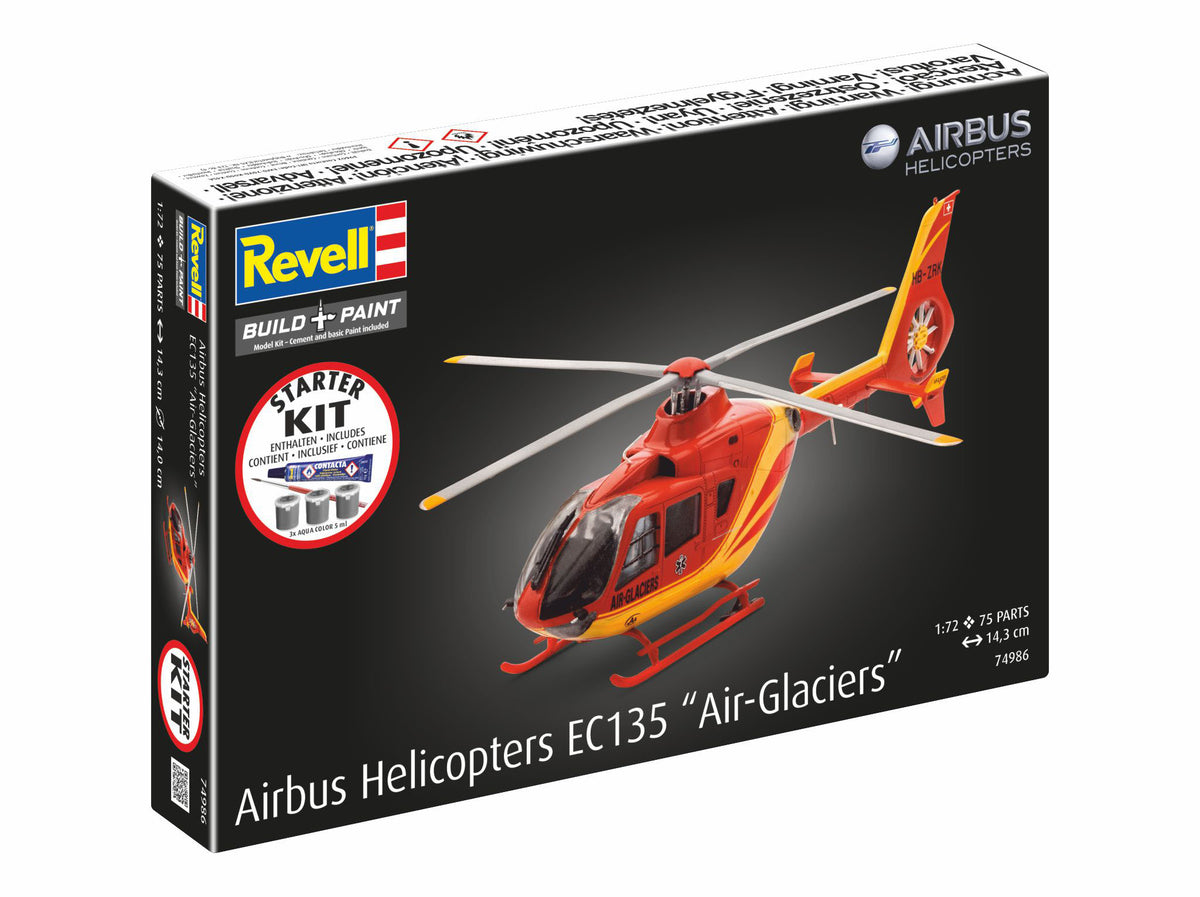
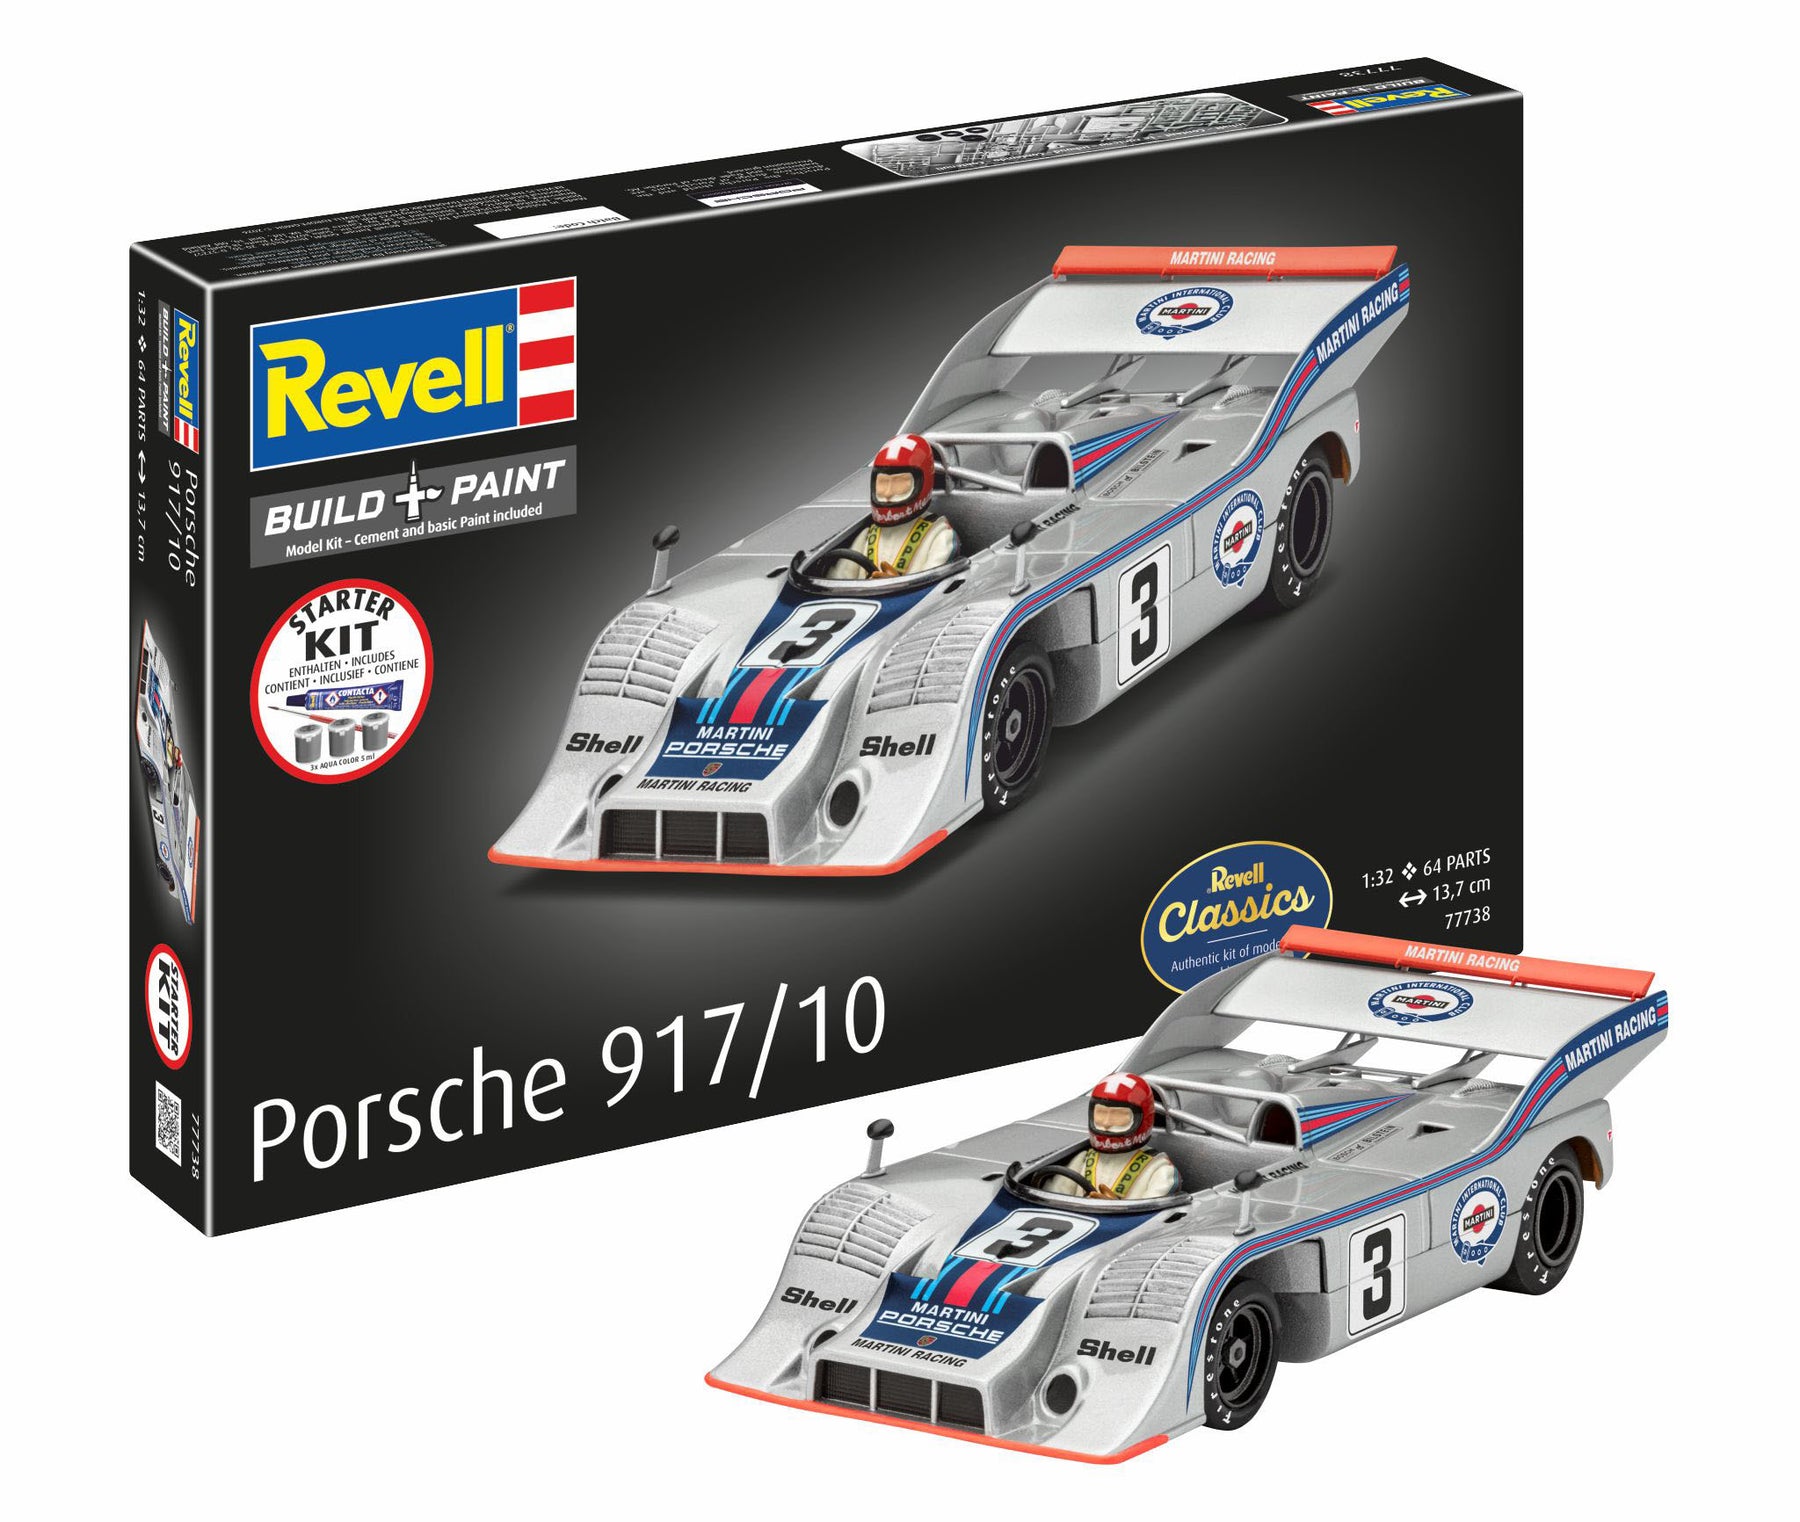
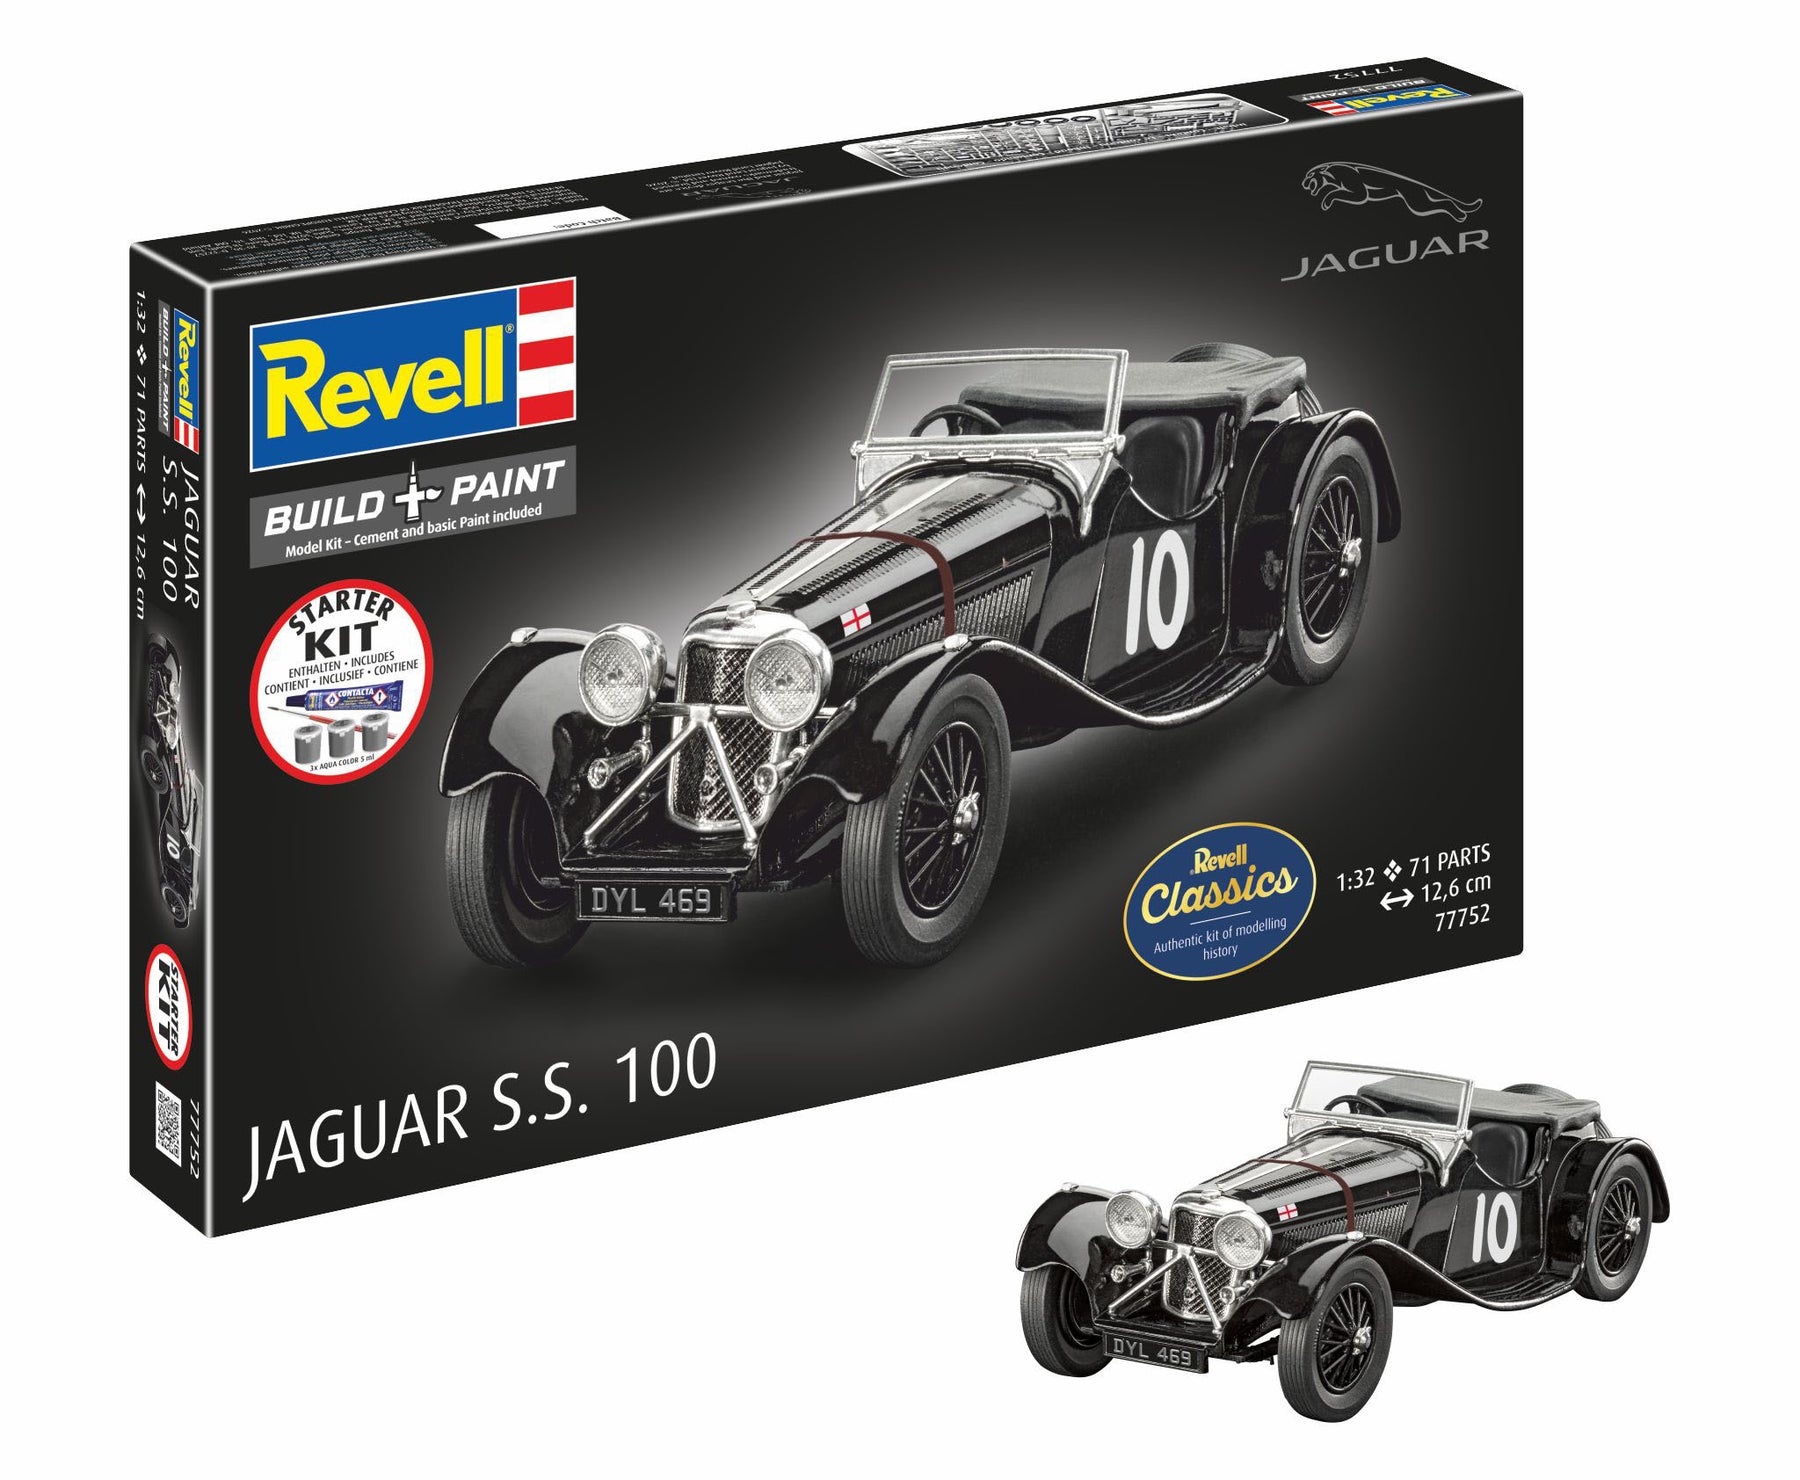
A warship like the USS New Jersey on a scale of 1:1200 is, despite the huge original model, very compact and fits on any desk. A civilian helicopter like that Starter Kit Airbus Helicopters EC135 "Air Glaciers" in 1:72 scale or a car like that Starter kit Jaguar SS 100 However, they offer you much more tangible components. Larger scales often mean larger components, which sometimes makes gripping, positioning and gluing a little easier for beginners. So think in advance how much space you have in your display case and how delicately you want to work.
Everything in one box: The advantage of the complete sets
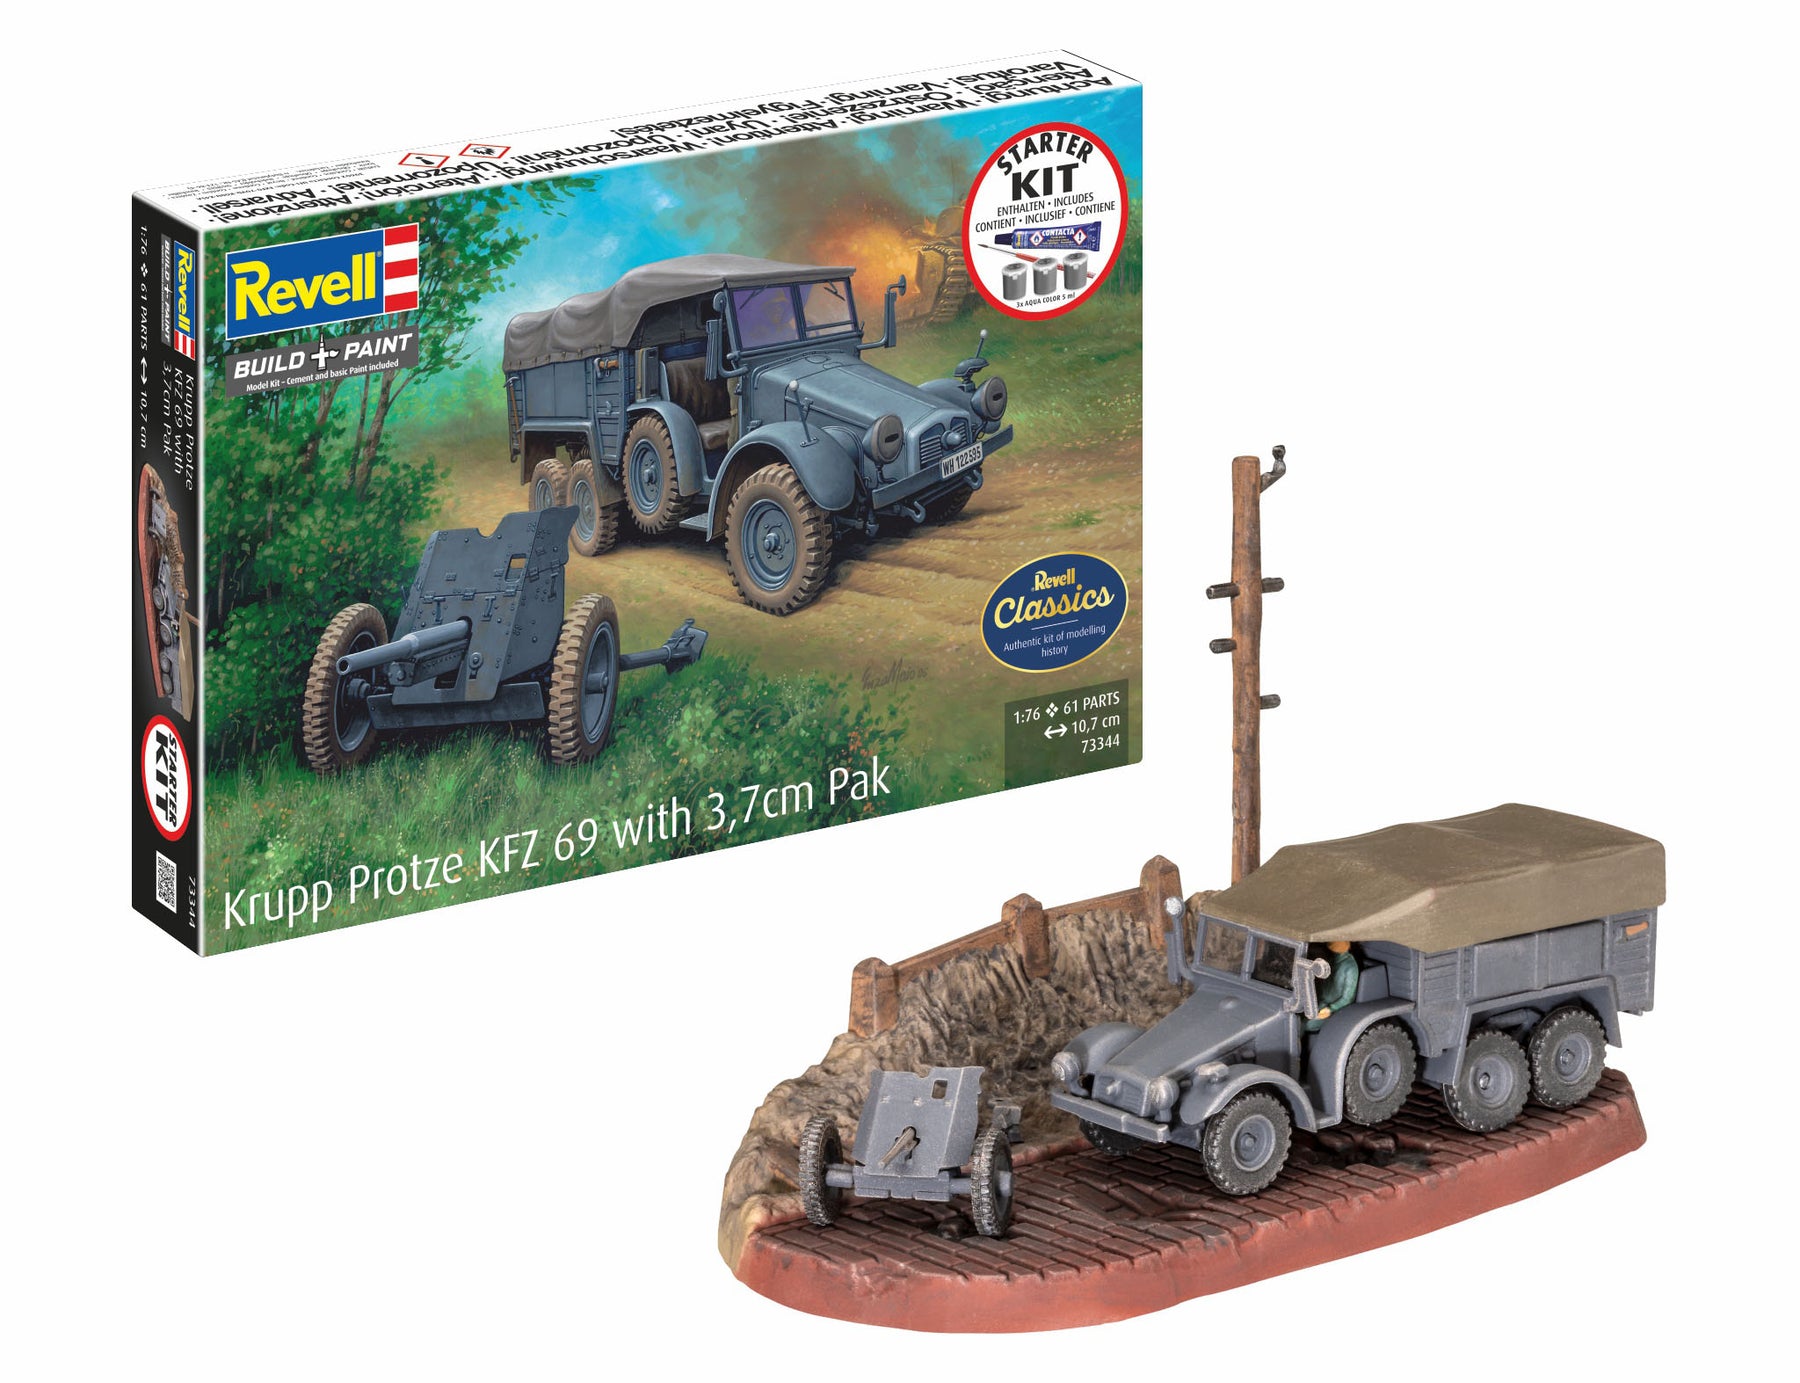
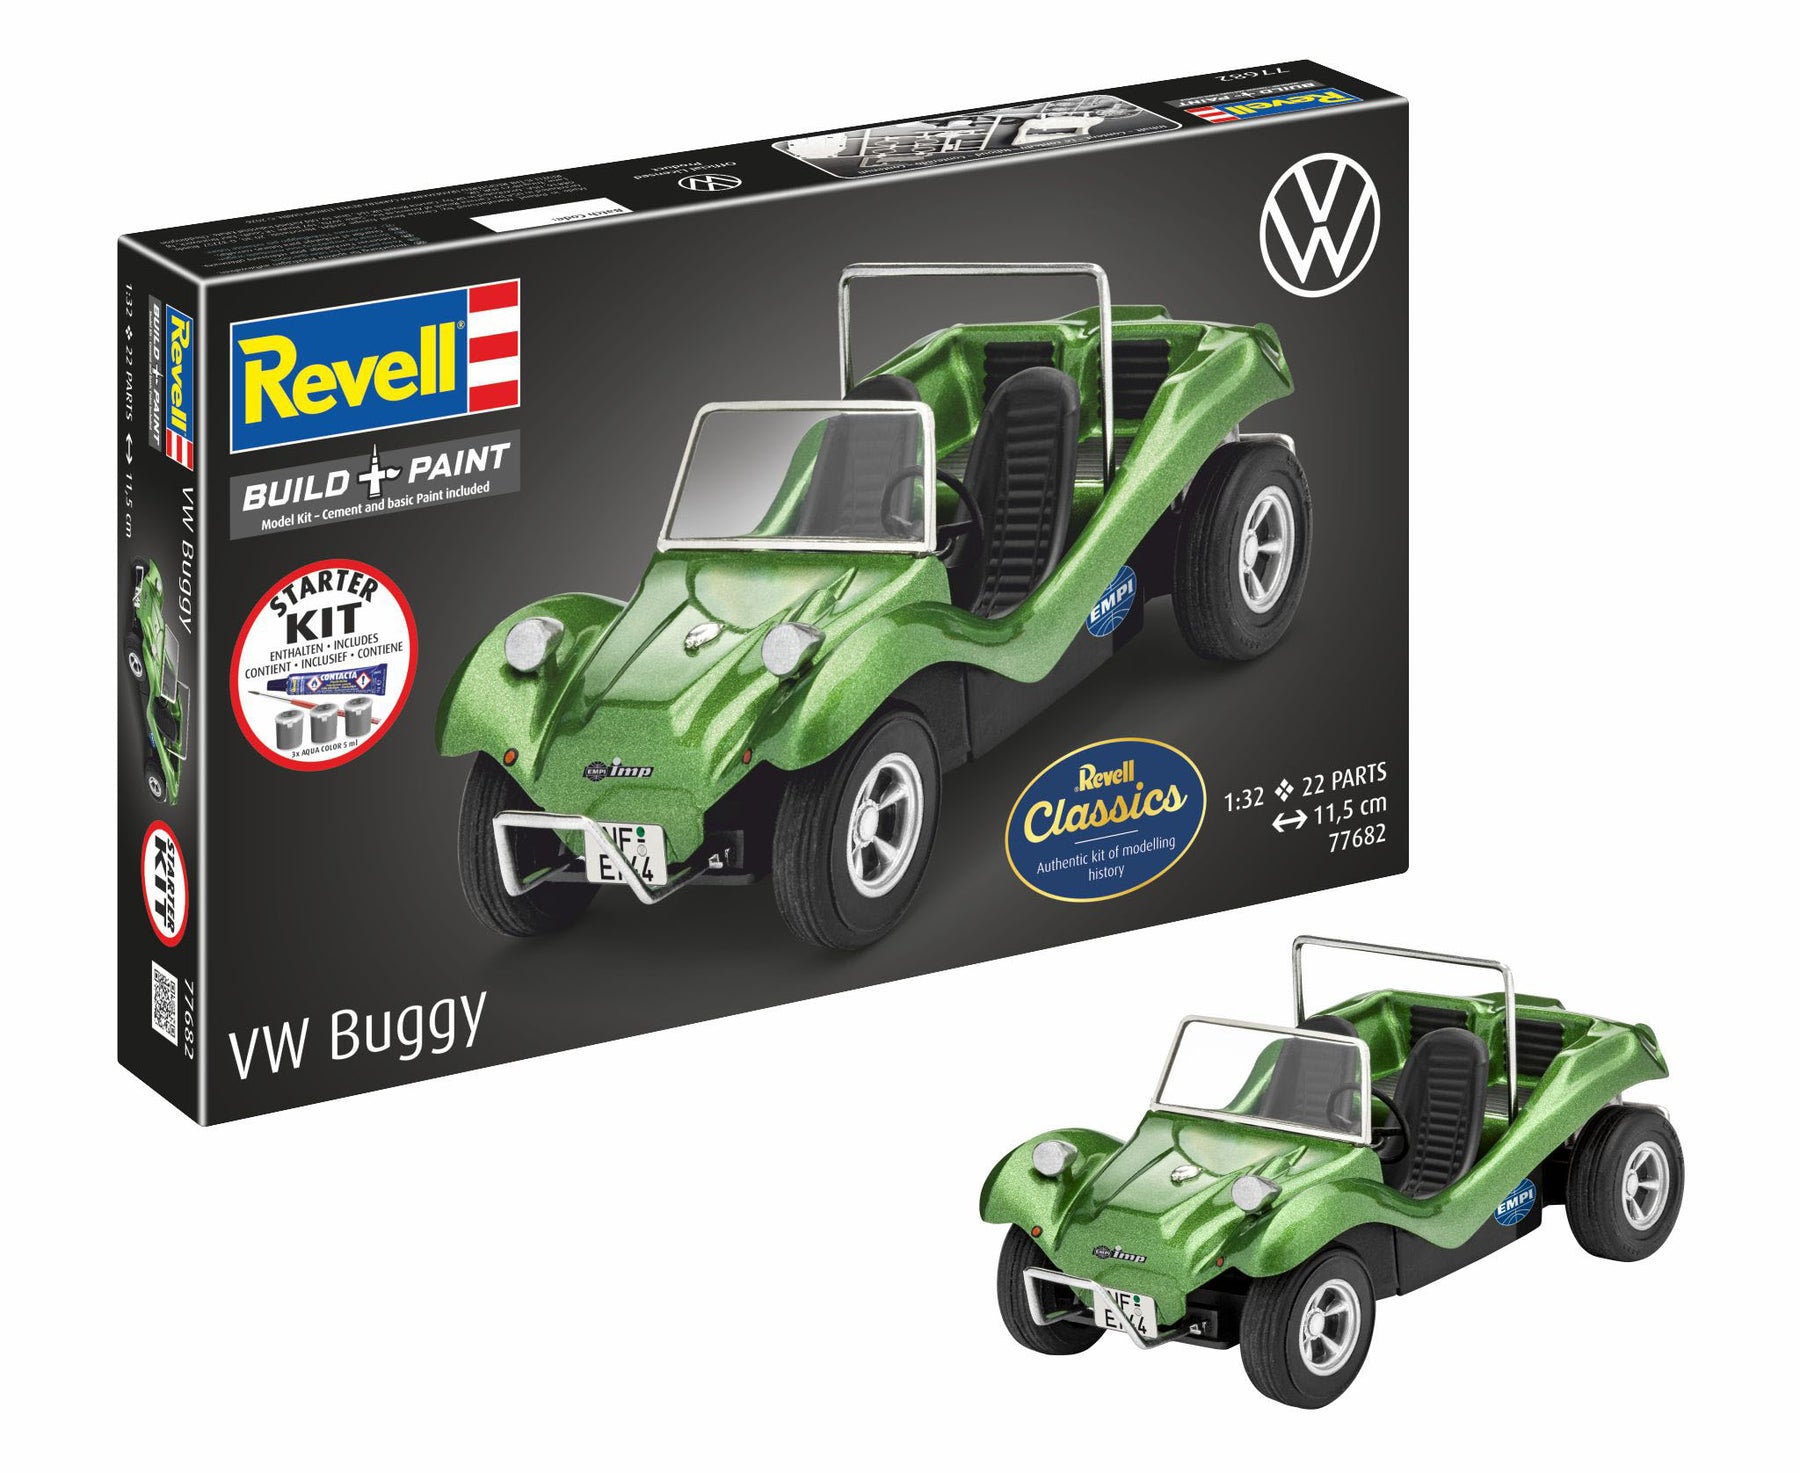
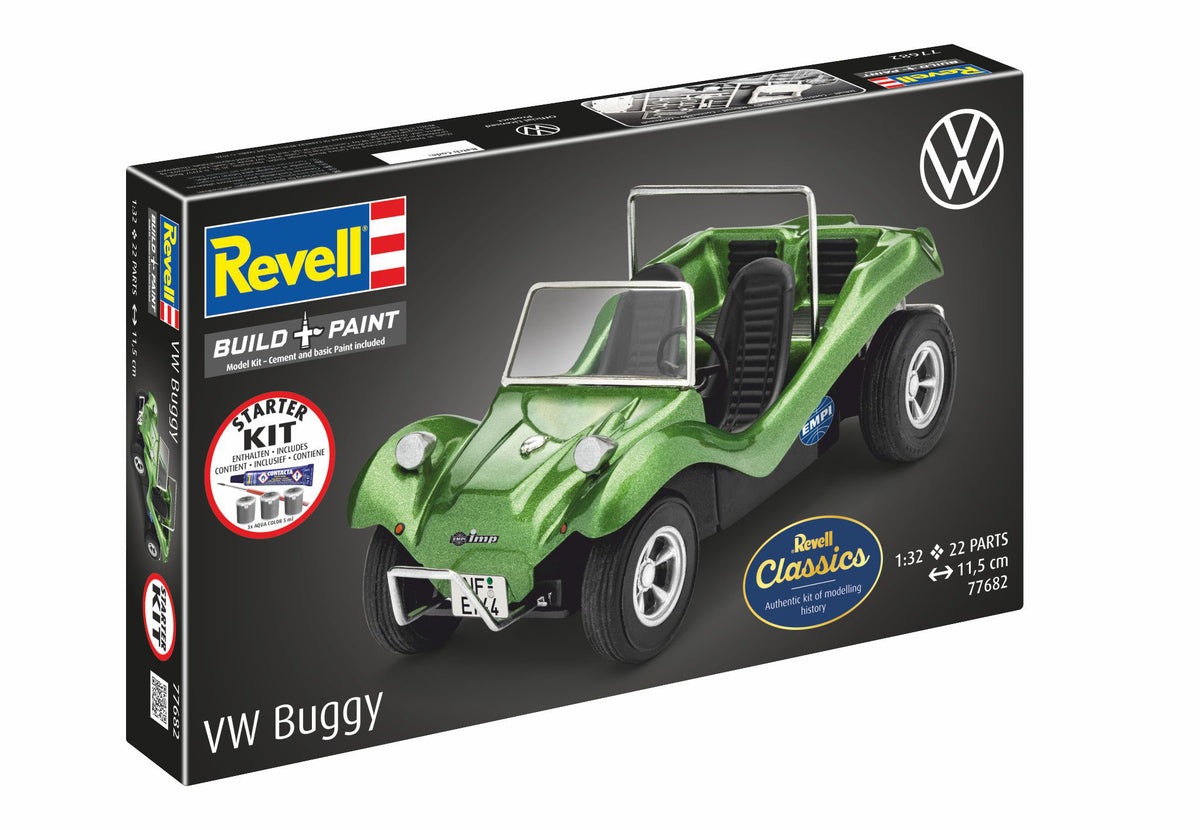
The biggest and decisive advantage of the Revell Starter Kits is the well thought-out, all-round, worry-free package. Instead of having to laboriously find out in tables in advance which color numbers you want, for example Starter Kit Krupp Protze KFZ 69 with 3.7cm Pak or that Starter kit VW buggy If you need it exactly, Revell supplies the most important Aqua Color base colors directly.
The set also includes a high-quality brush and the proven Revell Contacta Professional glue (usually in the practical mini version with a fine cannula). What this means for you: You open the box, place the components in front of you, study the detailed instructions and can start tinkering straight away. Not only will you save a lot of time researching, but you will also save money compared to buying all of these components individually.
Which Revell Starter Kit is right for you?
So that you can quickly find the right set for your start, this compact overview will help you decide:
| Your interests | Recommended Revell Starter Kit | Special feature for beginners |
|---|---|---|
| Classic automobiles | Starter kit VW Beetle | Round, easy-to-paint body parts, high recognition value. |
| Historical aviation | Starter kit Fokker DR.1 Triplane | Iconic design with striking red painting, fascinating structure. |
| Navy & Submarines | Starter Kit German Submarine Type VII C/41 | Great introduction to aging techniques (weathering) and shipbuilding. |
| Modern jets | Starter Kit F-15E Strike Eagle & bombs | Dynamic look, cool design, ideal for action-loving young people. |
| Motorsport history | Starter kit Tyrrell P34/2 6-wheeler | Exceptional six-wheeled technology, detailed engine components. |
Avoid typical mistakes on your first model building project
Even though Revell makes it extremely easy for you to get started with its starter kits, there are a few classic beginner mistakes that you should avoid right from the start in order to achieve a perfect result:
1. Break off parts by hand: Never separate the components from the plastic frame (casting) with your bare hands. This leads to unsightly edges or even cracks in the component. Always use fine side cutters or a sharp craft knife.
2. Using too much glue: The Revell Contacta adhesive works by slightly dissolving and “welding” the plastic. A tiny drop from the cannula is usually enough. If you use too much glue, it will ooze out around the edges and destroy fine surface details of your model.
3. Don't stir up colors: The enclosed Revell Aqua Color colors must be stirred very thoroughly before each use. This is the only way the color pigments mix evenly with the binder and you get an opaque, clean finish without streaks.
4. Attaching decals incorrectly: The enclosed markings are water-soluble. Cut them out one by one, briefly place them in lukewarm water until they come off the backing paper, and then carefully push them onto the model with a brush. Never try to peel them off dry!